
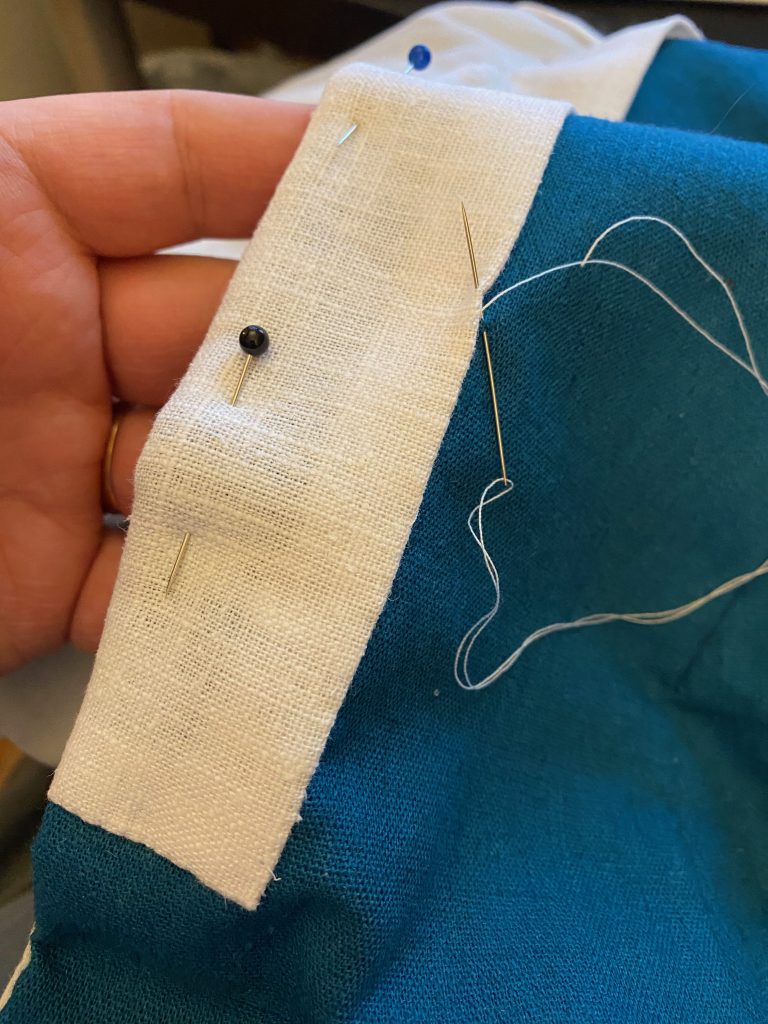
Once the collar was attached to the body of the jikryeong, I added a white band to the edge called a dongjeong (동정). This is a typical feature of Korean clothing, and is meant to be removable for laundering. I made this one from heavy ramie.
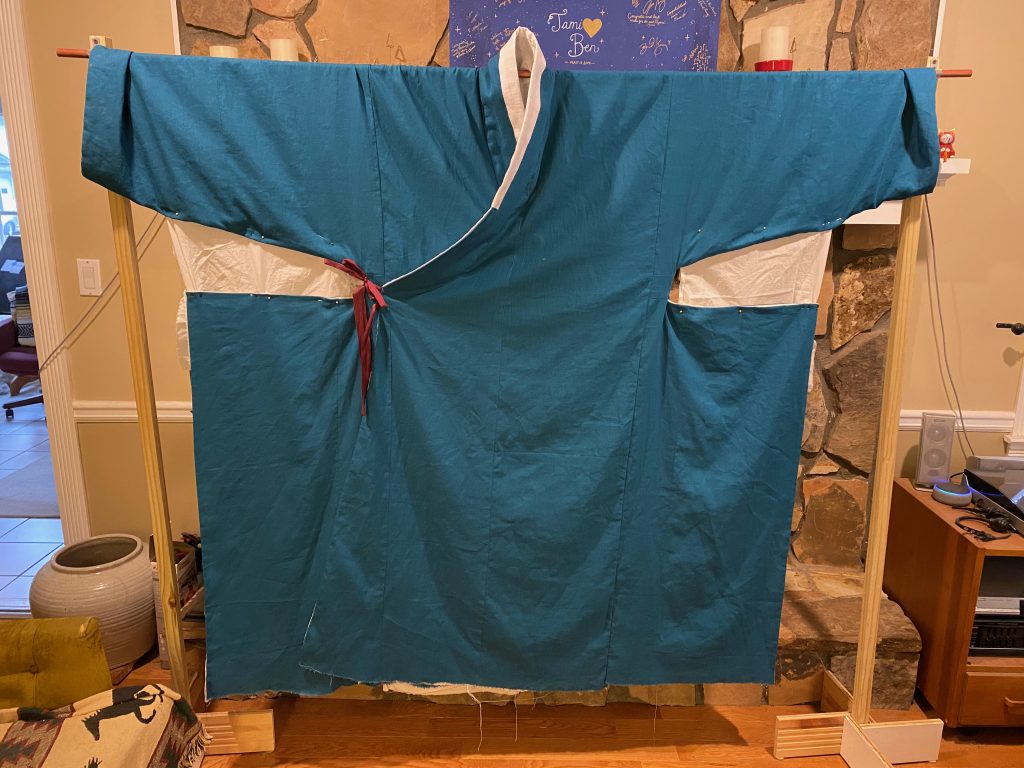
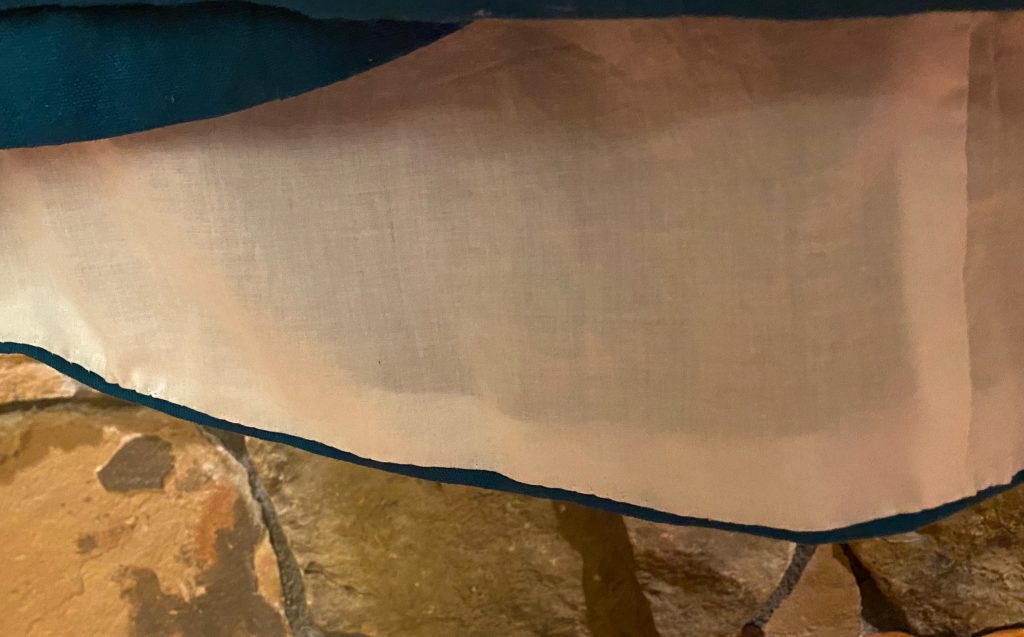
At this point I was ready to sew the hem. Looking at the extant piece I used as my inspiration, the hem of the front is straight, curving very slightly upward at the ends. The inner crossover panel rises slightly so it won’t peek out from underneath the top layer. Both diagonal panels of the crossover sections are angled upward. The rear hem is longer than the front and has a consistent curve throughout. The edges are about 1.5″ longer than the front, while the center is about 4″ longer.
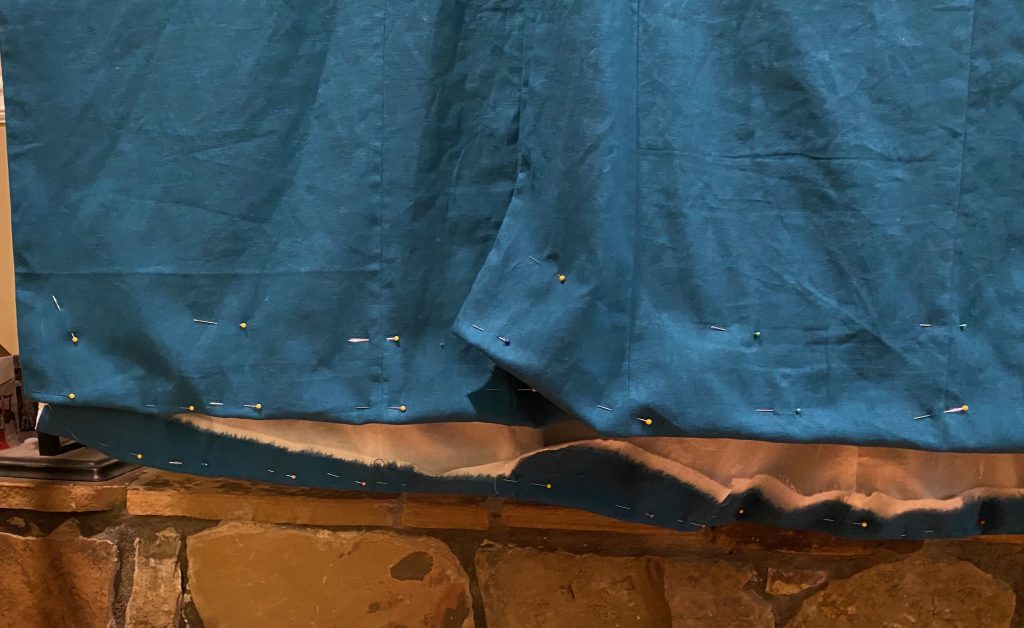
As this garment is lined, marking and sewing the hem is challenging if a sagging lining is to be avoided. First I hung the whole garment on the rack and used some scrap fabric to pin the side panels out straight:

I folded the hem up to where I wanted it and pinned it along each section:
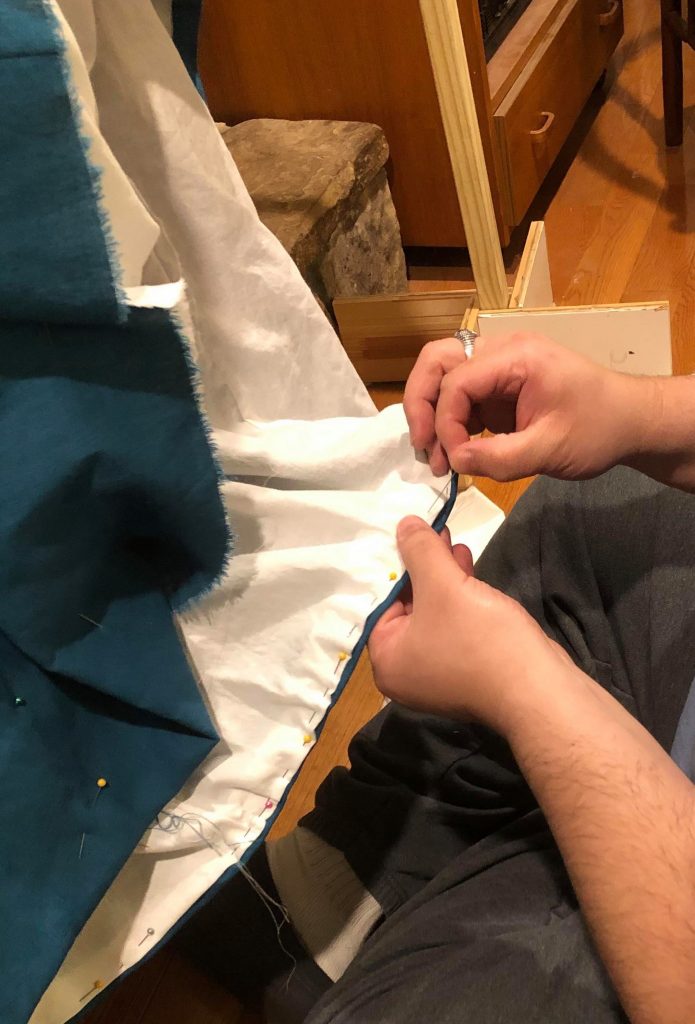
I trimmed the seam allowances, then hung it back up to even up the lining and pin it in place for sewing:
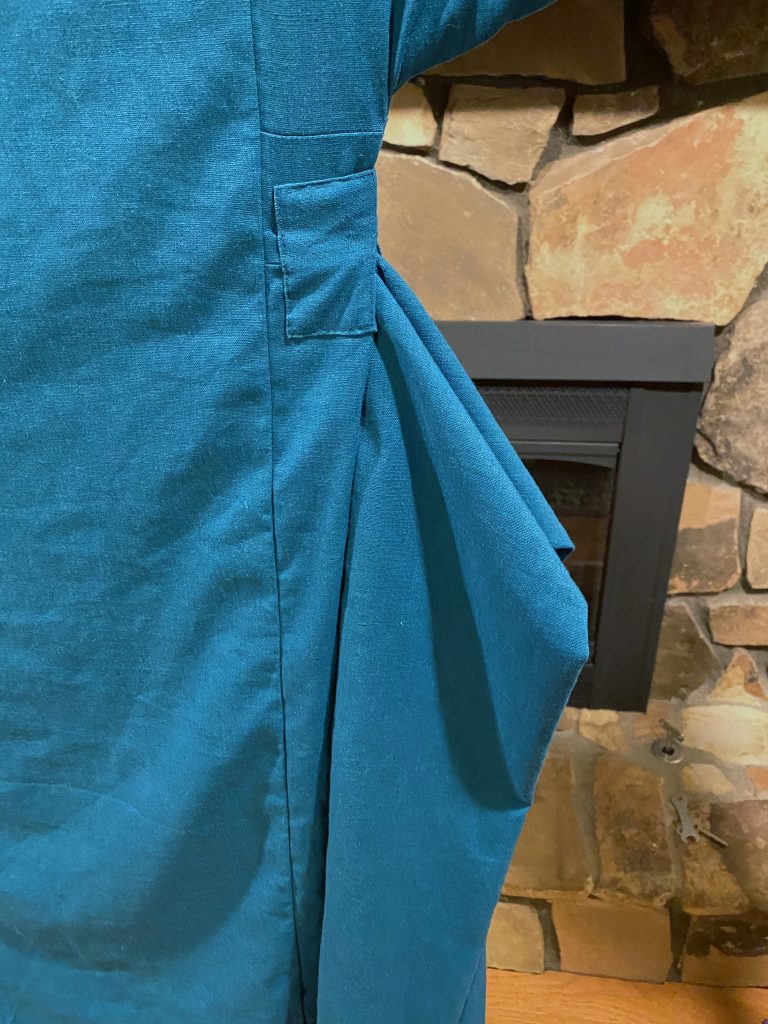
The next step was to pleat the side panels in. First each panel was pleated to the inside where it met the body, then the remainder of the panel was folded in half and sewn at the top. When worn, the corners of the panel tend to fold down to show a diagonal silhouette:
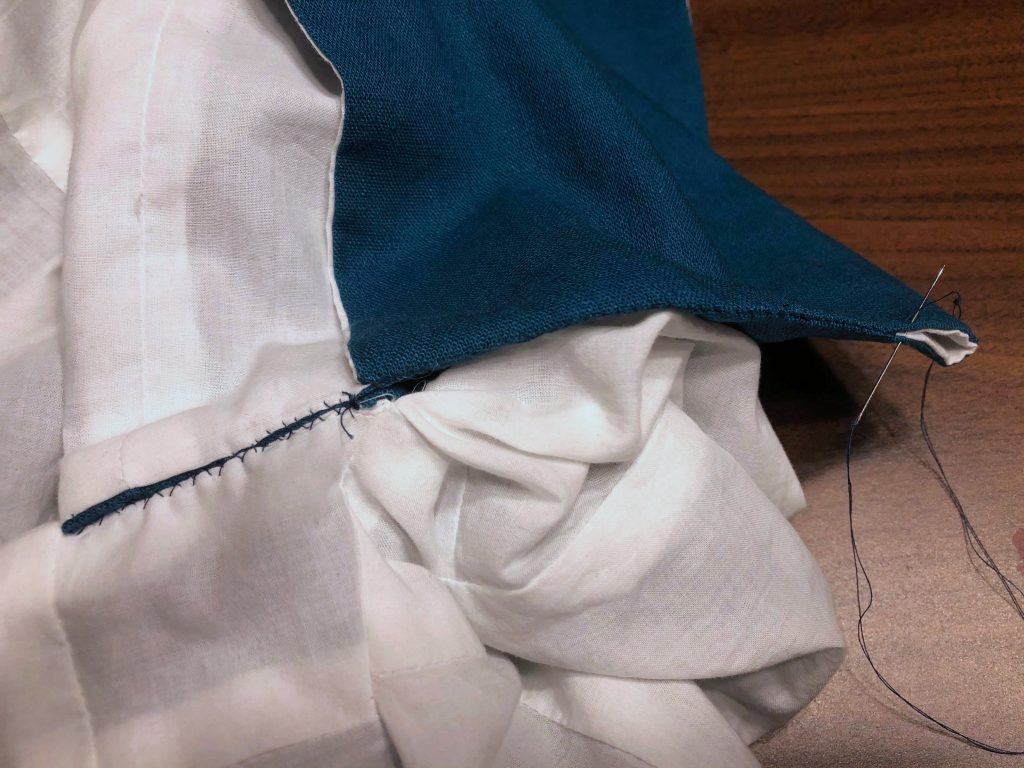
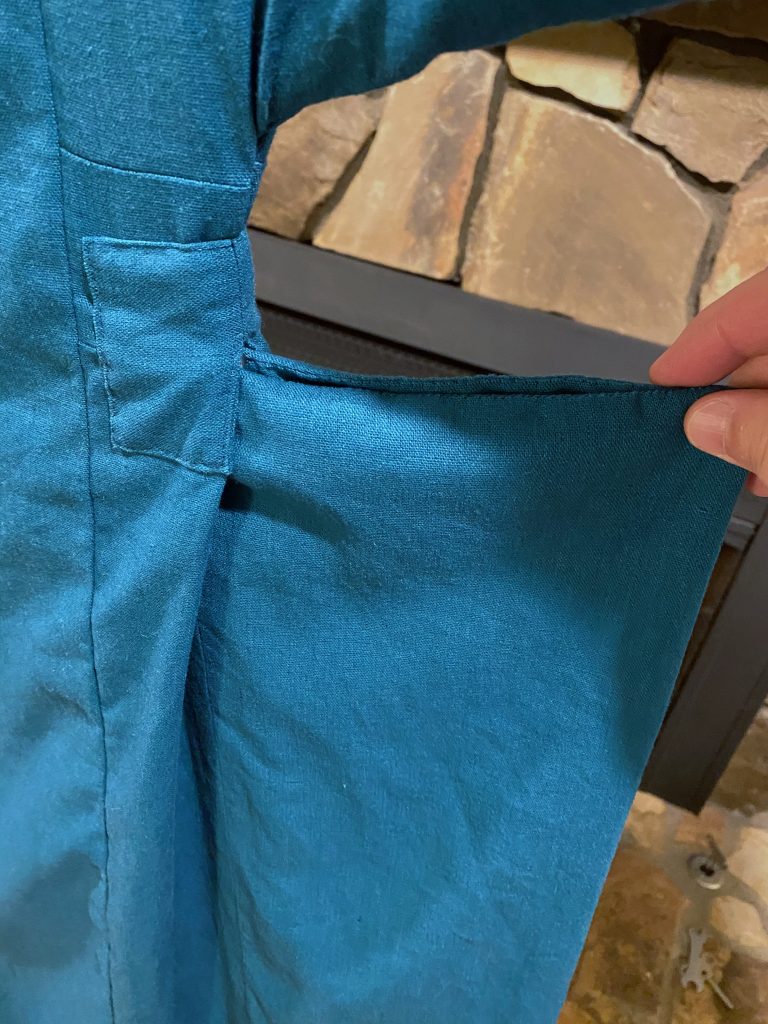
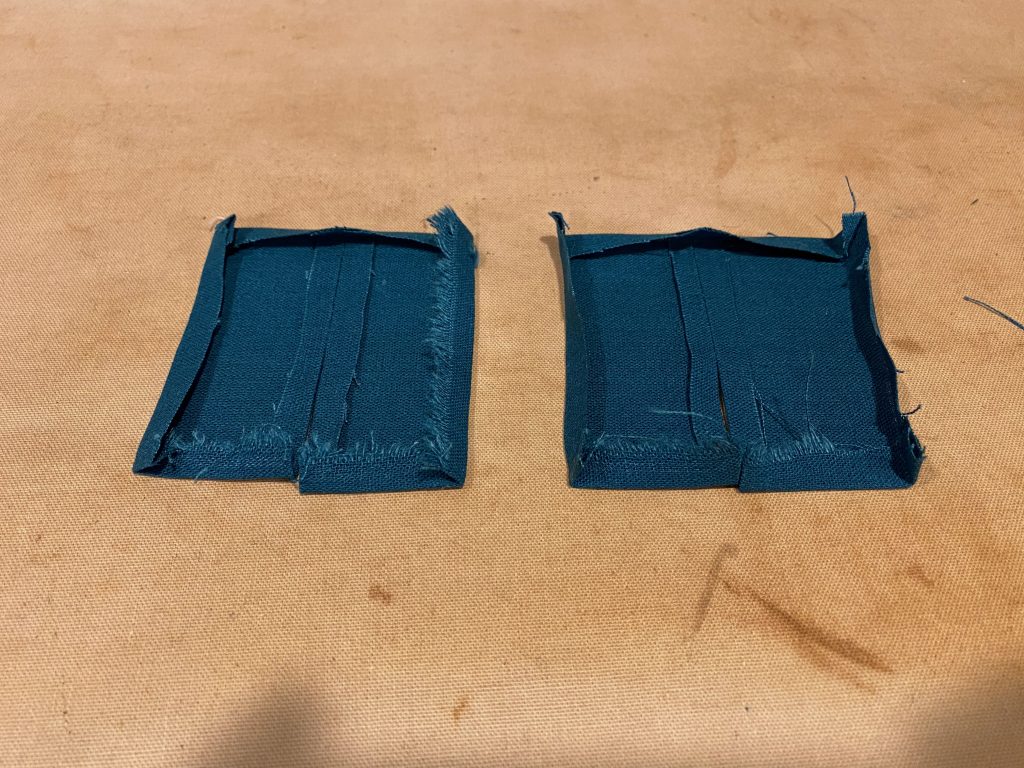
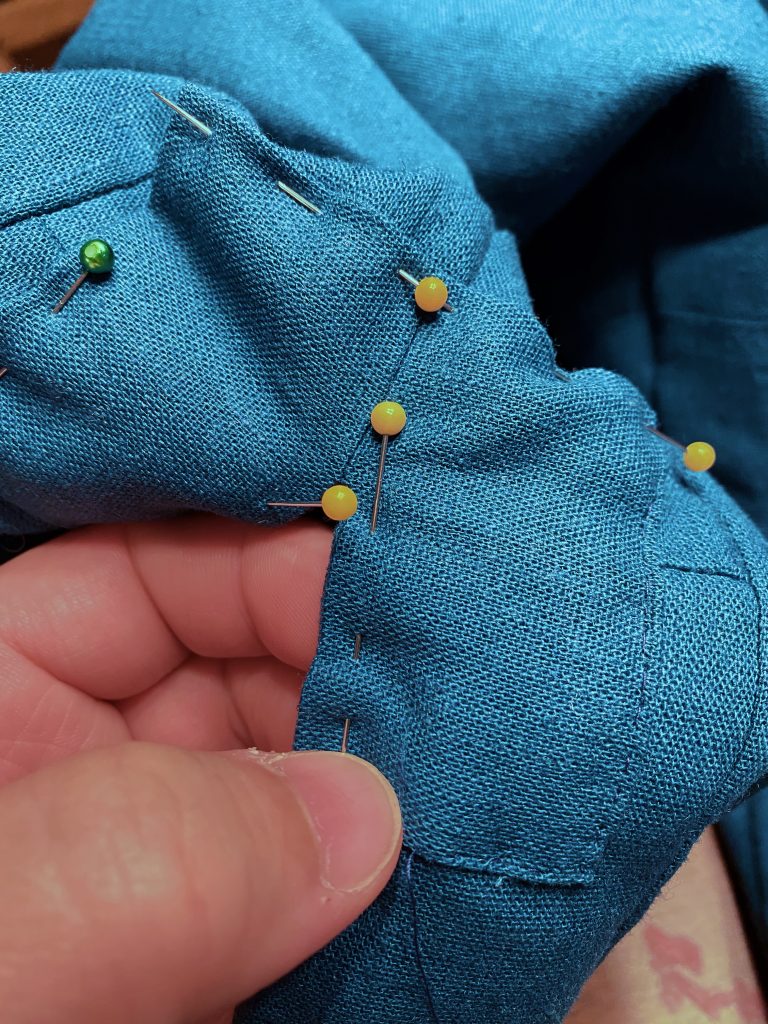
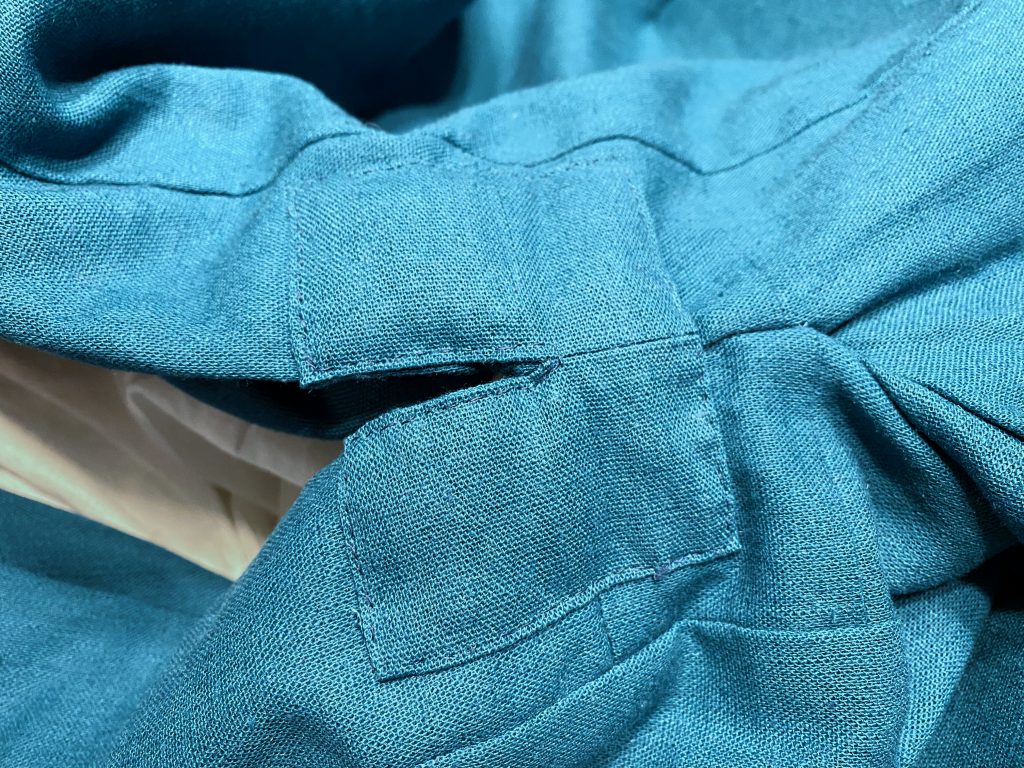
The final element was the reinforcing patches at the top of the side panels. Looking at the original, I could see a seam in the middle of the patch, so I constructed it as two rectangular pieces sewn halfway together, leaving a slit at the bottom. The patches were attached using a small back stitch:
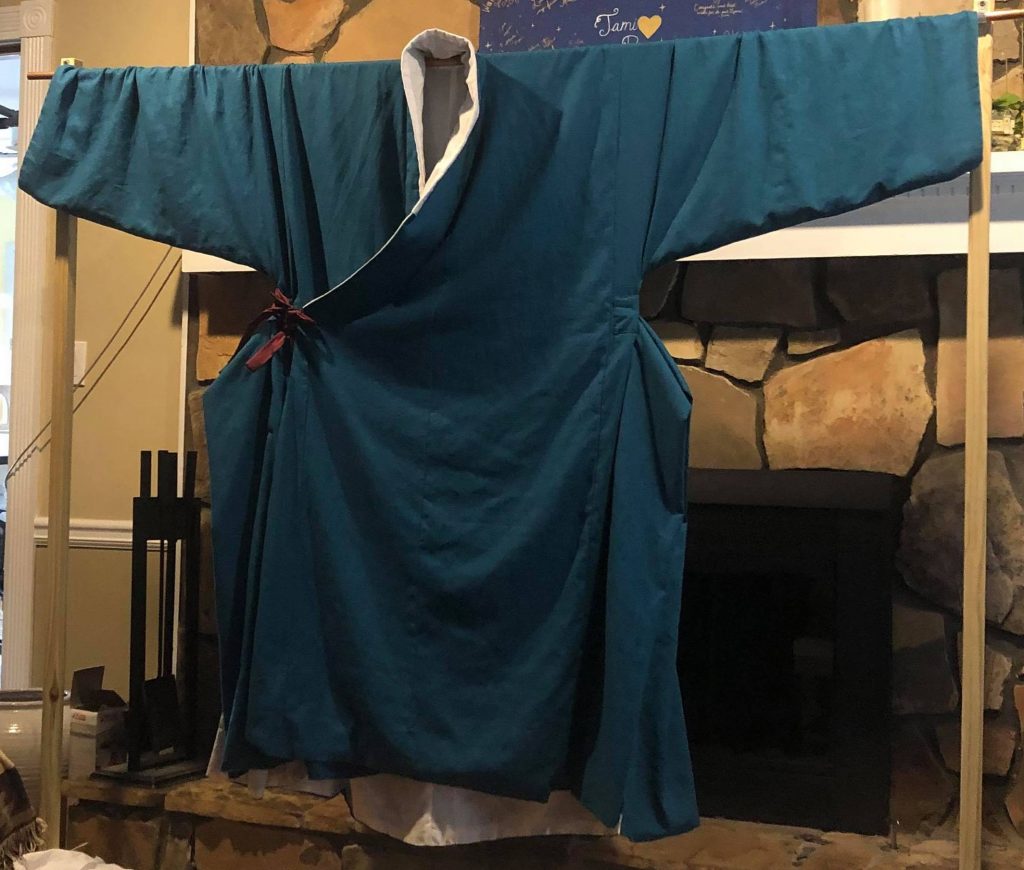
The jikryeong is now complete, but there are more accessories to add for the full outfit!
Seong Myeong Su Daegam provided a large amount of research and translation help with this outfit.