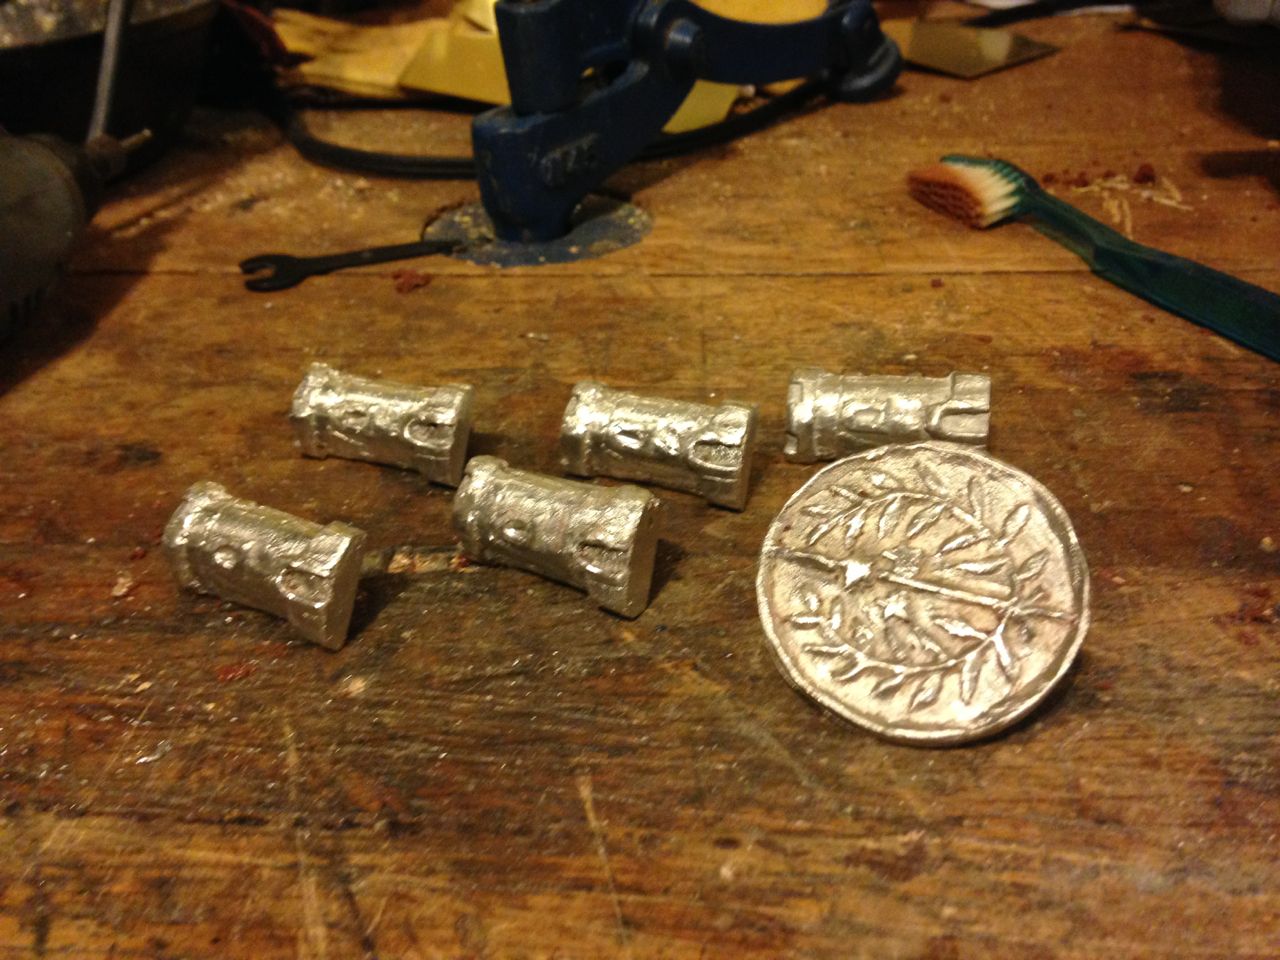
Recently the Baron and Baroness of South Downs announced they were planning to step down in the fall. Adela and I put our names in the running to succeed them, and we were the only ones to do so. While waiting for the actual polling and appointment to happen, I decided to take a statistically reasonable gamble and make us a pair of coronets.
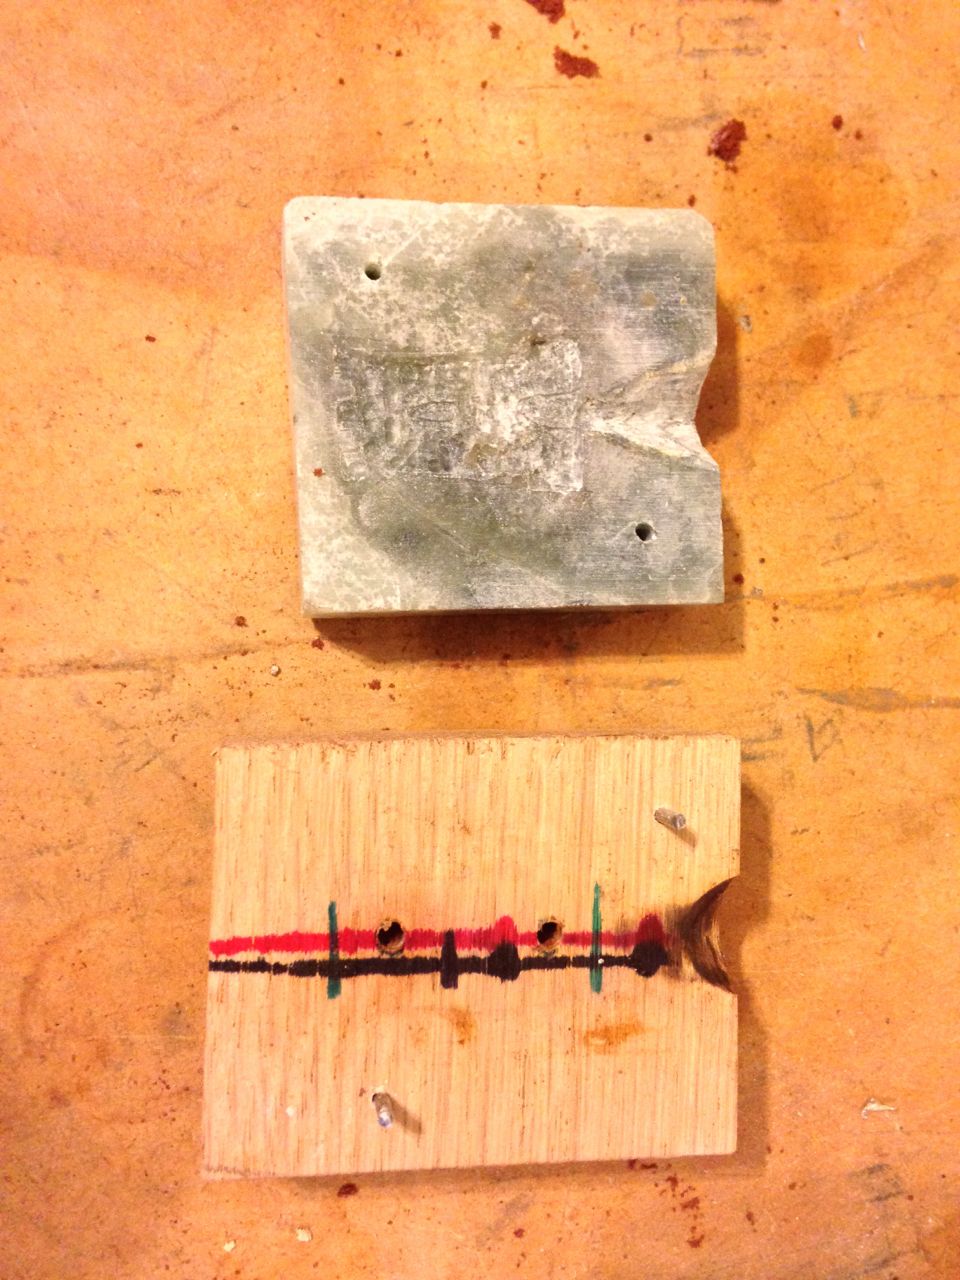
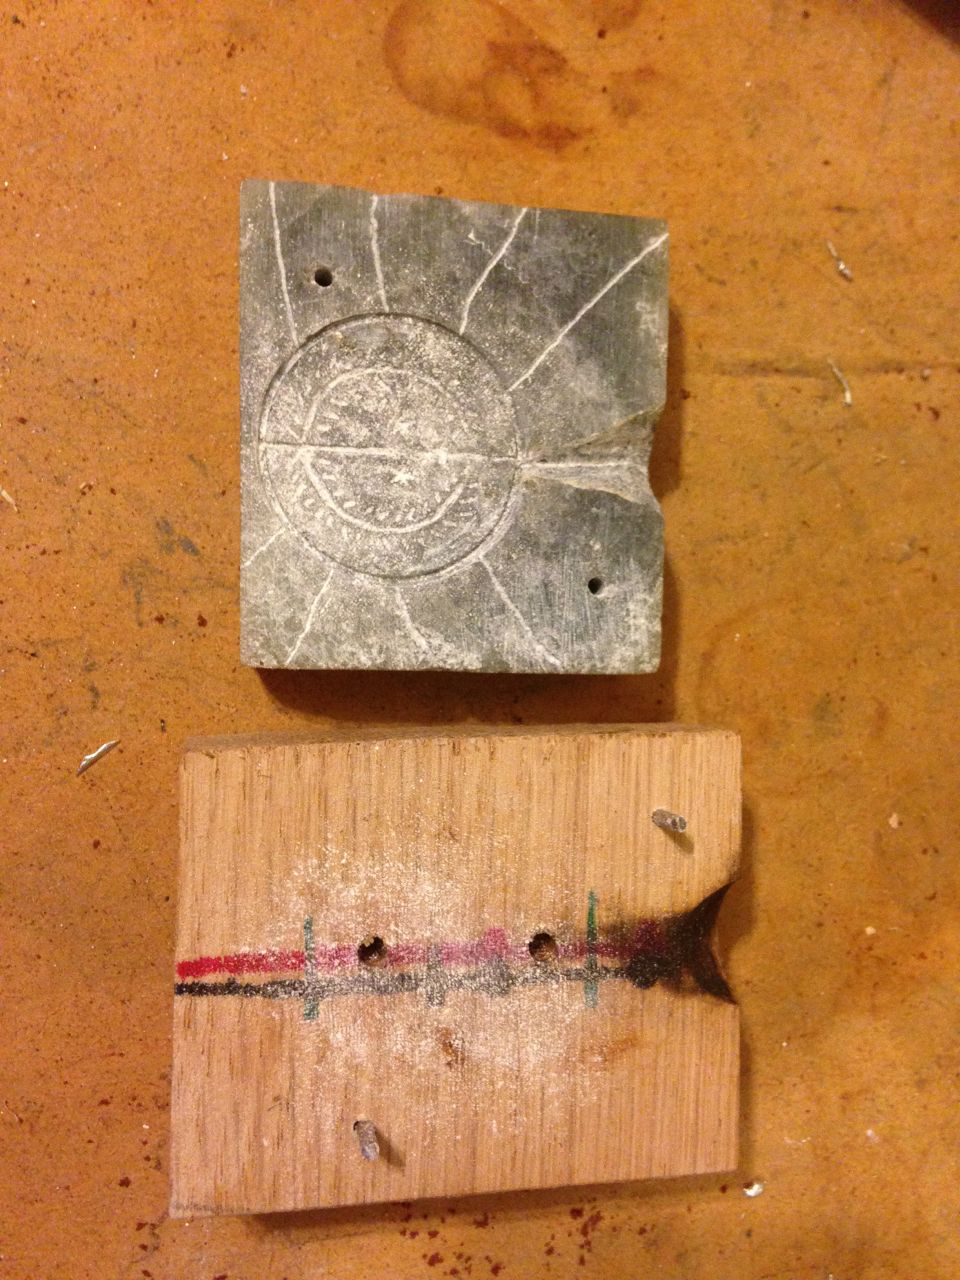
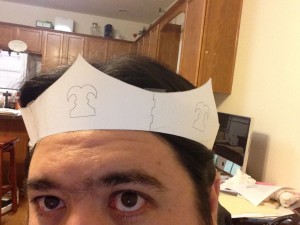
The first thing I needed to do was figure out the design I wanted. Considering the tools and skills I had at my disposal, my first thought was to build them out of hinged sections. I like the look of flared coronets, so I needed to work out how to get the shape I wanted. I did some math and came up with an Excel spreadsheet that would do the calculations for me. Once I had the basic geometry of the sections worked out, I printed out a paper version to see how it would fit.
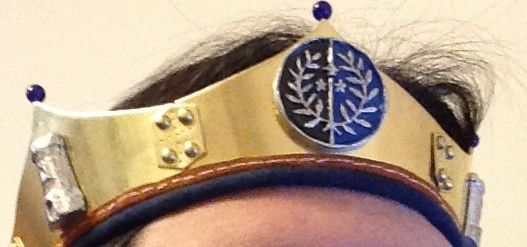
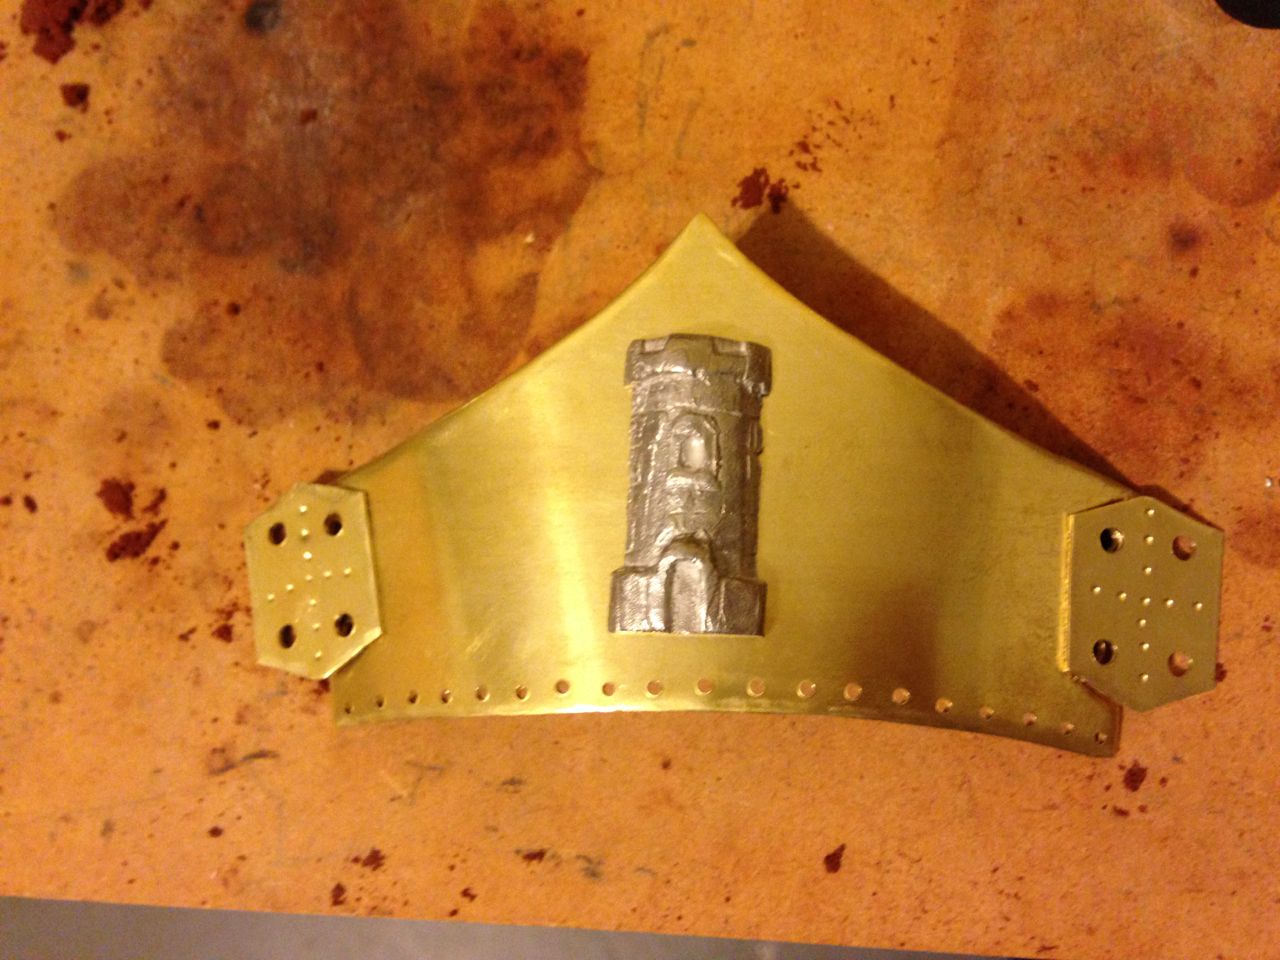
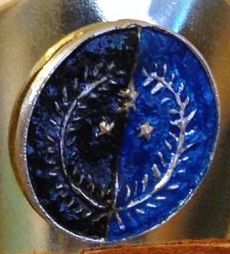
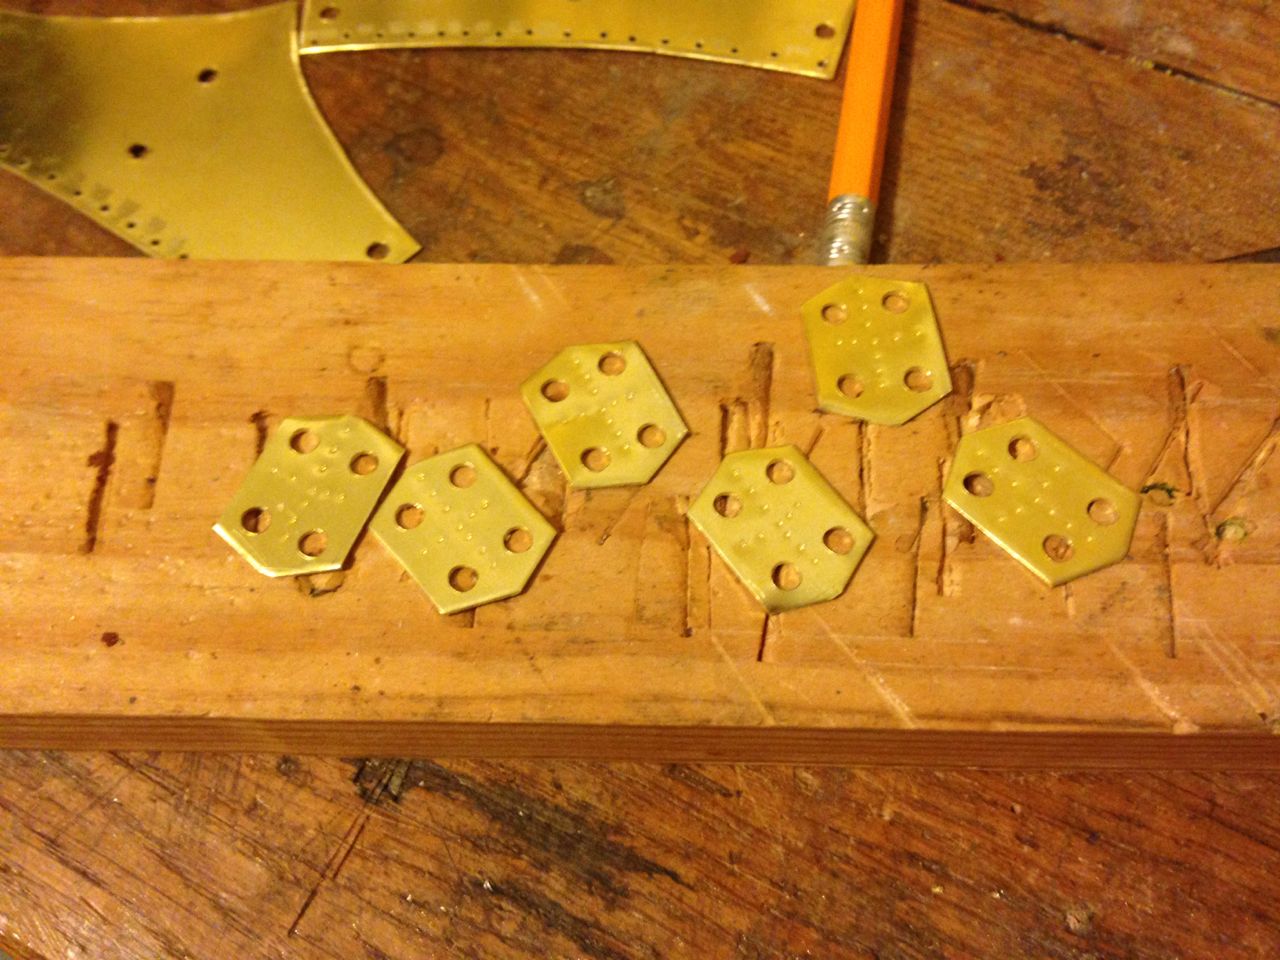
I cut the sections out of 0.032″ brass that I found at Hobby Lobby (I ordered 0.025″ brass for Adela’s on Amazon). I quickly realized that my initial plan to make hinges on the ends of my sections was really going to be more trouble than it was worth. Instead, I changed gears and decided to connect the sections with small plates and brass rivets. The final design can be seen here.
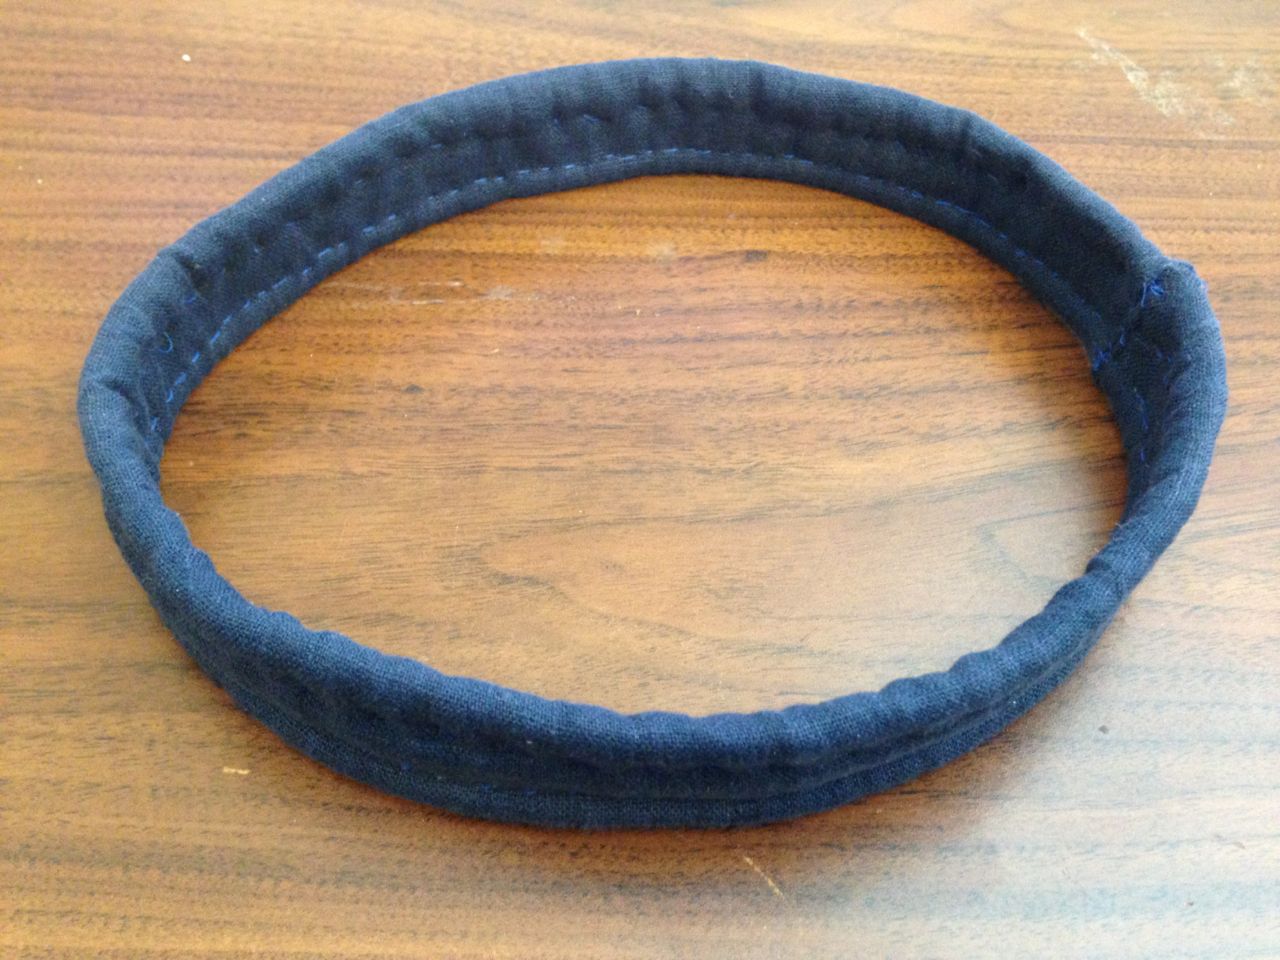
Rather than try to make a rolled edge on the bottom of the coronet, I drilled a series of small holes along the bottom edge of each plate and sewed on a strip of pigskin.
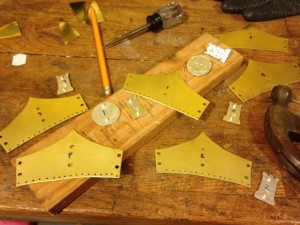
Sections cut and drilled
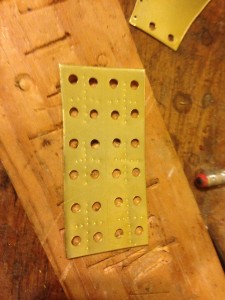
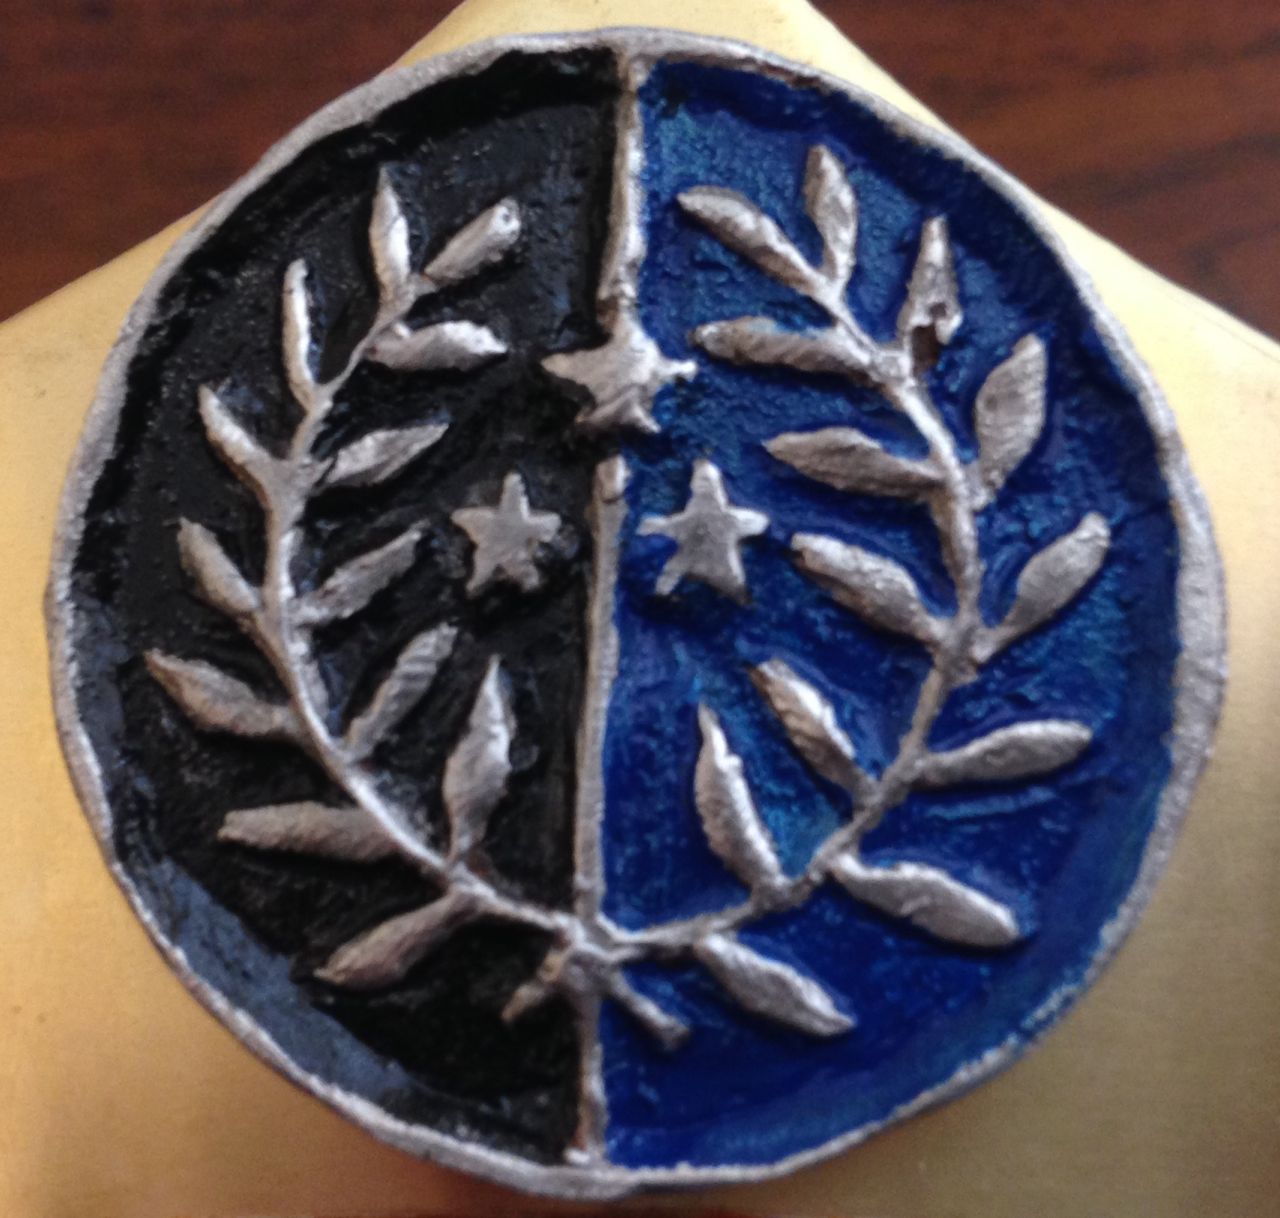
Brackets drilled and decorated

Brackets cut to shape