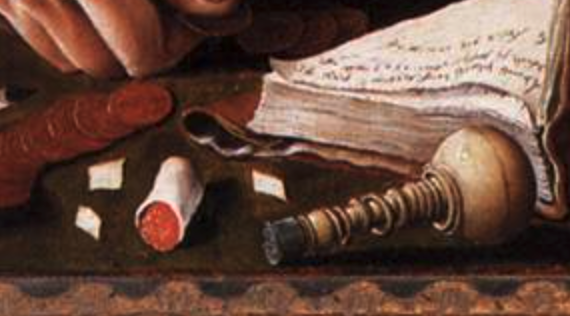
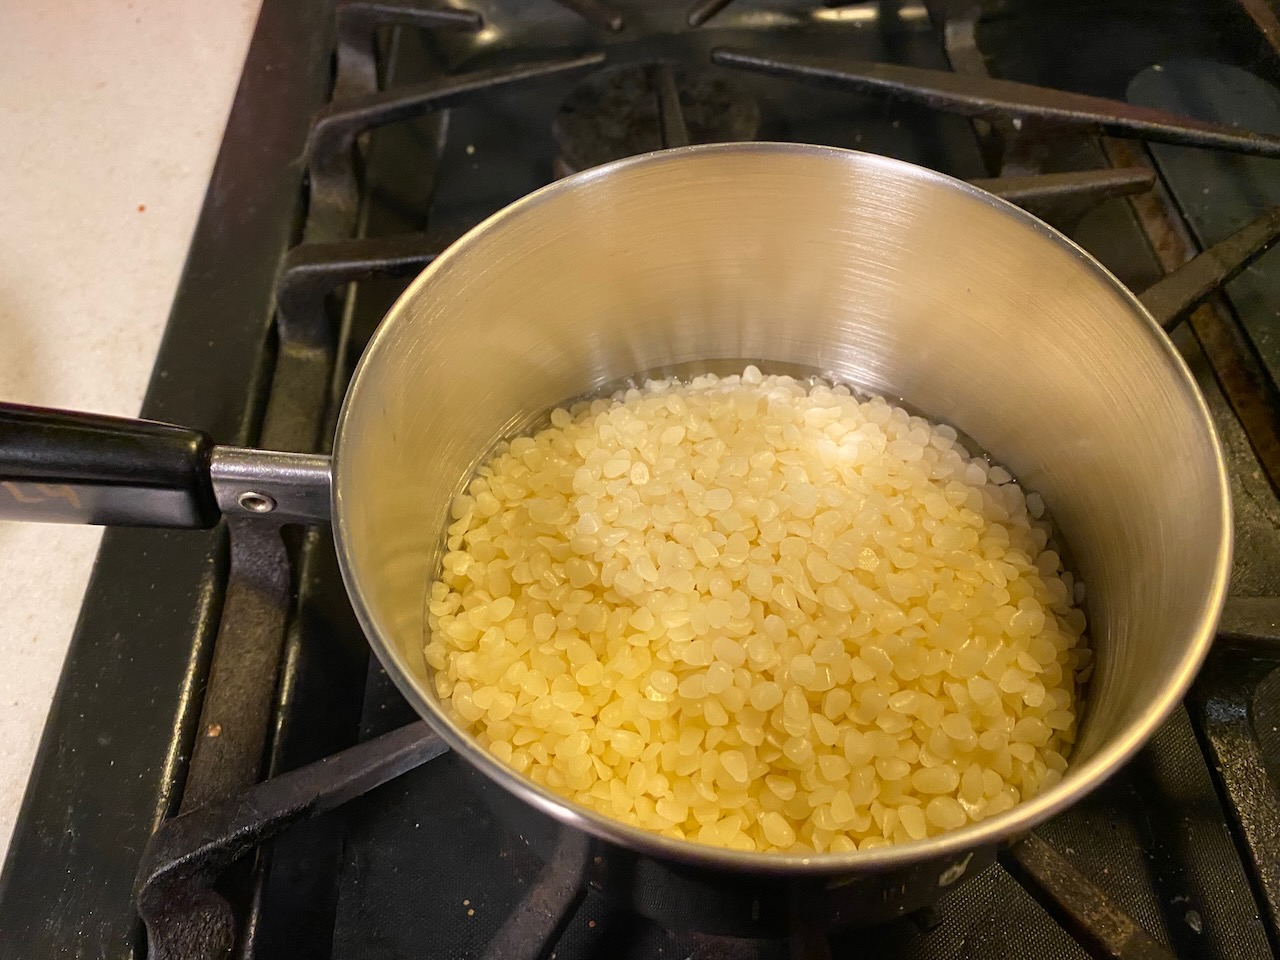
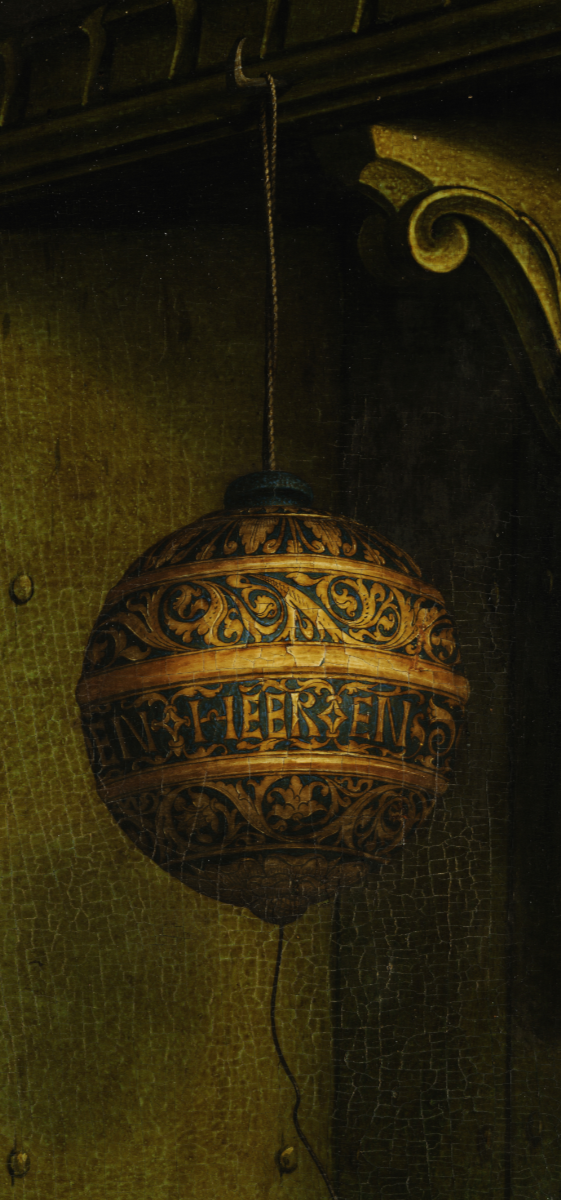
Some time ago, as a result of my sealing wax rabbit hole, I developed an interest in historical office supplies in general. There are a number of paintings and illuminations that depict these objects, but one of the best is Hans Holbein’s portrait of Georg Gisze from 1532.
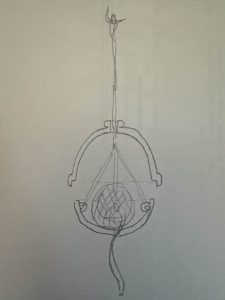
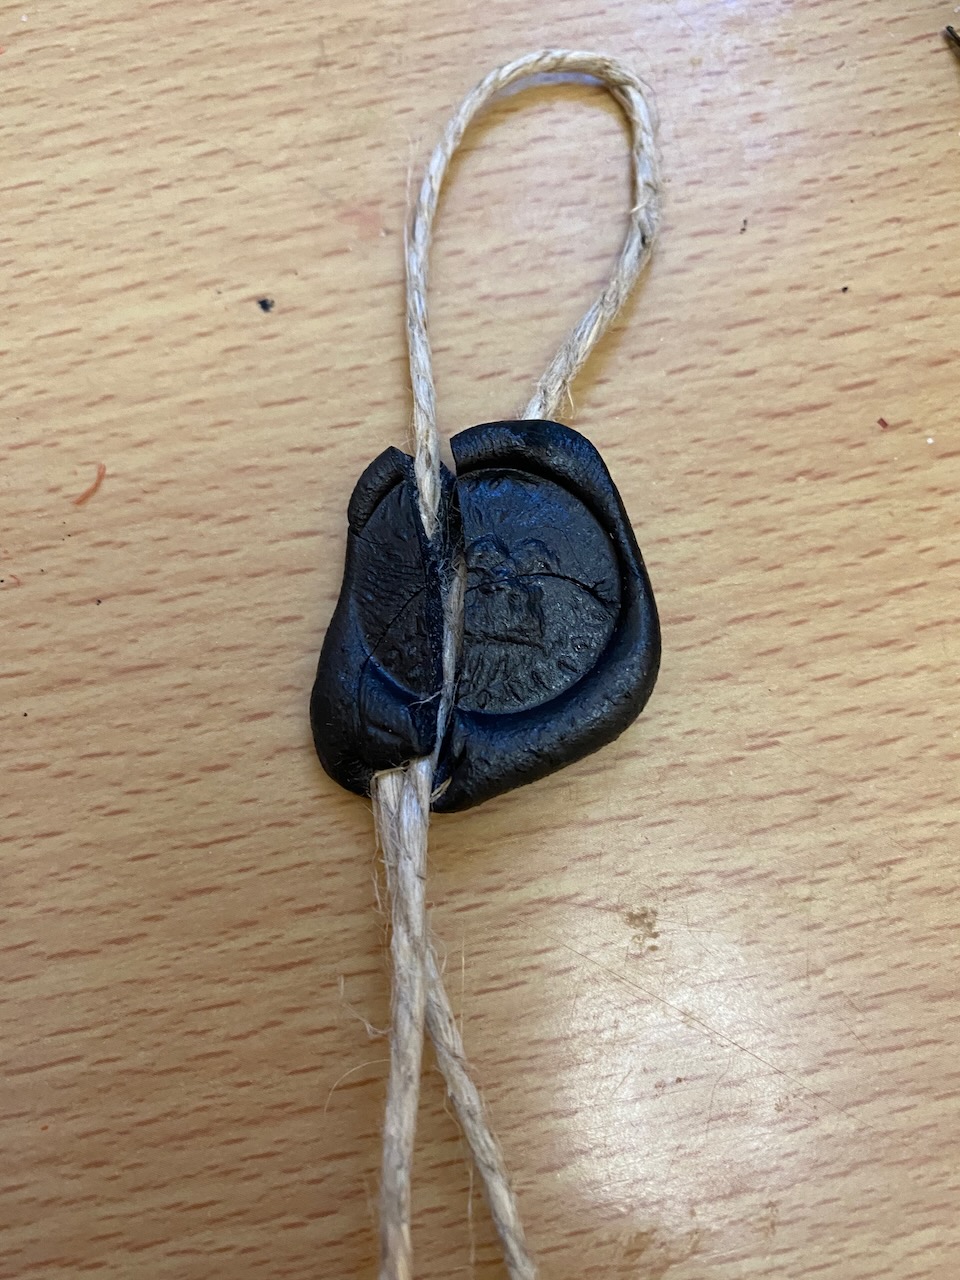
Most of the items are immediately recognizable, but in the upper right corner of the image is an ornately decorated orb hanging from a hook. I had no idea what this might be until I ran across a random web page that nonchalantly identified it as a string dispenser. Once it was pointed out it seemed immediately obvious, as there is a piece of string dangling out the bottom of it. String is an important tool in a time before adhesive tape and other methods of securing things. It was used, among other things, for collecting papers together. In fact, the word “file” comes from the Latin word for string.
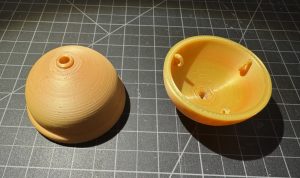
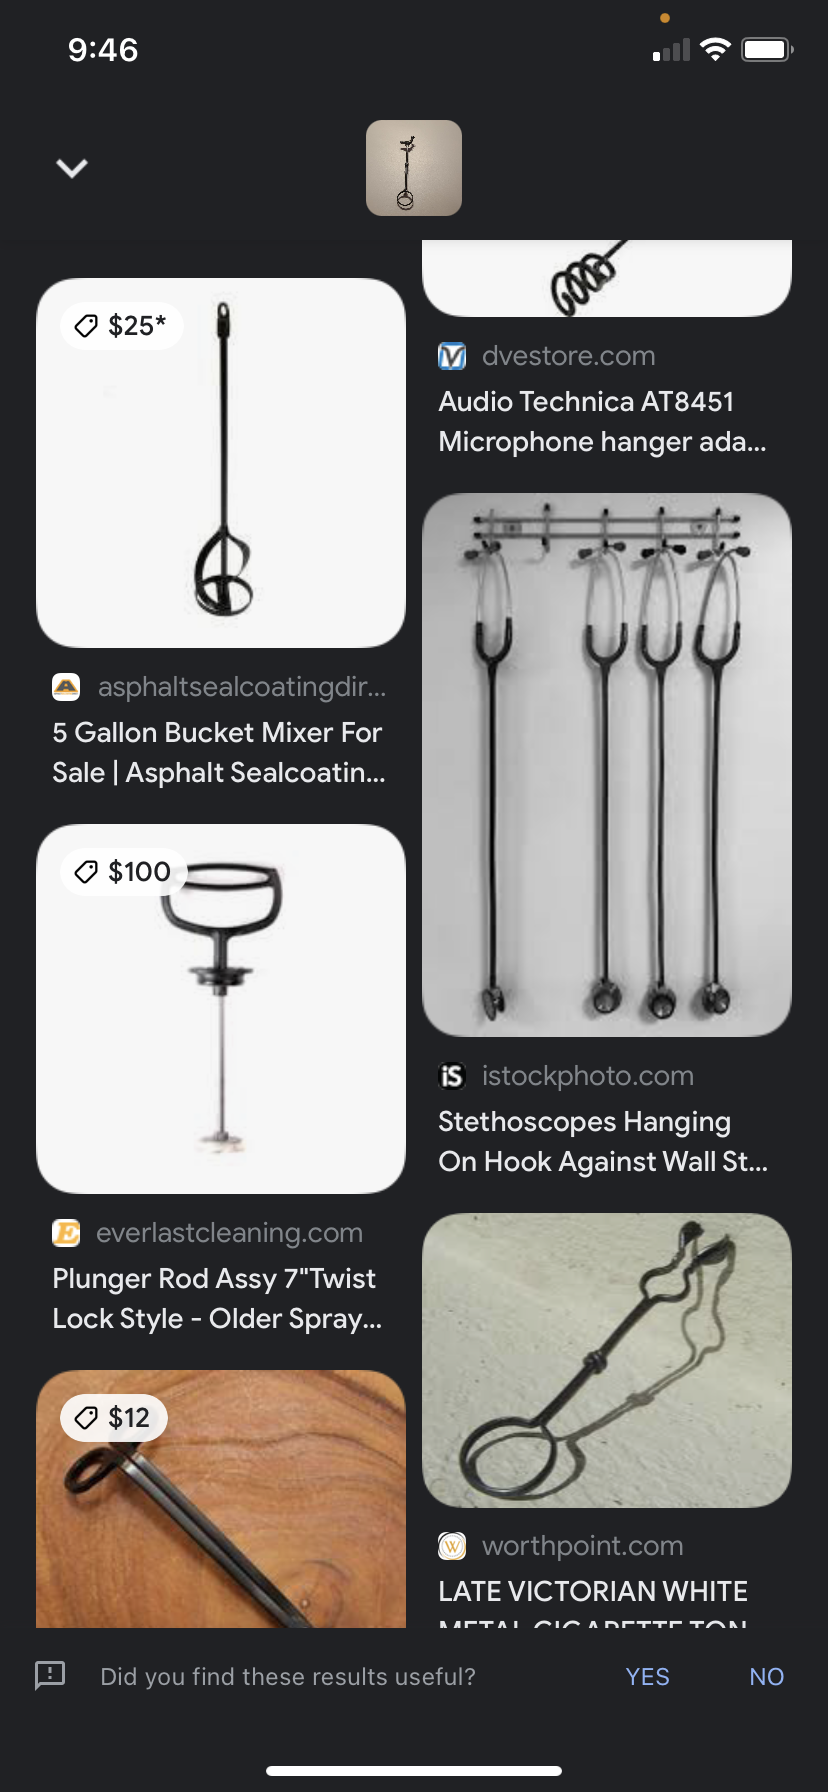
 I searched for more examples of string dispensers, and there are a number of 19th and early 20th century examples, often of cast iron, in both tabletop and hanging form factors. I had wanted one for my office supplies display for some time, but I wasn’t able to find the right sort of sphere to start from at a price point that was reasonable for an admittedly silly project. It finally occurred to me that I could just 3D print what I needed, and my friend Wenyeva was able to hook me up.
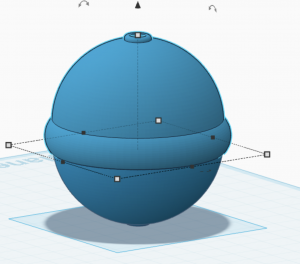
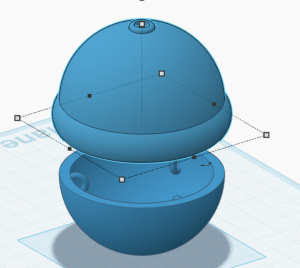
It’s not immediately clear how Gisze’s dispenser works, but it seems obvious that it opens into a top and bottom half. The string coming out the top must somehow support the bottom, so I surmised that there were some sort of hooks or lugs on the inside of the bottom half to secure the suspension string. This would allow the top to be lifted to refill the string. Following this path, I sent Wenyeva a drawing and soon I had it in my hands.
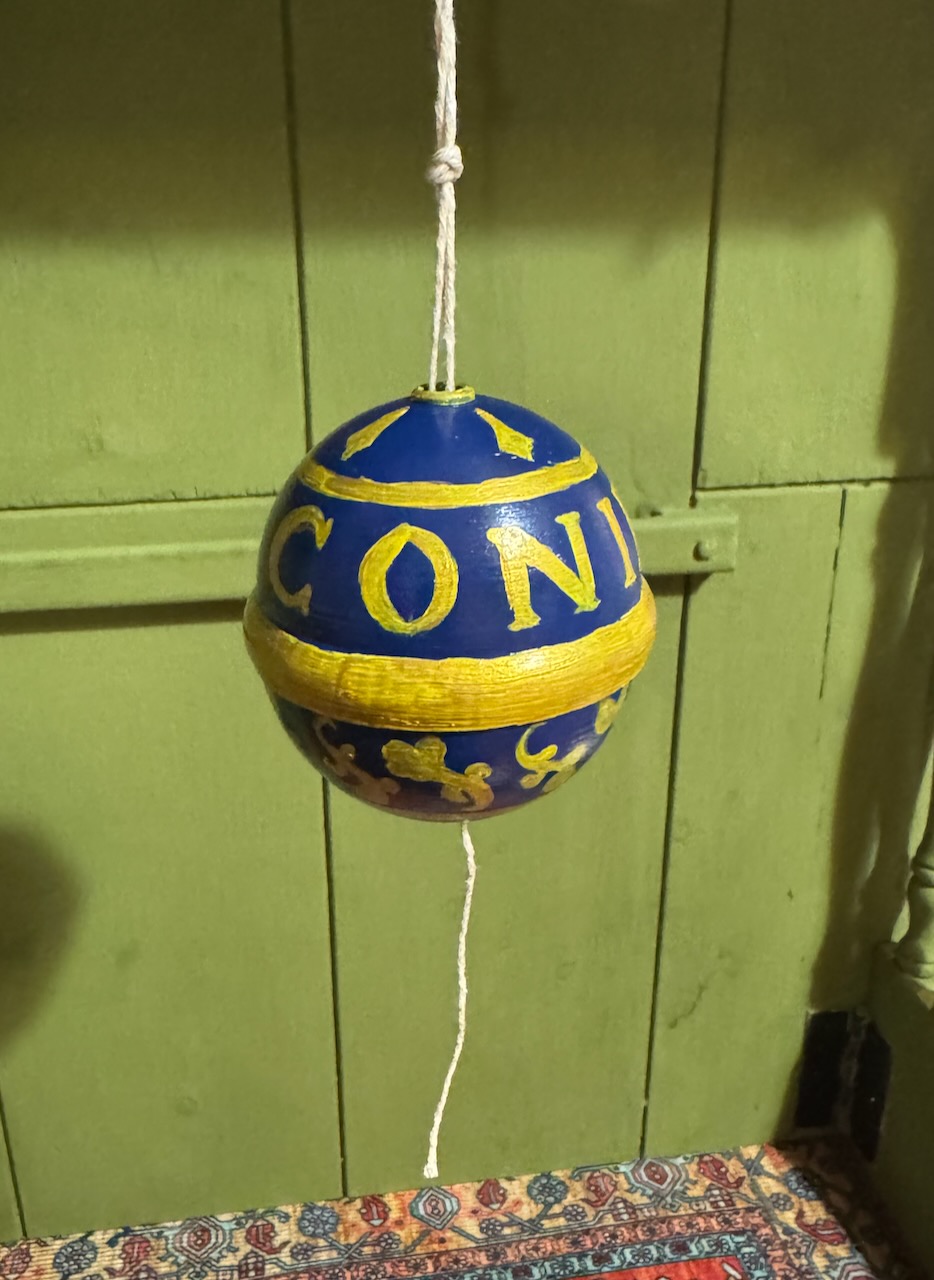
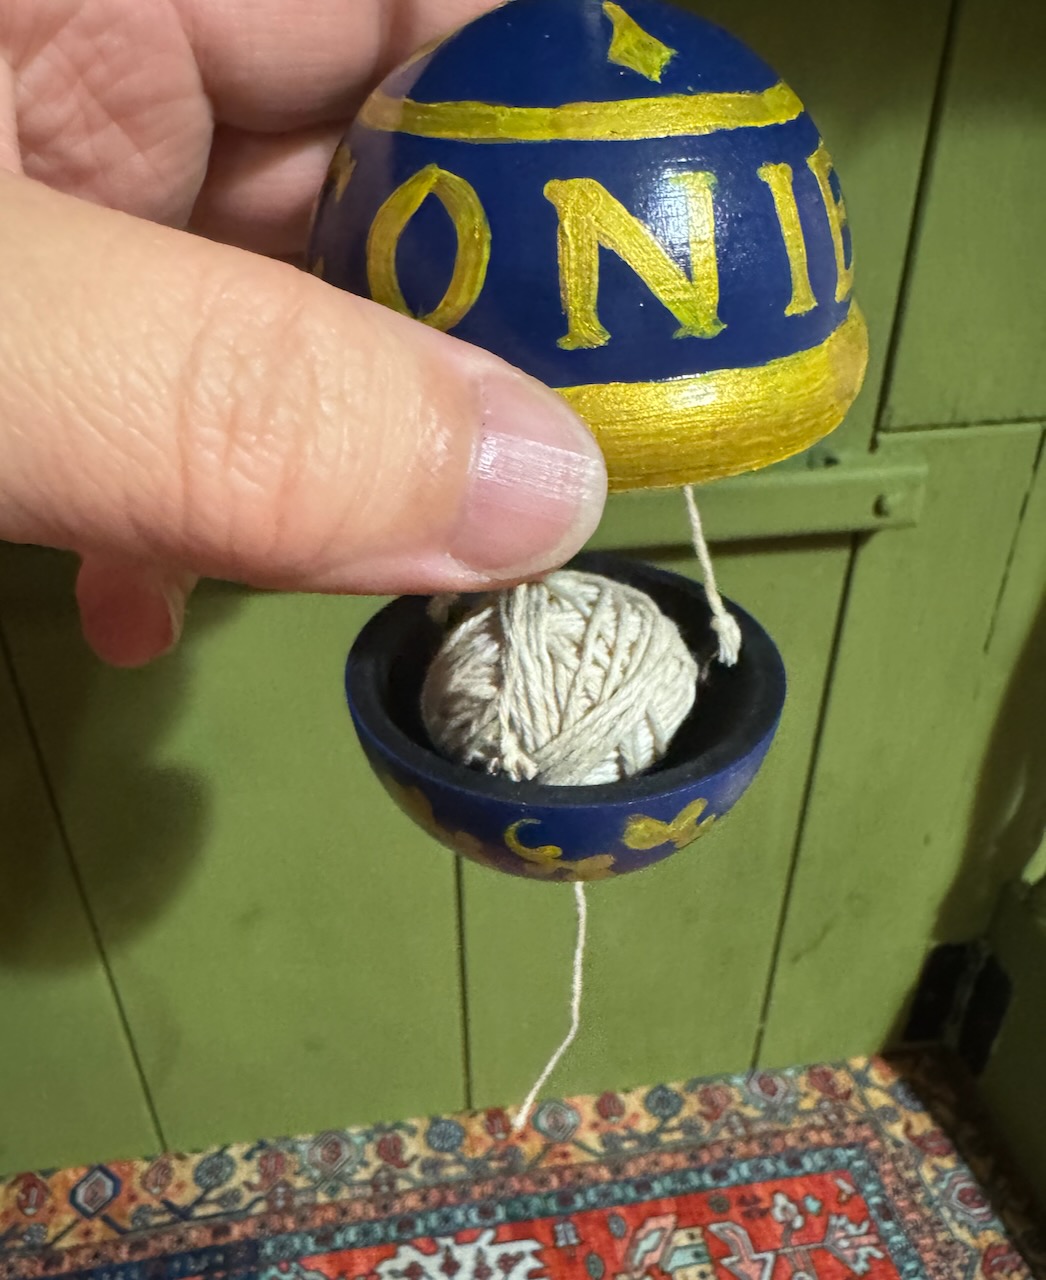
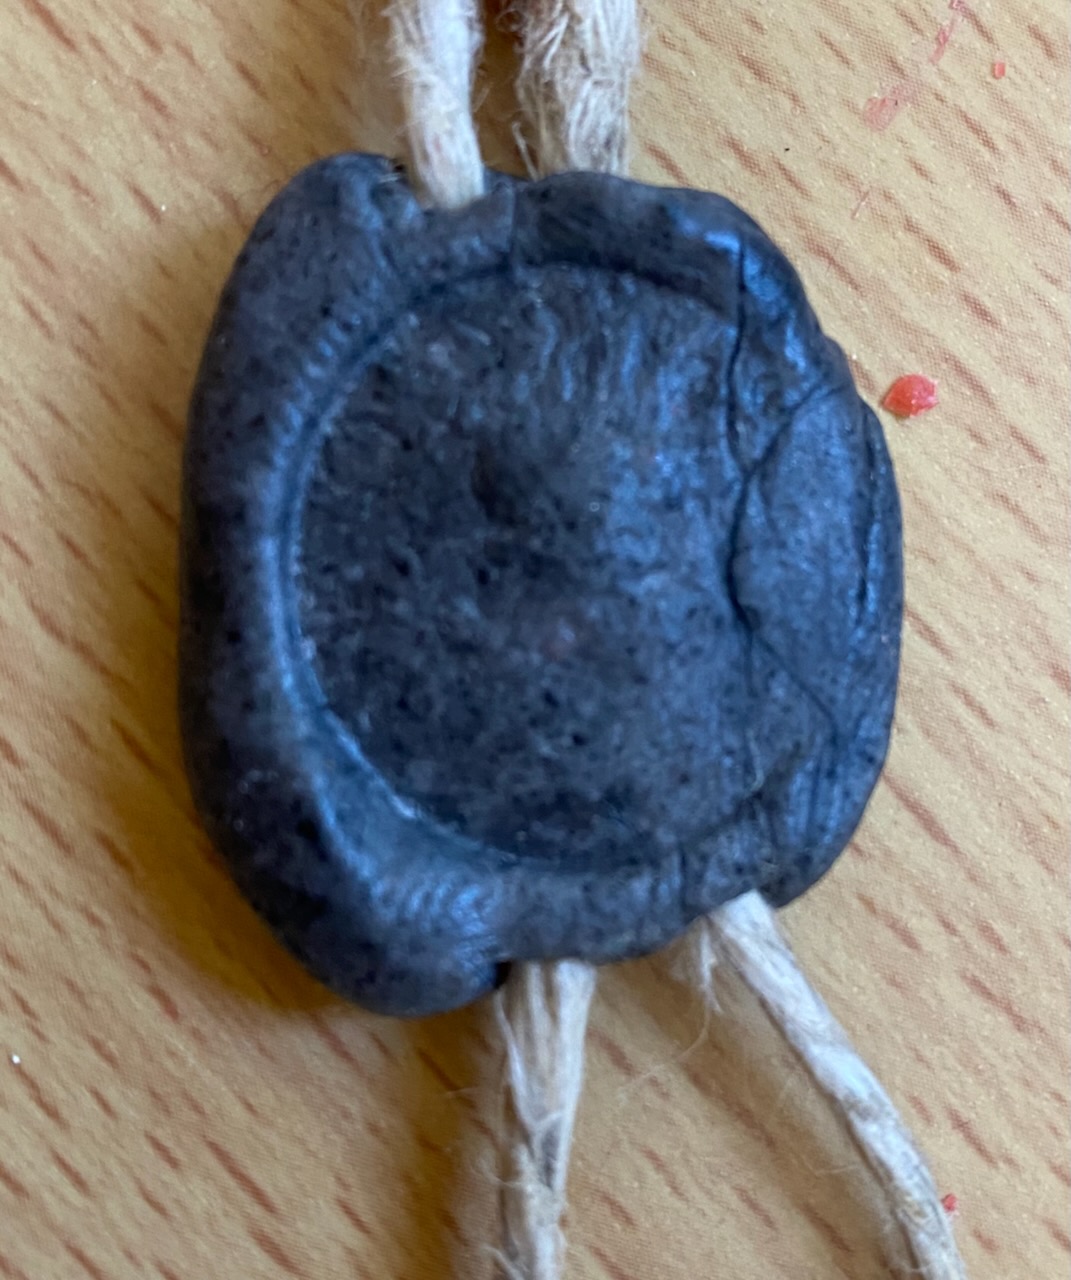
I sanded the print to try to remove the print lines, and then applied several coats of spray primer and sanded those as well. Then I did several coats of blue acrylic paint for the base color. The decorative parts were done with two coats of yellow acrylic and one of gold metallic. The letters around the top half read CONIECTURA, because this is largely a work of conjecture.