
Once the banner was dry, I cut it out just outside the gutta border. This also took quite a while, especially with a curious kitten nearby. I left the hoist end for last. Before cutting it, I tacked down a length of twill tape. Then I cut the silk off flush with the tape, folded it over, and sewed it up on the machine. Five more pieces of twill tape were cut, folded in half, and sewn down for ties: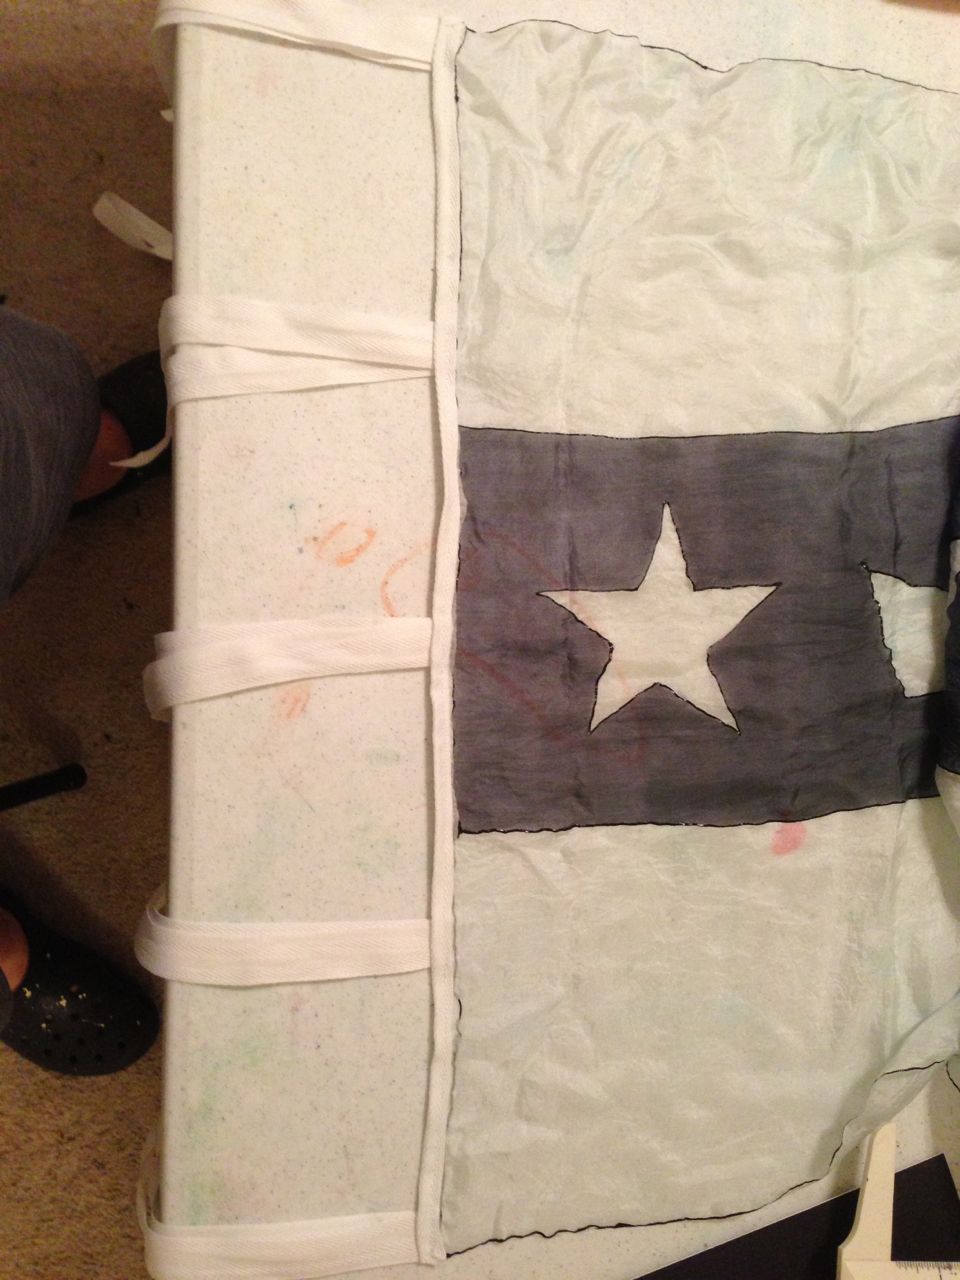
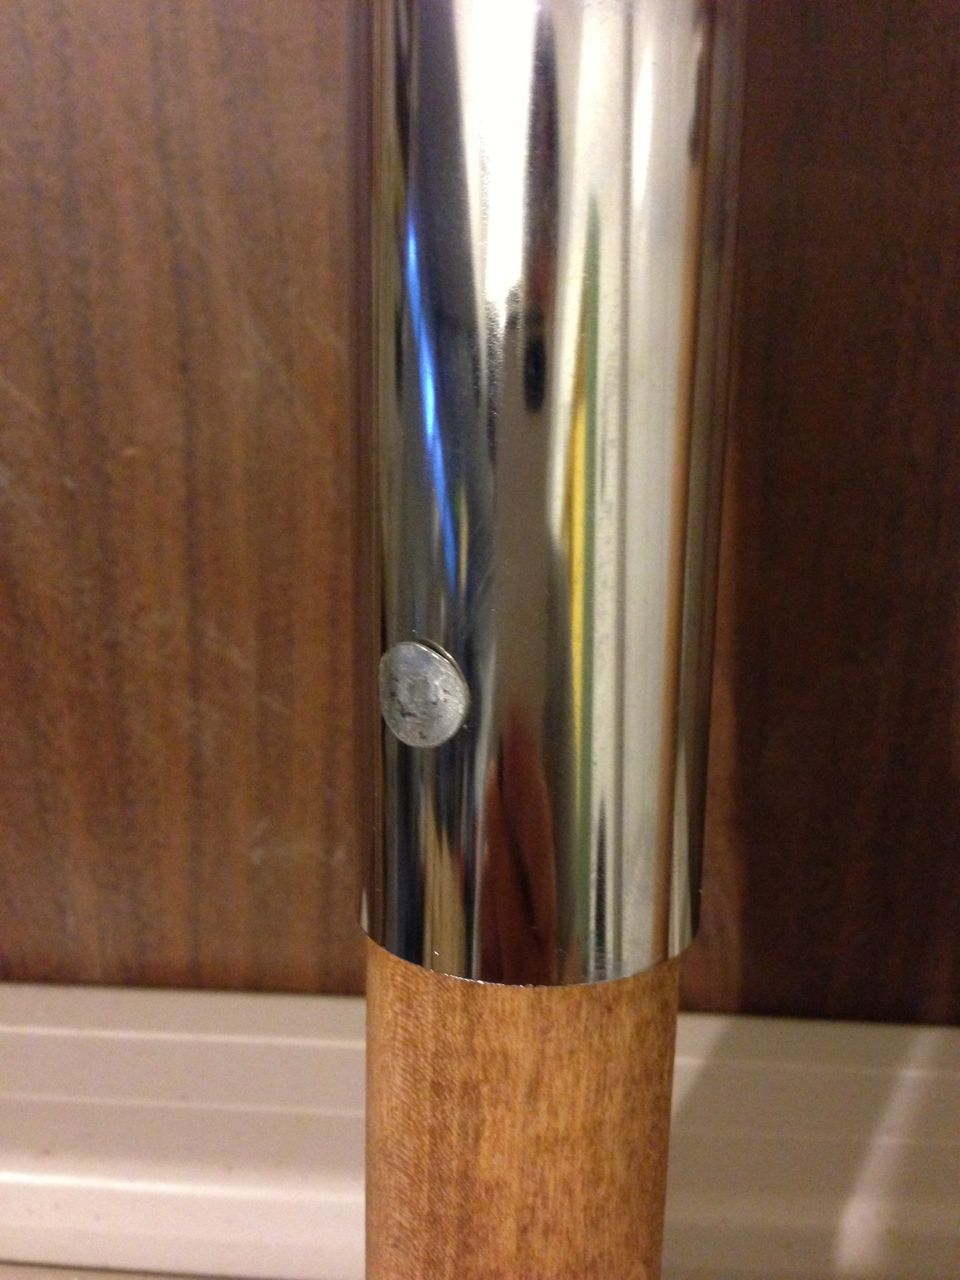
 The final part was the pole. I had originally planed a much longer pole, but one of my expert advisors said that ten feet was sufficient. I procured a 10′ piece of 1 1/4″ diameter poplar, cut down to 5′ lengths, and applied a coat of tinted polyurethane. I searched around for something to make the connecting sleeve with, and eventually found a 1 1/2″ chromed brass drain pipe that was just the right length. Here you can see both sections of the finished pole:
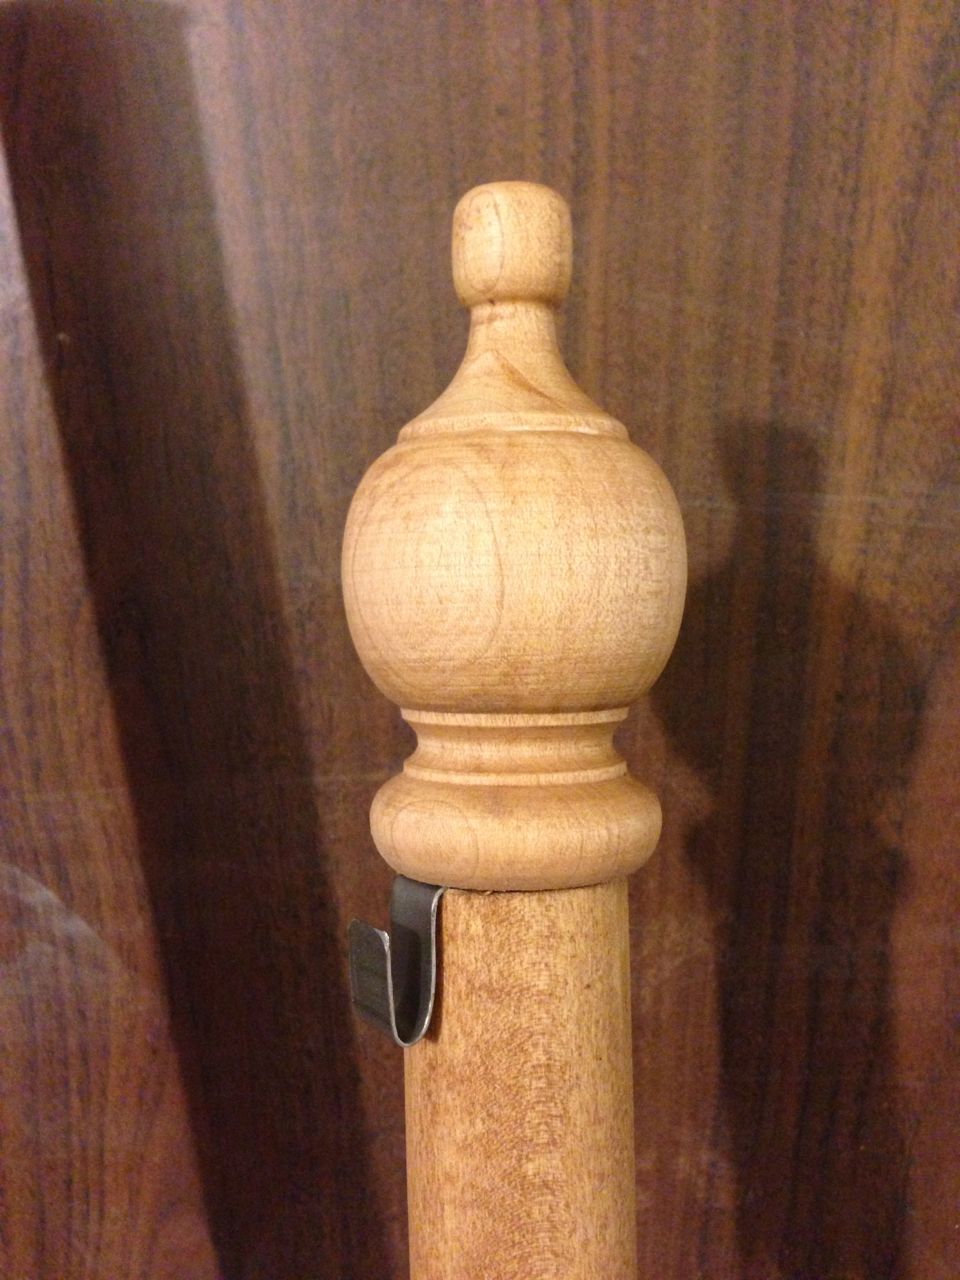
 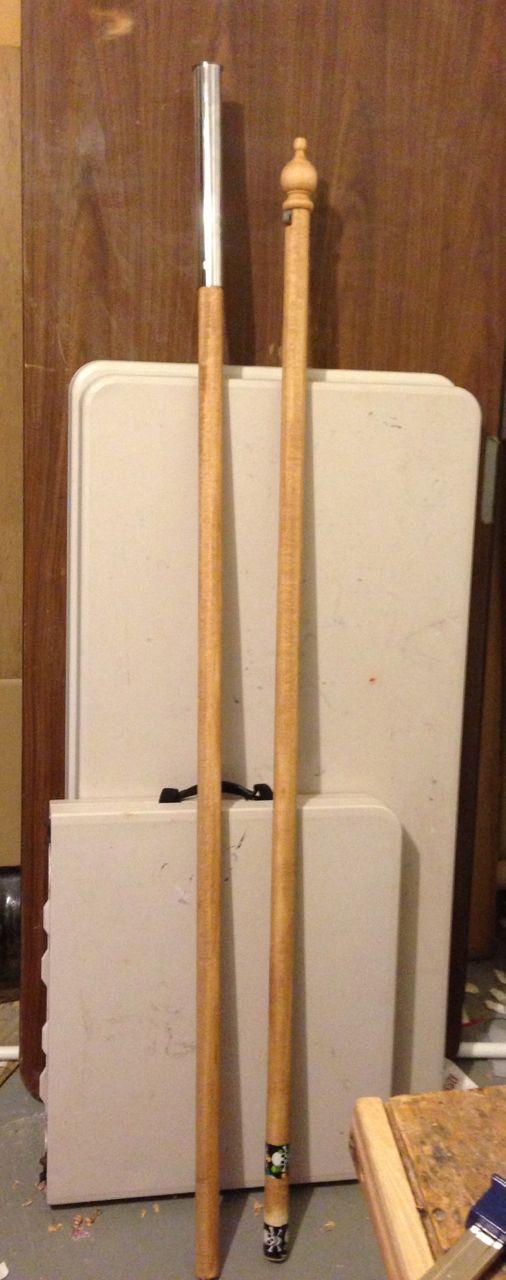 The sleeve was just a touch too big for the pole, so I wrapped a few turns of duct tape around the top end of the lower pole. This made a very snug fit, but just to be sure I drilled a hole and put in a galvanized nail to keep everything together. I also put duct tape on the bottom of the upper pole, but not so much that I couldn’t get it back out easily. I may add a retaining pin or bolt later, but for now I’ll just leave it as is. For the very top, I got a screw-in finial (If I had more time I would turn my own, but I doubt I’ll get lathe access before war). I wanted to make sure the banner wouldn’t slide down the pole, so I made a little hook out of some scrap 22ga steel left over from casket hardware. I drilled a hole in the end of the hook so the finial would hold it in place. That should be enough to hold the top tie in place when it goes on the pole.
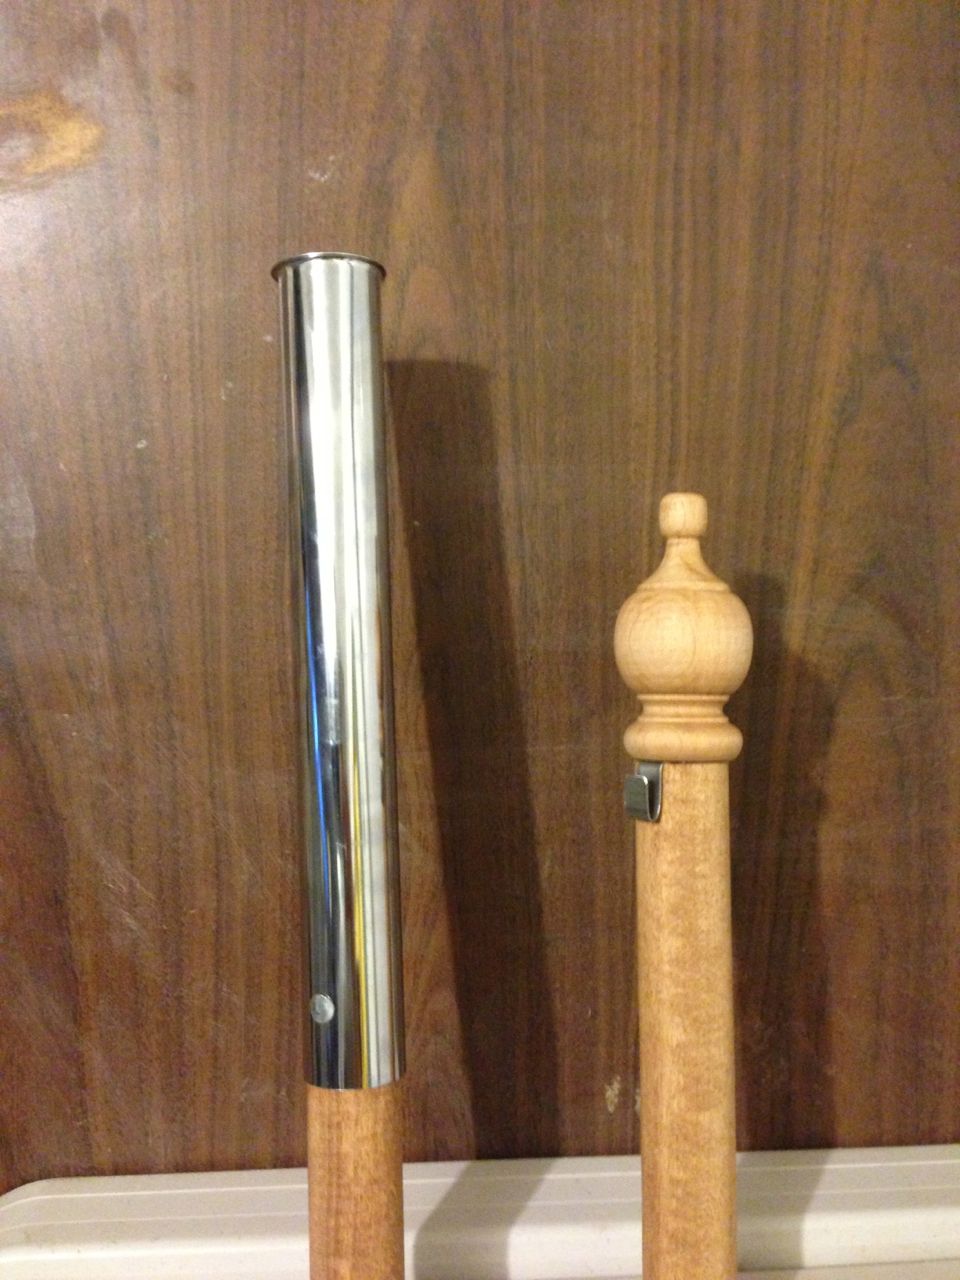

Tag: banner-lorenzo
Silk Banner: Painting
The next thing I needed was a frame to stretch the silk on. I had an idea in my head and hit the Home Depot to get the parts. I was planning to make a 2′ x 9′ banner, so I wanted a 3′ x 10′ frame. I found 3/4″ PVC pipe in 10′ lengths, and the nice lady at the HD cut it to the lengths I needed right there. I wanted it all to break down into small enough pieces to go in the car, so I got two 5′ lengths for each long side of the frame, two 3′ lengths for the ends, and six 3′ lengths for legs. This would put the frame at a nice working height. The long sides were connected with a “T” connector, with a leg holding up the middle. I wasn’t able to find corners that had 3/4″ sockets on each point, but I found them with 3/4″ sockets on two points and a threaded socket on the other. There were threaded connectors that fit into that and had 3/4″ sockets on the other end, so that ended up working out in the end. If you look carefully in the later pictures I think you can see how it all goes together. To stretch the silk, I got a bag of rubber bands and two 12-packs of 3/4″ binder clips. I wasn’t sure if that would be enough, but I think it worked out. Serafina had offered her new house for a weekend household workshop day, so I figured that her basement would be an excellent place to do the painting. We set up the frame in a room that was just barely big enough to hold it: 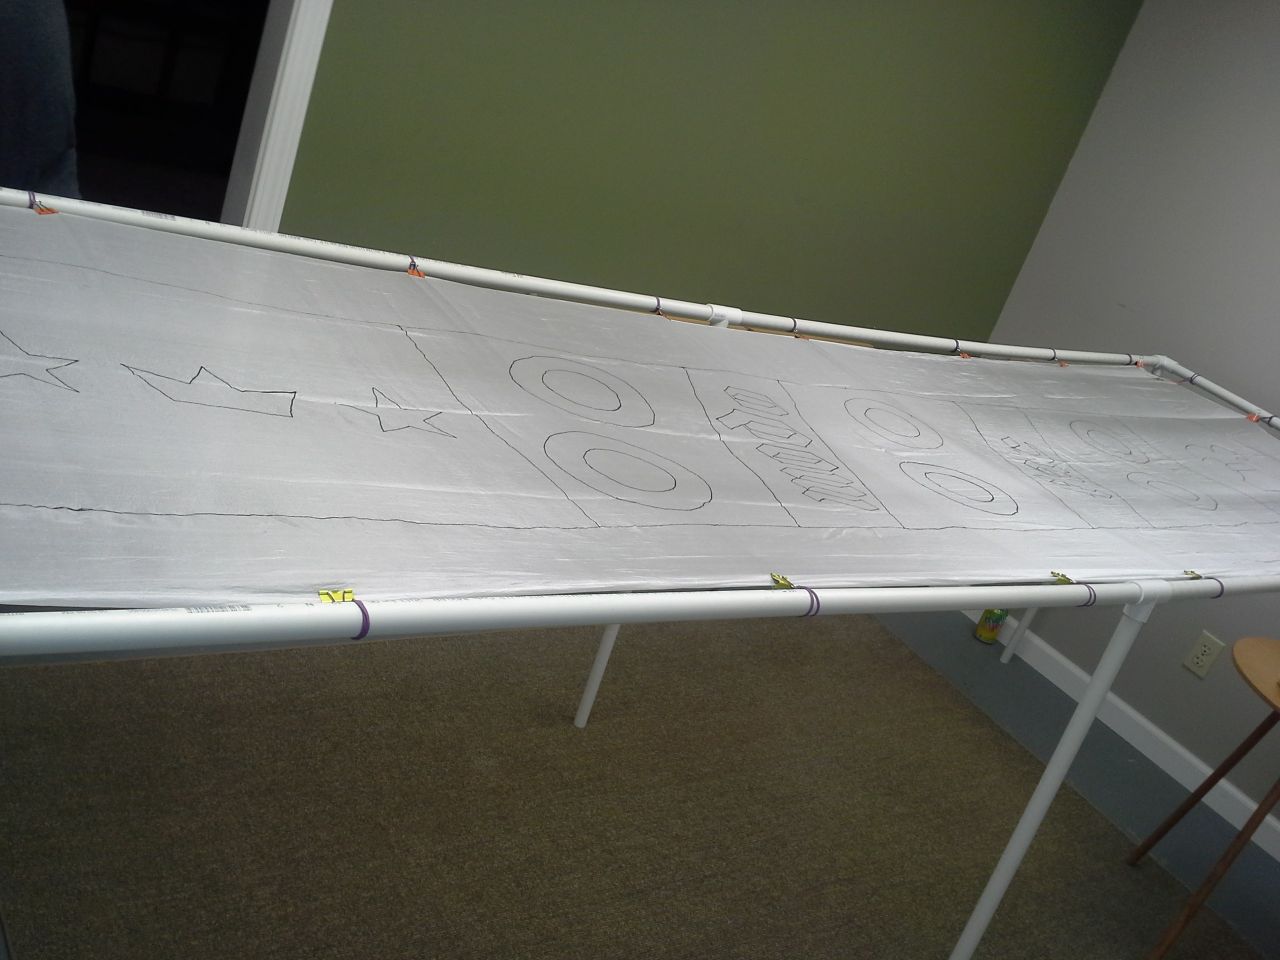 Once the silk was stretched out, it was time to start going over the design with gutta. Serafina had gone to Dick Blick to get dye, but was only able to find fabric paint. We took a field trip to Binders, where we were able to find a kit that had all the stuff we needed. Thus armed, we got ready to apply the gutta, only to find that the gutta in the kit had congealed into a gummy mass. As luck would have it, the “3D paint” she had gotten on her first run was pretty much the same stuff, and black, to boot:
  We started at either end and worked toward the middle. Following the lines was much harder than we thought it would be. There was a lot of “it’s okay, it’ll be 20 feet in the air and flapping” going on. Applying the dye was pretty much the easiest part. There were a couple little whoopsies where we went outside the lines a tiny bit, and one near-disaster when I tripped while holding an open dye bottle, but mostly it went smoothly:
 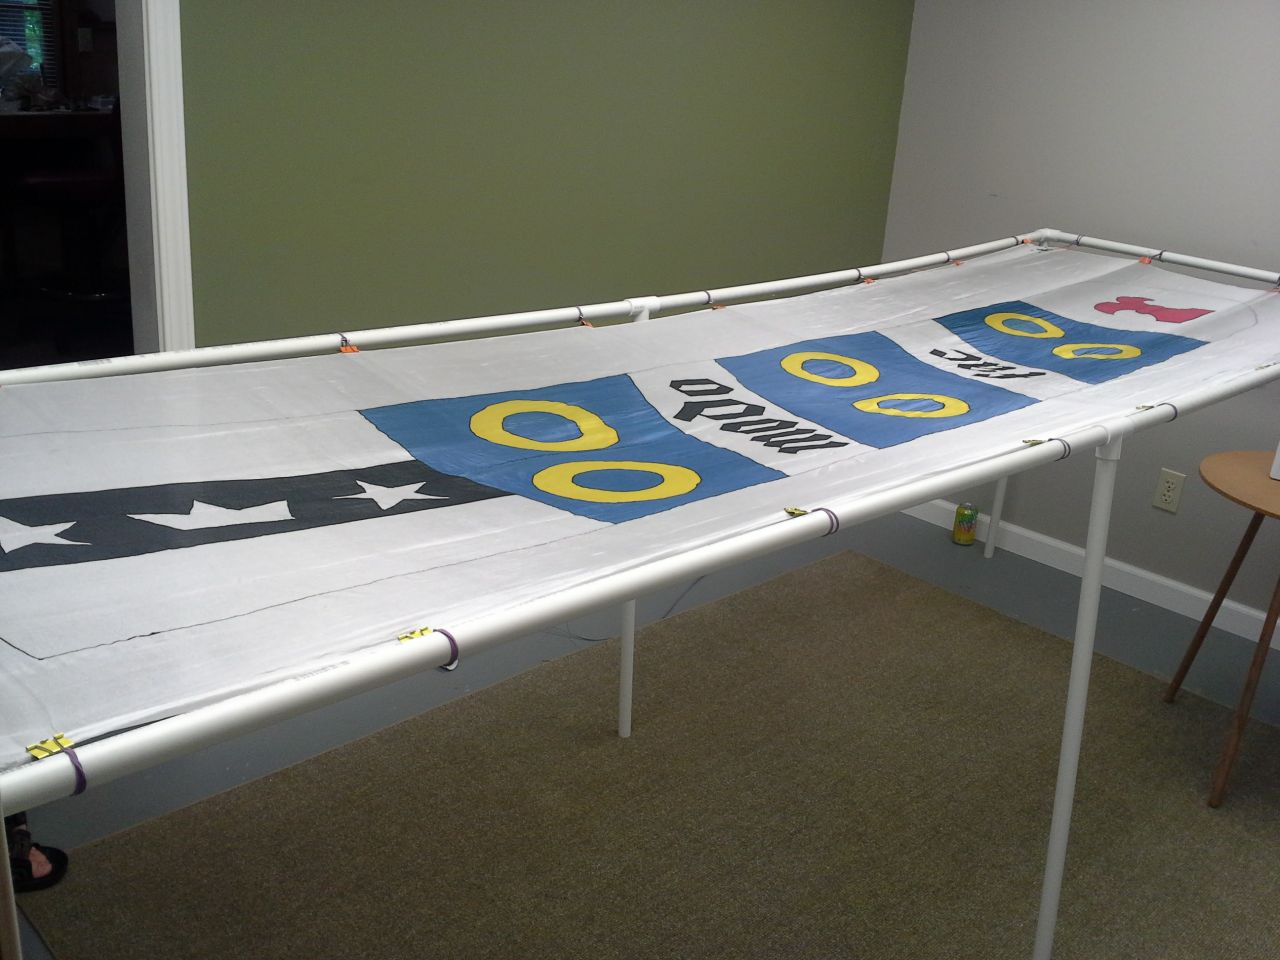 Here you can get a better look at how the silk was attached to the frame:
 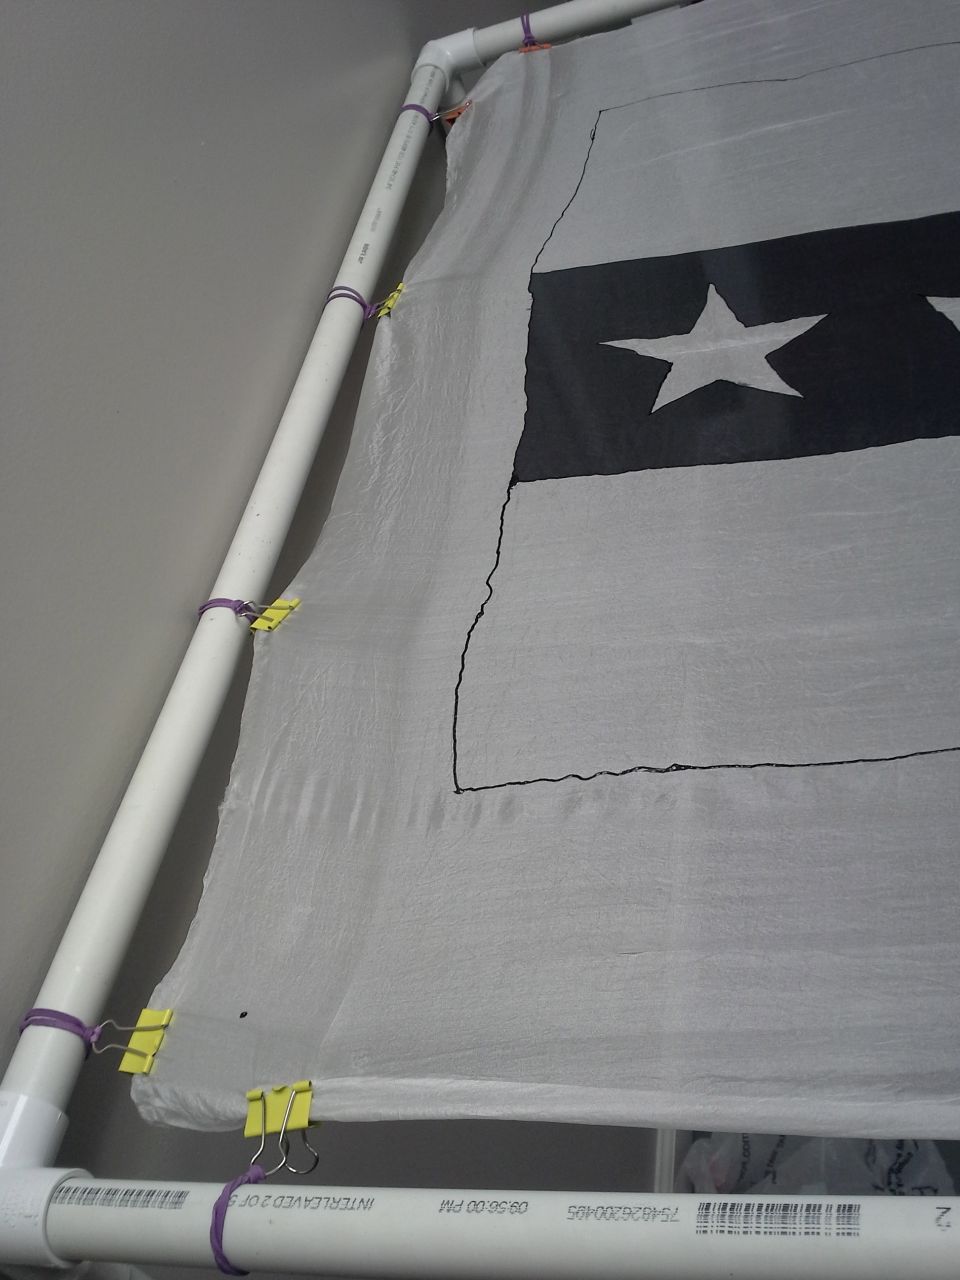 It was getting pretty late by the time the painting was done, so I took the banner home and did the dyeset rinse the next day. I would not recommend this, as there were some faint greenish marks on some of the white areas, which I presume was transfer from when it was folded up. Nothing really terrible, but something to avoid for next time.
 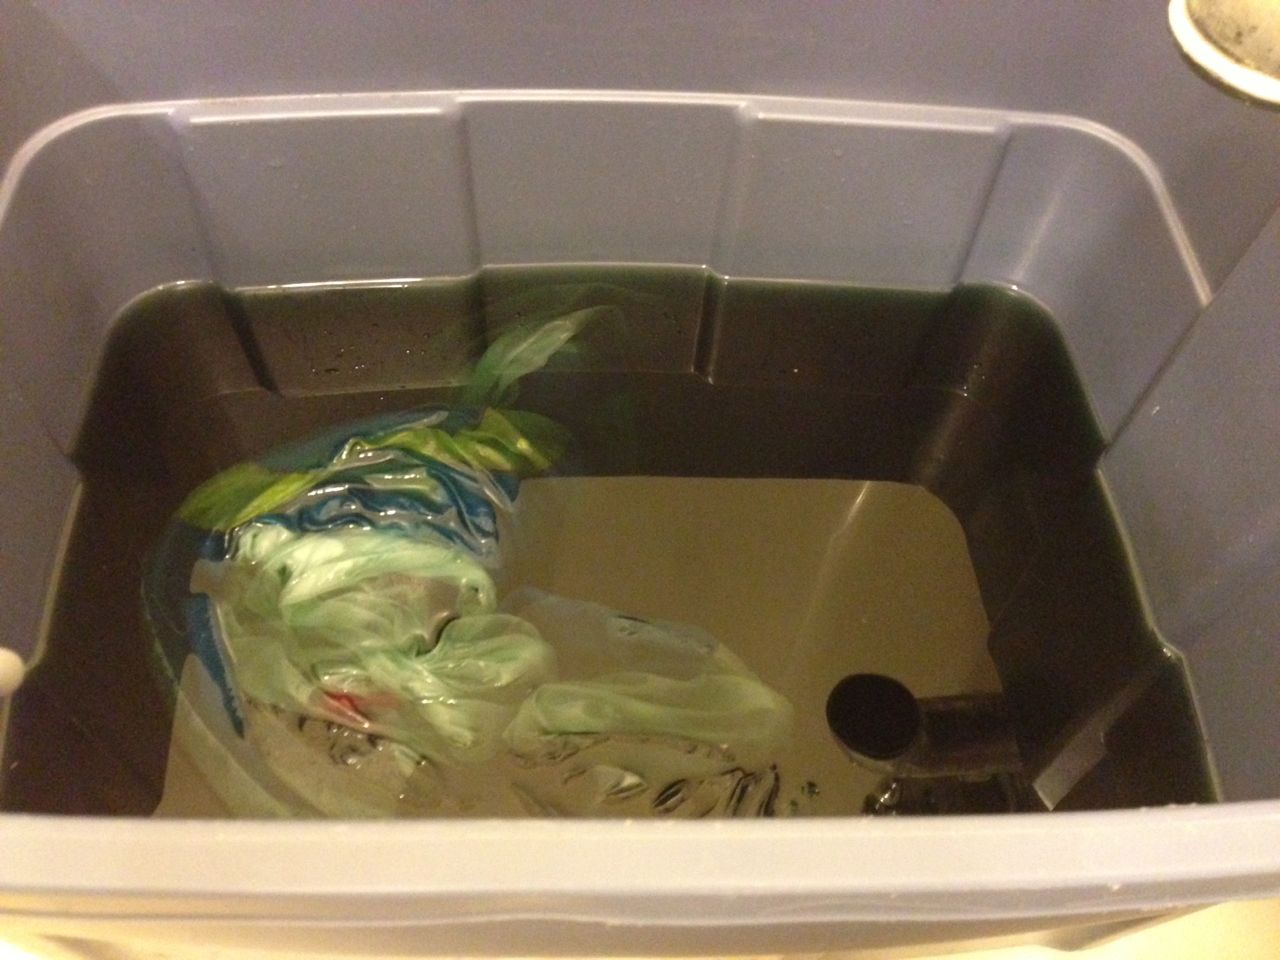 After the rinse and wash, the colors were a bit faded, but still plenty visible:
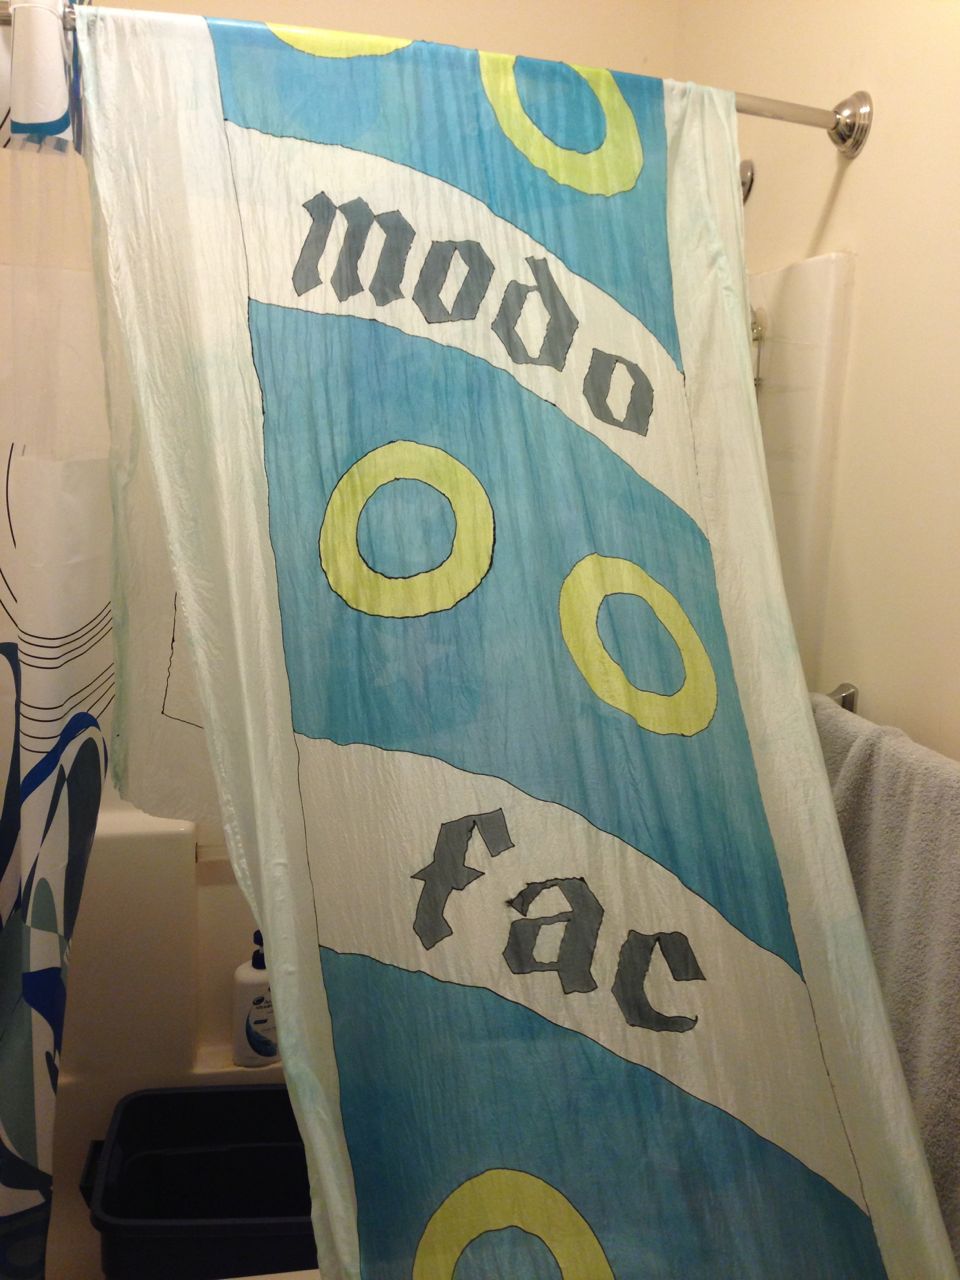
Silk Banner: Design
I have been wanting a silk banner (standard) for years and years, but I’ve been putting it off. I finally decided that it was time, so I could have it for Pennsic. We’ve had a pile of silk for ages (from Dharma Trading, I would guess), so that part was already taken care of. I’d worked out a design sometime last year, and tweaked it a bit to come up with my final plan:

The motto was the translation I found on the interwebs for “Just Do It” (Google translates it back as “only make”, which is close enough).
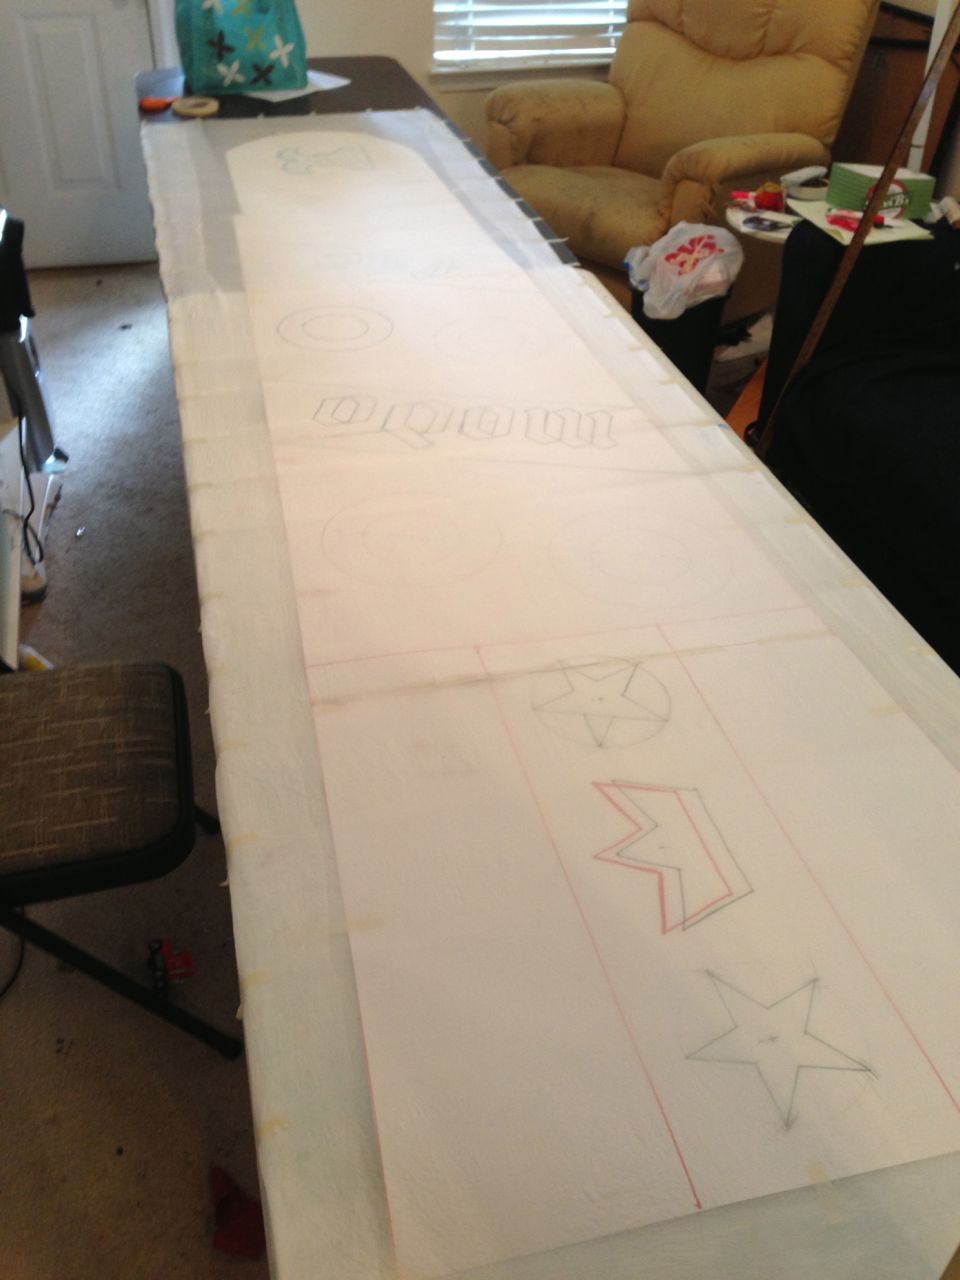
I originally thought I was going to lay the design out directly on the silk, but reason intervened and I did the layout on paper instead. Three sheets of poster board and two sheets of charcoal sketch paper gave me just enough room to work out the design across a couple of folding tables:
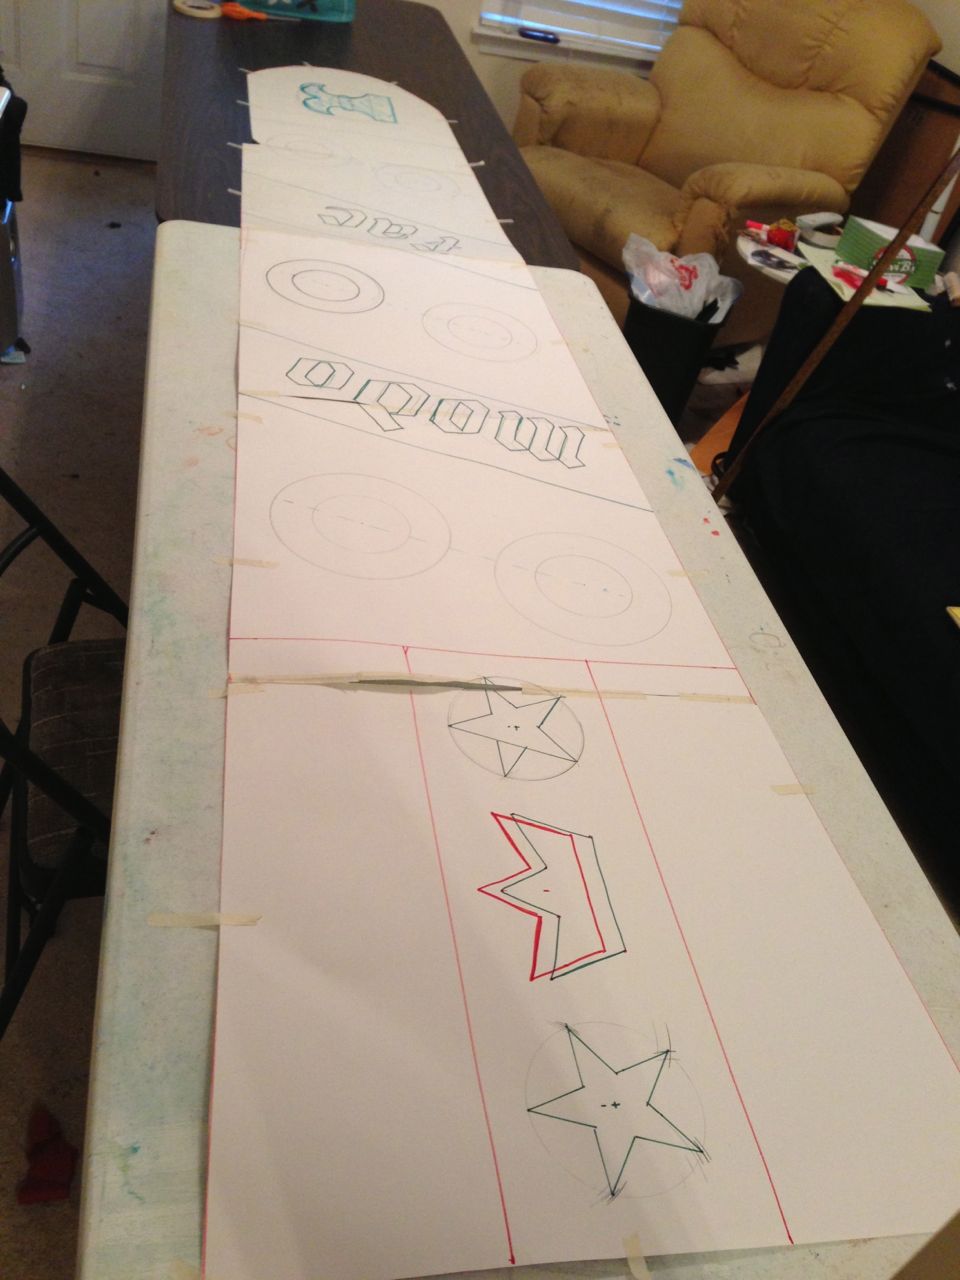
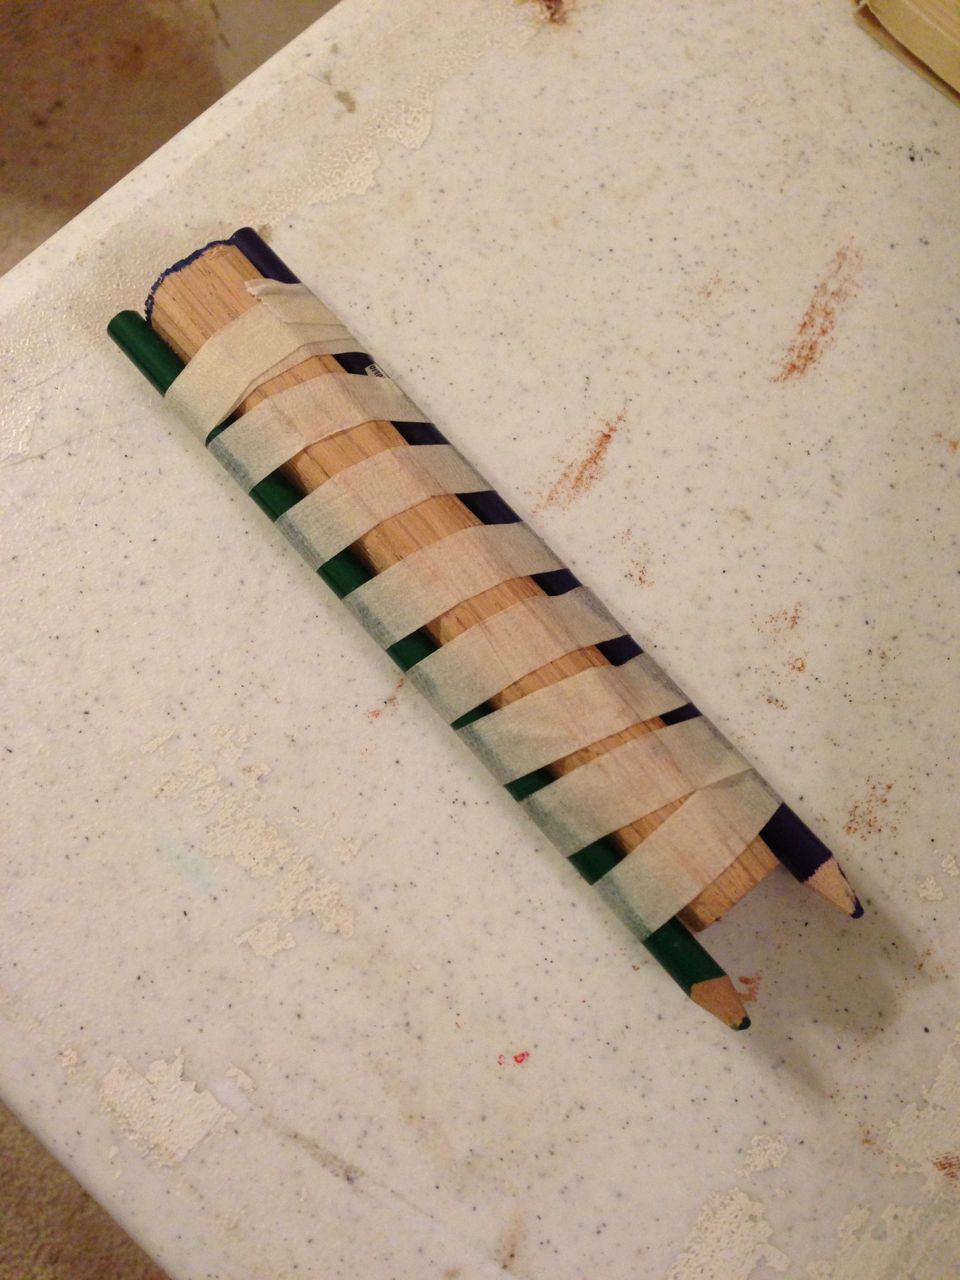
I taped the paper down and went about my layout with compass, straightedge, pencil, and Sharpie. There was a fair amount of trial and error, so I’m glad I made the wise decision to save the silk for later. I printed out full scale samples of the text so I could get an idea of the size I needed. Instead of trying to trace the letters directly (hard to do through poster board), I rigged up a double pencil to draw the letters out freehand:
 Once the design was finalized, I taped down a pre-washed length of the silk and transferred the design in pencil:
The layout was probably the part that took the longest out of this whole enterprise. It certainly took a lot longer than I thought it would. I’m glad I took the extra time, though, as I think the final product was just about what I wanted.