 While working on a class on wax seals, I decided I needed to develop a recipe for beeswax-based sealing wax. This is the result of those experiments. I have a list of materials I used here.
Related Posts
- Sealing Wax: Attempt 1
- Sealing Wax: Attempt 2
- Sealing Wax: Attempt 3
- Sealing Wax: Prepared Slices
- Sealing Wax: The Perils of Historical Recreation
Ingredients:
- equal parts beeswax and damar resin
- enough colorant to get the desired depth of color
I realize that these are not exact measurements, but your results may vary depending on your chosen colorant.
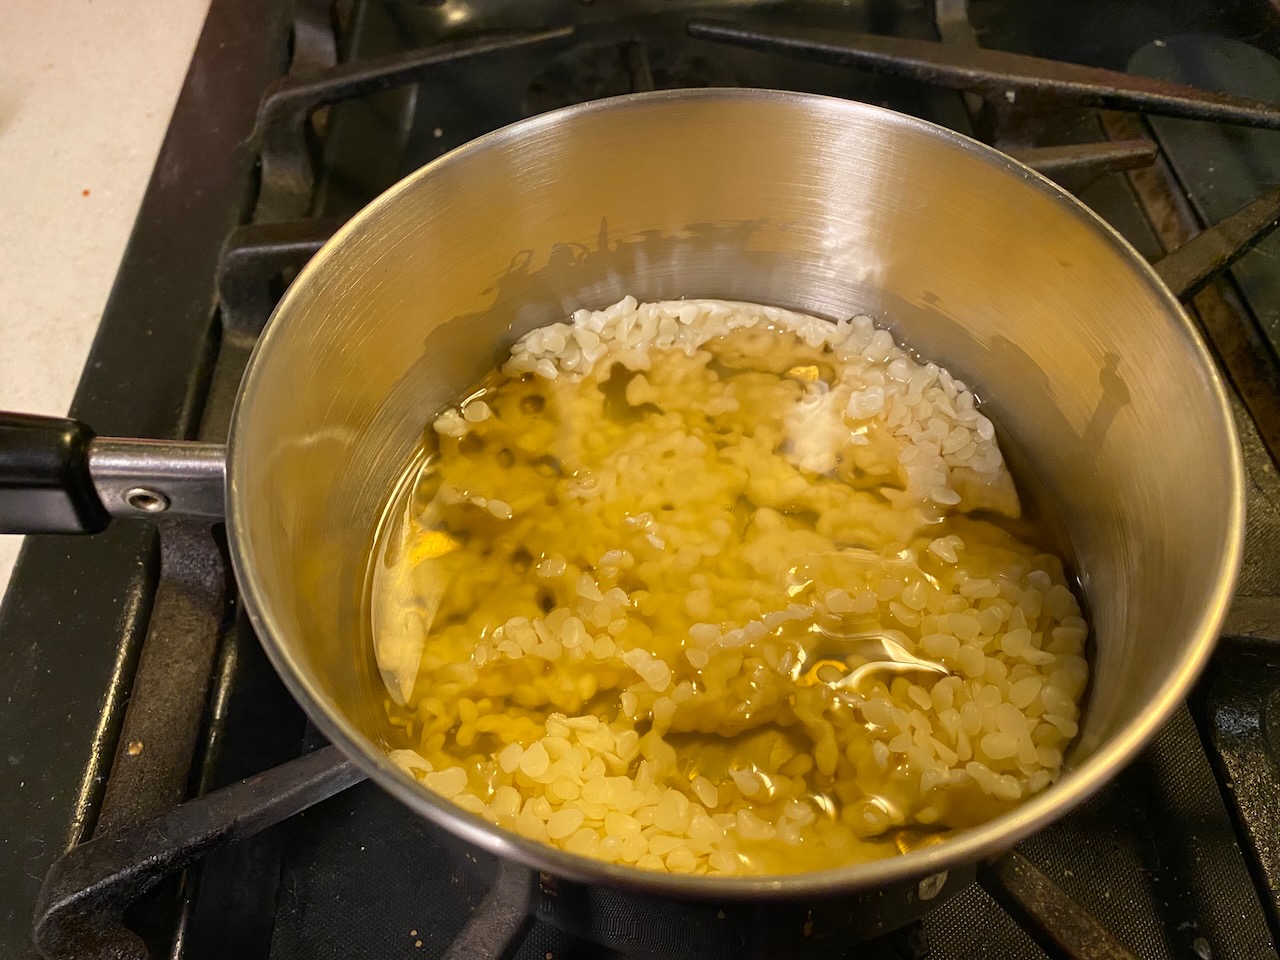
The beeswax I used was in pellet form, which was easy to melt quickly. Any sort of beeswax should suffice. I used 150g of wax and it made a very large amount of finished product. Adjust your amounts accordingly.
I crushed my damar resin in a small cast iron pan with a hammer, until the largest chunks were about the size of a pea. Even these chunks melted quite quickly, so this seems to have been sufficient.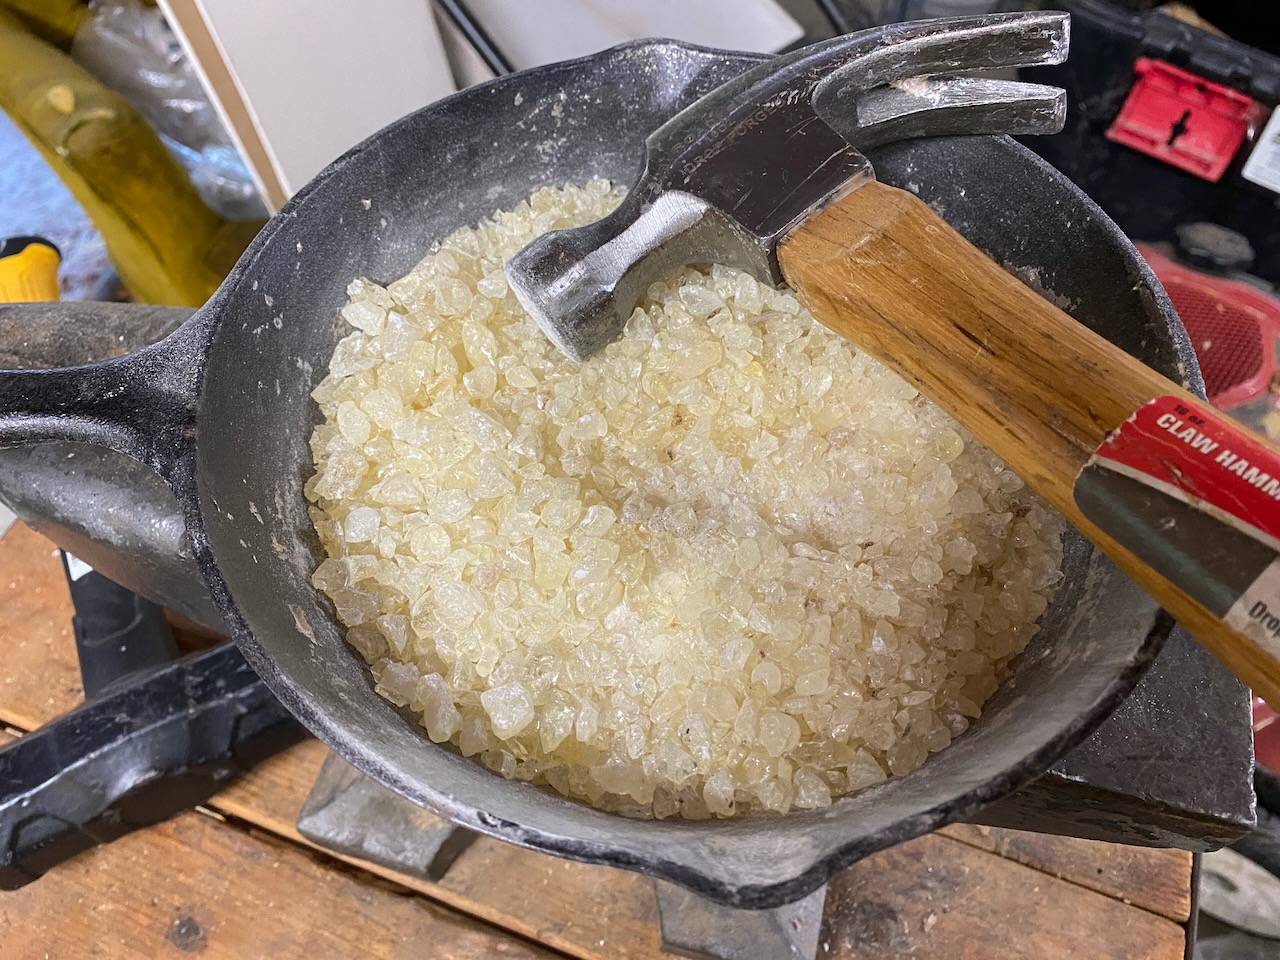
The colorant I used in my black wax was powdered charcoal, made using charcoal from my backyard fire pit and a thrift store coffee grinder. I estimate I used about 1/4 c. of it and got a deep black color. The powdered dyes in my shopping list also worked well, with a heaping spoonful being sufficient for a batch using 75g each of wax and resin. In previous experiments I used liquid candle dye, which also produced good results.
Tools:
- a small saucepan that will only be used for wax, not food
- a baking sheet lined with parchment paper
- another sheet of parchment paper
- a wooden paint stir stick
- nitrile or latex gloves
- cooking spray or oil
- wire cheese cutter
Process:
- Add the wax to the saucepan and melt over low heat. Keep a lid and/or fire extinguisher handy.

- Once the wax is melted, add the crushed resin in batches. Stir with the wooden stick until each batch is melted. Be sure to scrape the bottom of the pan until you no longer find clumps of resin.
- Remove from the heat and add your colorant. Stir to combine.
- Allow the wax to cool for a while in the pot. This is a good time to get your baking sheet ready.
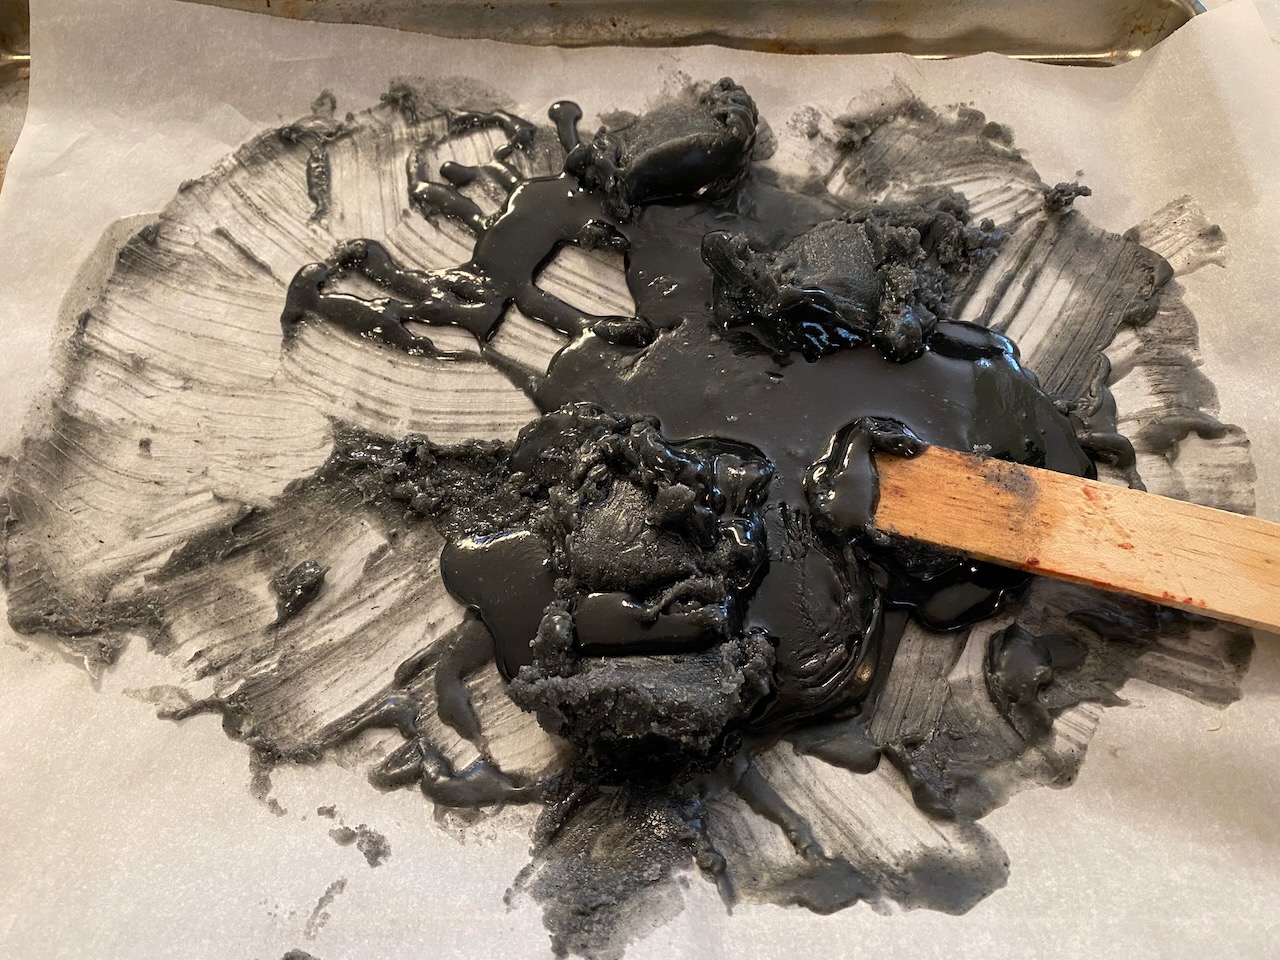
- While the wax is still liquid, pour a small amount onto the parchment covered baking sheet. Scrape the wax with the stir stick to move the cooling wax at the edges back into the liquid wax in the center.
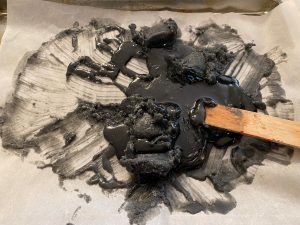
- Once some of the wax has begun to solidify, form a well in the center of the wax on the baking sheet and pour in more wax. Continue scraping and mixing the wax. The goal is to get all the wax to more or less the same level of solidity.
- Once all of the wax has been added to the baking sheet, keep moving it around until it is no longer liquid.
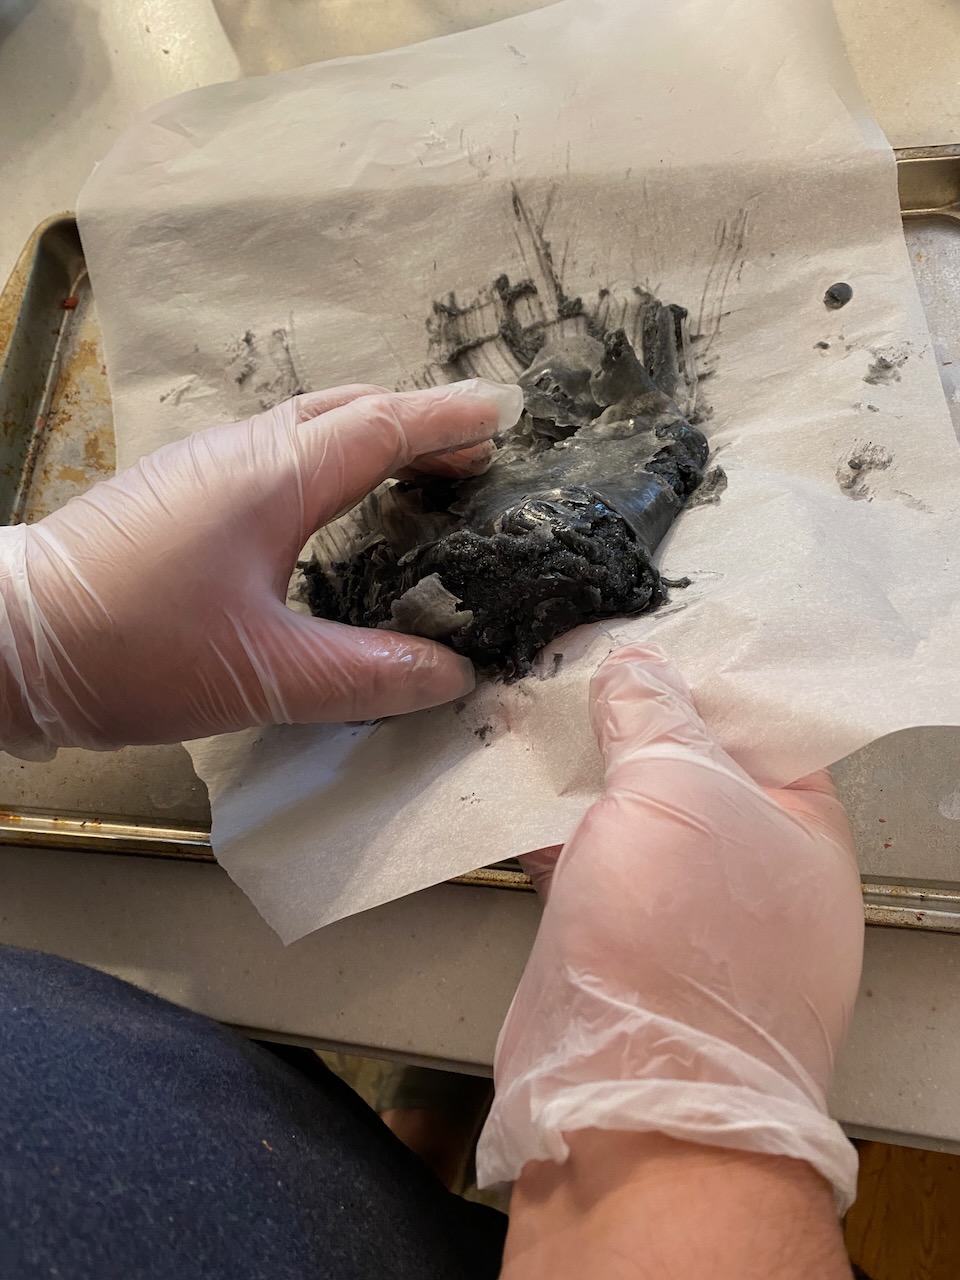
- Put on the gloves and lightly grease them with the cooking spray or oil. Too much oil may affect the consistency of the wax or may cause the color to spread around your work area, so only use as much as you need.
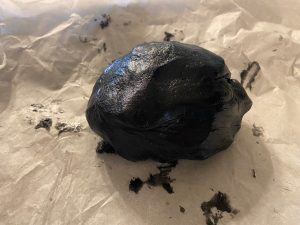
- Begin forming the wax into a ball. It will start out sticky and crumbly, but continue gently pulling it together. you should be able to peel the solidified wax at the edges off of the parchment and add it into the warmer center of the ball.

- Once most of the wax has been added to the ball, begin kneading it between your hands. Try to peel off any remaining stuck wax and add it in as you knead.
- Your first piece of parchment paper will probably be in poor shape by this point. Put your second sheet of parchment on a table or other flat surface for rolling the wax.
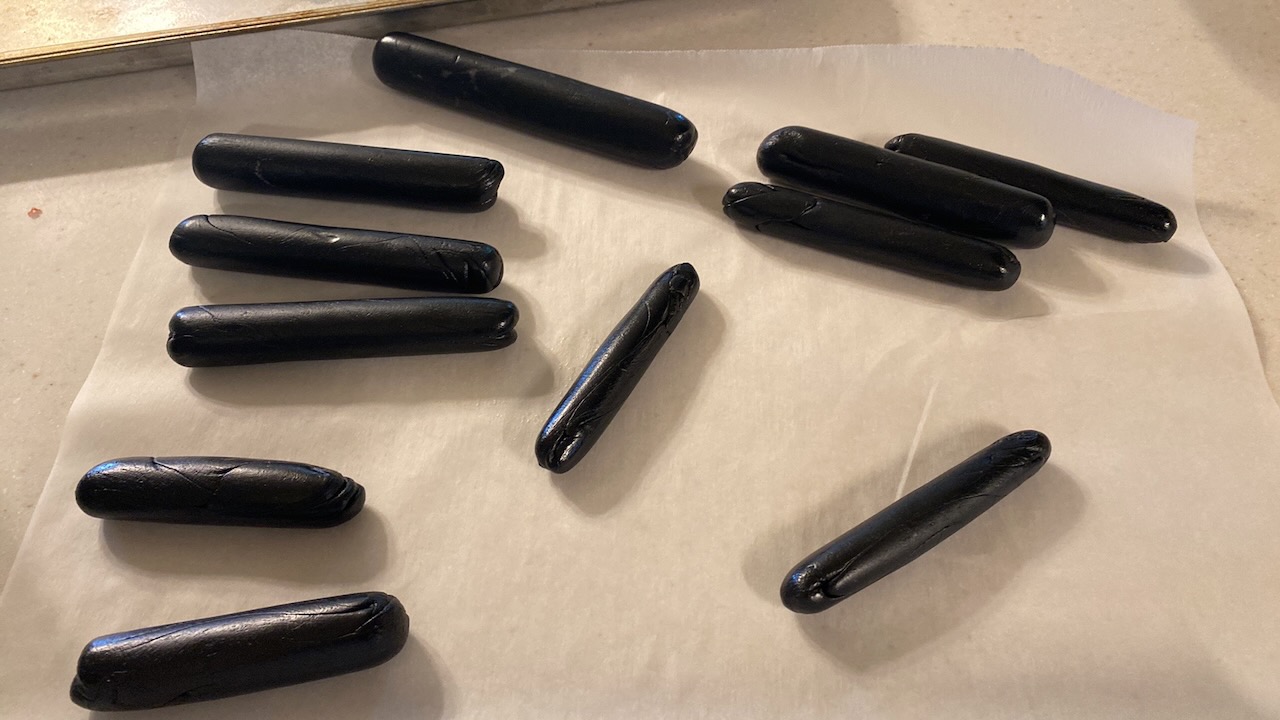
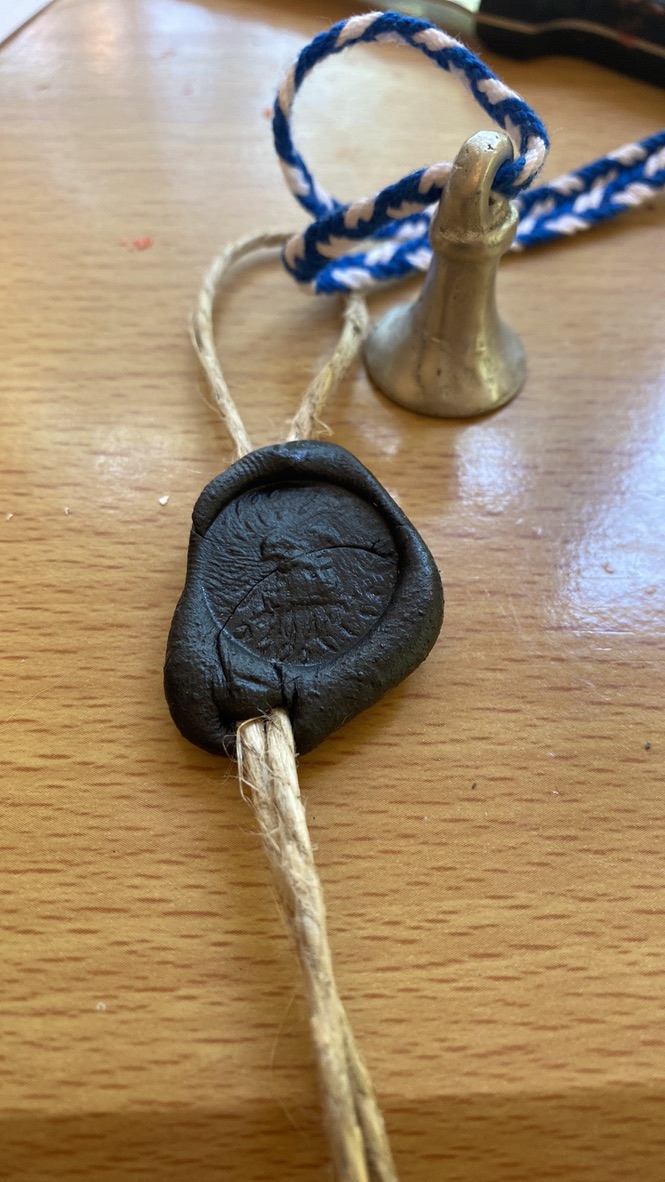
- Eventually the wax ball should become smooth and shiny, but still warm and pliable. Begin pinching off pieces and rolling them into logs. You may want larger diameter logs for cutting seal tag slices (1″ – 1.25″) and smaller sticks for applying to letters (.5″ – .75″). As you pull off pieces from the main ball, it should form smooth, stretchy ribbons. This is a sign that your consistency is right.
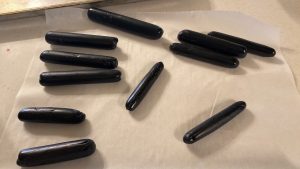
- Once all of your logs are formed, let them cool completely. You may need to come back when they are still a little warm and re-roll them if they have flattened out on the bottom.