
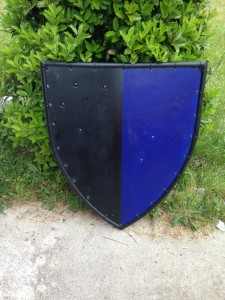
 I have been talking about replacing my armor for many years, but I decided that the baronial succession was the final push I needed to finally get around to doing it. My plan is to approximate as best I can a 14th century Italian kit. Some light research tells me that my shield choices are therefore heaters and bucklers. I am not quite courageous enough yet to fight with a buckler, so a heater it is.
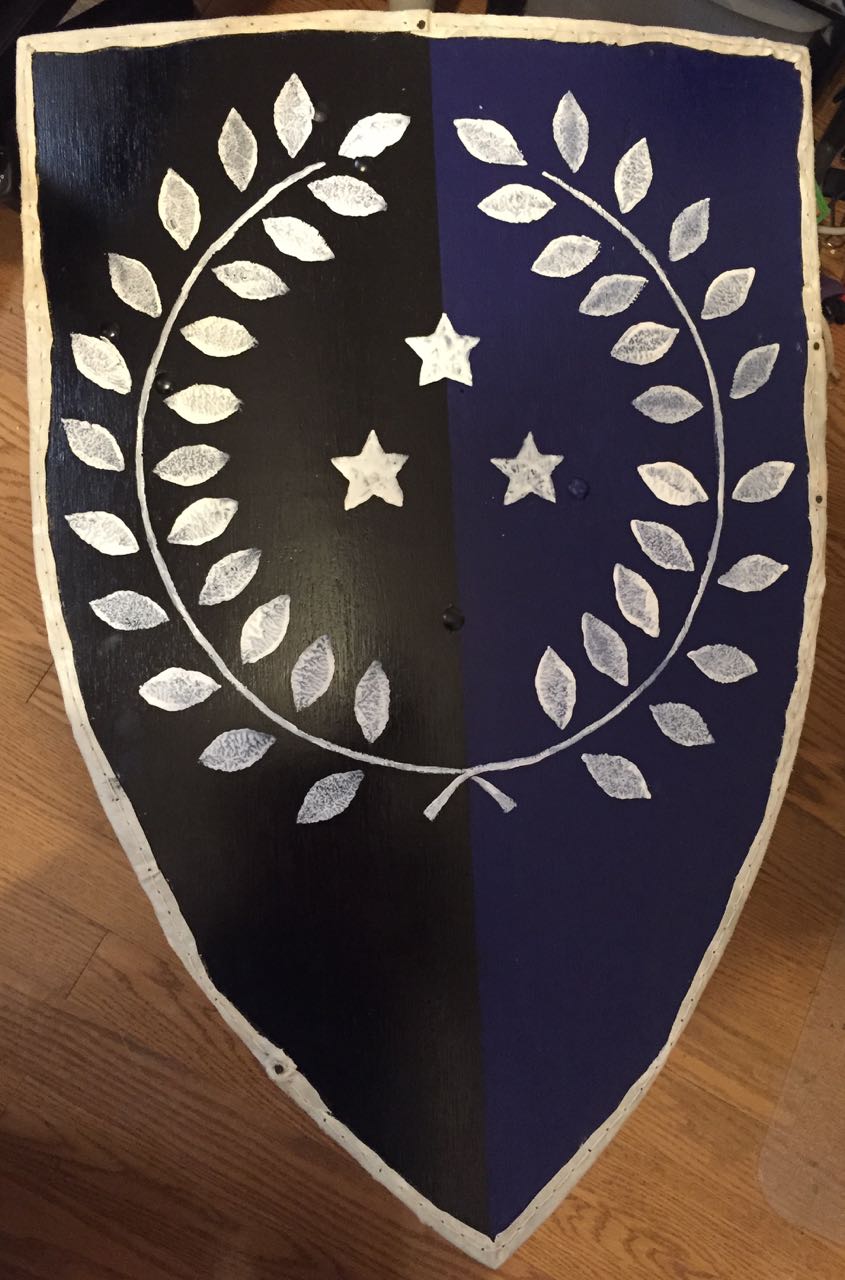
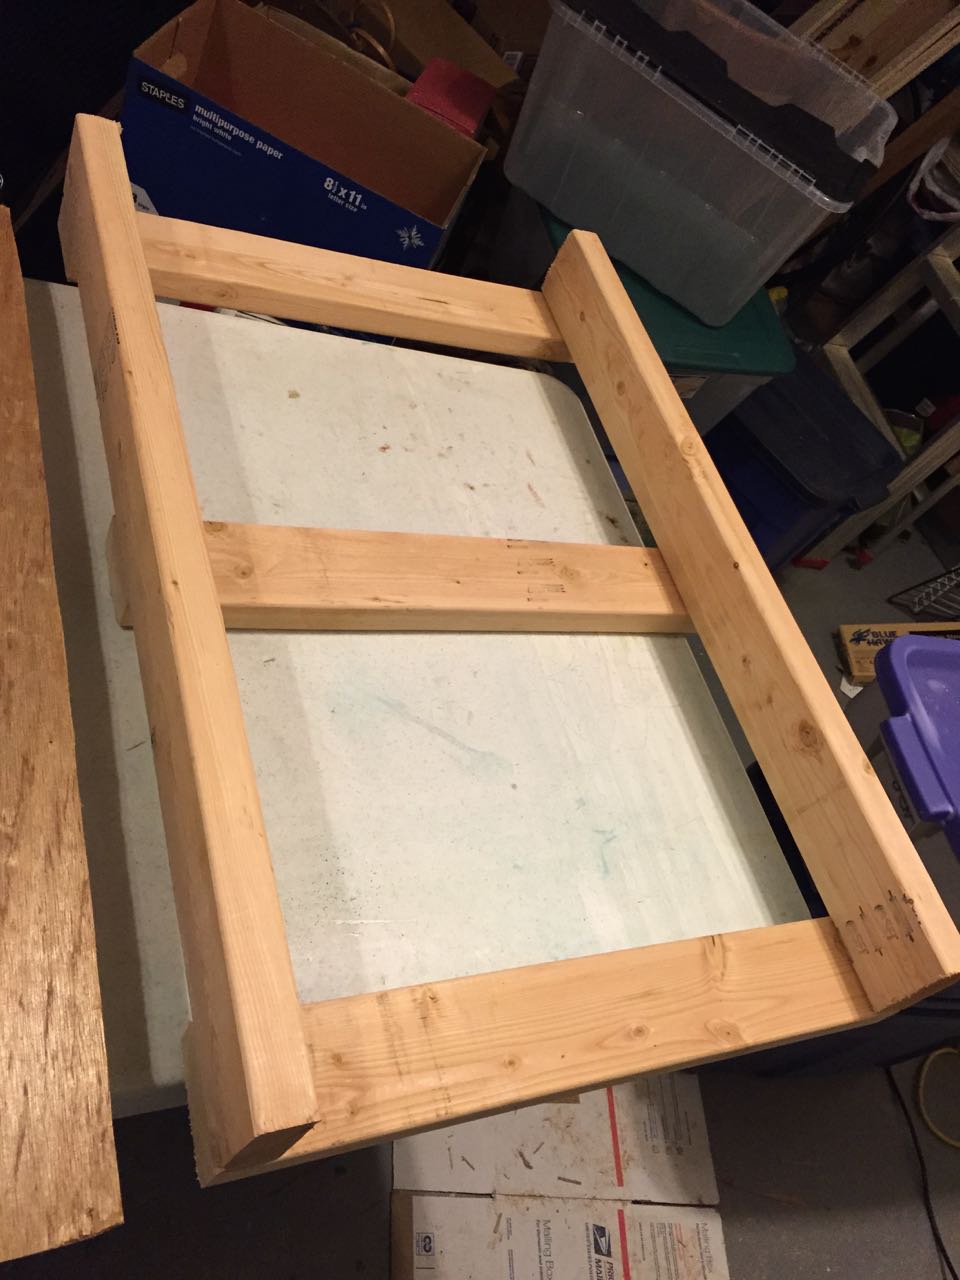
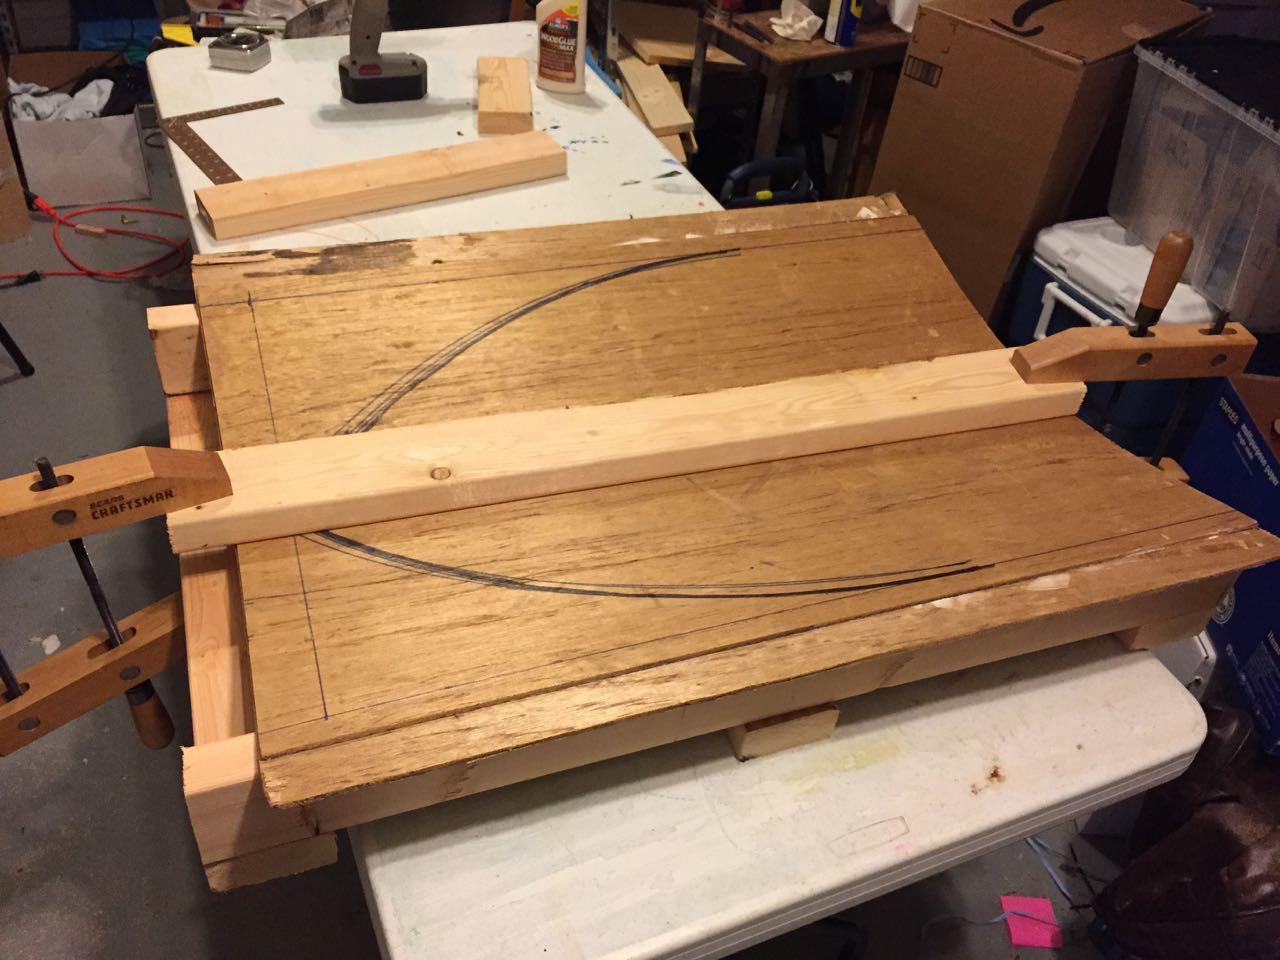
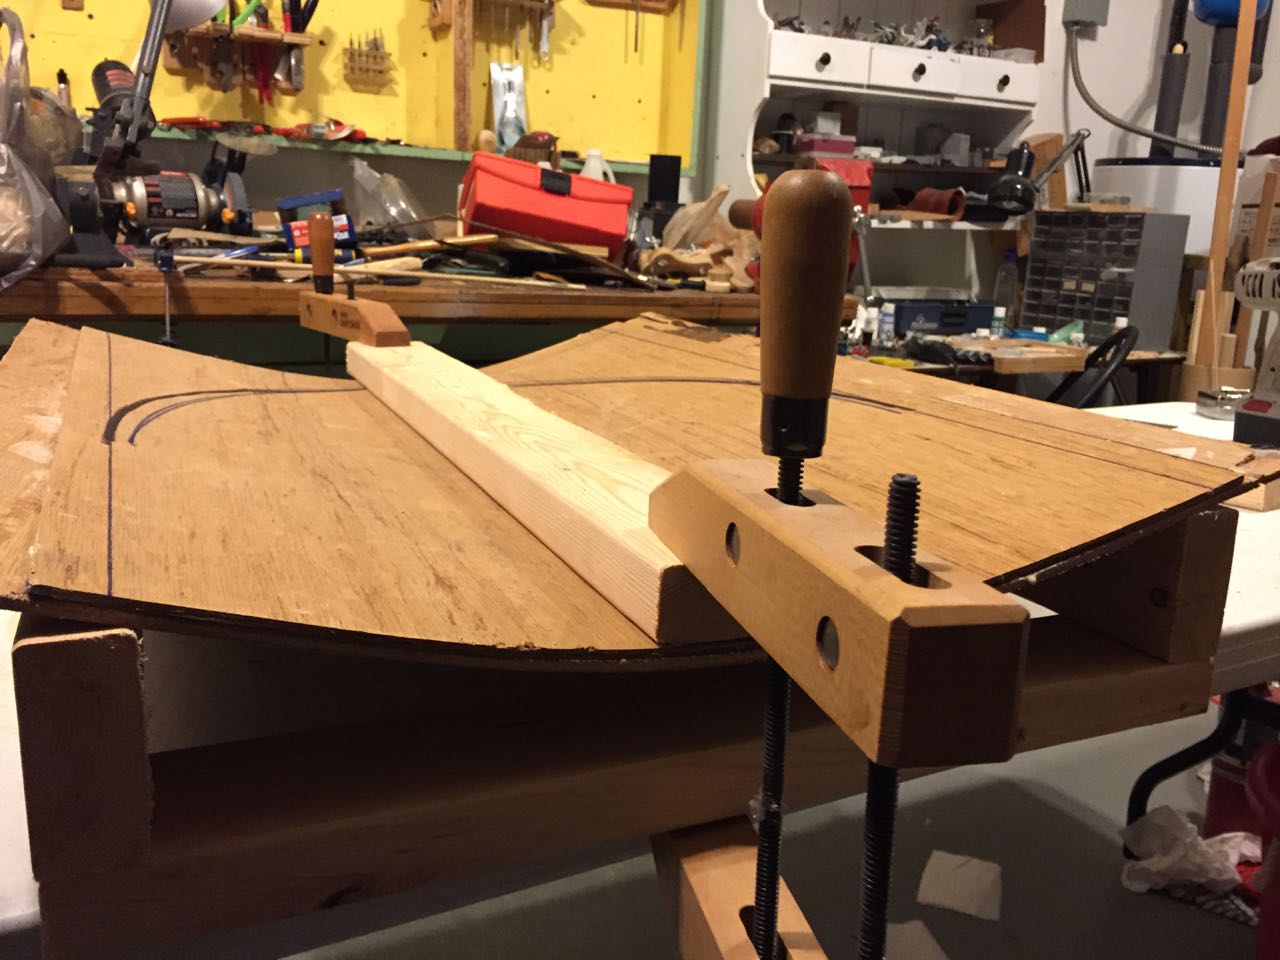
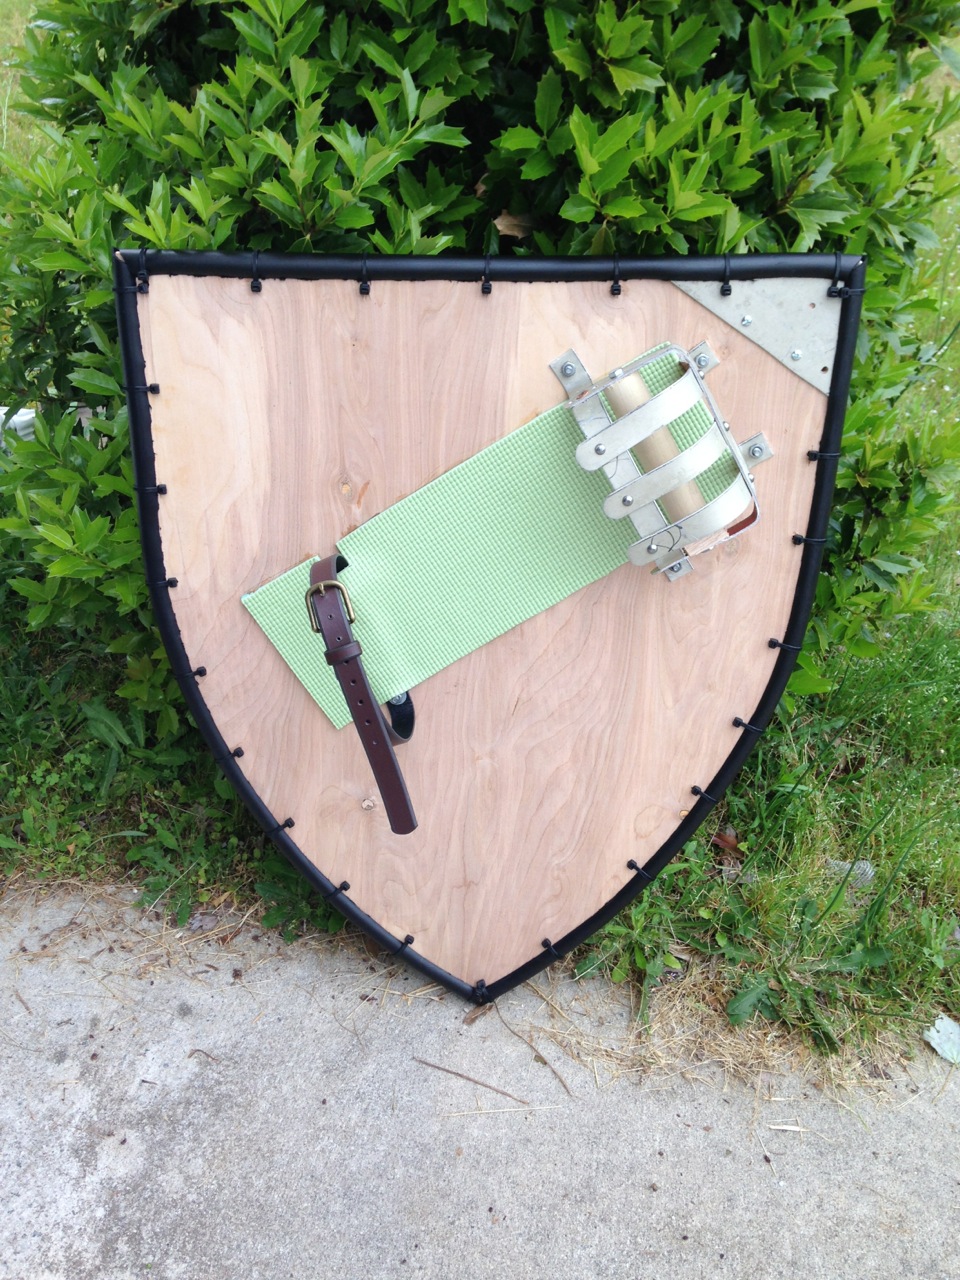
I have not made a shield in at least 15 years, so this process involved a lot of googling and guesswork. Hopefully the result will be serviceable. The body of the shield is cut from a 2′ x 4′ sheet of 1/2″ birch plywood. I reasoned that it would be more durable than cheaper pine, and it seemed perhaps a touch lighter than the oak that was also available. After some contemplation, I decided to make the largest size that I could from the wood I had, which meant a 24″ x 28″ shield. I found a very nice method for laying out the shape, and, after some tedious wrestling with a recalcitrant jigsaw, I had a shield blank ready to go.
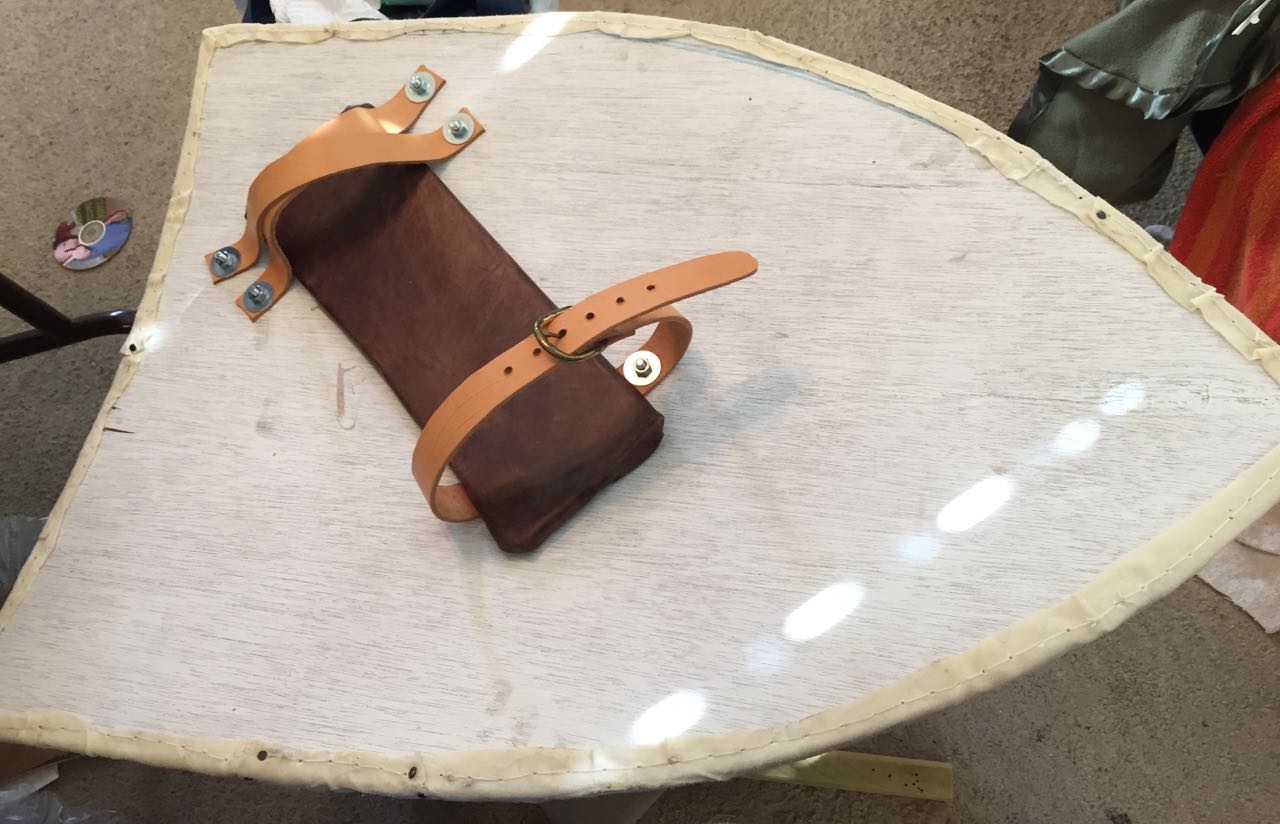
Before painting the shield, I wanted to attach the strap and shield basket, so the bolts holding them in place would be painted as well. I contemplated buying a shield basket, but being both cheap and impatient I opted to cobble one together out of some aluminum and a dowel. Four carriage bolts attached the basket to the shield, and two more attached the strap (a child’s belt bought for this purpose).
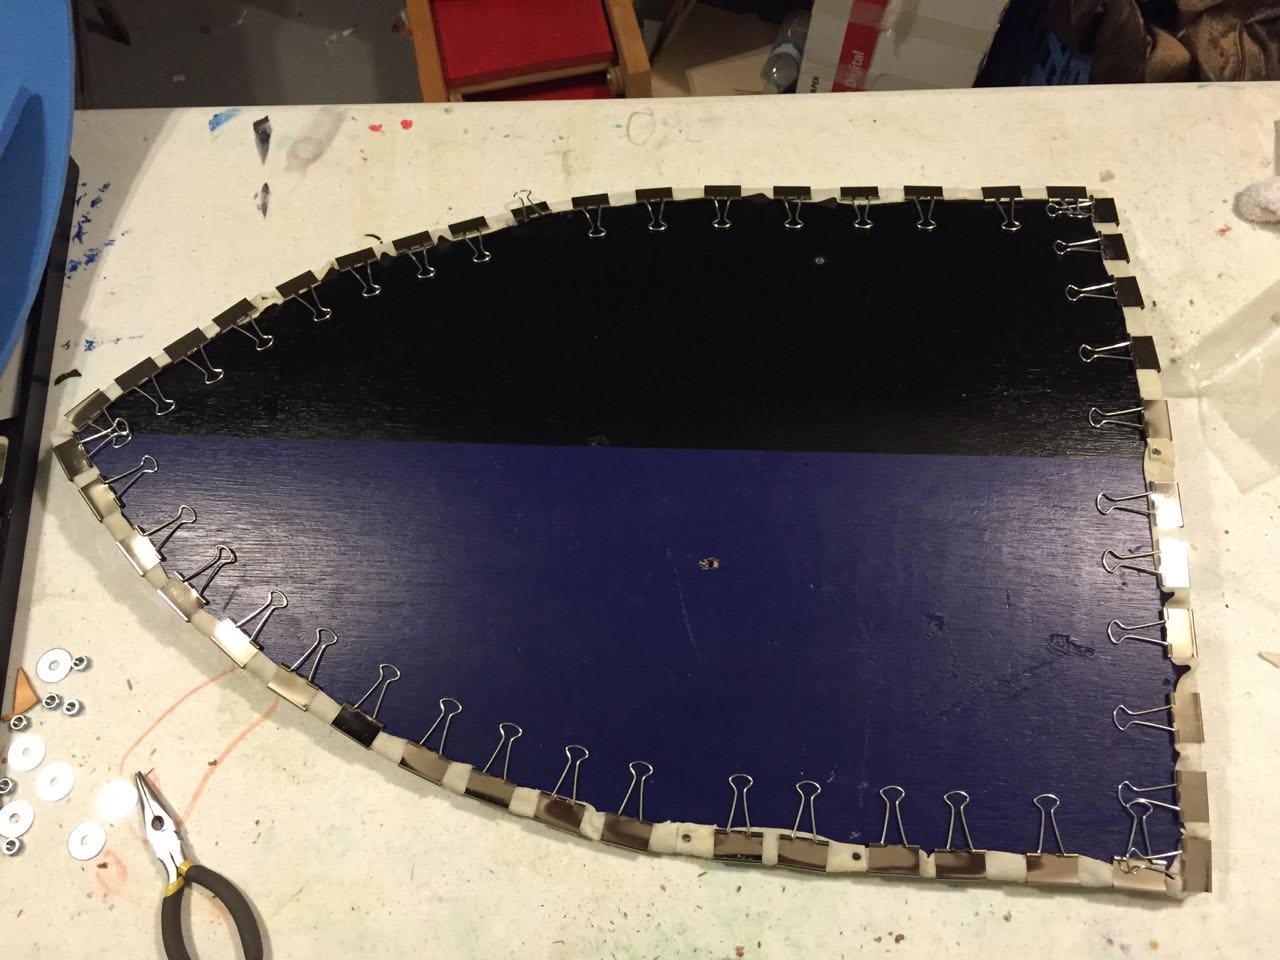
I painted the entire shield blue, using a lovely gallon of mis-tinted house paint in the perfect South Downs blue, which cost me all of $7. I foresee many blue things in my future. After another coat of blue and drying overnight, I masked off the field division and painted the black side with spray paint. The thing I did not foresee was that I should have drilled the holes for the edging before painting. Between chipping edges and sawdust sticking to paint, painting first was definitely not the ideal method. I console myself with the thought that the paint job will get hopelessly scuffed soon enough anyway.
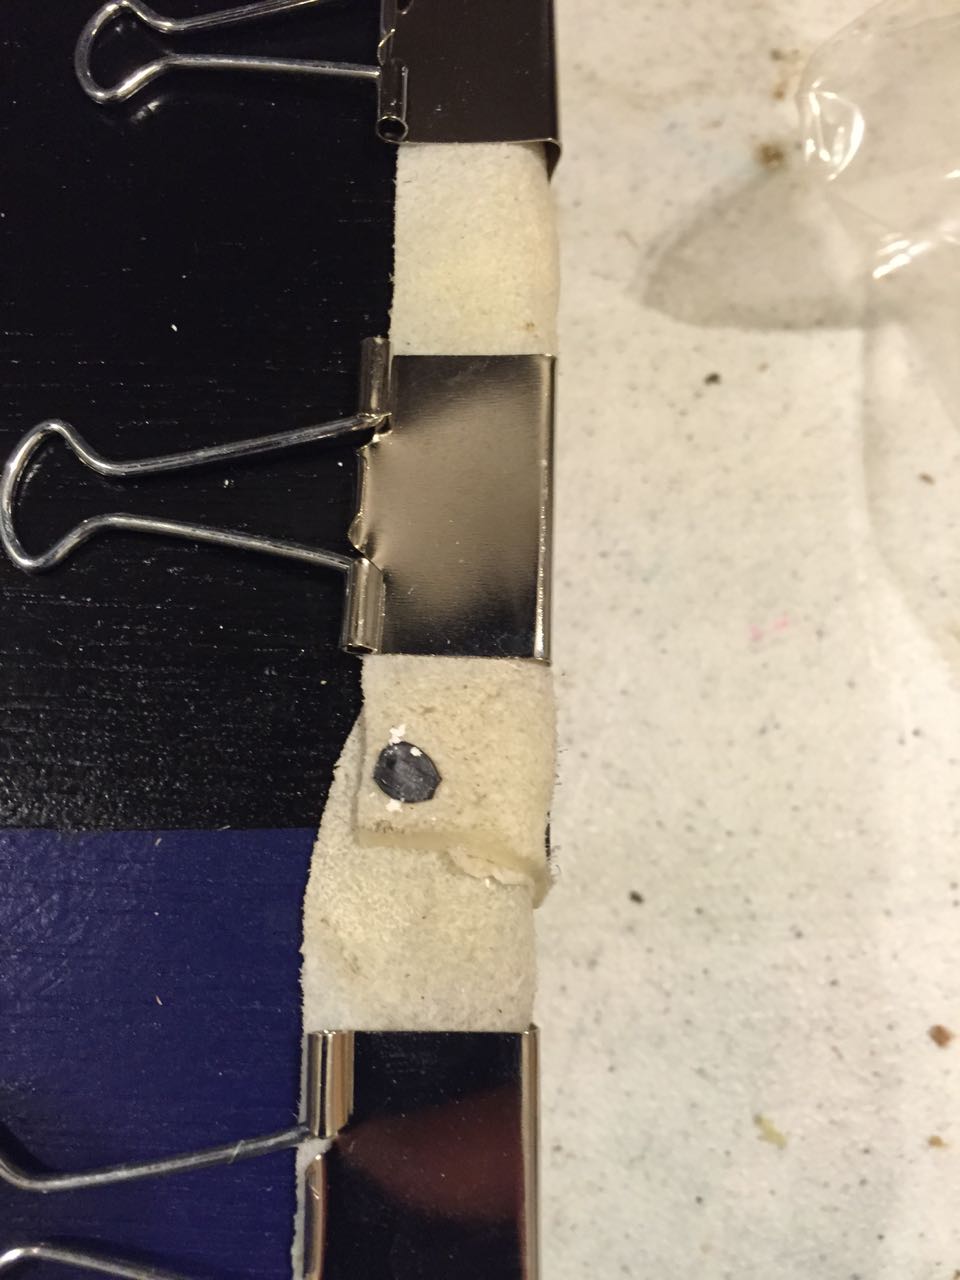
By far the hardest part of this project was putting on the edging. I opted to use 1/2″ polyethylene pipe (aka Siloflex type material), which I knew would take a curve without buckling. In fact, I got a 100′ coil of the stuff, so it was conveniently pre-curved. I cut off a generous length and contemplated cutting it open along the inside of the curve. Leather shears did an okay job , but were unable to maintain a smooth straight line. I found an abrasive cutting wheel for my Dremel and found that it did a better (if louder and messier) job. It also was very useful for cutting the miters at the ends of my edging sections. The real challenge, as it turned out, was getting the pipe open far enough to get it onto the edge of the shield. For the top and blue side, I opened the pipe on one end, slid it onto one corner of the shield, and then slid it on along the edge. As I reached the holes I had drilled for attaching it, I loosely attached a cable tie to keep the pipe from popping back off. This method failed on the black side, where the tackiness of the paint increased the friction to the point where I could only slide it 2/3 of the way on before I simply ran out of strength. Instead I pulled the slit in the pipe open with my fingers and wrestled it on by brute force. ot very elegant, but it got the job done.
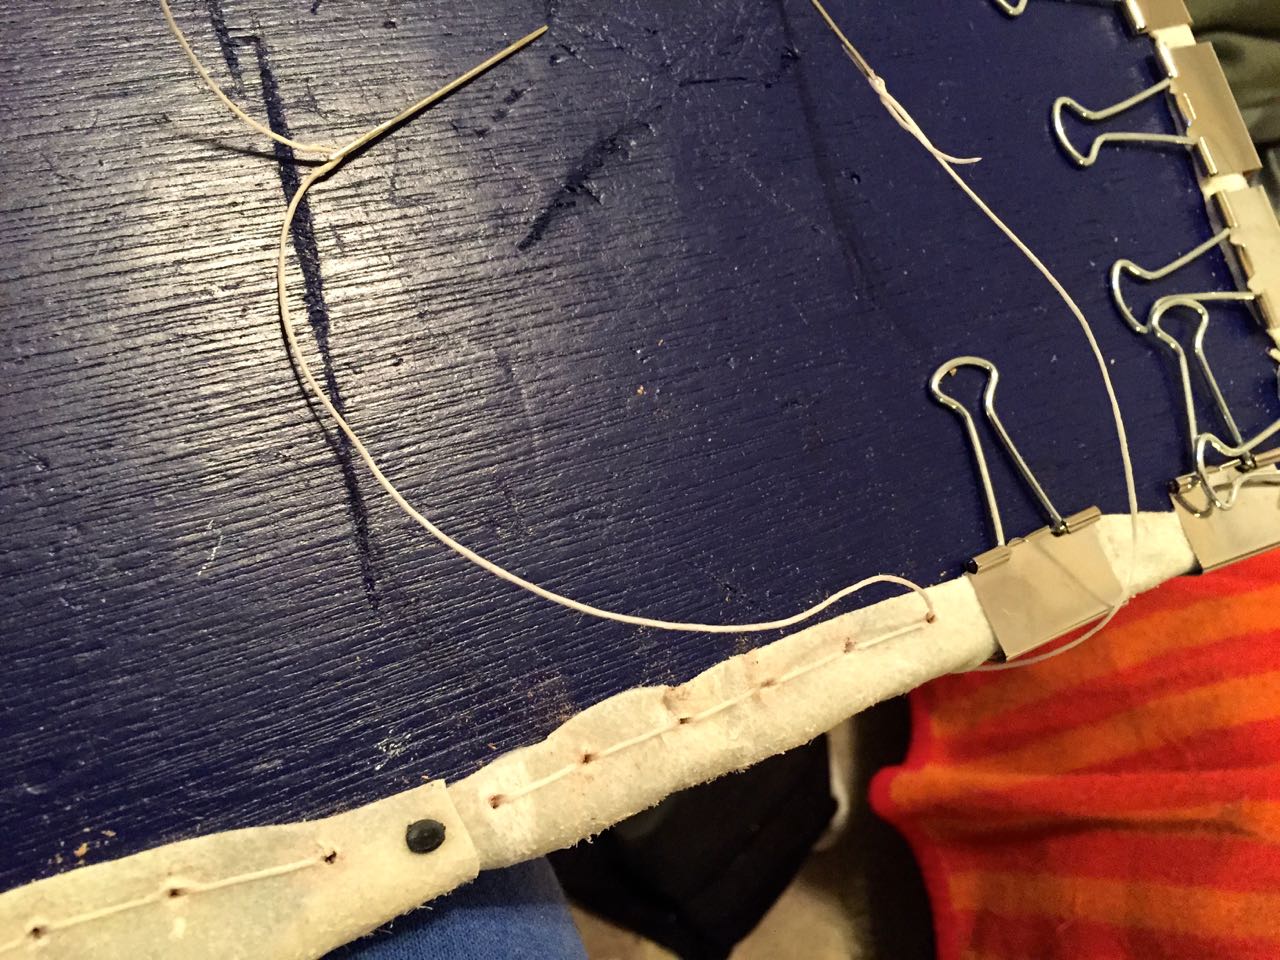
Having seen the abuse that the leading corner of a heater can take, I added a triangular aluminum brace in that spot, held in place by a couple of small screws and the cable ties that hold the edging on. After adding a rectangle of yoga mat held in place with contact cement to give my arm a bit of padding, my new shield was complete!

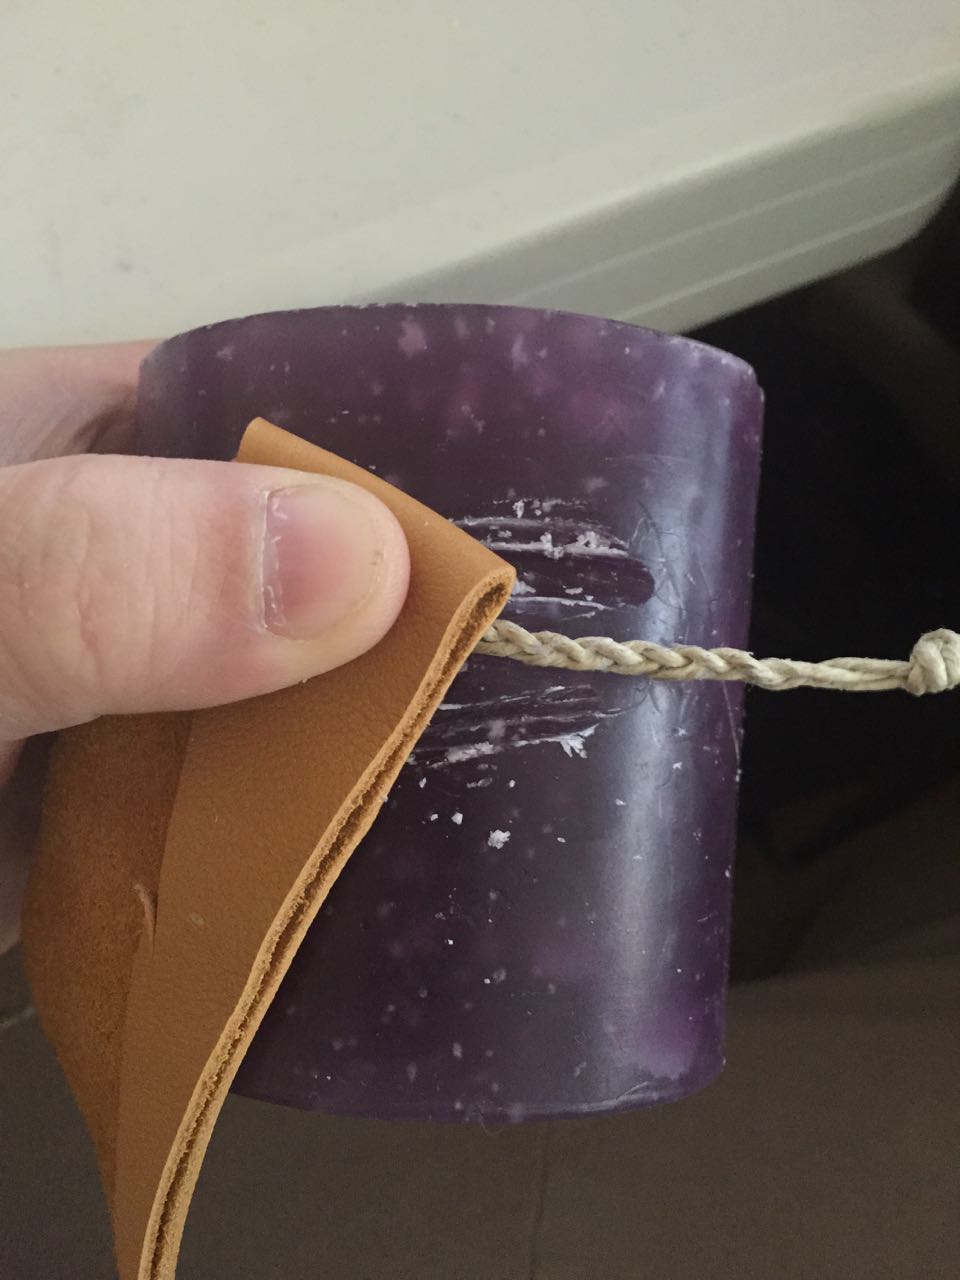
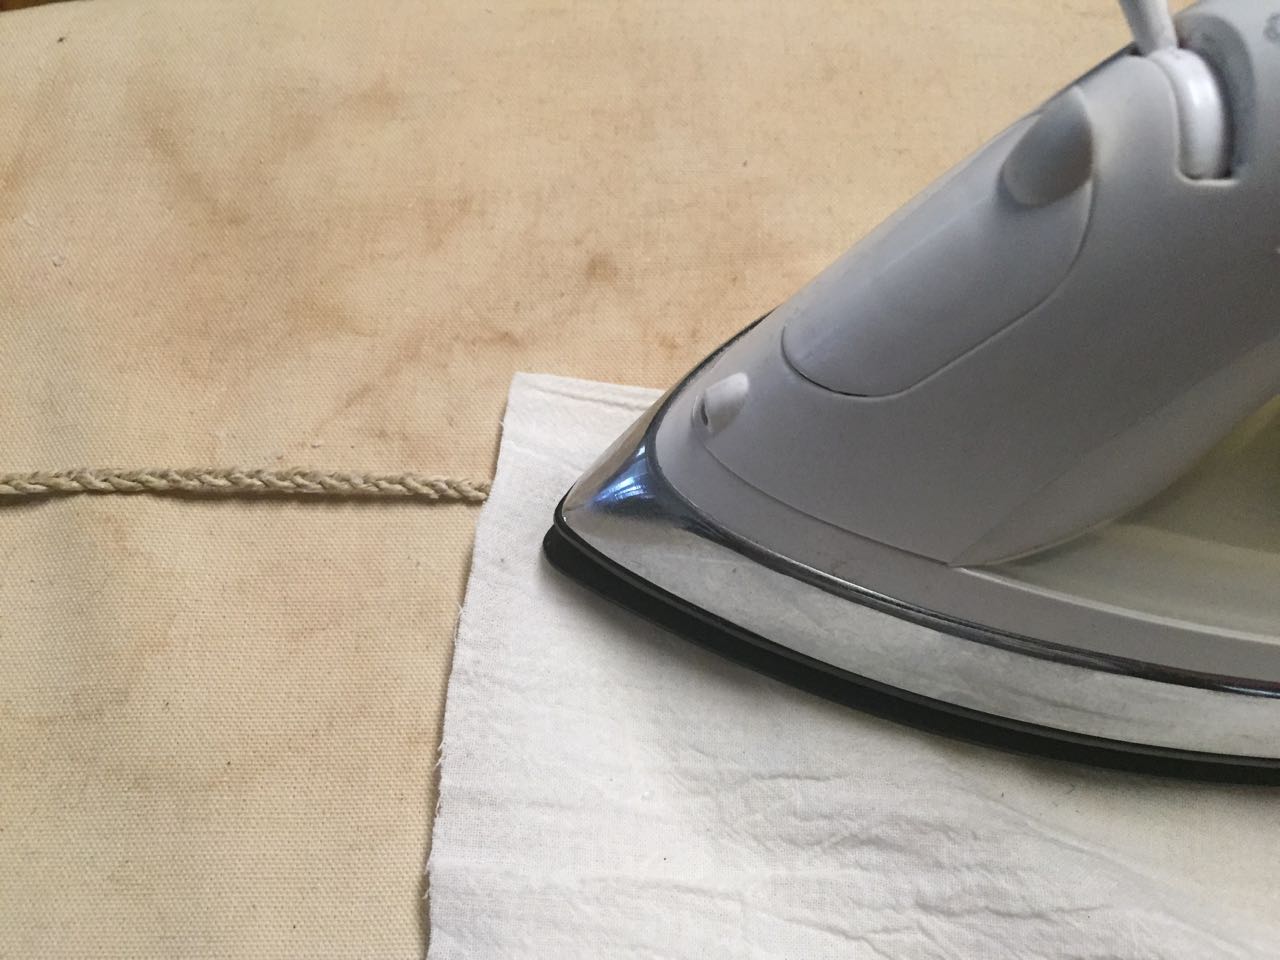
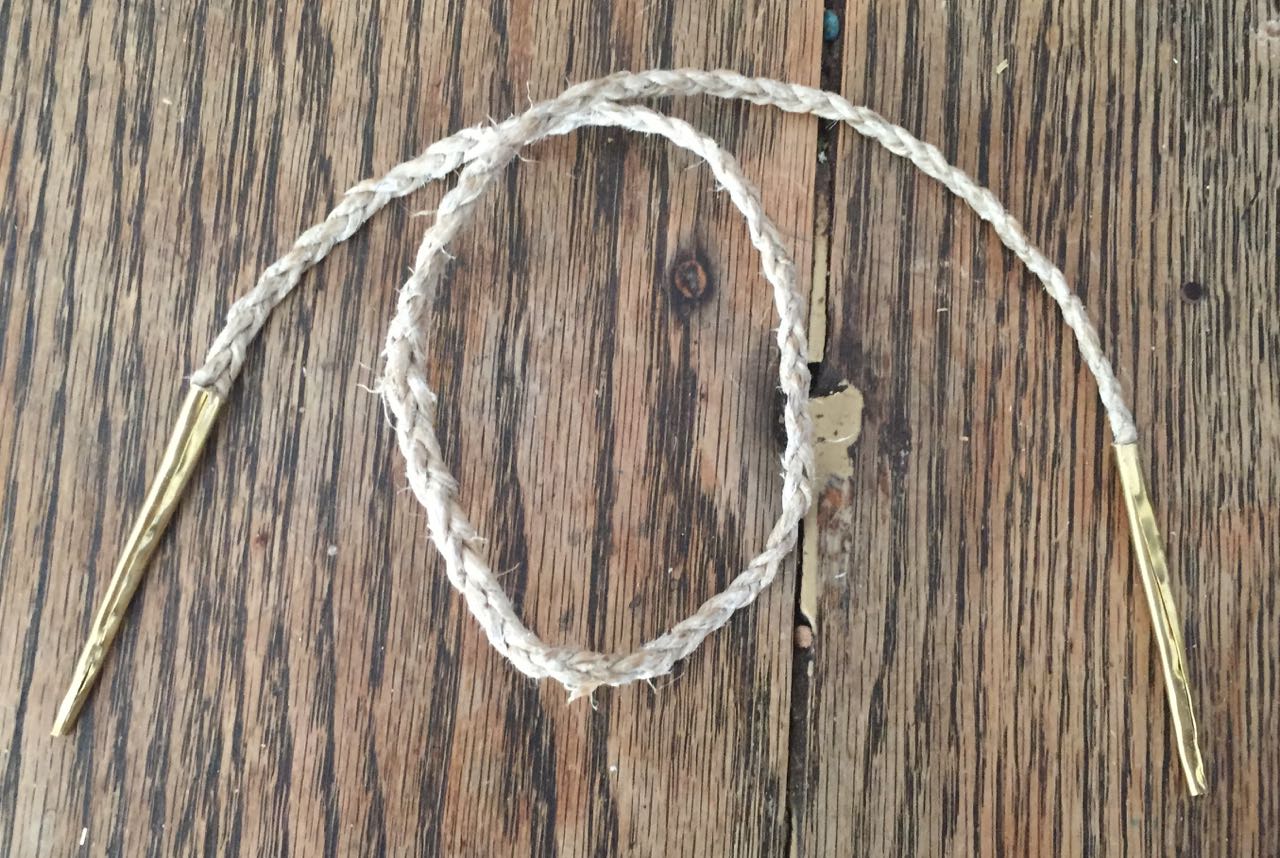 I had some trouble using leather laces to attach my leg armor to my new arming doublet, so I decided that was a part of my kit that needed an upgrade. On the advice of my jouster friend I decided to try making them from waxed braided hemp. I had a ball of ~1mm hemp cord lying around, so I gave it a try using a plain old 3-strand plait (with the help of a binder clip to tie off on). A random pillar candle supplied wax, which I melted into the braid with an iron and a press cloth. Two or three applications of wax seemed to be enough to give a smoother surface, though it certainly did not completely penetrate the fibers of the braid. The ends were trimmed to length and impregnated with wood glue.
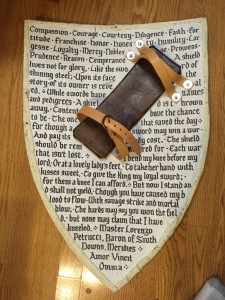 A shield lives not for glory,
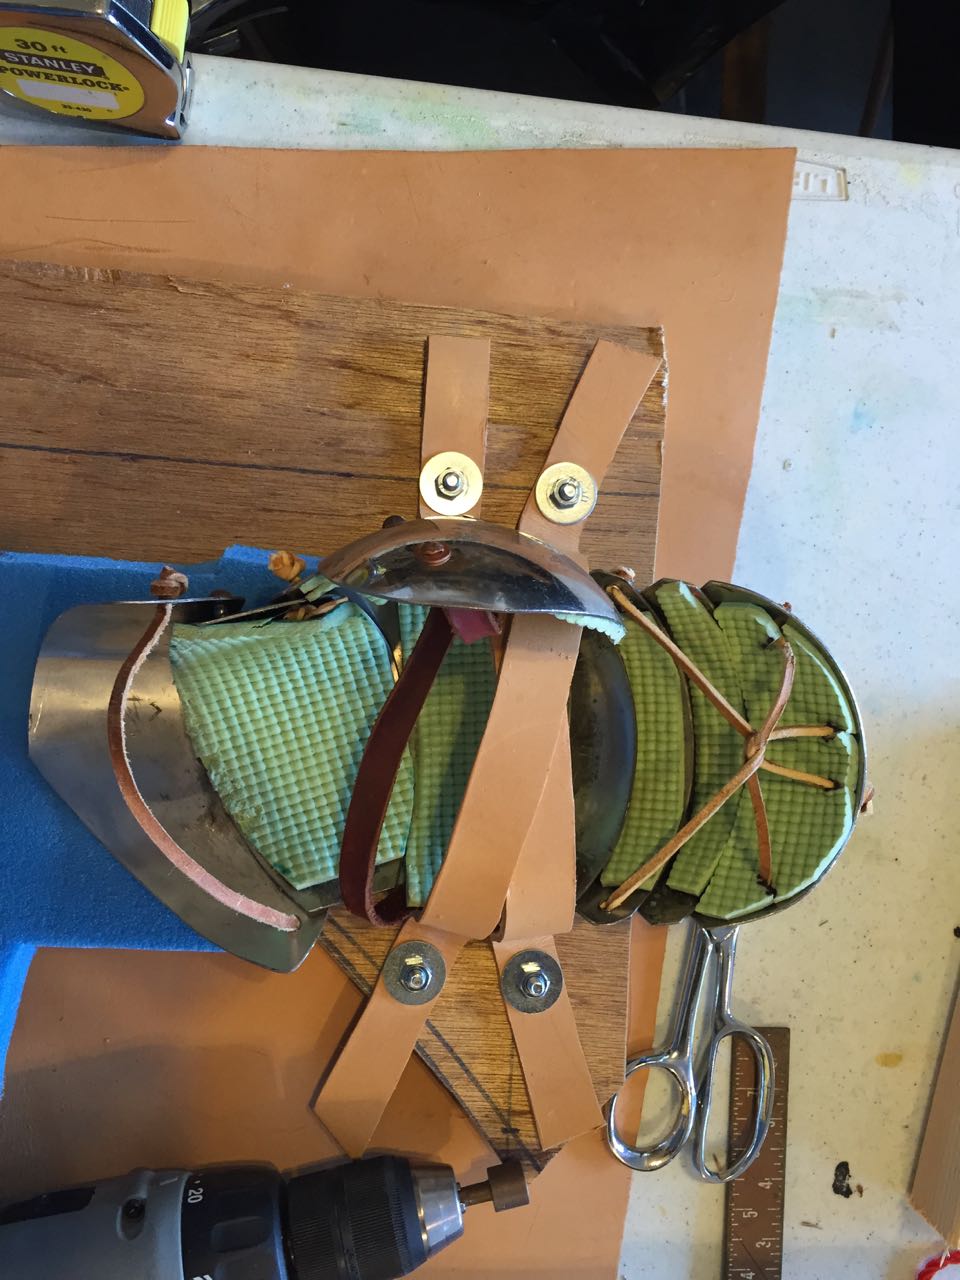

