
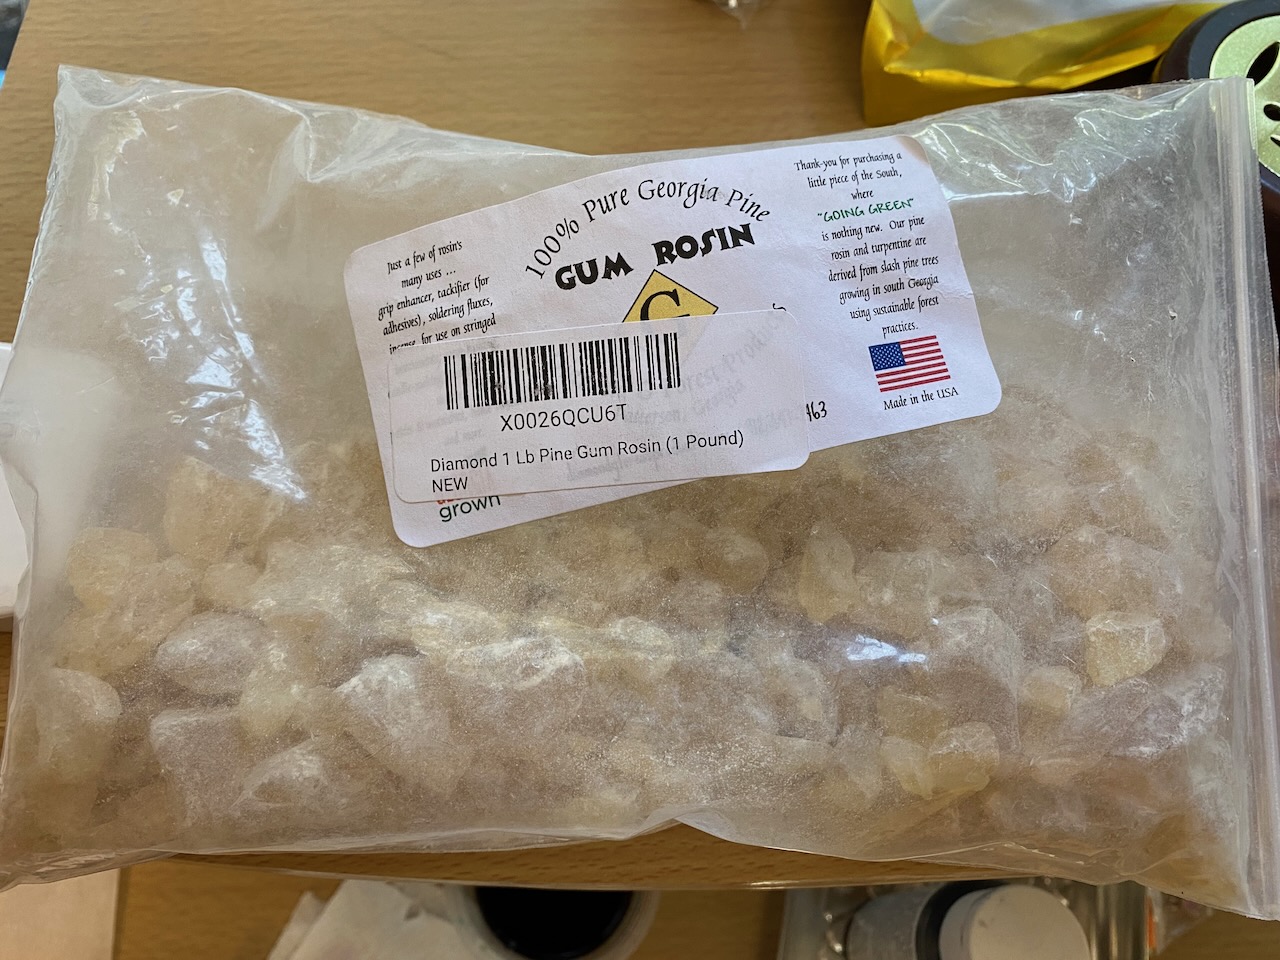
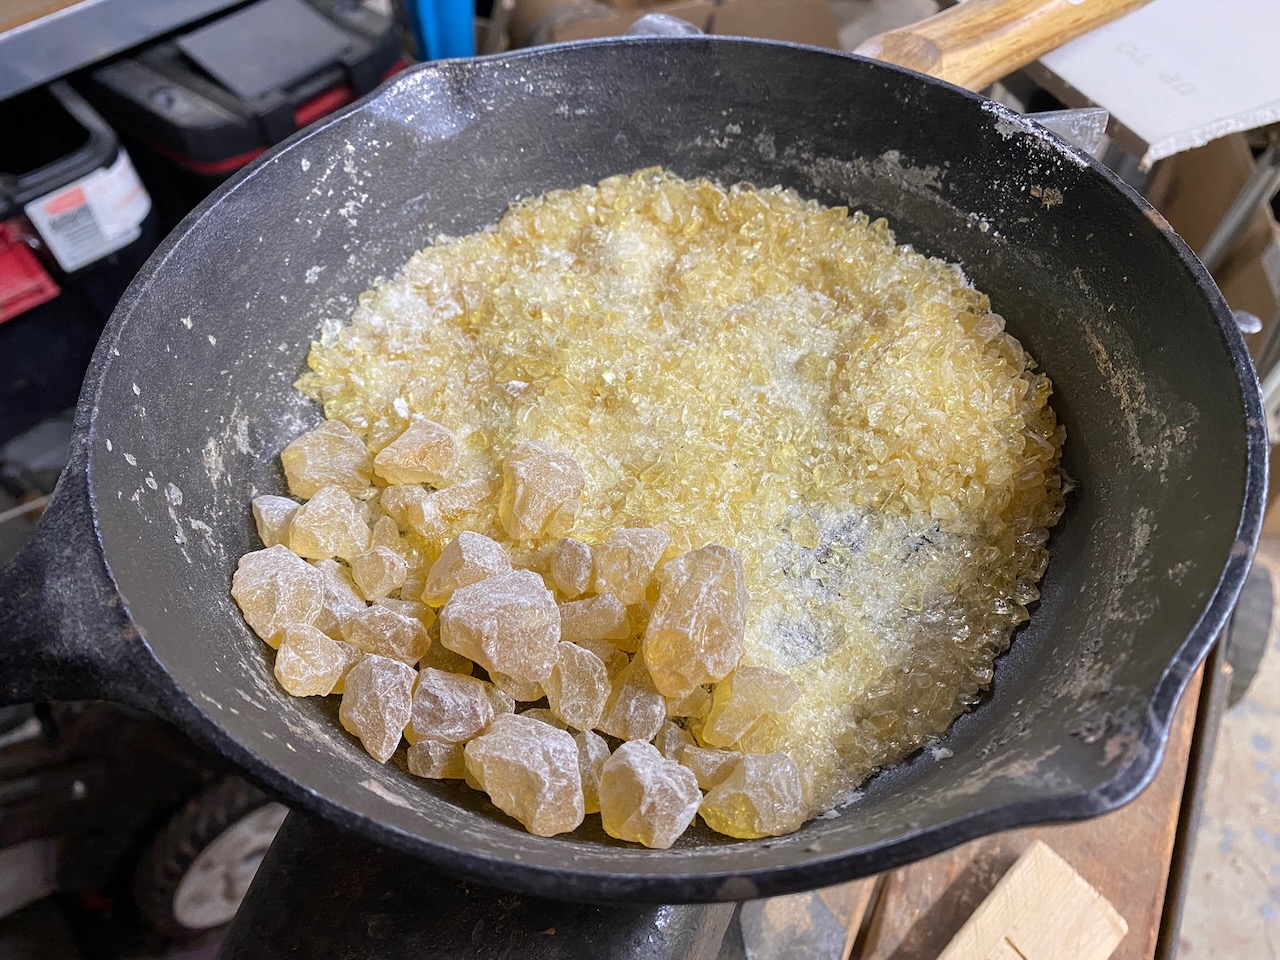
My first attempt at making beeswax-based sealing wax was a good start, but I needed to change things up and try to improve my end result. The main issue was the resin component, so I re-melted my first attempt and acquired some pine rosin. This was a much purer, clear resin that didn’t look like it would have a bunch of extra junk in it. I put the large chunks in small cast iron pan and gently broke them into smaller pieces with a hammer.
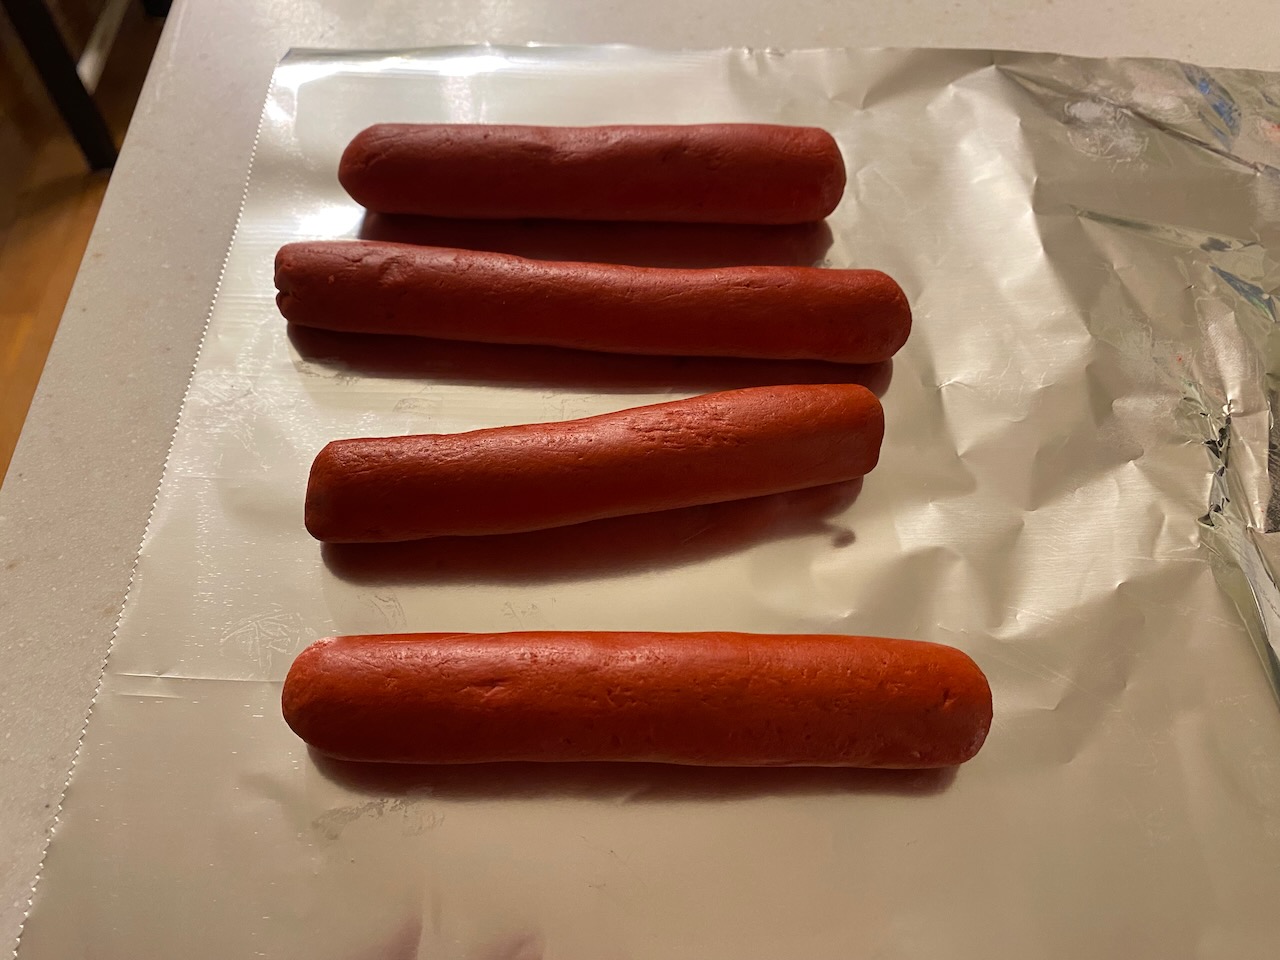
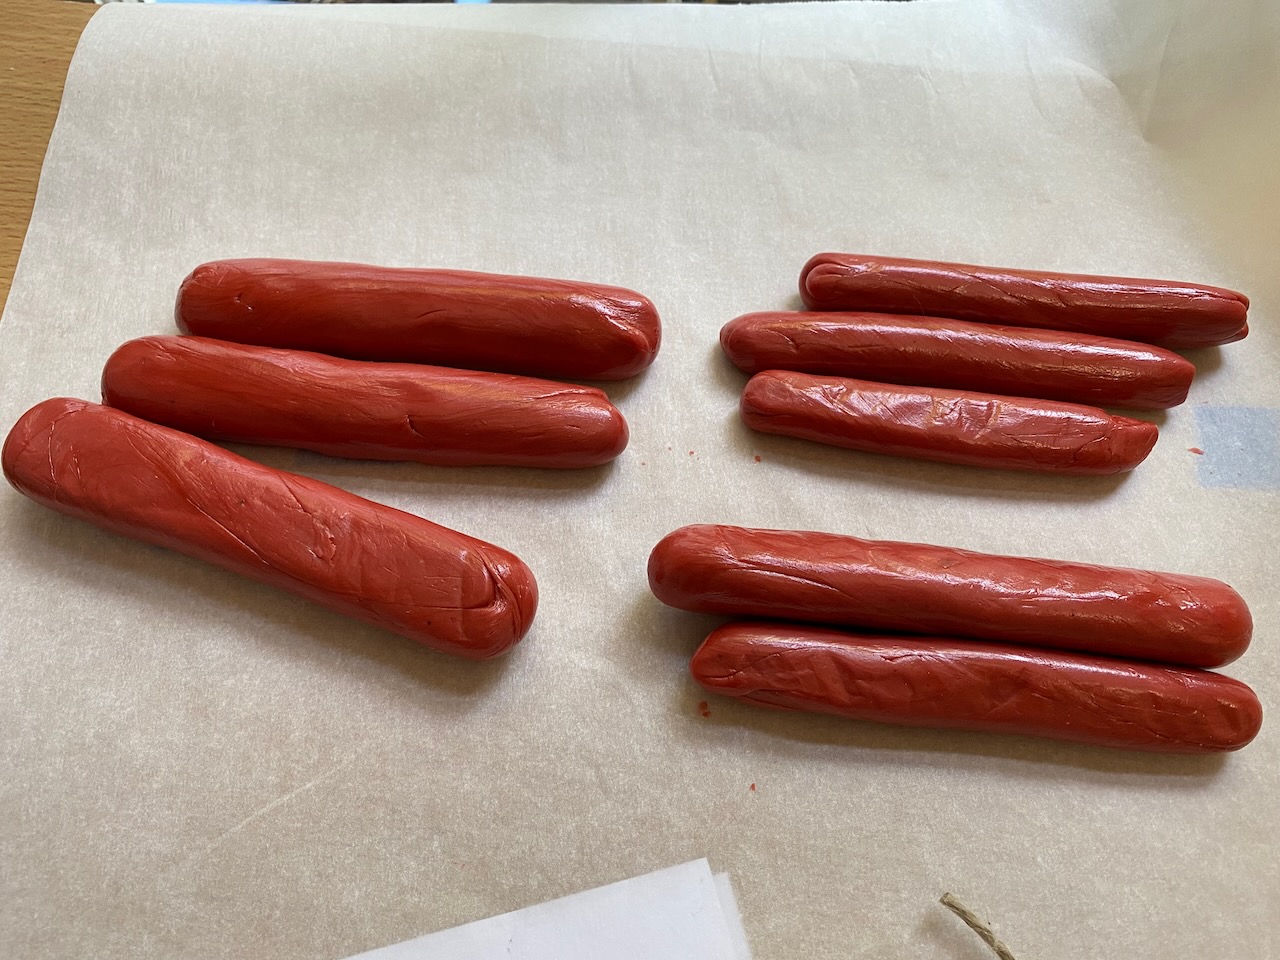
I added some of this new resin to the mixture, and it did indeed melt quickly and completely. I cooled, kneaded, and formed the result in to what would become known as “forbidden hot dogs”.
These were definitely an improvement over the first attempt. The wax was less crumbly and would create an acceptable applied seal.
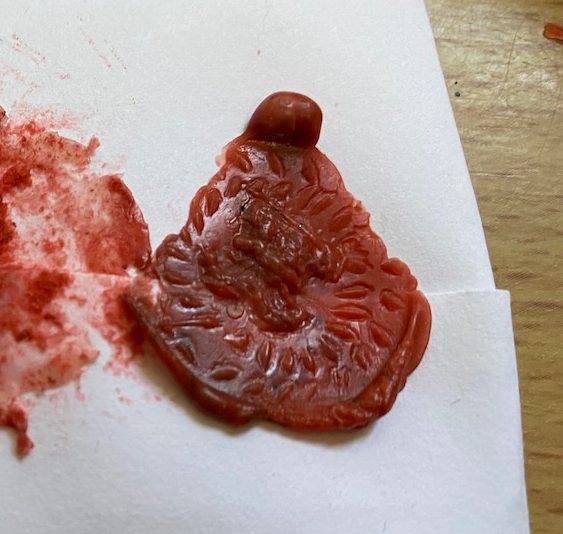
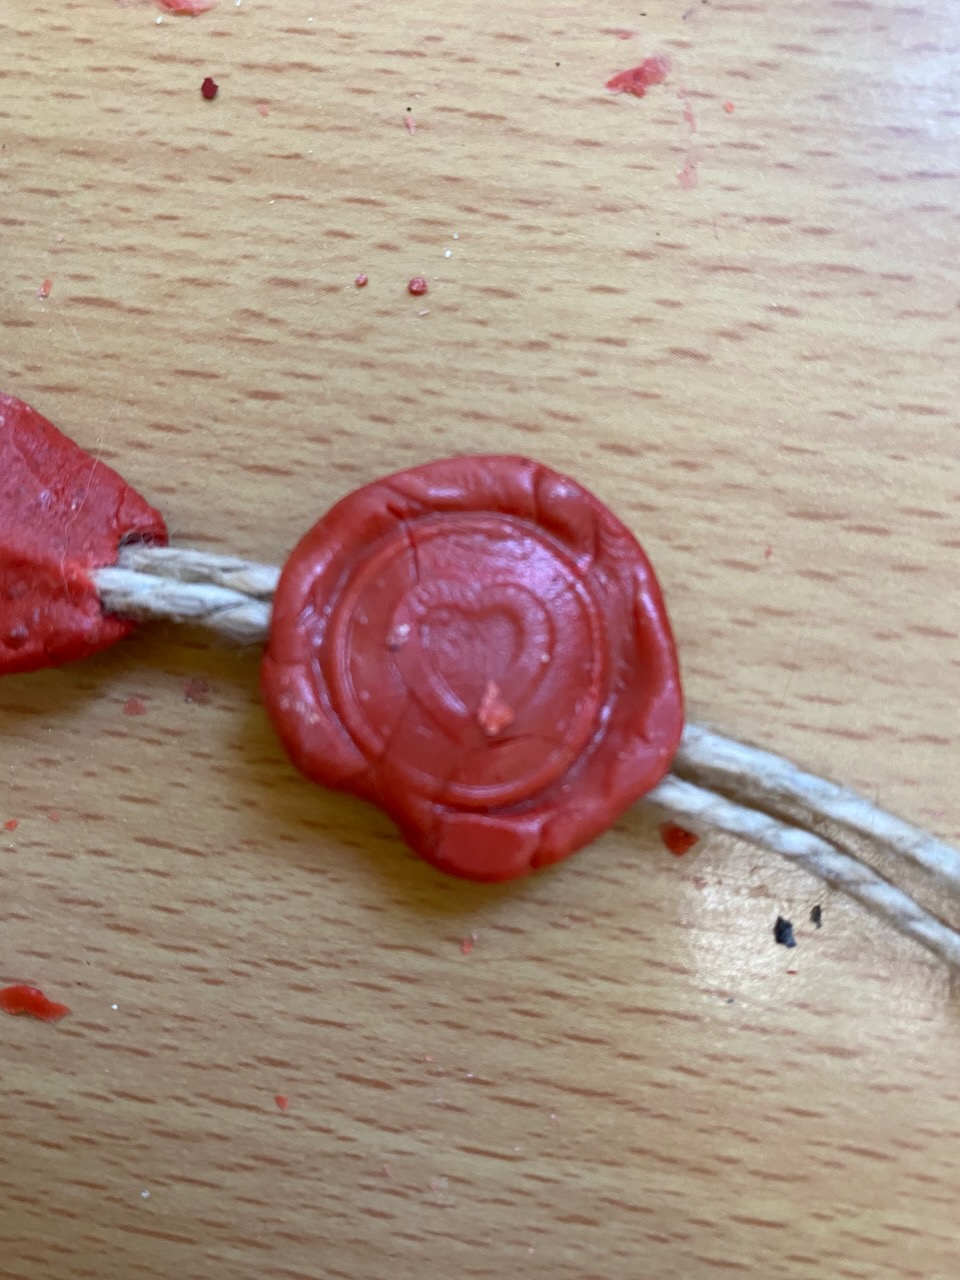
The seals were still quite pliable though, and easy to deform. If some resin was good, more must be better, so I added a generous amount of additional resin. After another round of cooling and forming, I found that the resulting wax had developed a smooth, shiny appearance I hadn’t seen up to this point.
The seals made with this wax were stiffer, and would crack if bent sharply. When the warm wax was pulled apart to make logs, it would create stretchy ribbons like melted cheese. This was similar to what I had seen with commercial waxes when applied to paper and pulled away. This was definitely a far better wax than the first attempt, and certainly a usable product.
Even completely cooled, however, the wax was still pliable, and it was quite sticky to the touch. It could be warmed enough to become malleable just by holding it in my hands for a few moments. While convenient for application purposes, it didn’t seem to be as durable as I would like. I also had done a lot of untracked experimentation at this point, and I wanted to have a reproducible recipe. Another attempt would be required.