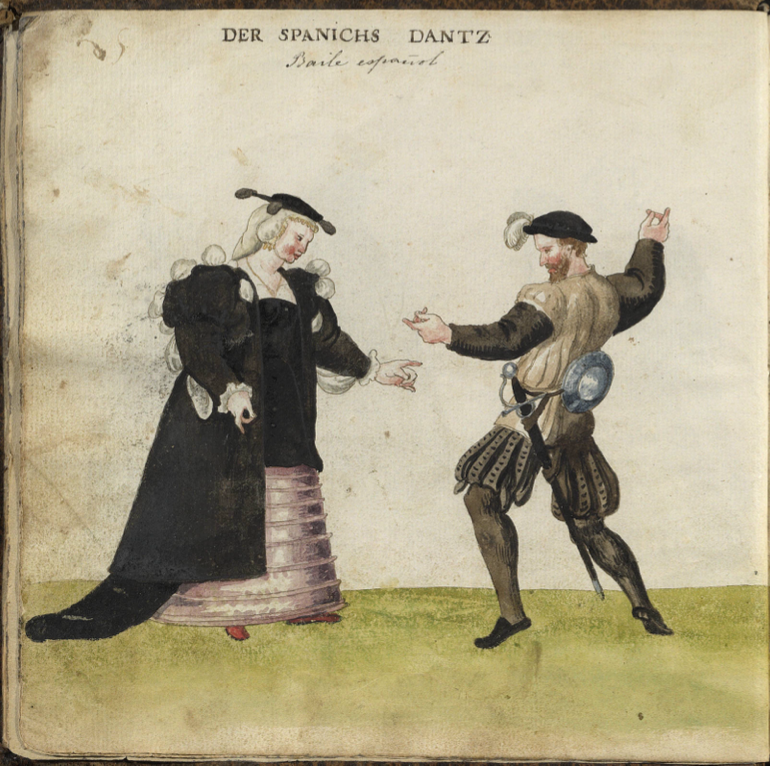
A set of images titled “Der Spanichs Dantz” came to my attention from the Códice de trajes, a German costume book in the National Library of Spain. As we have no surviving dance treatises from Spain, I was immediately curious about what could be gleaned from these images.
The Clothes
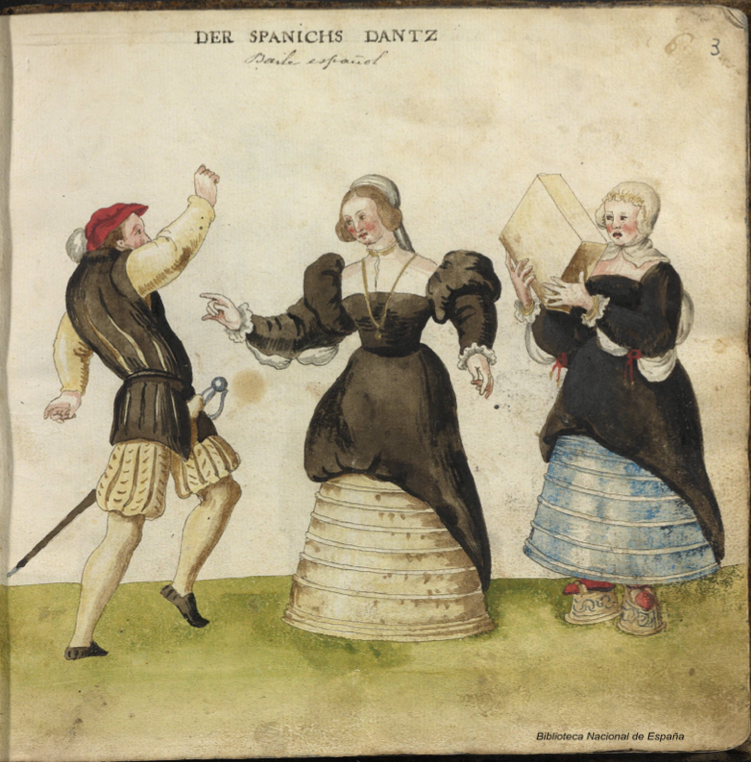
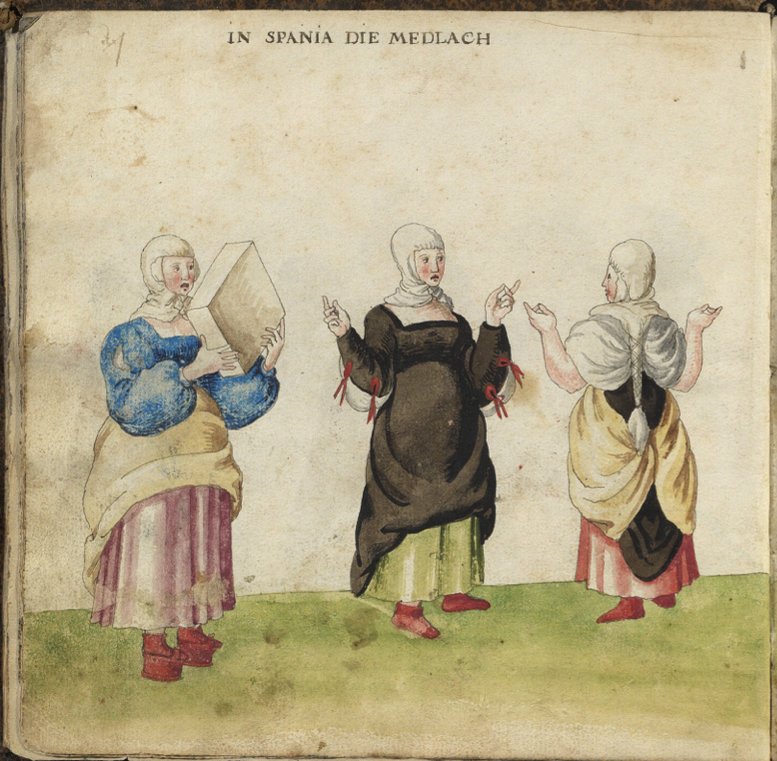
The thing I find most interesting about the clothes is the manner in which the ladies are managing their skirts for dancing. The first two images show what seem to be upper class ladies with their outer skirts tucked up inside in the front, revealing the farthingales beneath. The third image shows outer skirts tucked up to the outside and perhaps pinned in back, and no farthingales below.
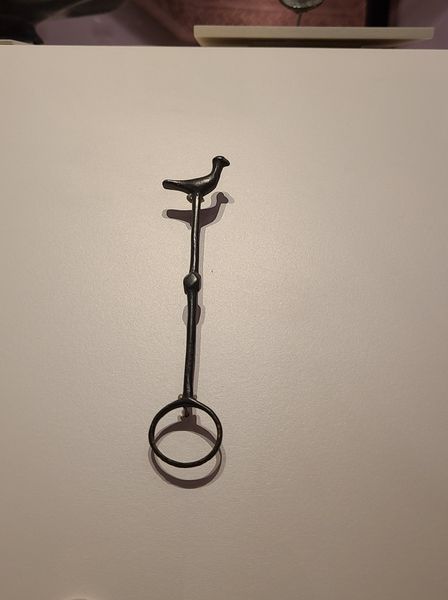
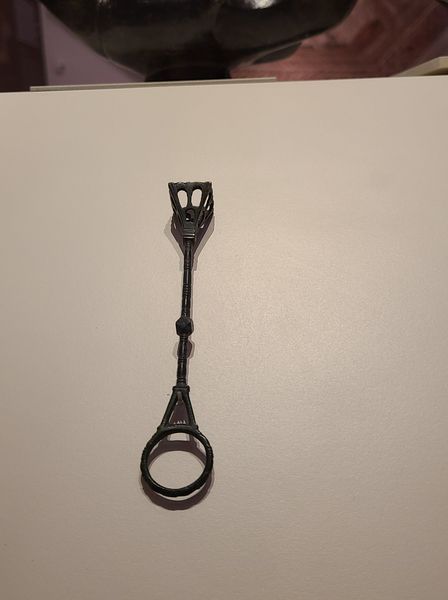
The Drum
Some of the comments on these images when I first found them were focused on the square object shown in the second and third images. Given the dance context and the way the object is held in both images, this seemed likely to be a frame drum. A quick search for square frame drums turned up the adufe, a square frame drum or tambourine of Moorish origin, commonly used on the Iberian peninsula. This seemed to be exactly the drum shown here. The terms daf or pandeiro show up as similar instruments, but searching those terms turns up round rather than square examples.
The Dance
In the context of the clothes and drum, we can look at the dance itself. The position of the dancers seems exceptionally lively, with arms lifted and torsos angled in ways that are uncommon for most European dances. Coupled with the origin of the drum shown, I suspect that these images may show what Arbeau describes in Orchesographie regarding the Maltese Branle:
Some of the Knights of Malta devised a ballet … in which an equal number of men and damsels, dressed in Turkish costume, danced a round branle, comprising certain gestures and twisting movements of the body, which they called the Maltese branle.
He also says that “It was some forty years ago that this branle was first danced in France”. Given that Orchesographie was published in 1589 and the Códice de trajes dates to 1540, the timeline seems to track as well.