The next thing I needed was a frame to stretch the silk on. I had an idea in my head and hit the Home Depot to get the parts. I was planning to make a 2′ x 9′ banner, so I wanted a 3′ x 10′ frame. I found 3/4″ PVC pipe in 10′ lengths, and the nice lady at the HD cut it to the lengths I needed right there. I wanted it all to break down into small enough pieces to go in the car, so I got two 5′ lengths for each long side of the frame, two 3′ lengths for the ends, and six 3′ lengths for legs. This would put the frame at a nice working height. The long sides were connected with a “T” connector, with a leg holding up the middle. I wasn’t able to find corners that had 3/4″ sockets on each point, but I found them with 3/4″ sockets on two points and a threaded socket on the other. There were threaded connectors that fit into that and had 3/4″ sockets on the other end, so that ended up working out in the end. If you look carefully in the later pictures I think you can see how it all goes together. To stretch the silk, I got a bag of rubber bands and two 12-packs of 3/4″ binder clips. I wasn’t sure if that would be enough, but I think it worked out. Serafina had offered her new house for a weekend household workshop day, so I figured that her basement would be an excellent place to do the painting. We set up the frame in a room that was just barely big enough to hold it: 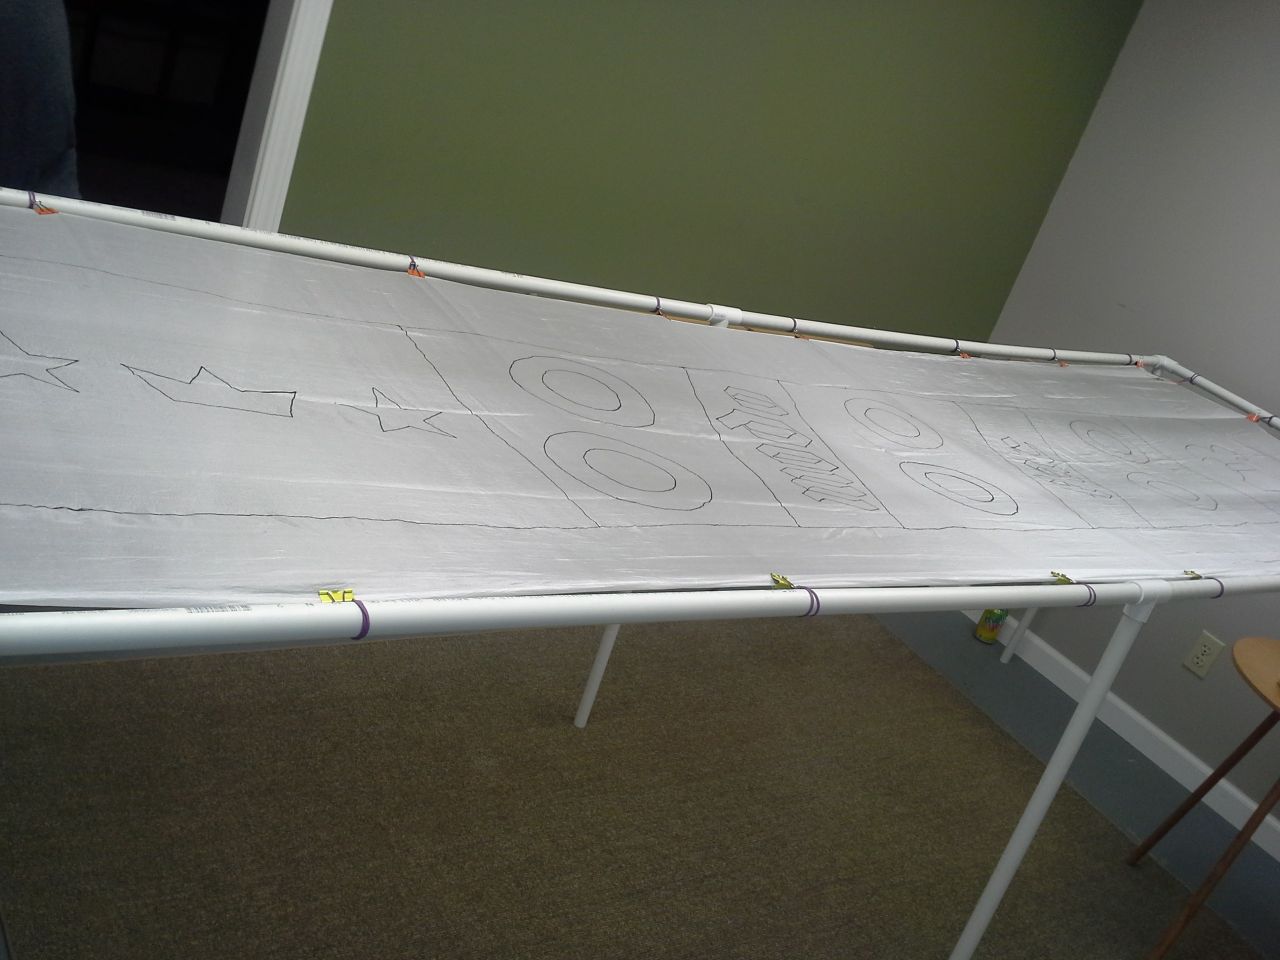 Once the silk was stretched out, it was time to start going over the design with gutta. Serafina had gone to Dick Blick to get dye, but was only able to find fabric paint. We took a field trip to Binders, where we were able to find a kit that had all the stuff we needed. Thus armed, we got ready to apply the gutta, only to find that the gutta in the kit had congealed into a gummy mass. As luck would have it, the “3D paint” she had gotten on her first run was pretty much the same stuff, and black, to boot:
  We started at either end and worked toward the middle. Following the lines was much harder than we thought it would be. There was a lot of “it’s okay, it’ll be 20 feet in the air and flapping” going on. Applying the dye was pretty much the easiest part. There were a couple little whoopsies where we went outside the lines a tiny bit, and one near-disaster when I tripped while holding an open dye bottle, but mostly it went smoothly:
 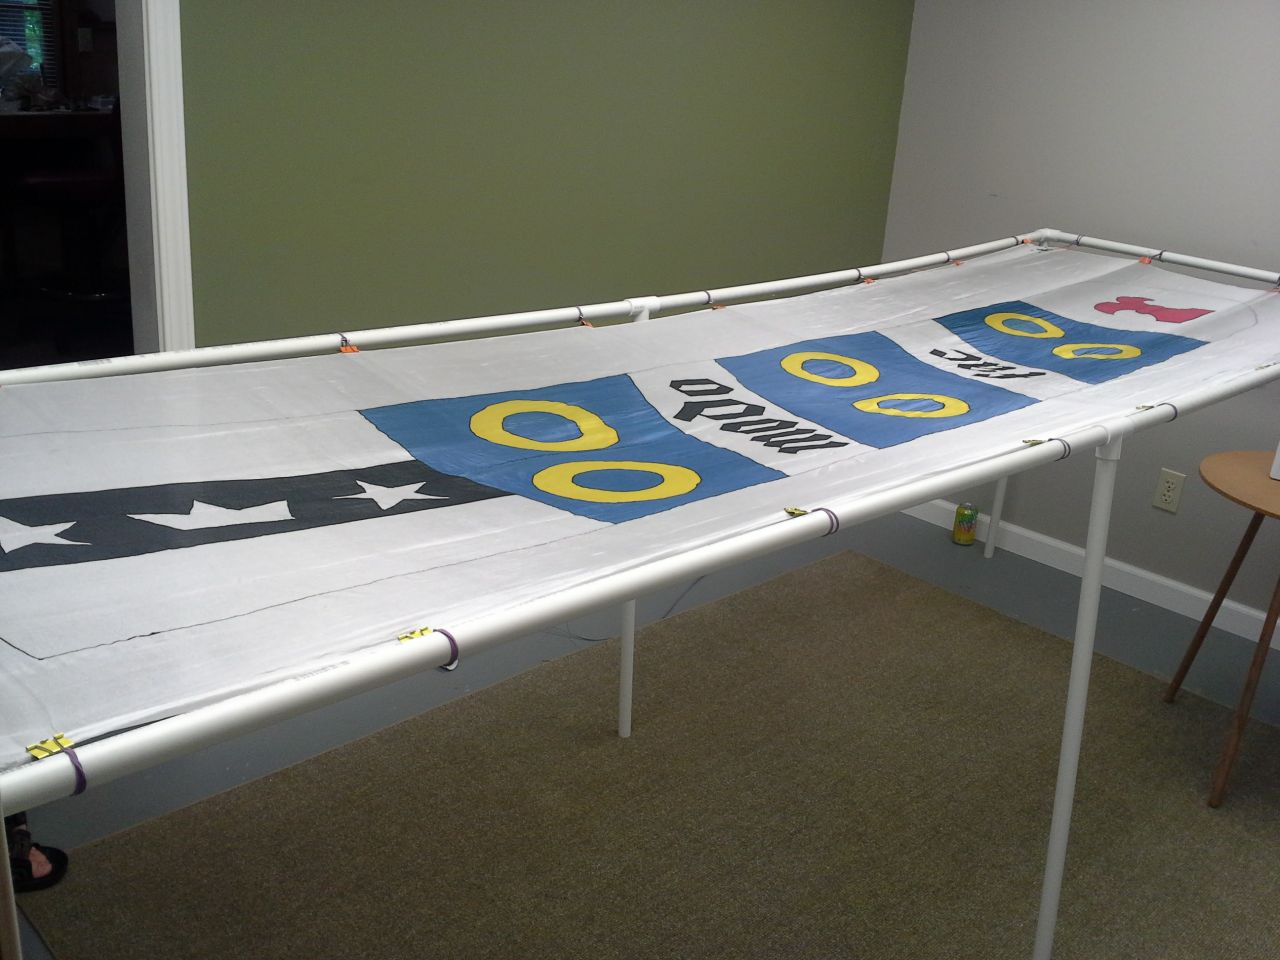 Here you can get a better look at how the silk was attached to the frame:
 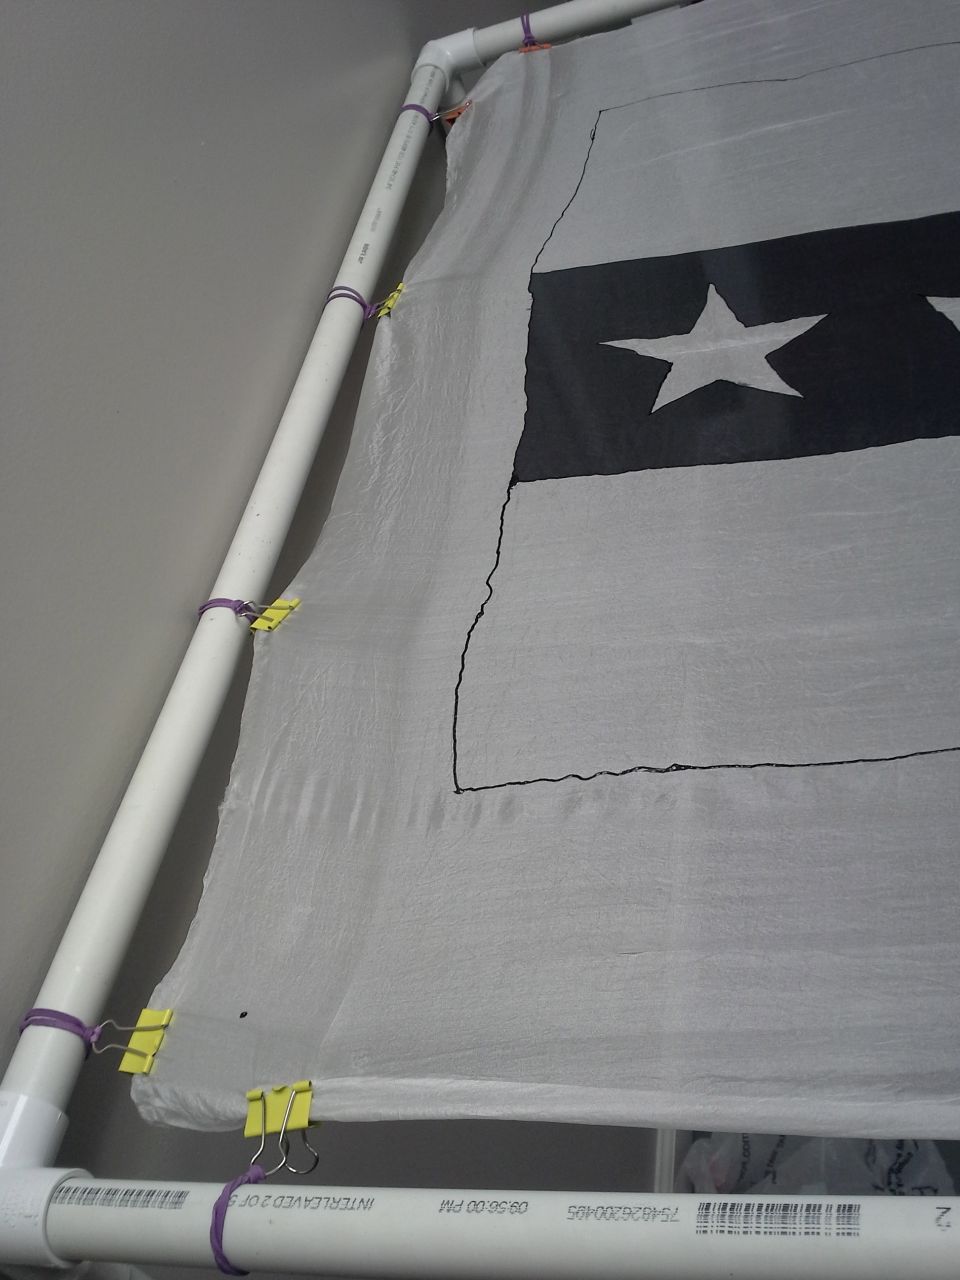 It was getting pretty late by the time the painting was done, so I took the banner home and did the dyeset rinse the next day. I would not recommend this, as there were some faint greenish marks on some of the white areas, which I presume was transfer from when it was folded up. Nothing really terrible, but something to avoid for next time.
 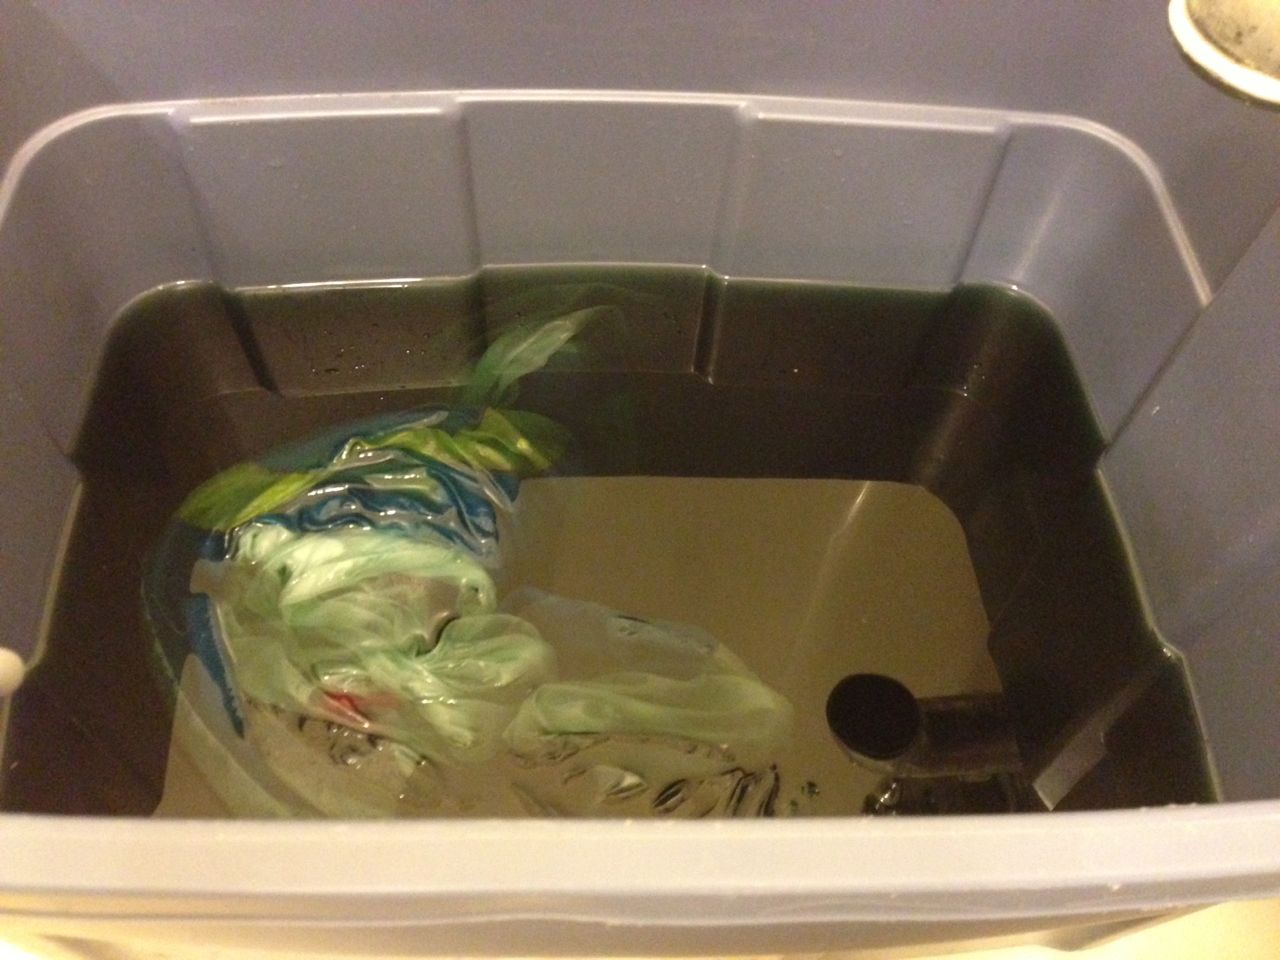 After the rinse and wash, the colors were a bit faded, but still plenty visible:
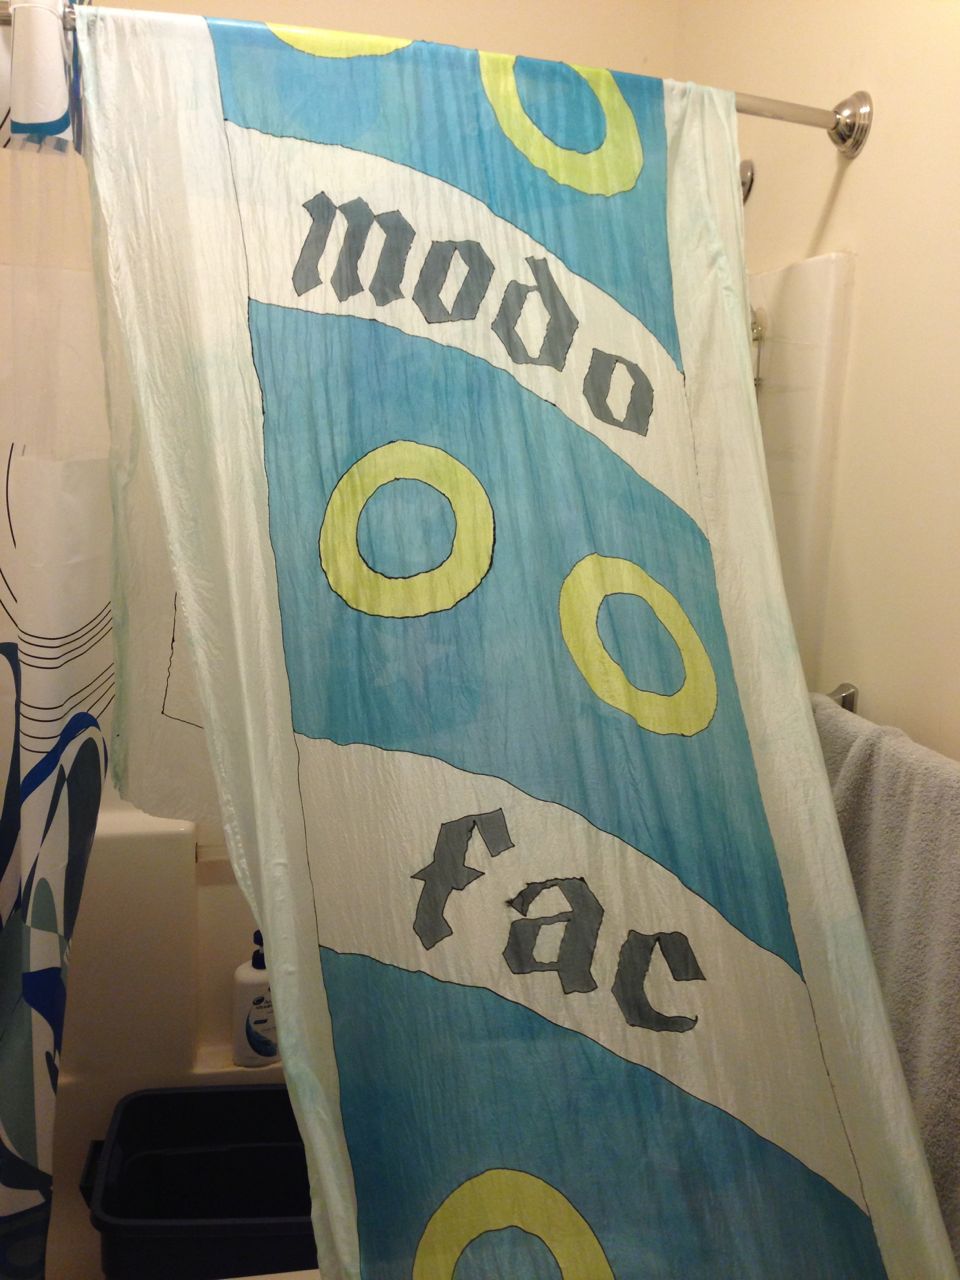

Lorenzo's Workshop © 2015
Frontier Theme