Once the banner was dry, I cut it out just outside the gutta border. This also took quite a while, especially with a curious kitten nearby. I left the hoist end for last. Before cutting it, I tacked down a length of twill tape. Then I cut the silk off flush with the tape, folded it over, and sewed it up on the machine. Five more pieces of twill tape were cut, folded in half, and sewn down for ties: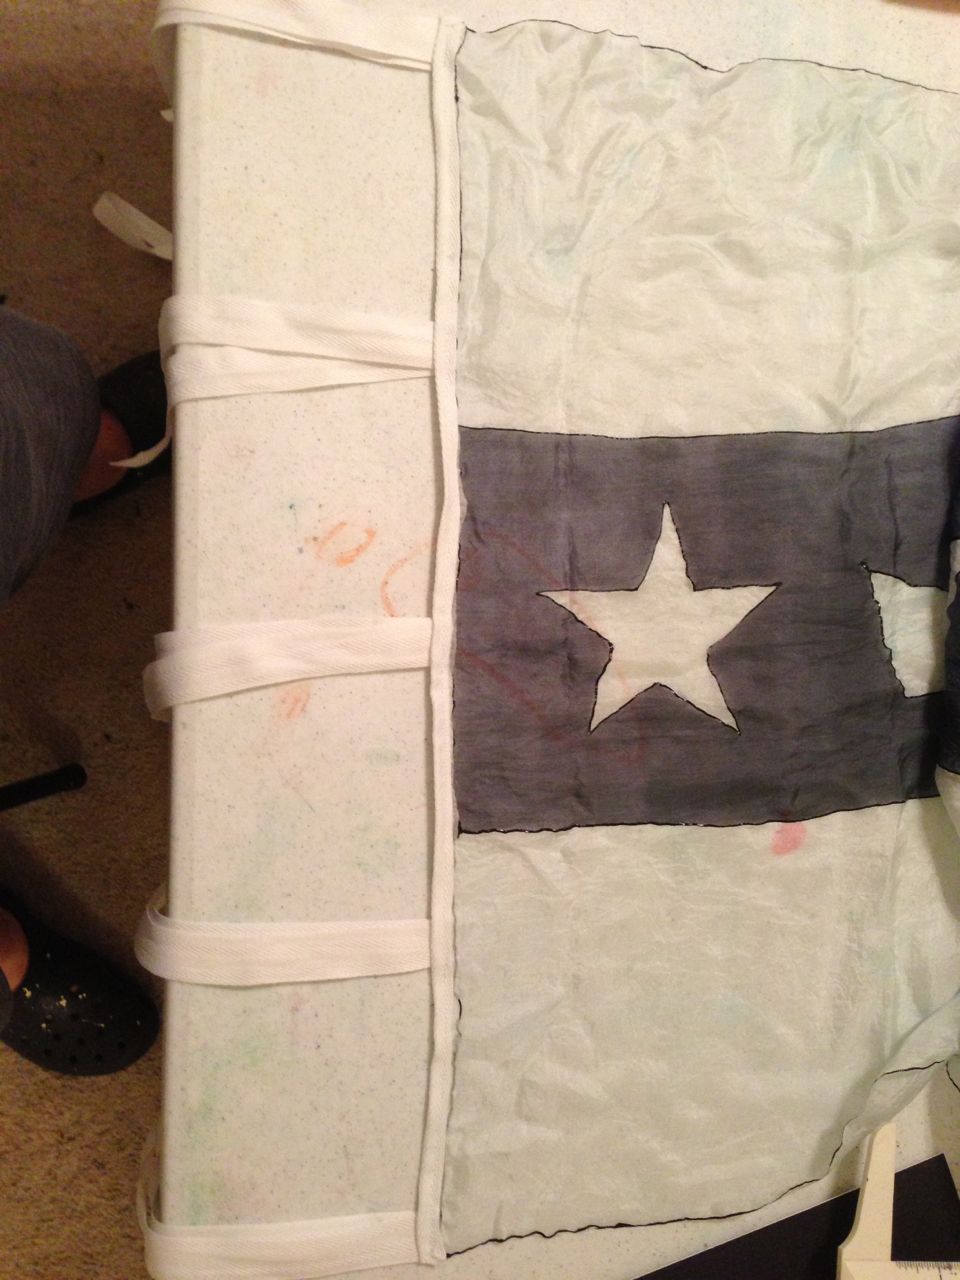
 The final part was the pole. I had originally planed a much longer pole, but one of my expert advisors said that ten feet was sufficient. I procured a 10′ piece of 1 1/4″ diameter poplar, cut down to 5′ lengths, and applied a coat of tinted polyurethane. I searched around for something to make the connecting sleeve with, and eventually found a 1 1/2″ chromed brass drain pipe that was just the right length. Here you can see both sections of the finished pole:
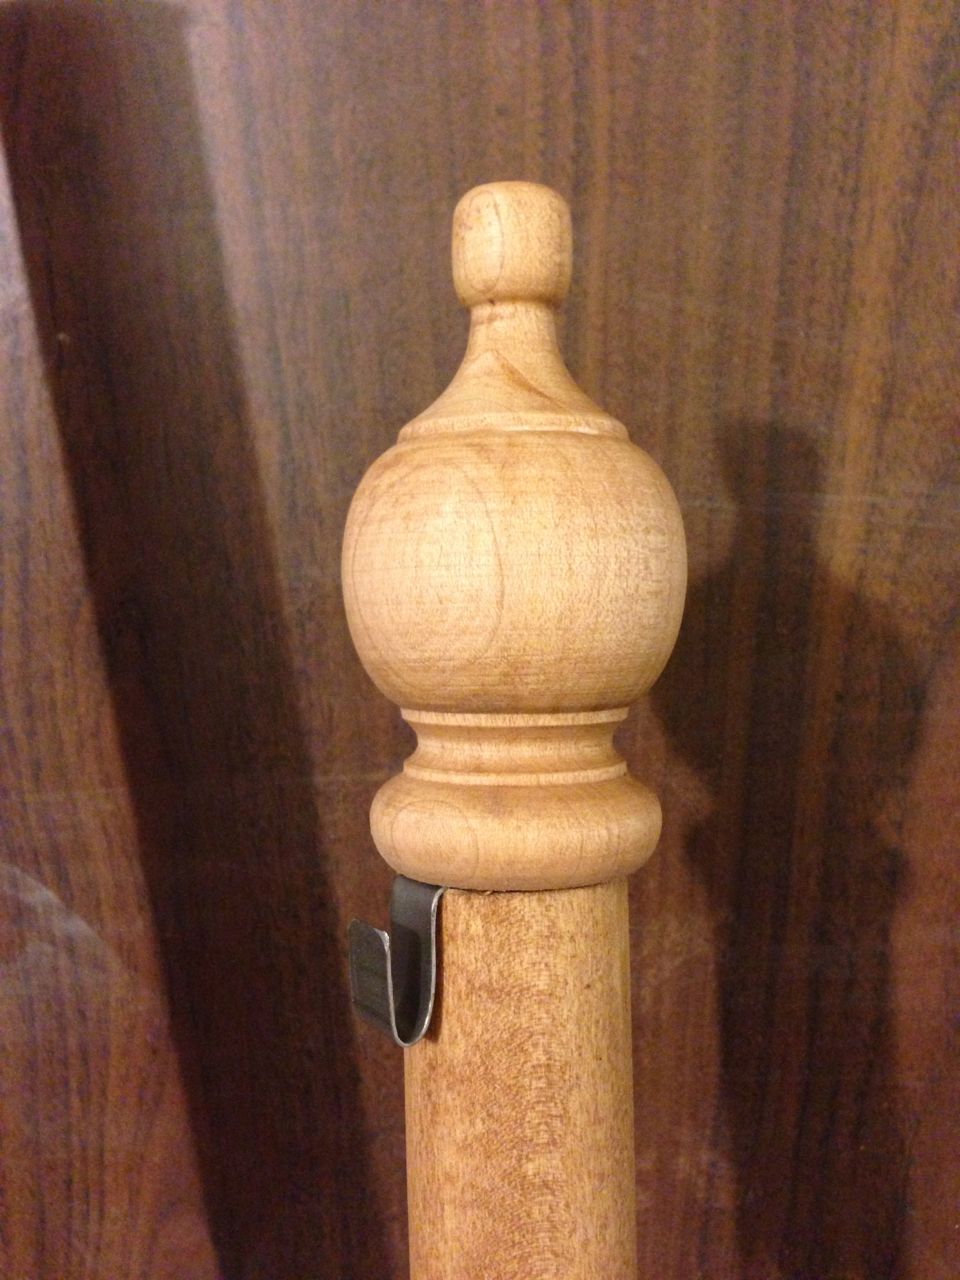
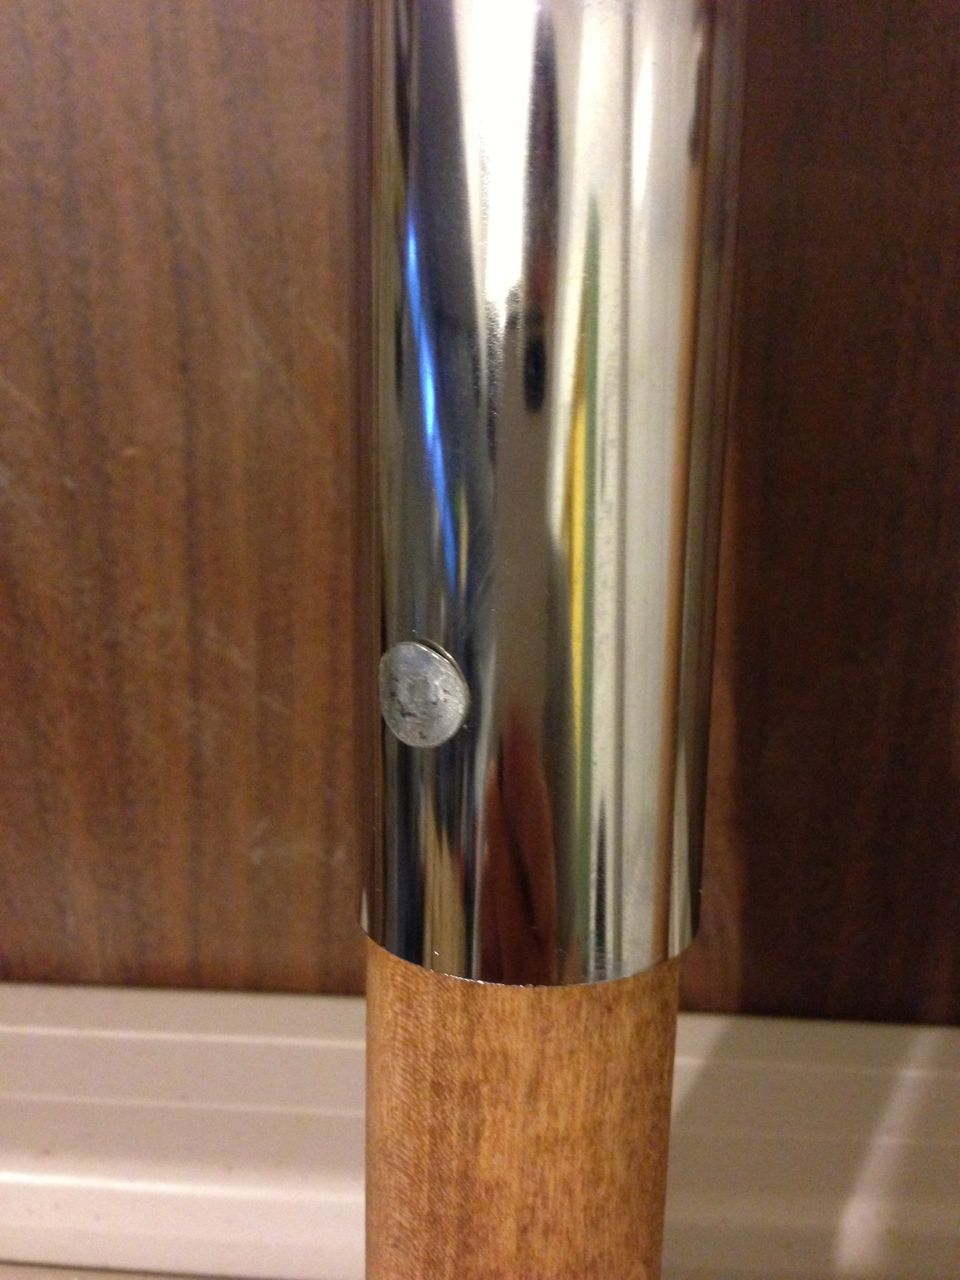
 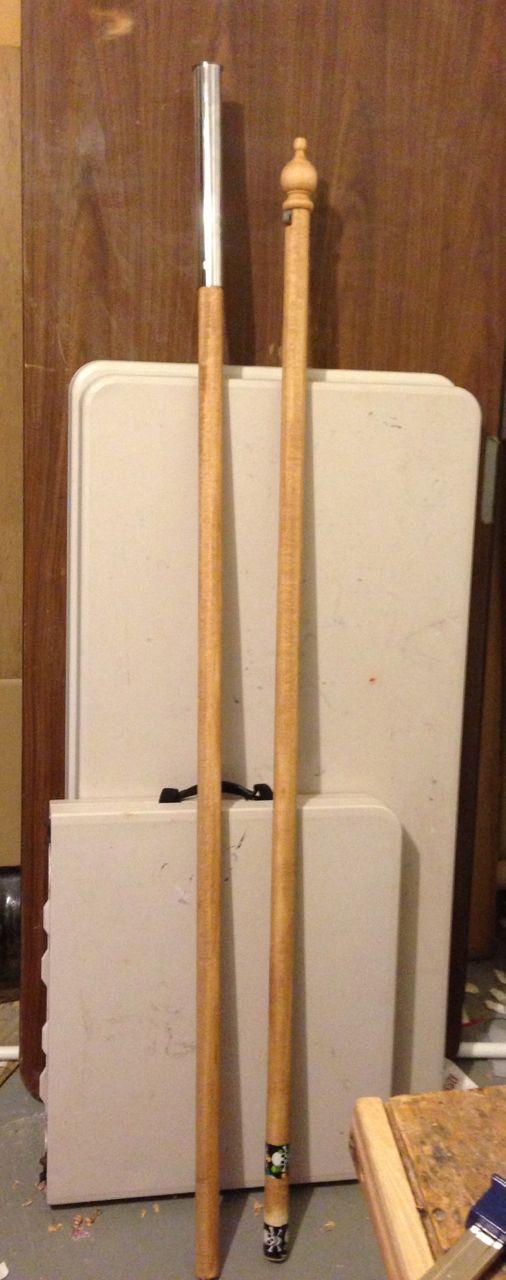 The sleeve was just a touch too big for the pole, so I wrapped a few turns of duct tape around the top end of the lower pole. This made a very snug fit, but just to be sure I drilled a hole and put in a galvanized nail to keep everything together. I also put duct tape on the bottom of the upper pole, but not so much that I couldn’t get it back out easily. I may add a retaining pin or bolt later, but for now I’ll just leave it as is. For the very top, I got a screw-in finial (If I had more time I would turn my own, but I doubt I’ll get lathe access before war). I wanted to make sure the banner wouldn’t slide down the pole, so I made a little hook out of some scrap 22ga steel left over from casket hardware. I drilled a hole in the end of the hook so the finial would hold it in place. That should be enough to hold the top tie in place when it goes on the pole.
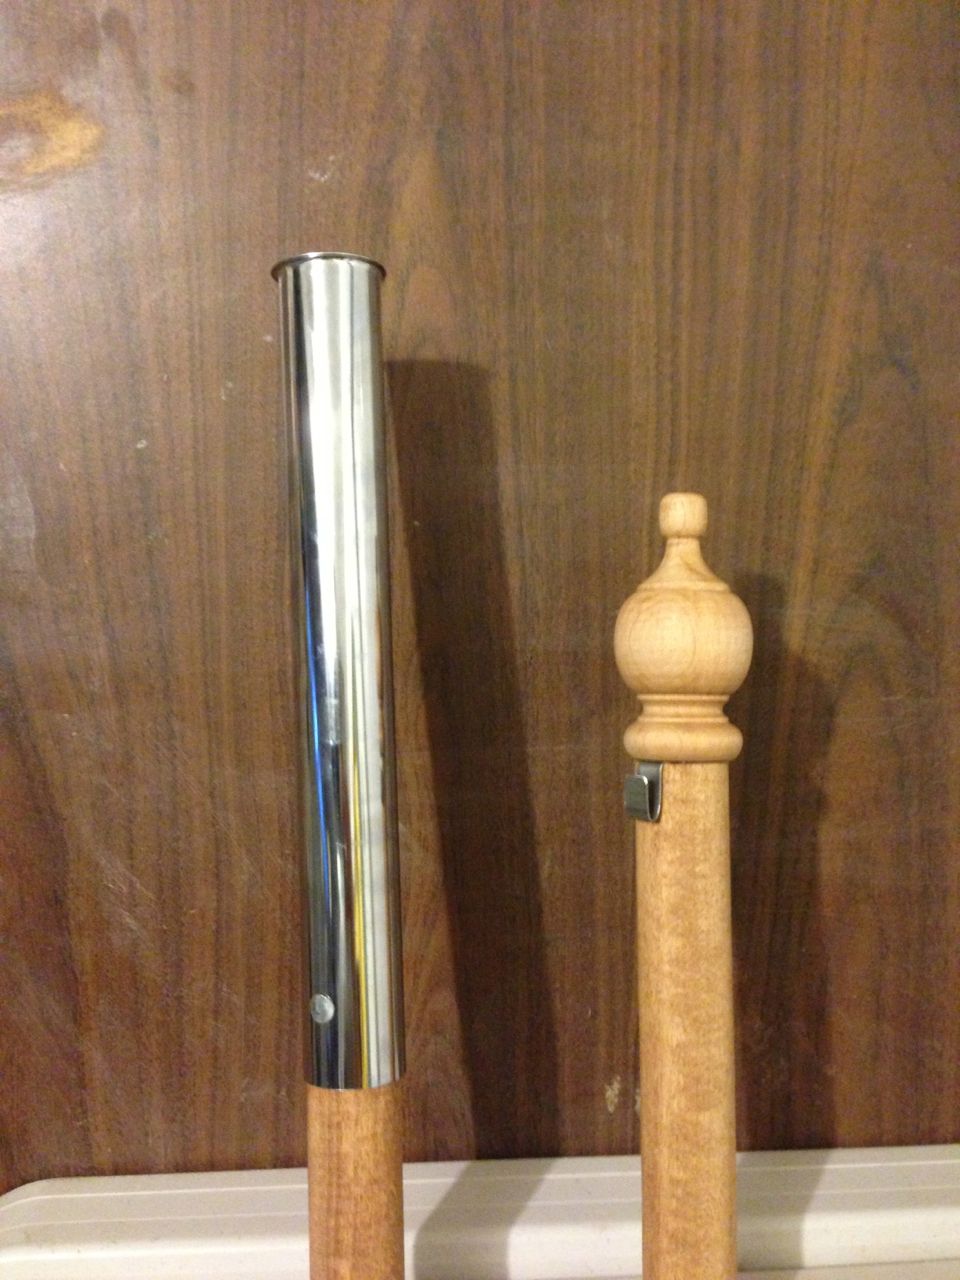


Lorenzo's Workshop © 2015
Frontier Theme