For the last 7 years I have been researching how to make a specific 16th century trim. I was so excited to discover that Halcyon Yarn carries the perfect silk yarn for the project… In the right weight and colors! Talk about hitting the jackpot!

For the last 7 years I have been researching how to make a specific 16th century trim. I was so excited to discover that Halcyon Yarn carries the perfect silk yarn for the project… In the right weight and colors! Talk about hitting the jackpot!
Girl’s Doublet Part 1 and Part 2
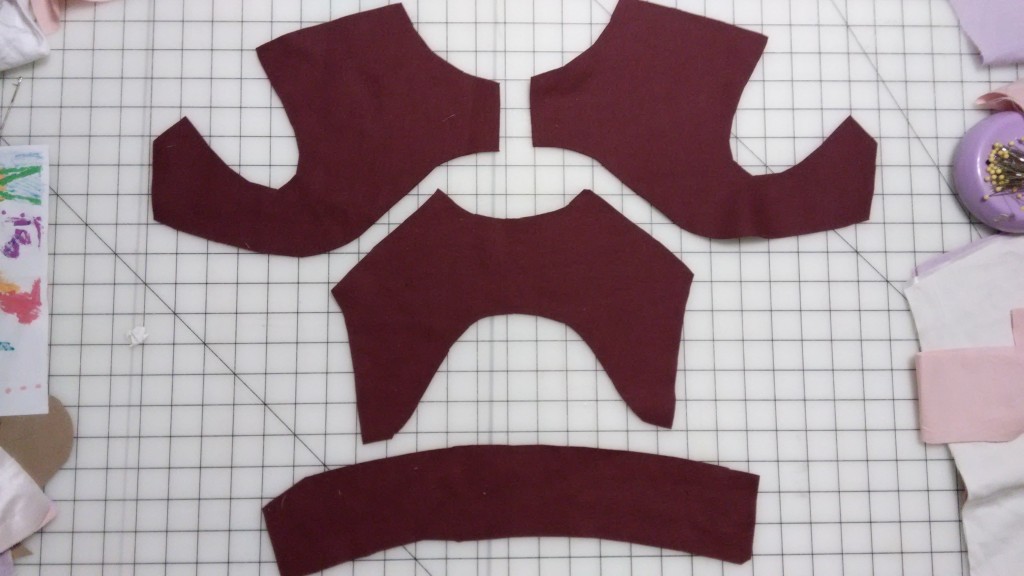
I worked on the doublet and I decided to do it all by hand. The outer shell is silk faced satin, linen cotton blend interlining with wool padding and a linen lining.
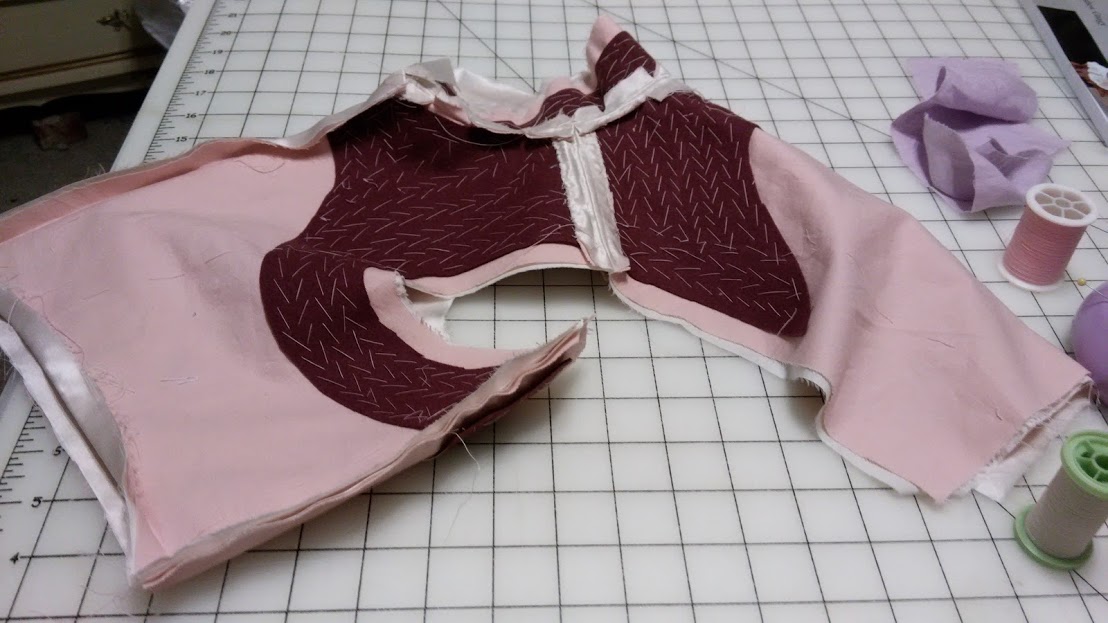
Before sewing the wool padding to the pink linen blend the seam allowances were trimmed. Each piece was based on , then pad stitched, The padded interlining was then basted to the outer silk and all the layers were sewn together at the shoulders and sides.
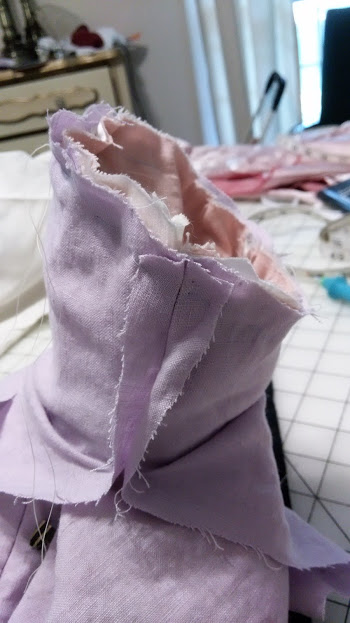
The collar was set, and the seams clipped. After pressing, the seams were stitched open using a prick stitch. At this point the lining was sewn in and buttonholes begun.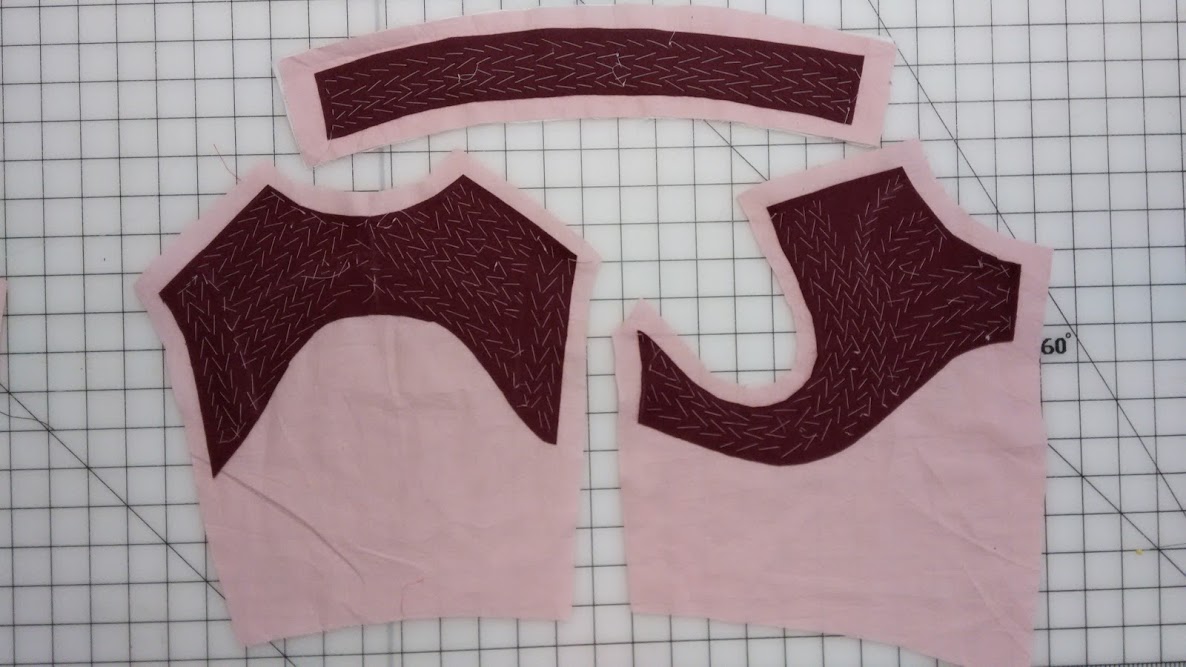
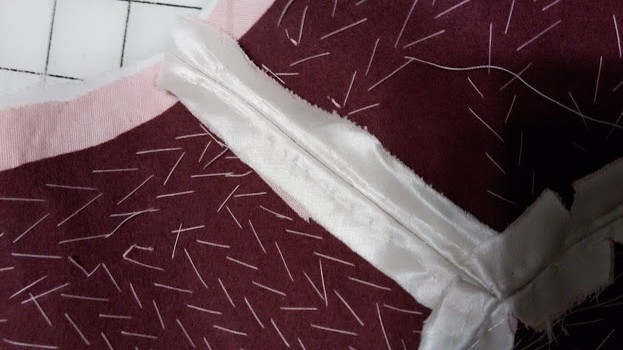

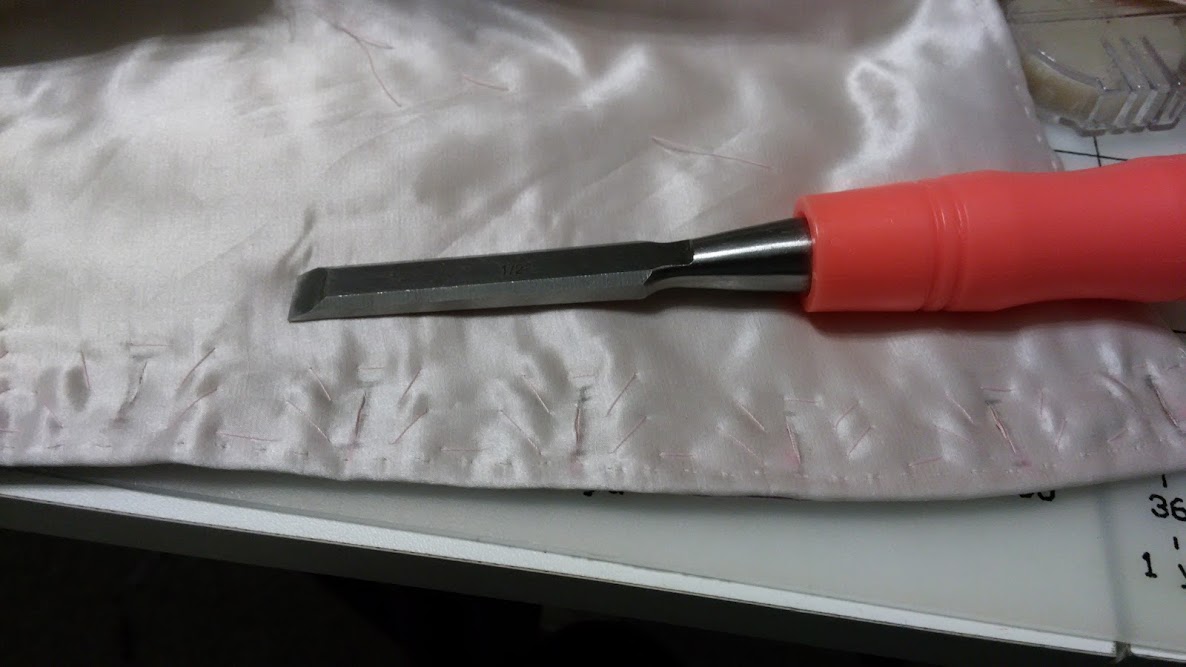
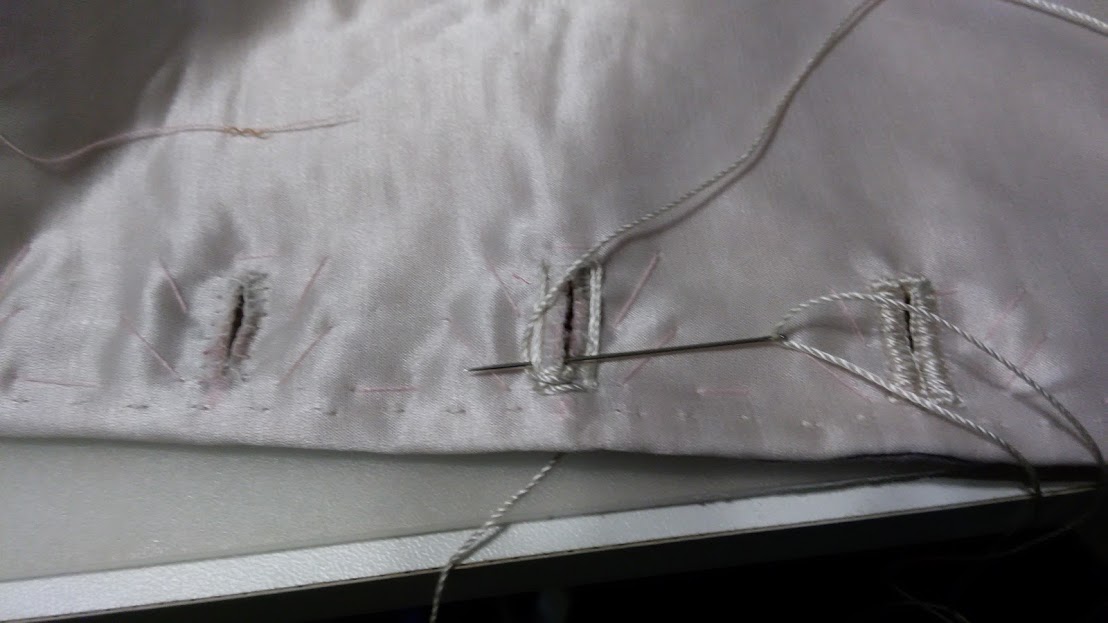
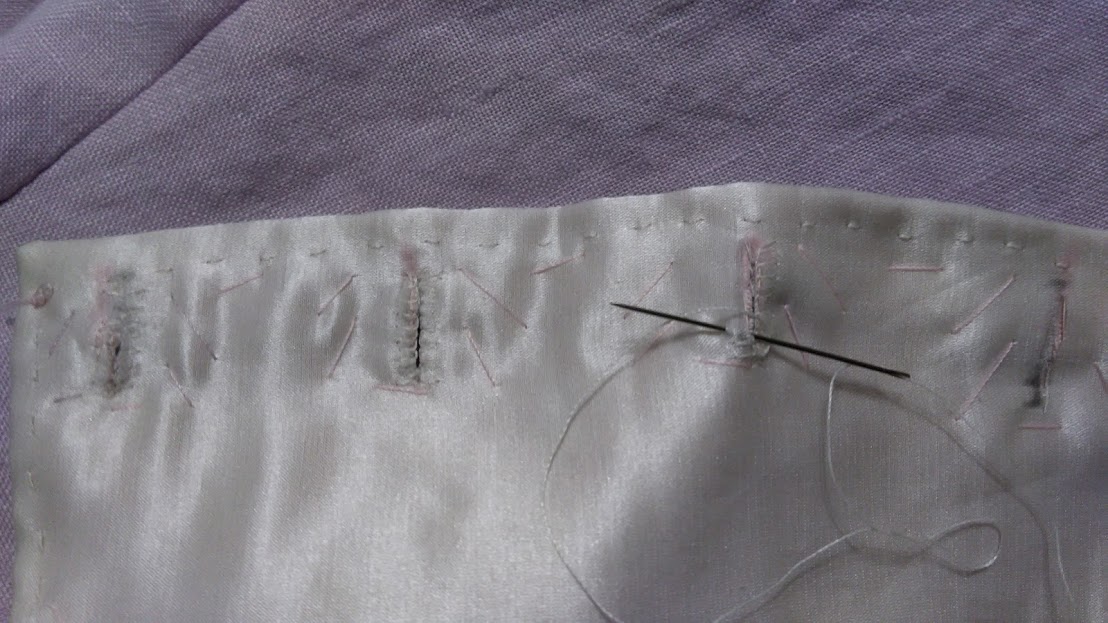
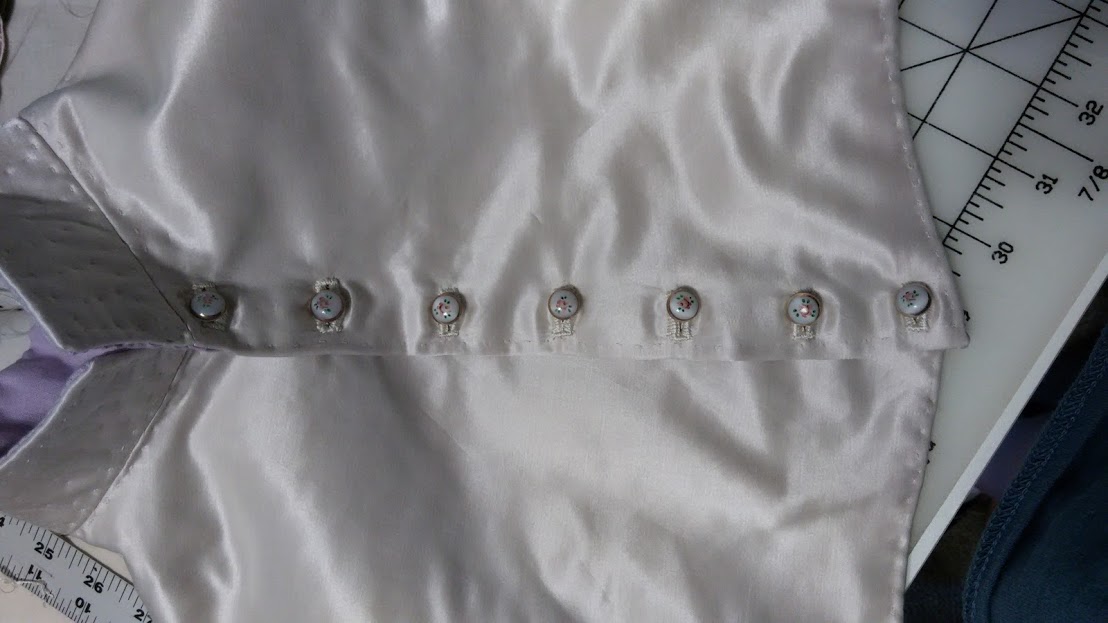
Each buttonhole was marked, then the layers basted together with pad stitches. After cutting open the holes with a chisel, I used blanket stitch around each opening, then used silk twist and buttonhole stitch to finish.

The sleeves were set and openings were whipped closed.
Little-Bug is so excited shes been wearing it every chance she gets.
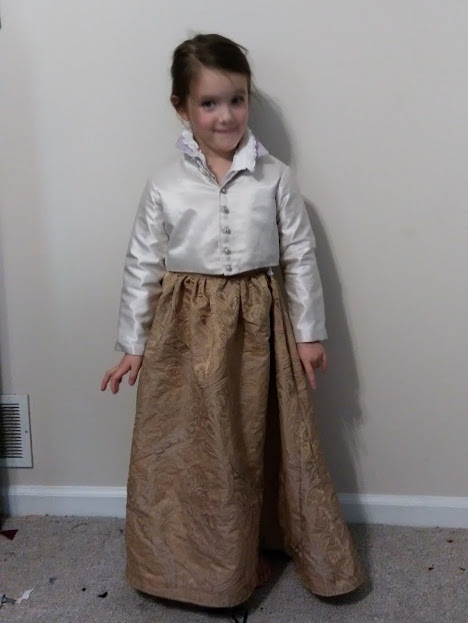
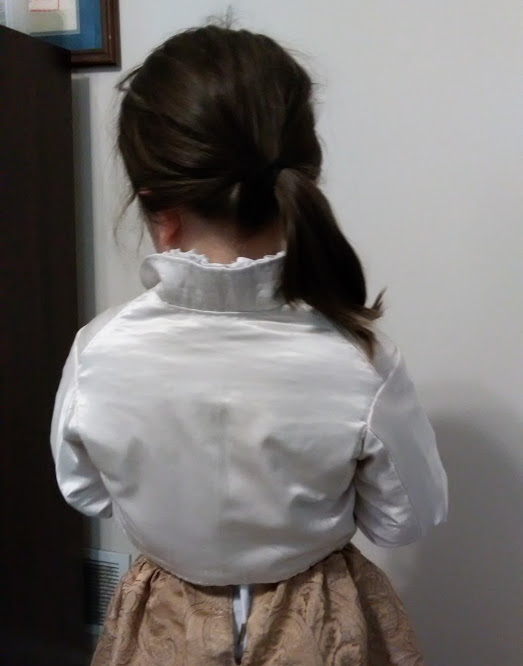
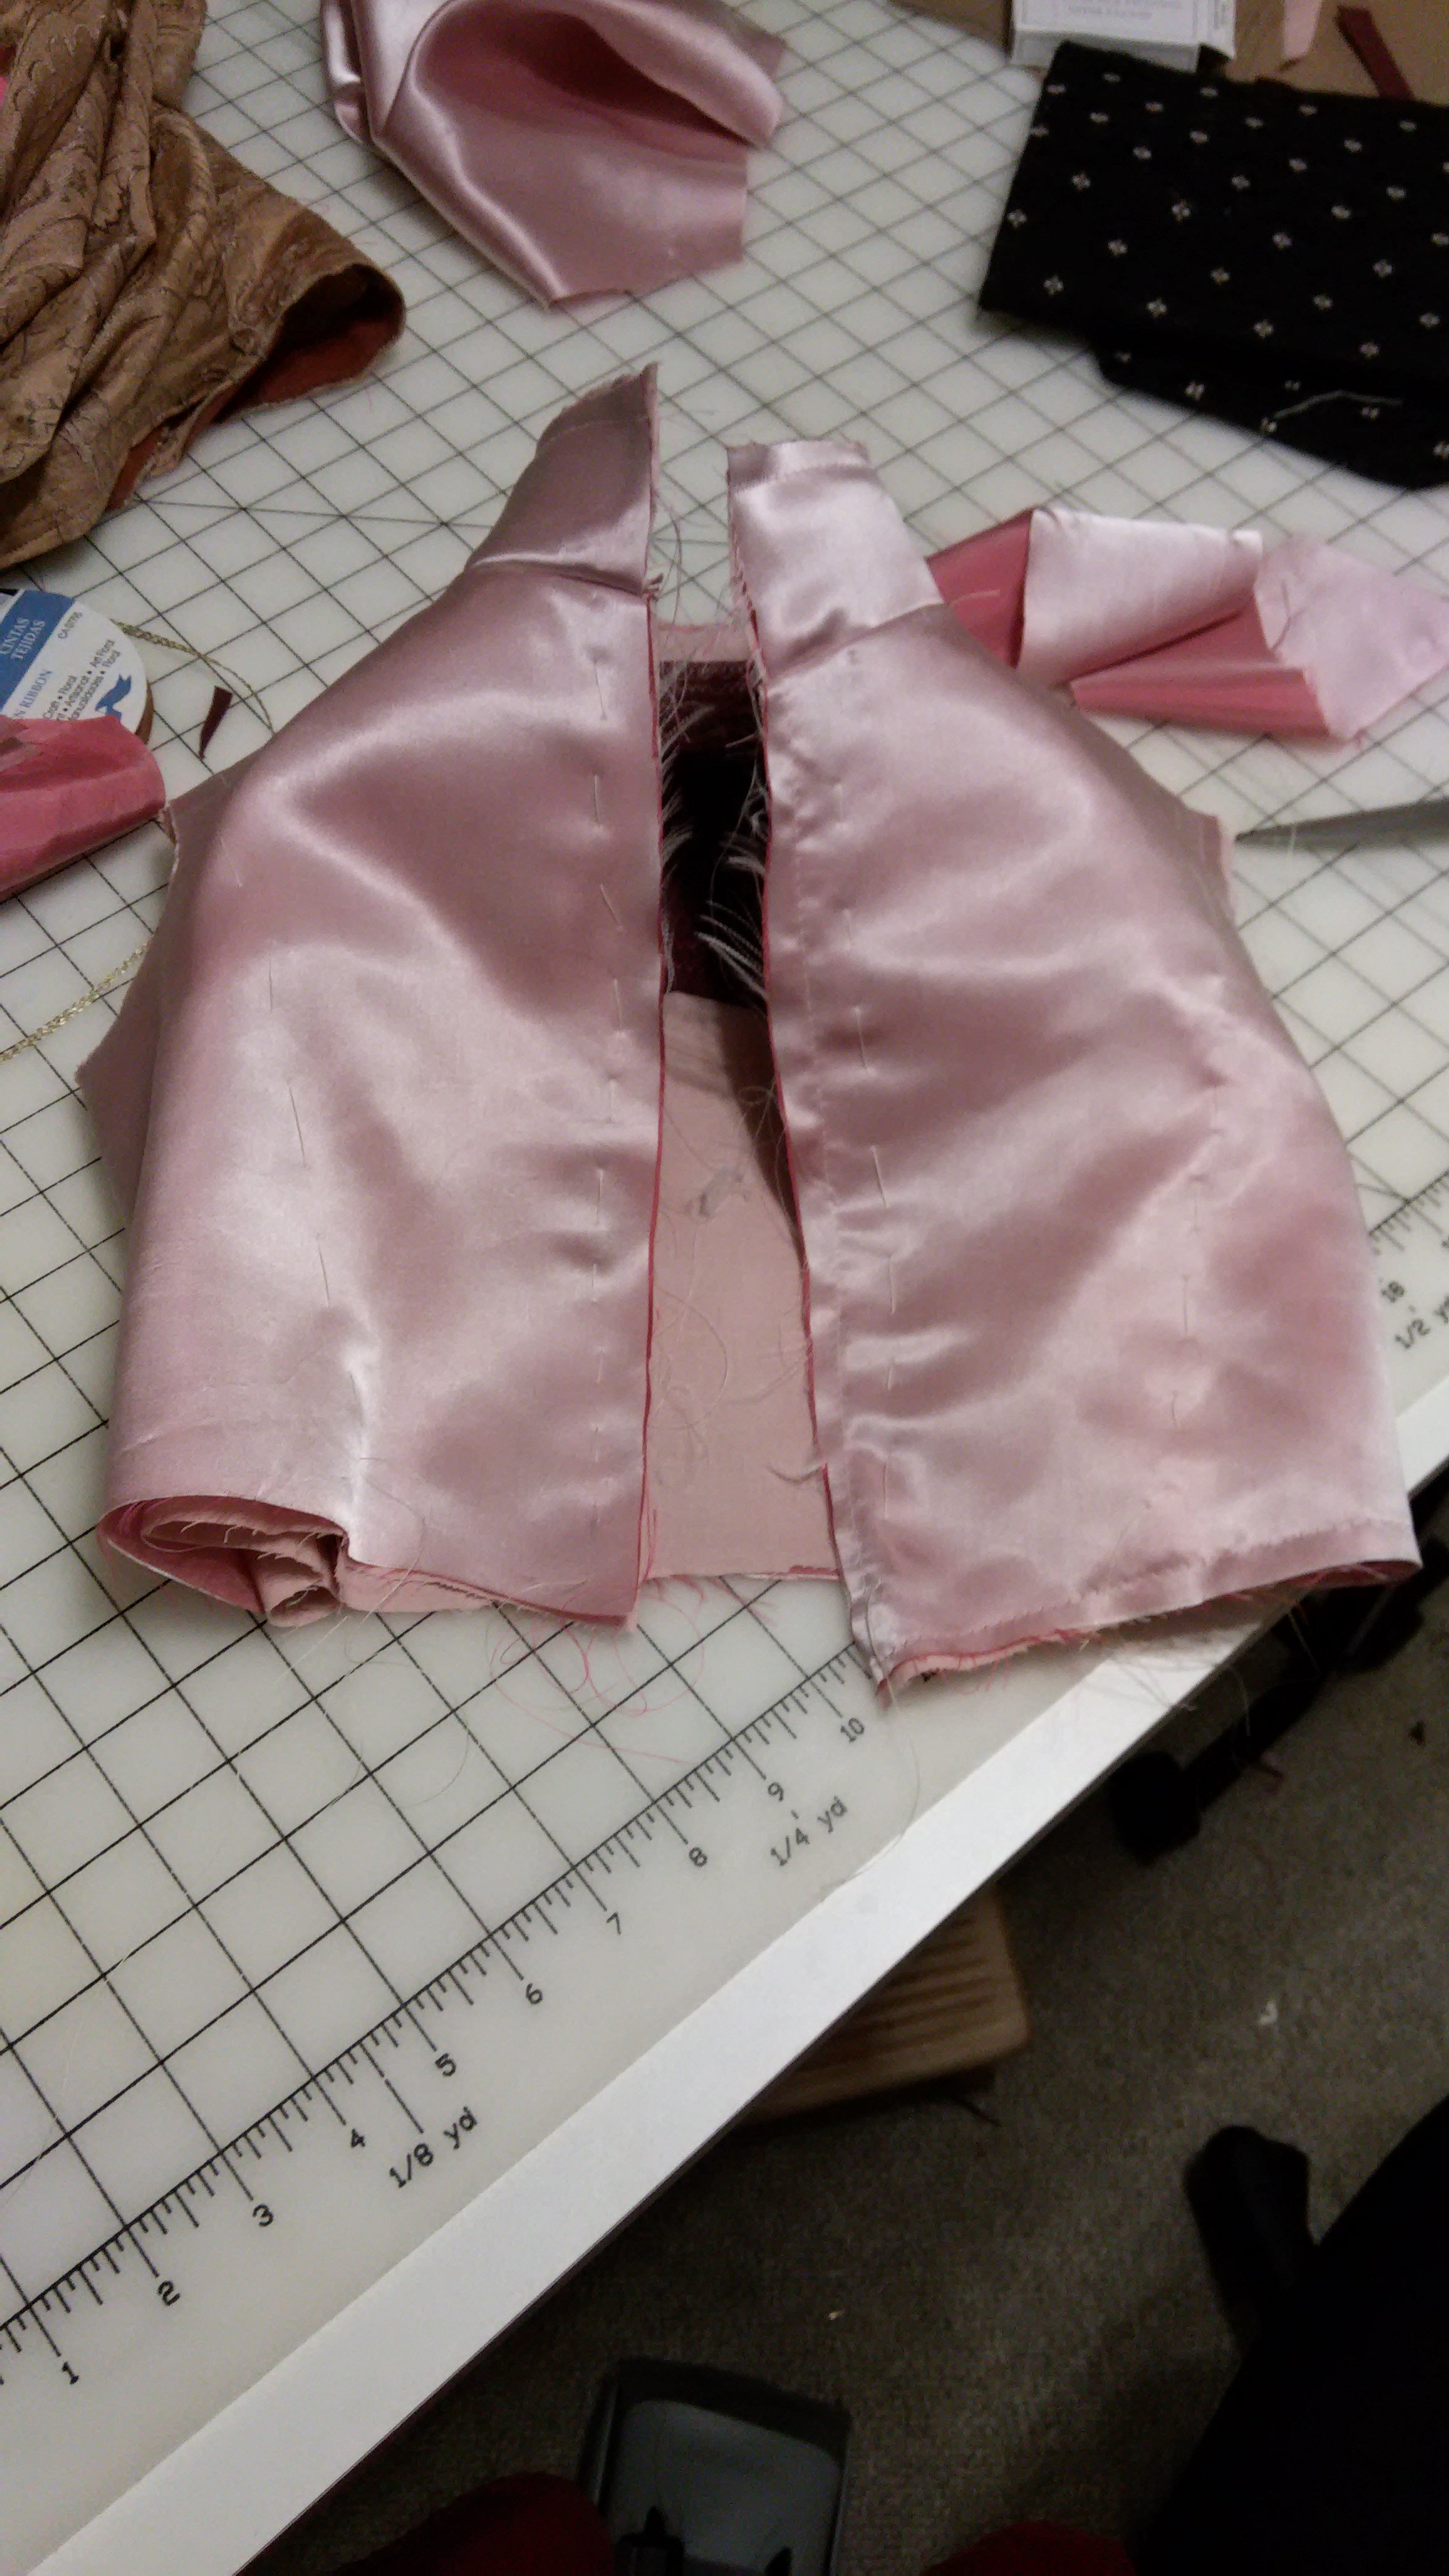
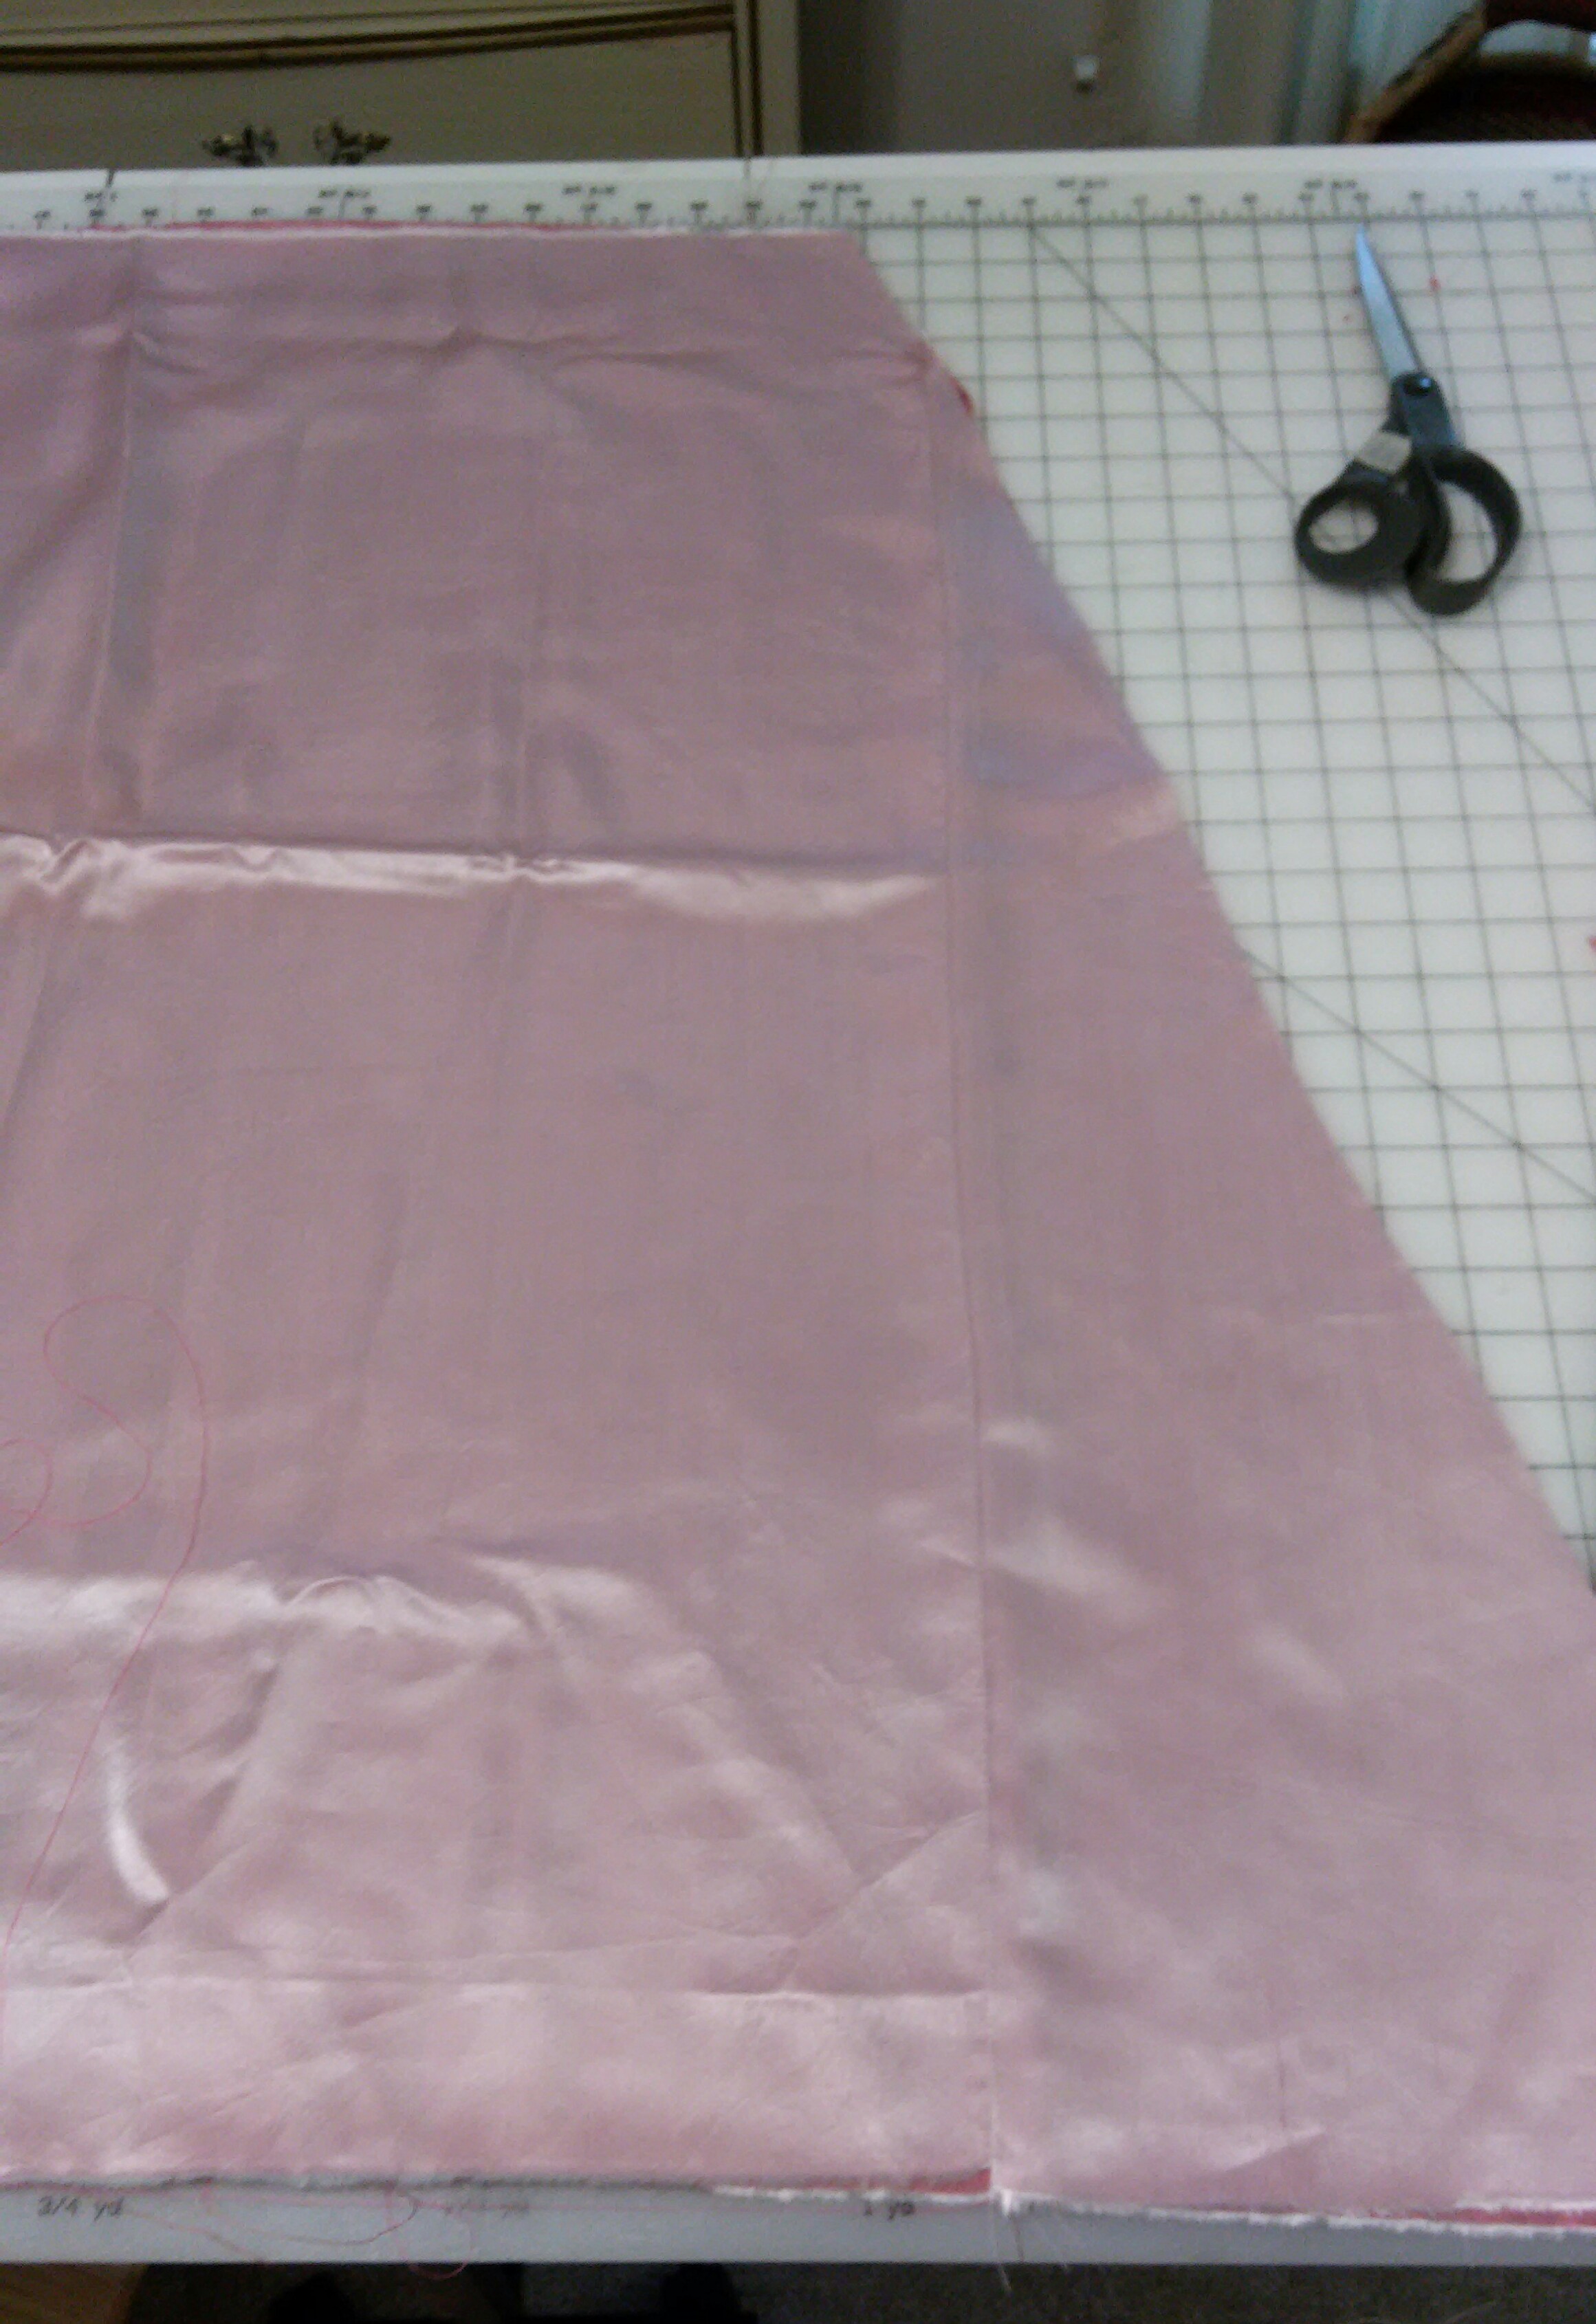
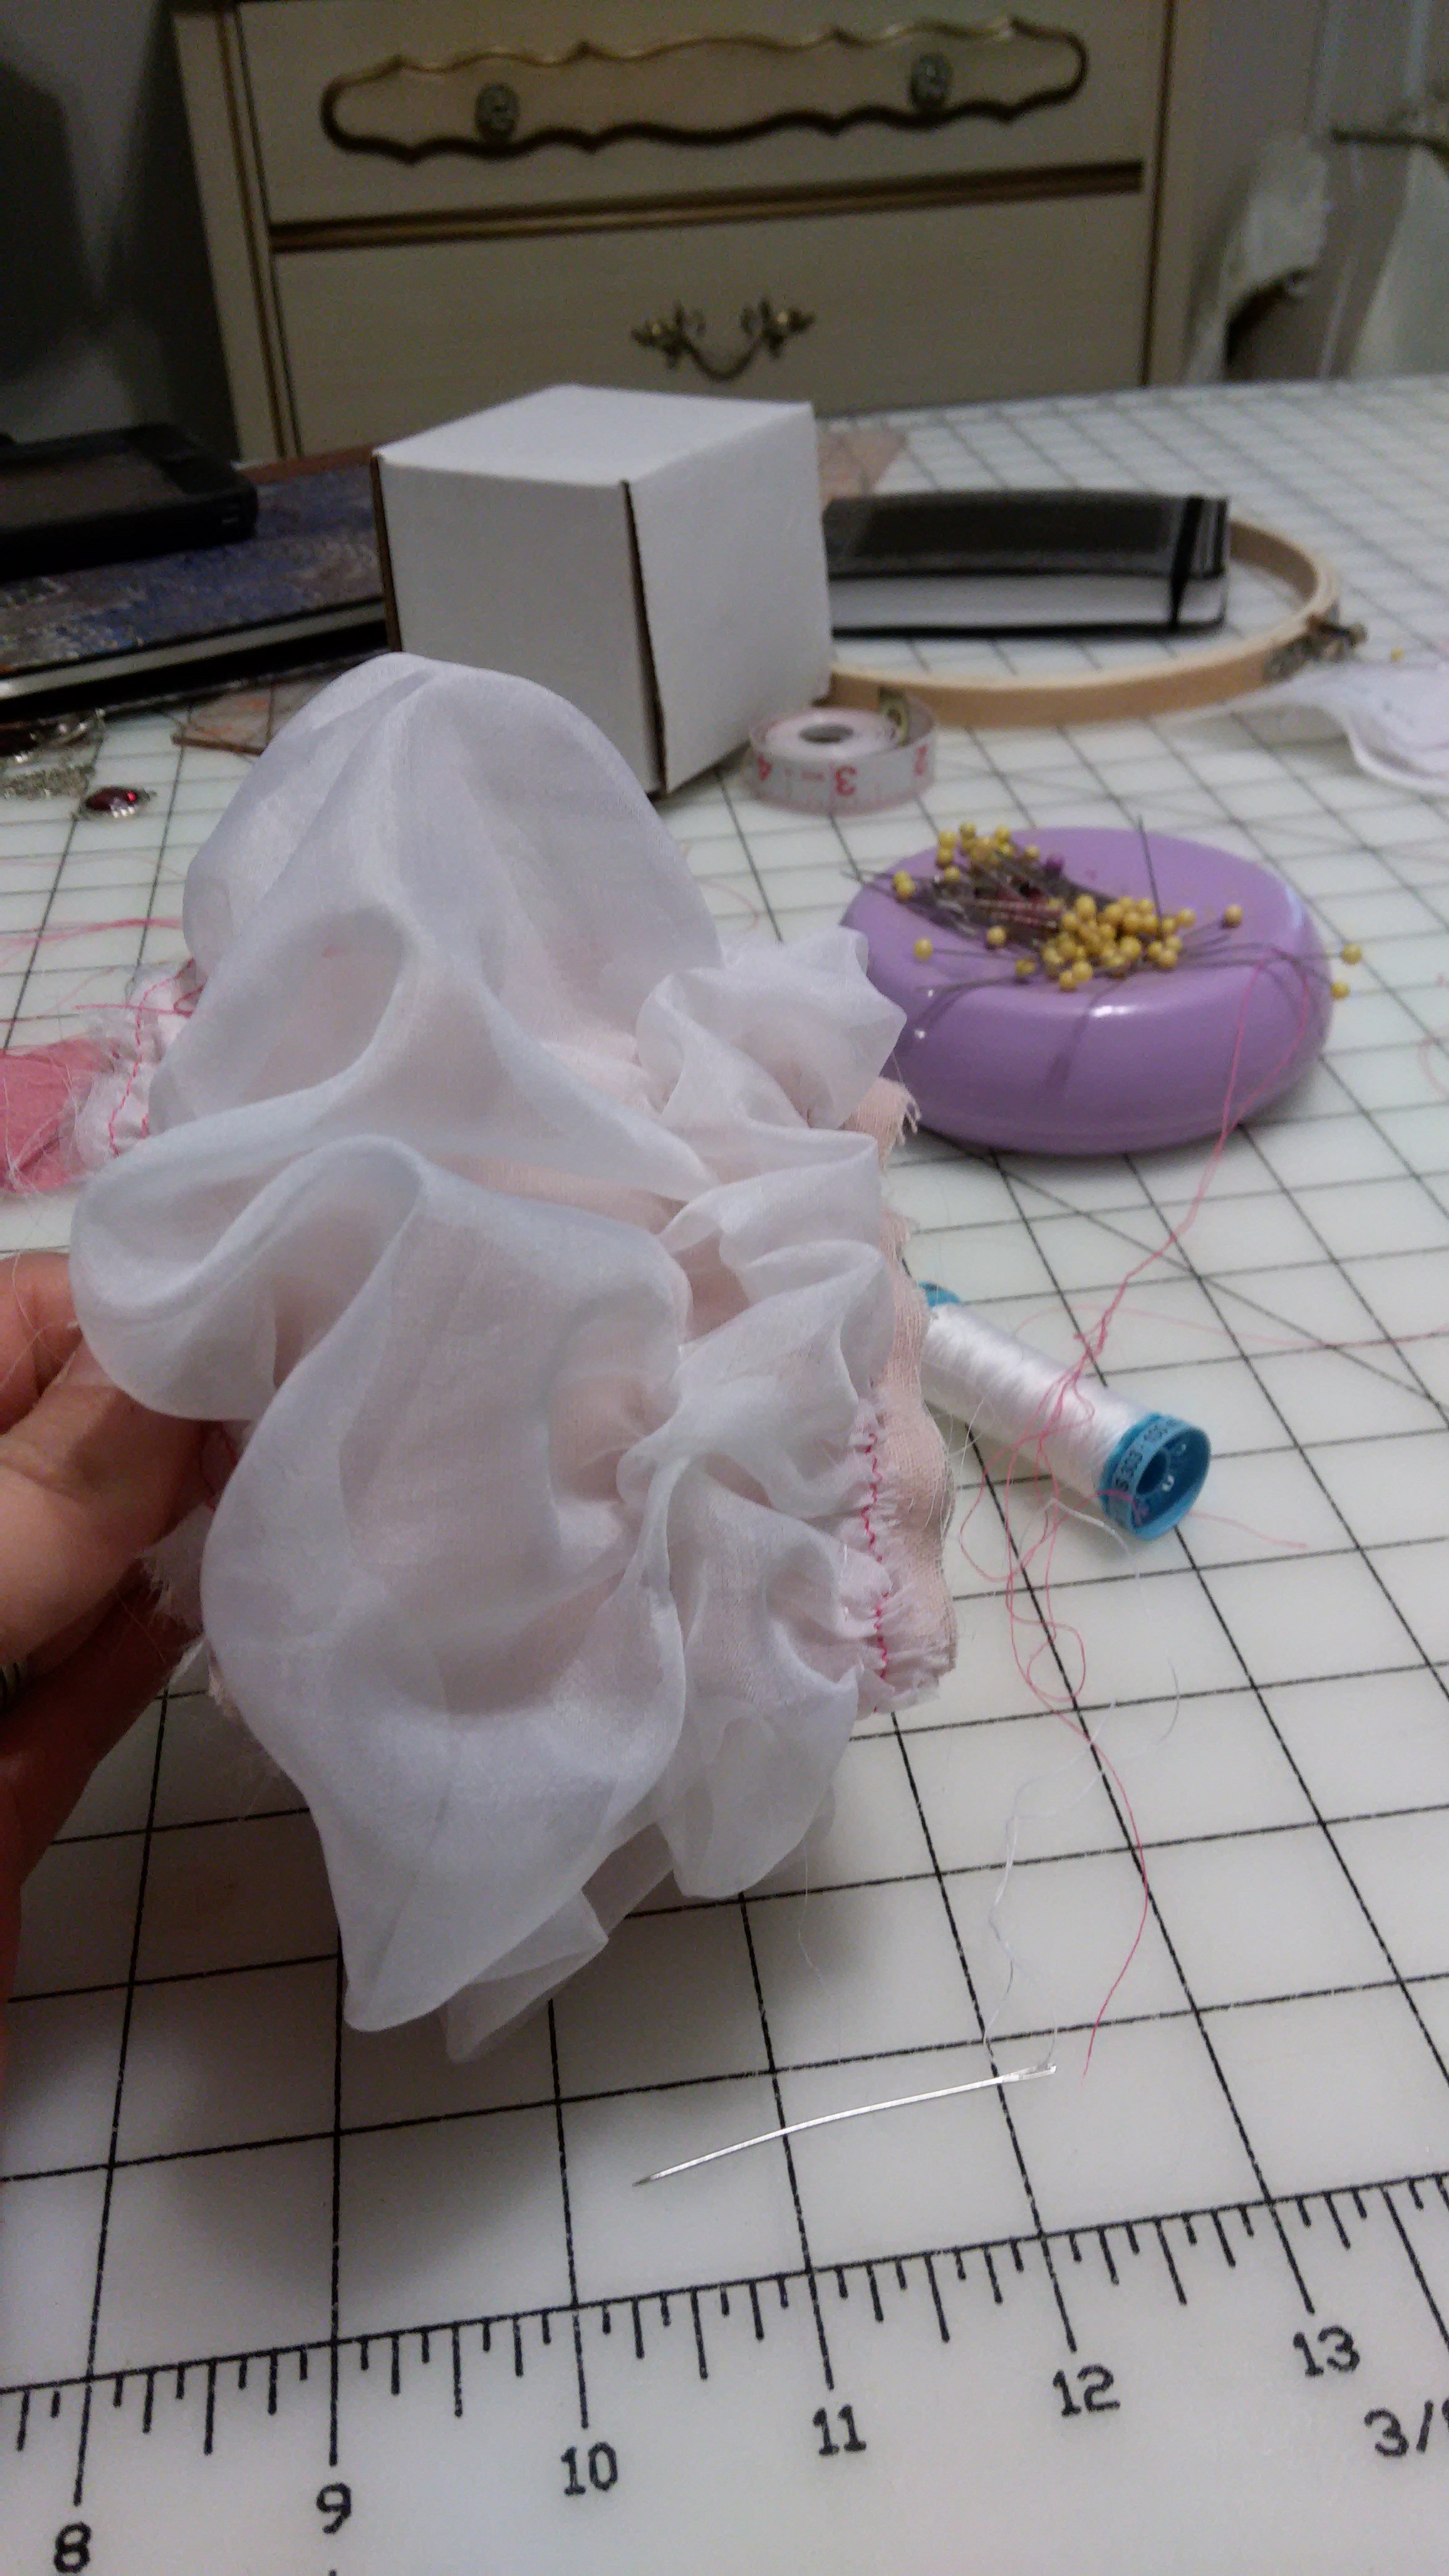
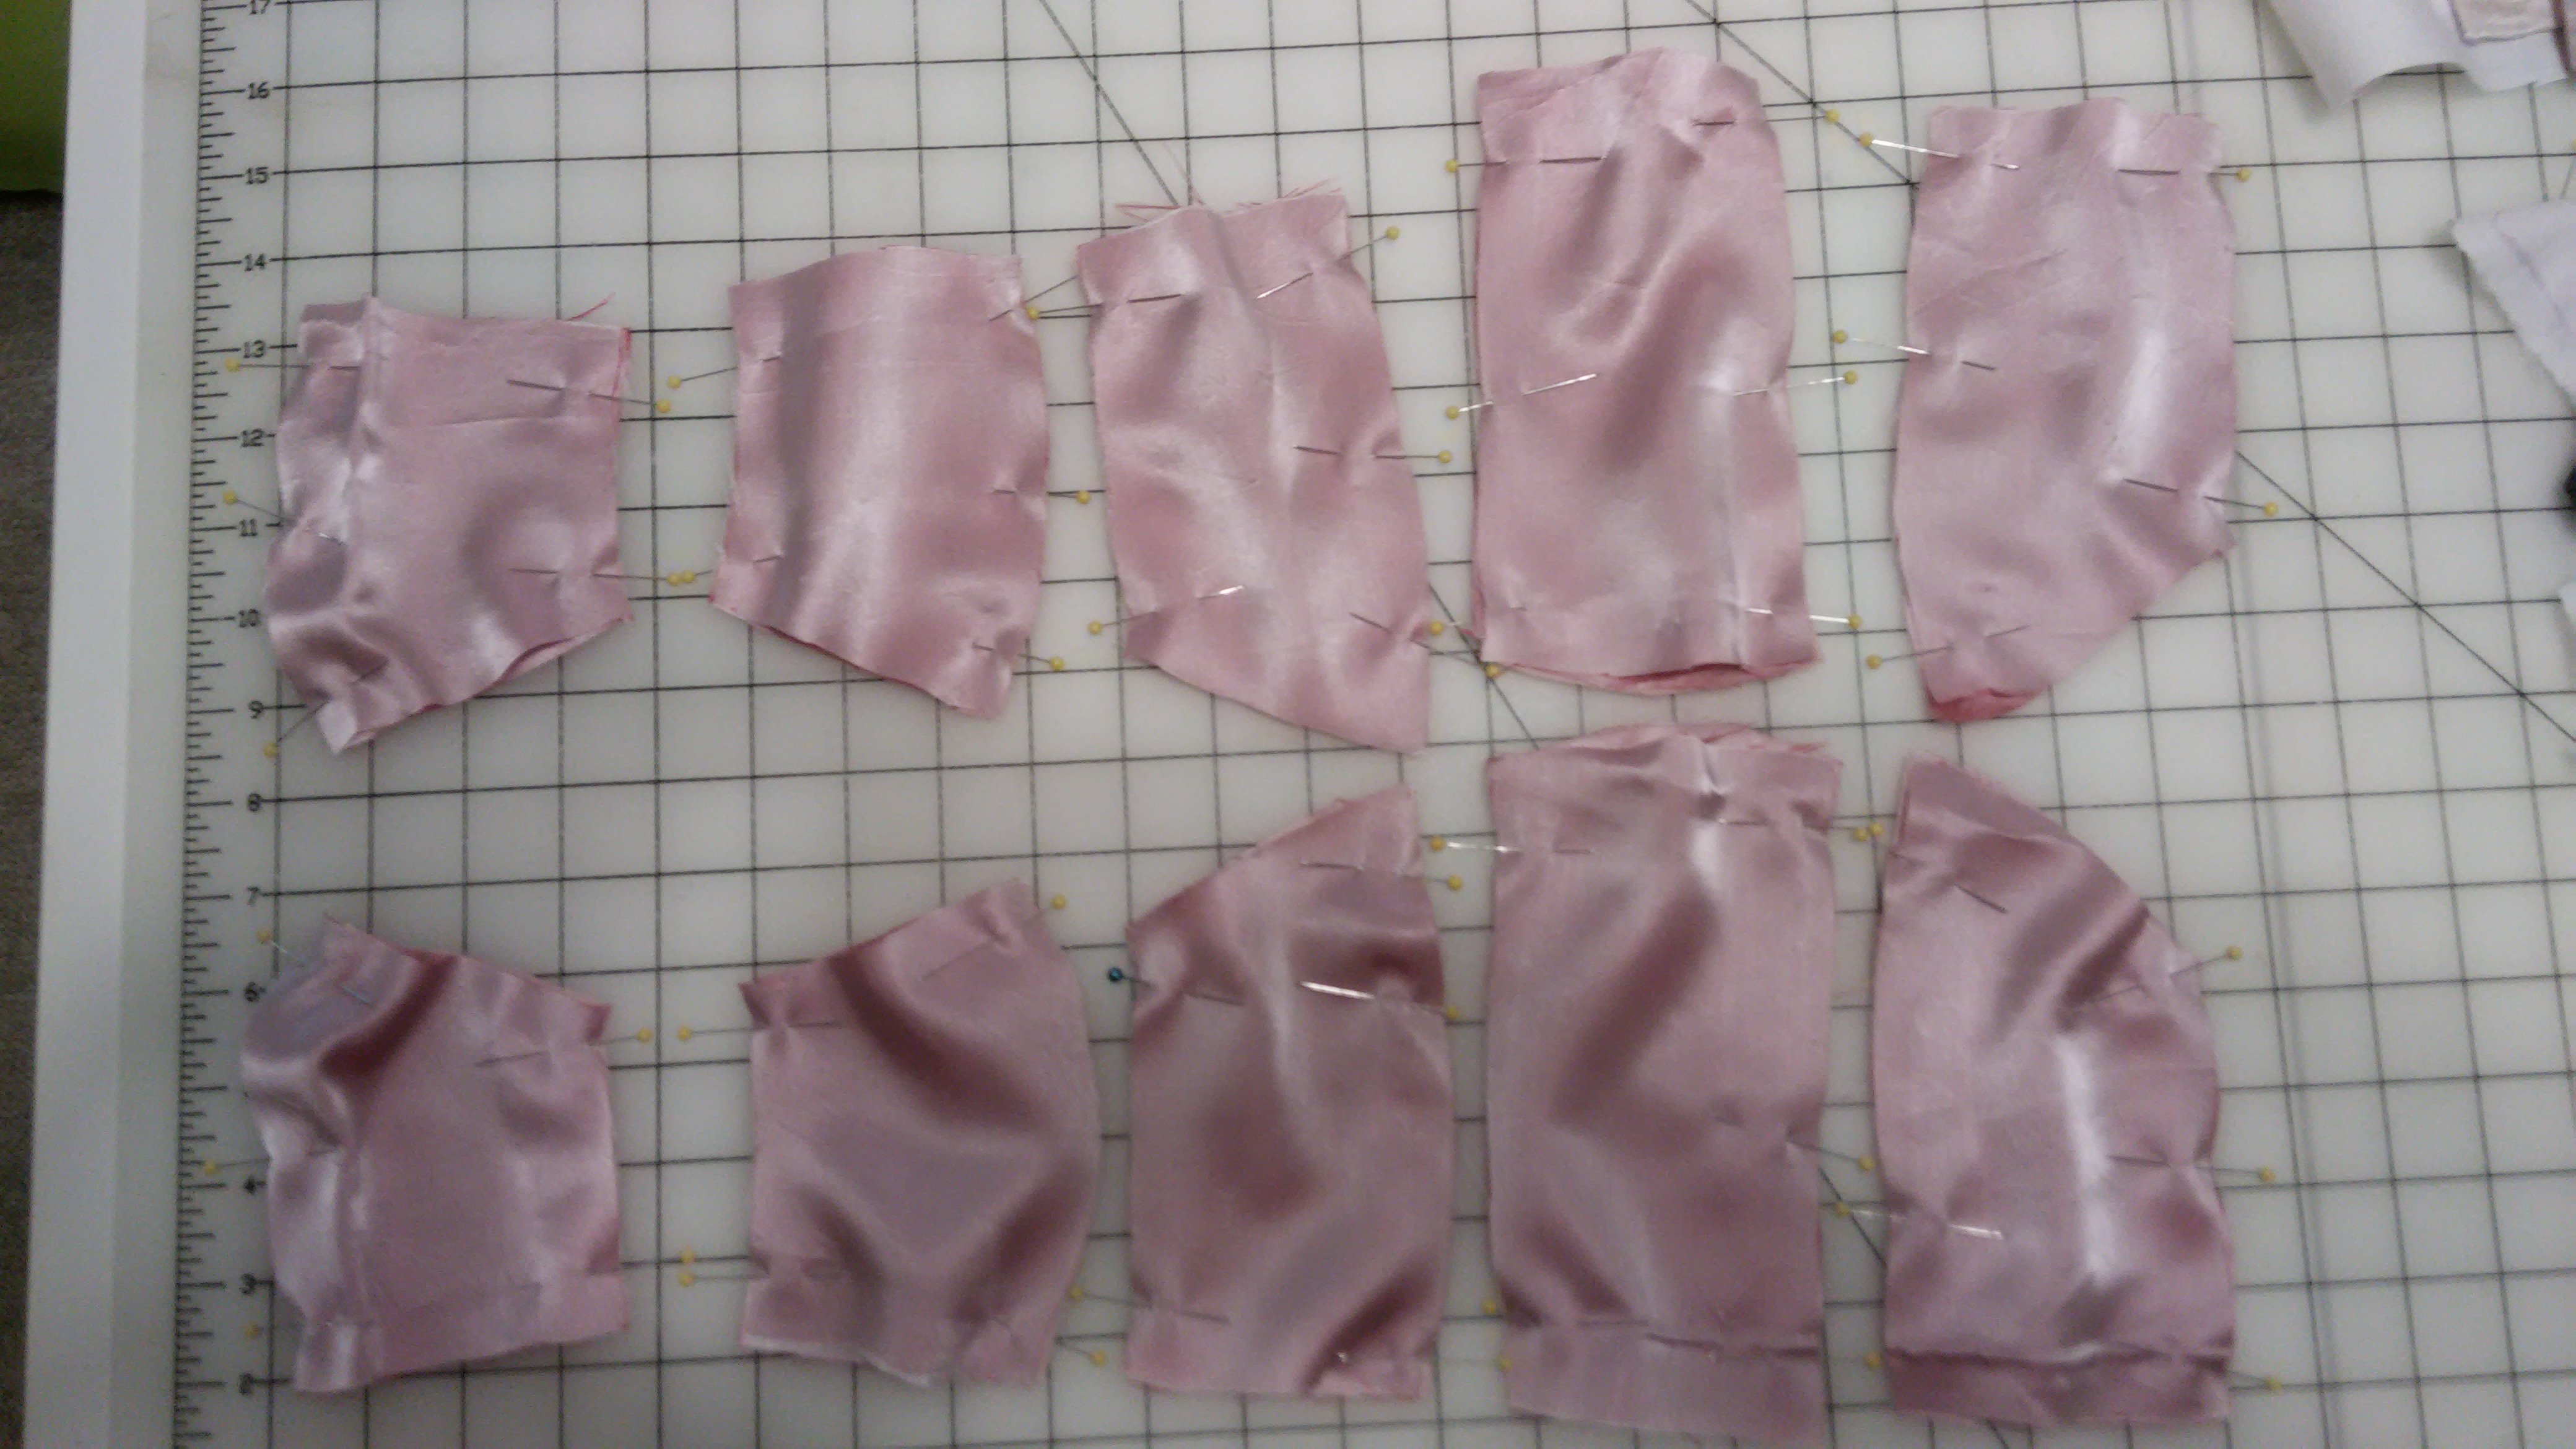
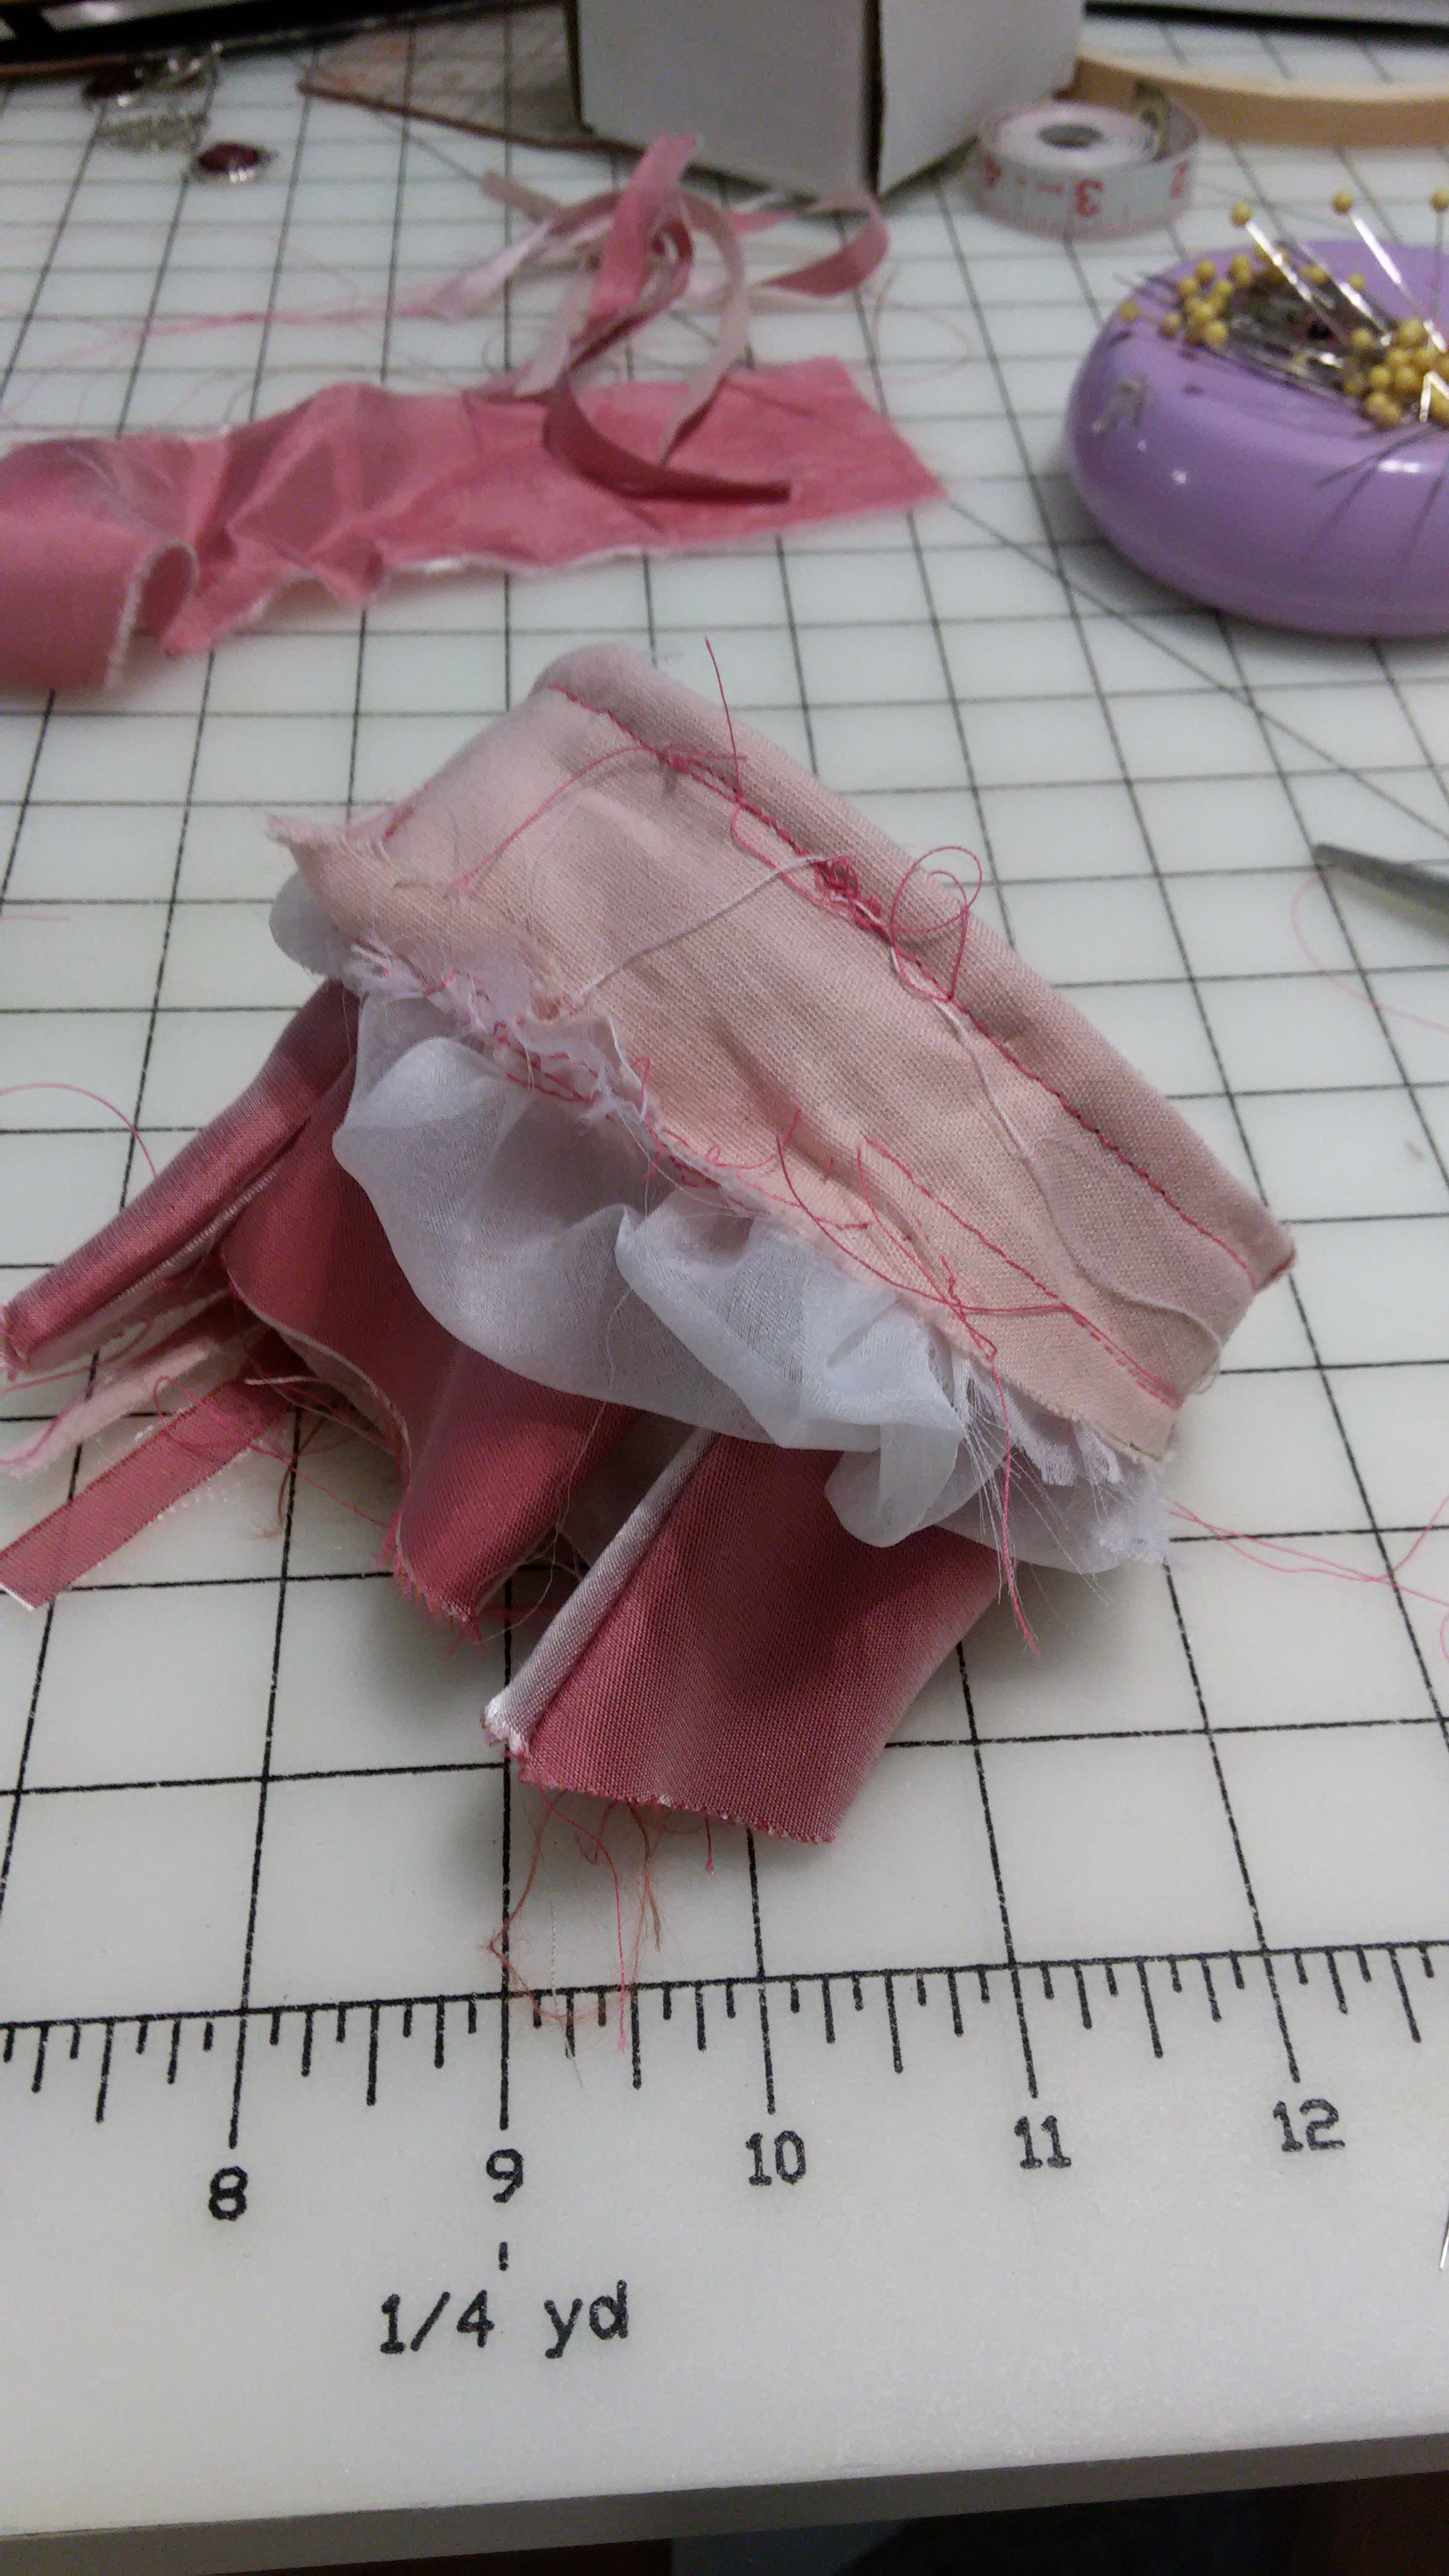
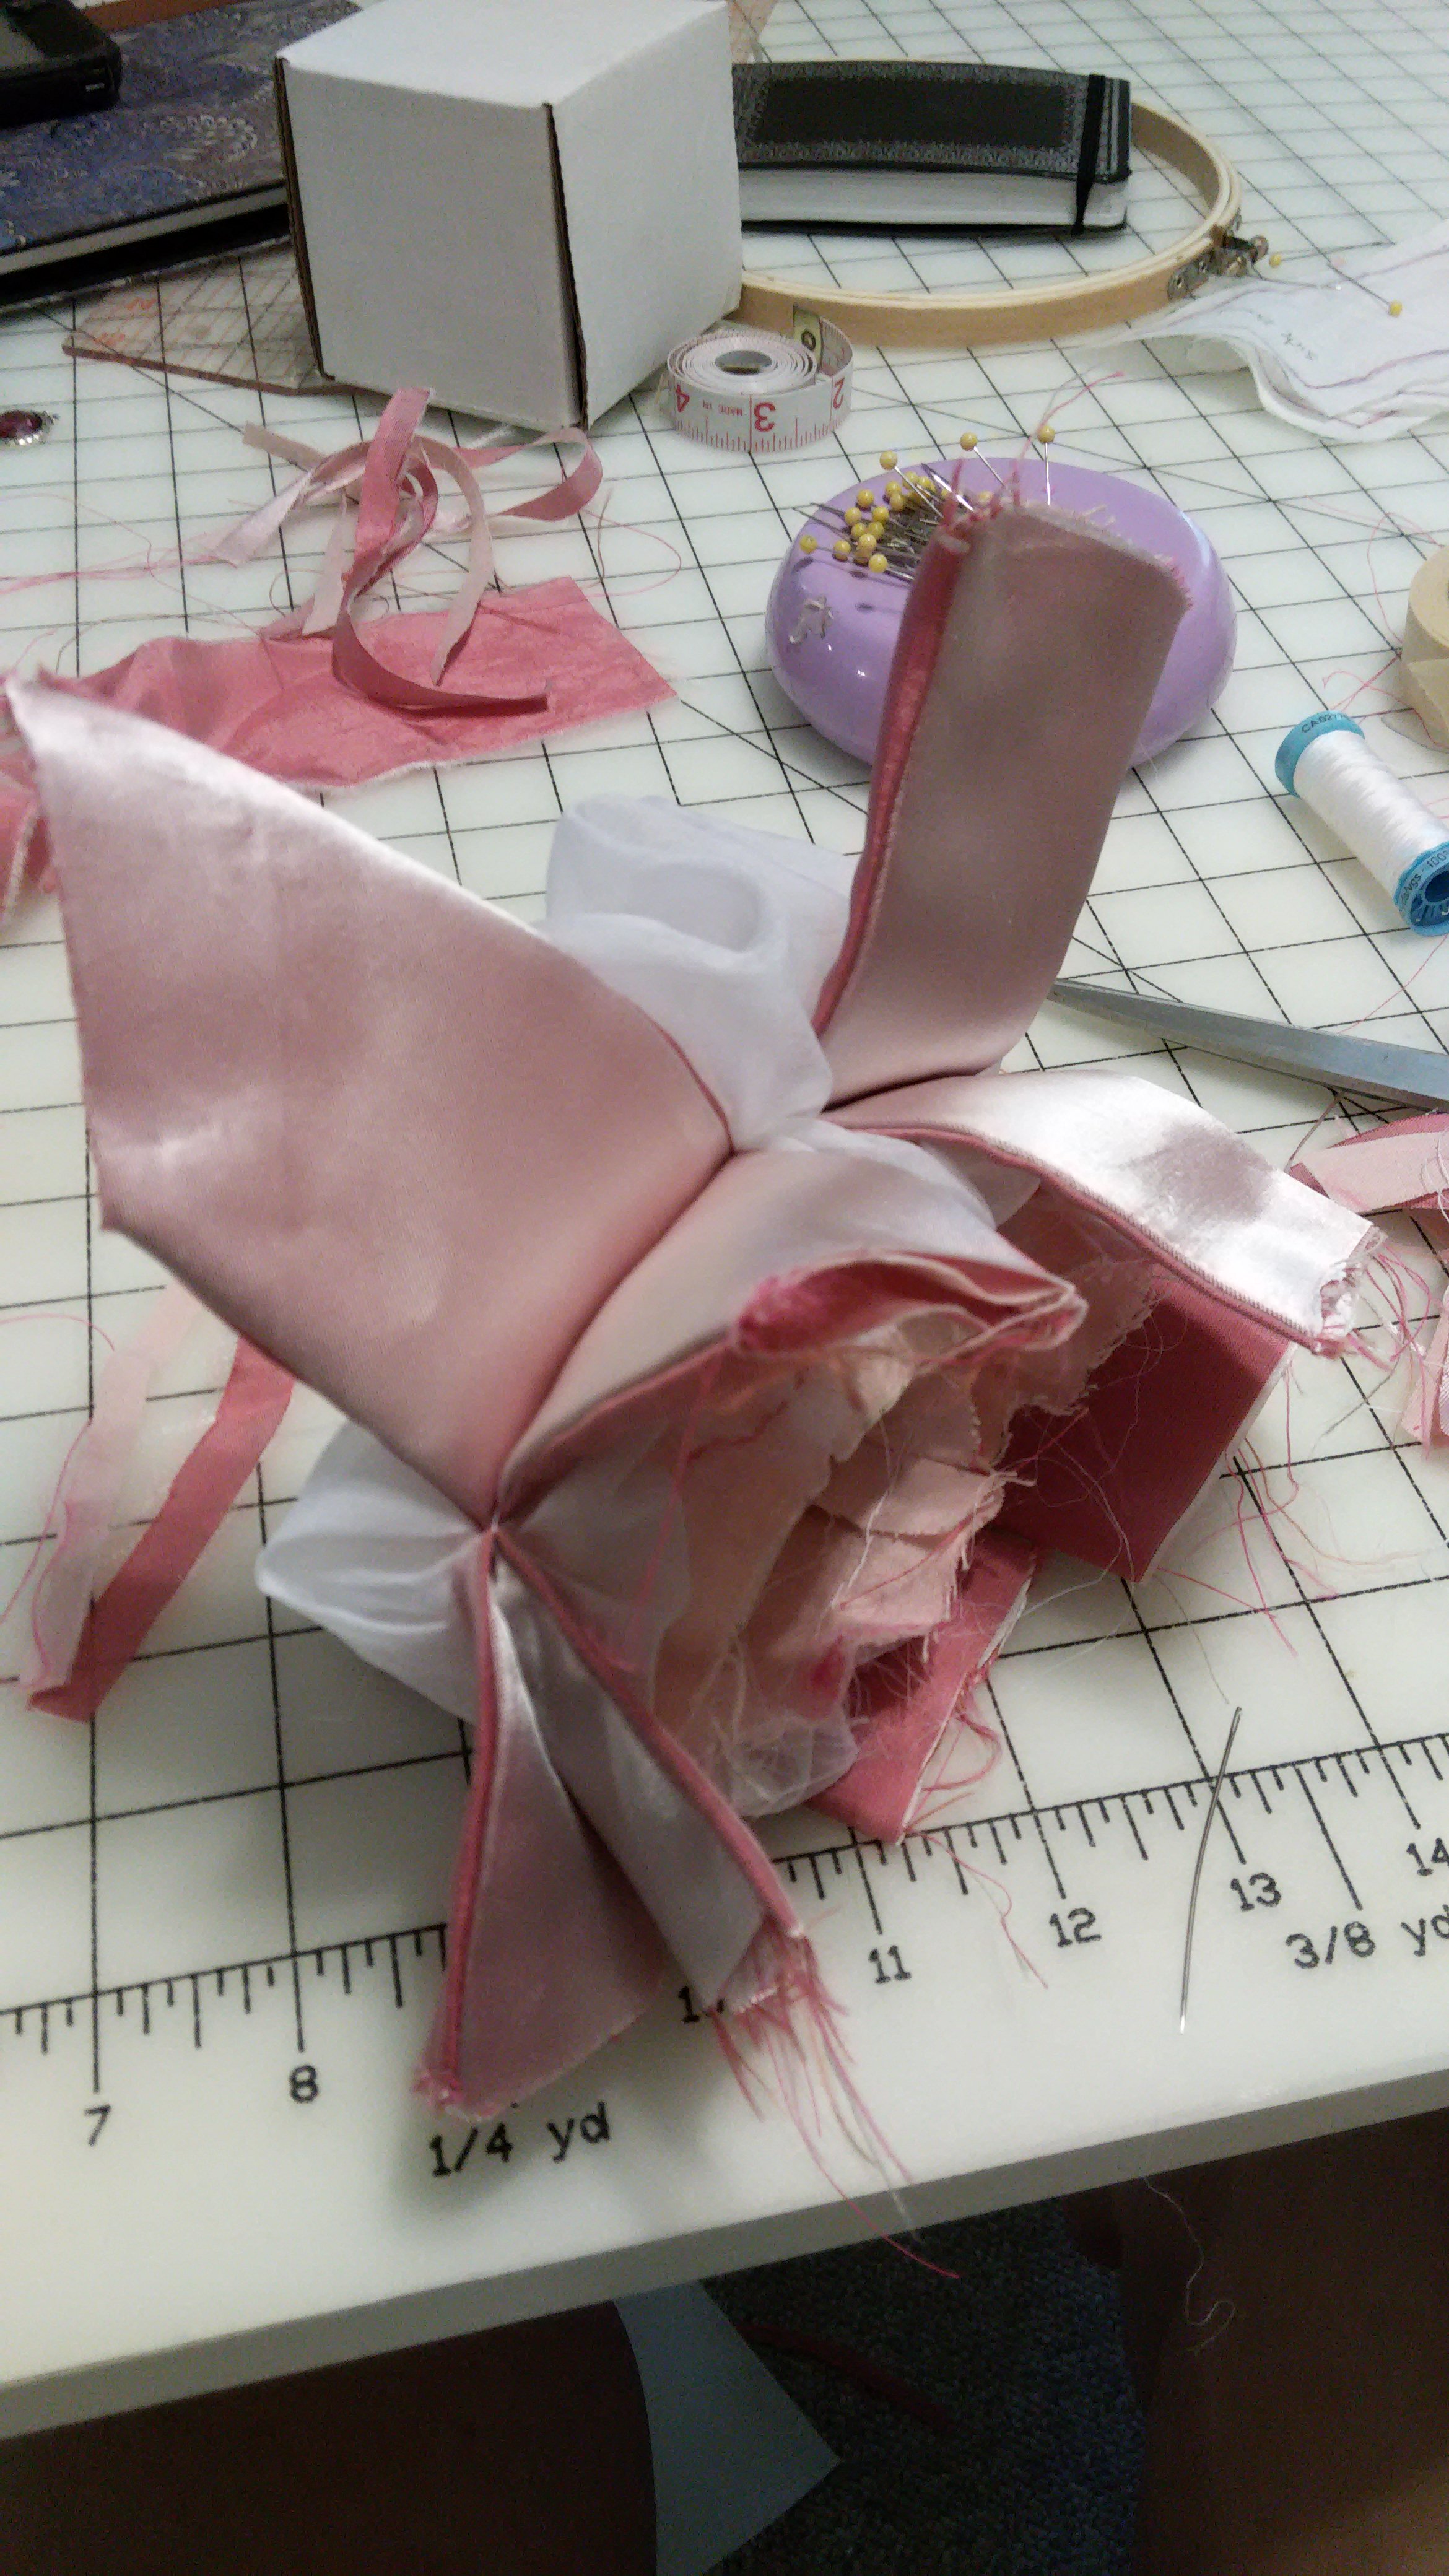
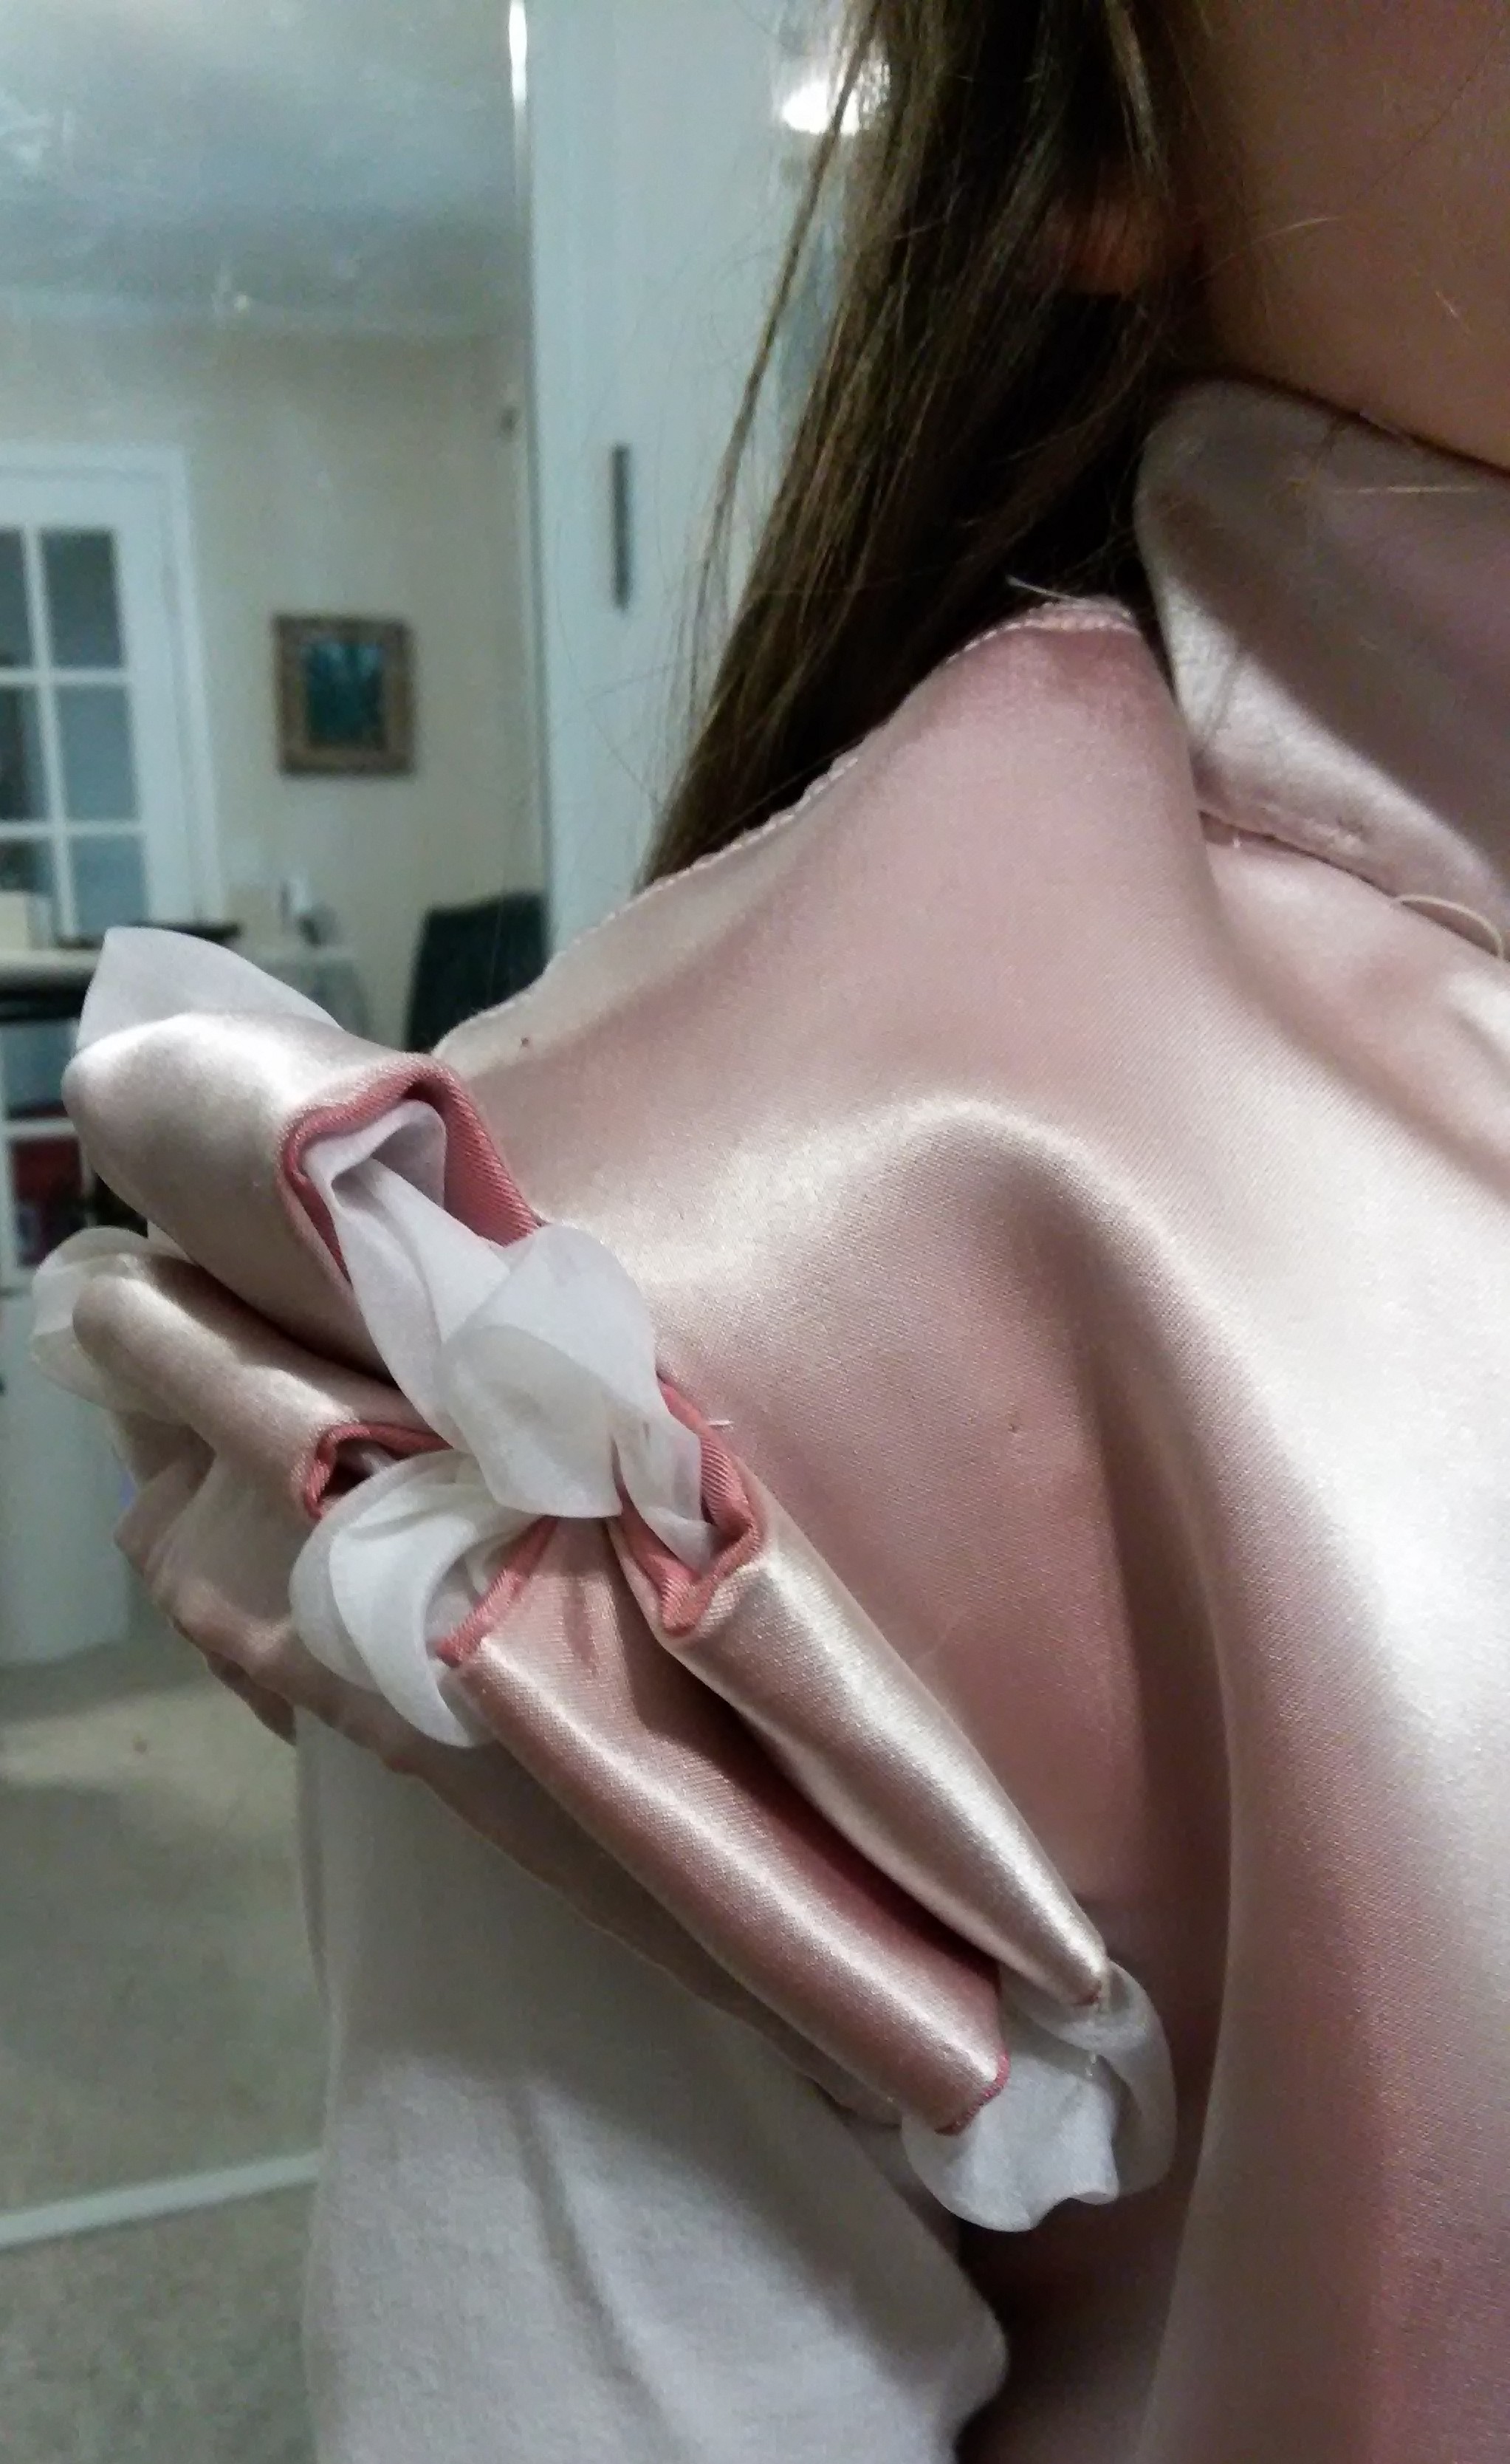
The Veste is complete! I am not sure what kind of fabric the pink is, but Little-Bug loves it. the lining is made from the reverse of the light pink . Silk organza was used in the puffs and linen/cotton blend for the interlining. The main body of it is constructed exactly the same as the white doublet, so I shall not bore you with those details. The skirt panels were cut in the same manner as the underskirt, but since I had enough fabric the side gores are a better shape.
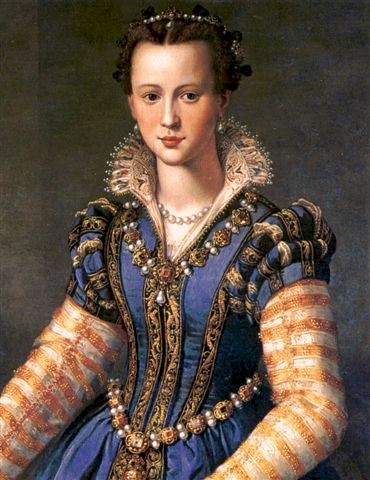
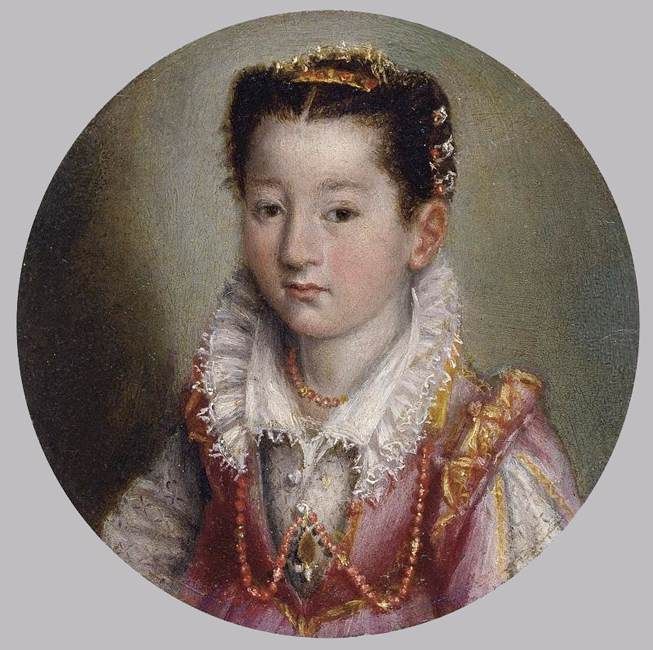
Maria de Medici, By Alessandro Allori
Little-Bug is doing her sewing too!
Or.. Pad stitching! It makes me happy and it looks like a bird danced on the project.
I’m extra happy to be doing handwork!
Wool felt, seam allowance marked.
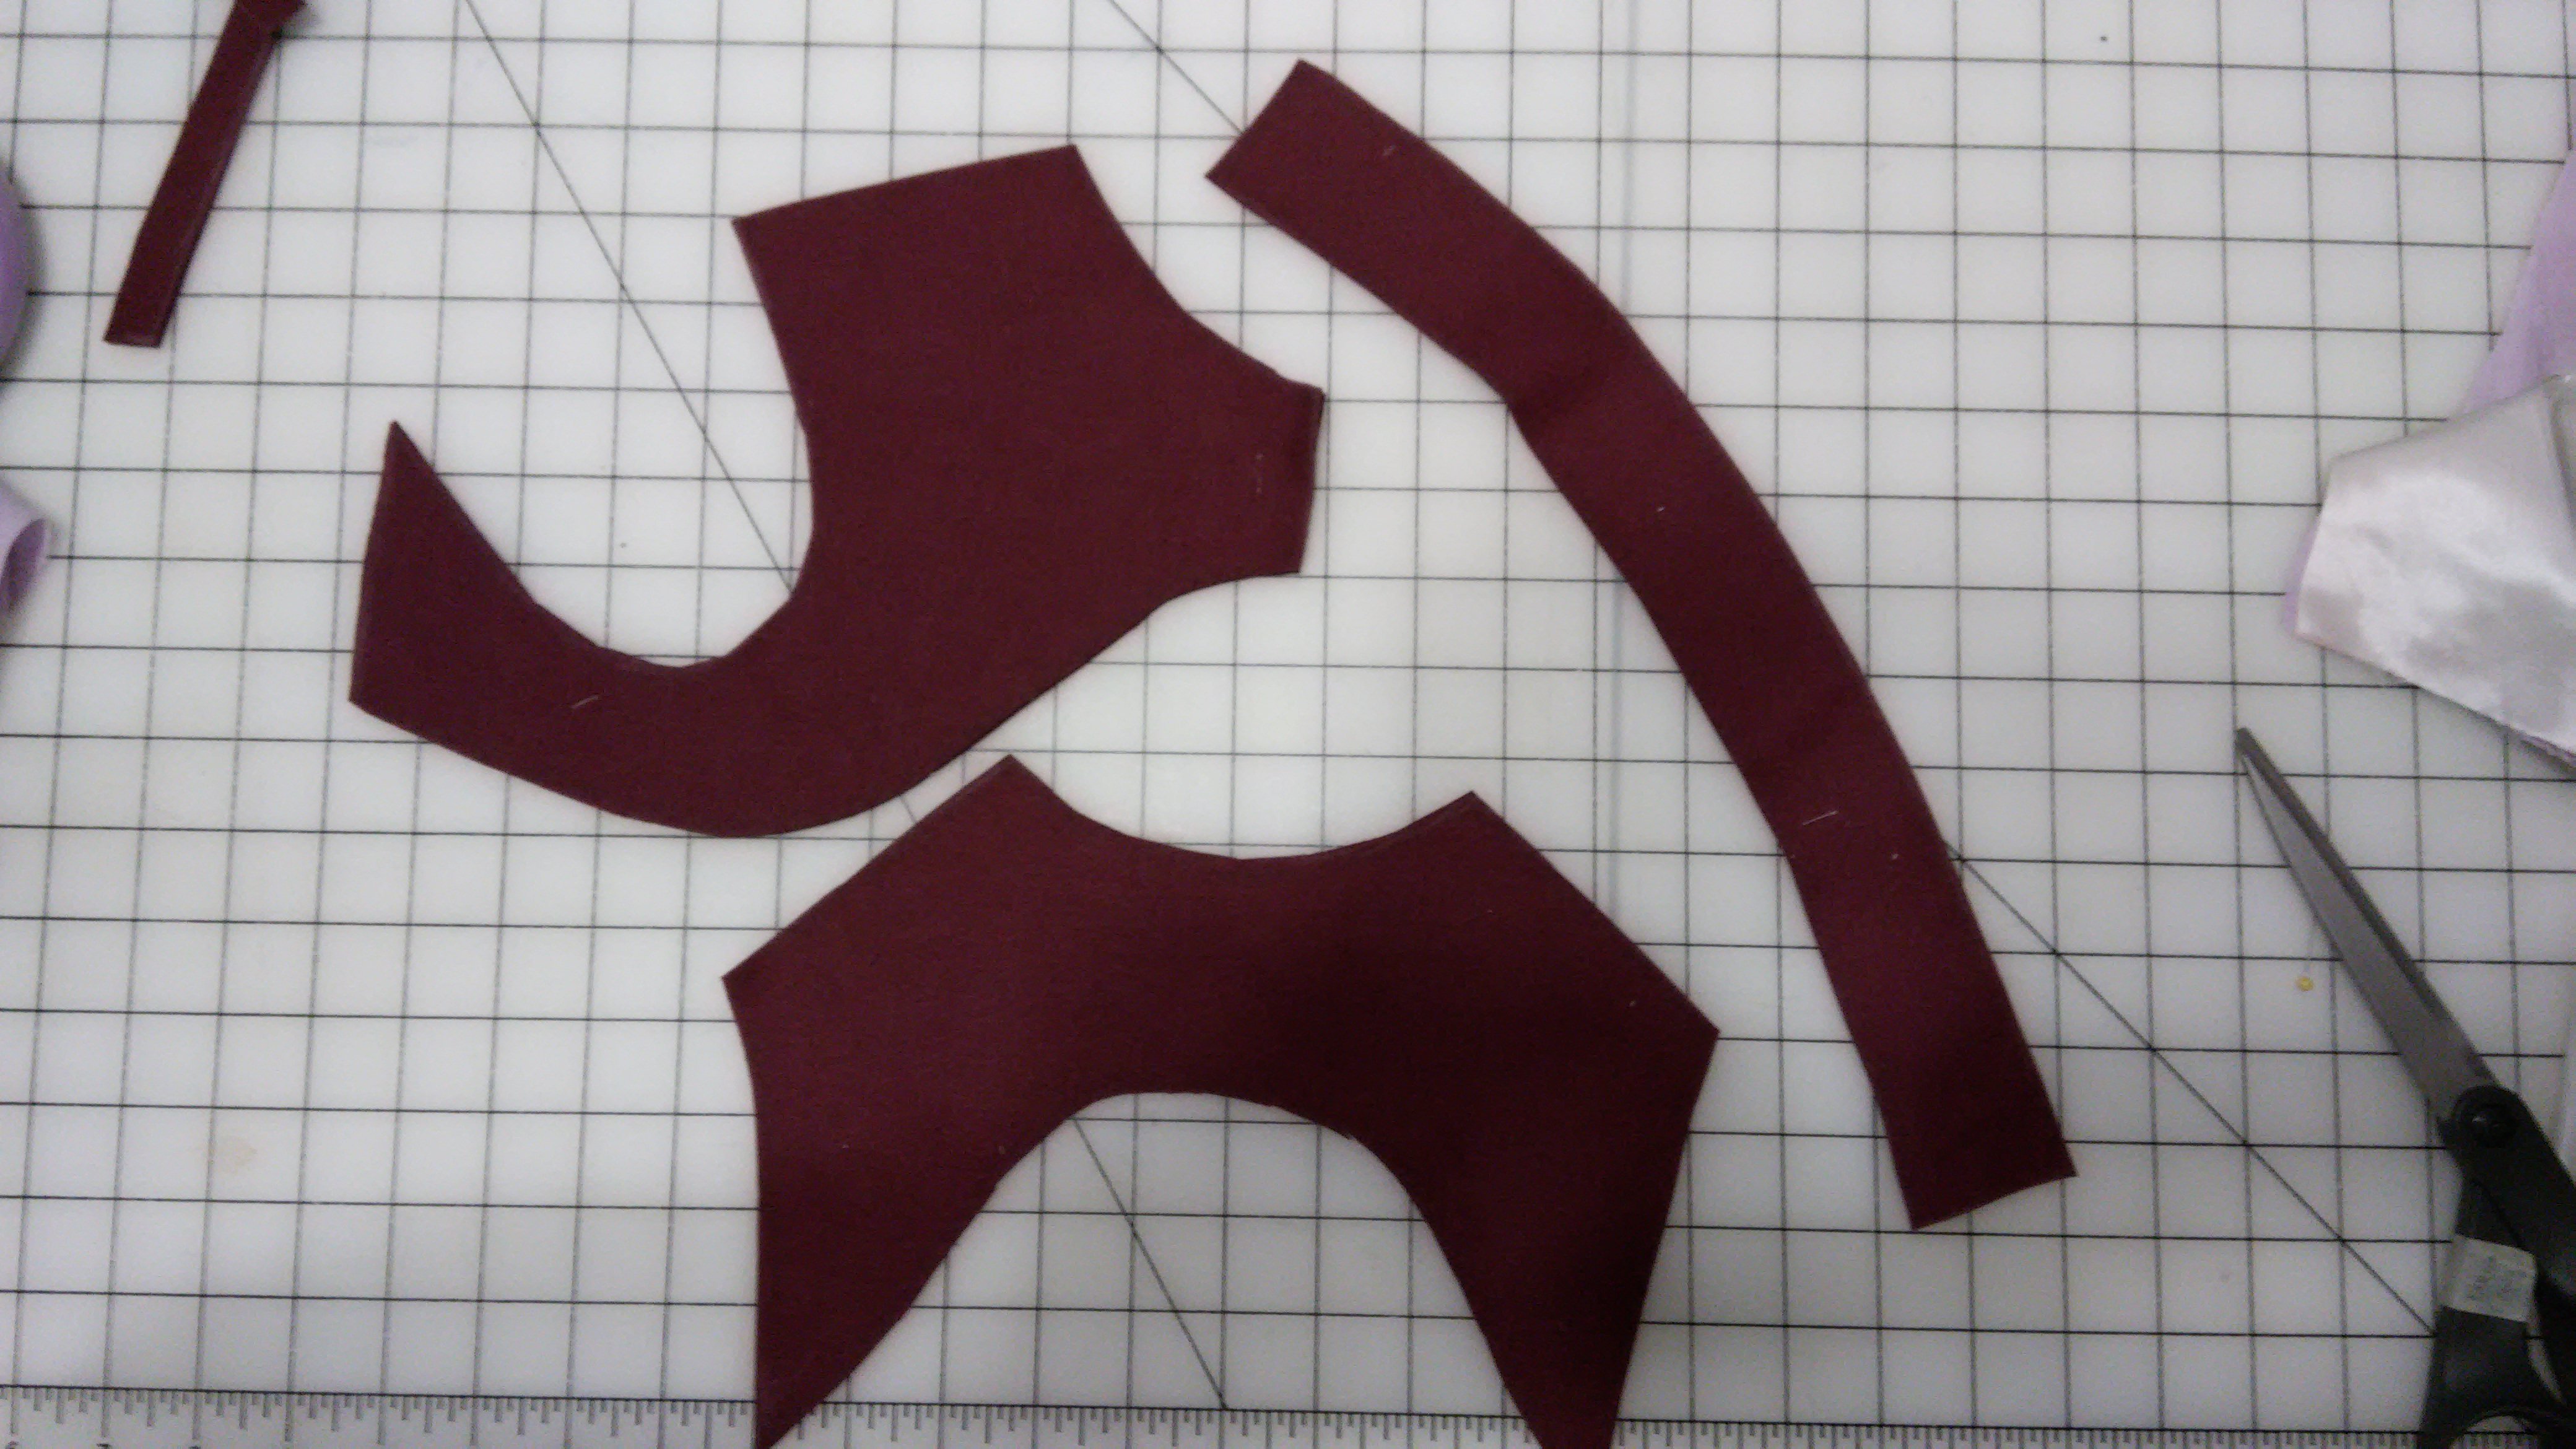
Seam allowances cut off
And then the stitching begins! The wool was basted to the pink linen blend that I’m using as the internerling, then its pad stitched. The collar price is stitched through the wool, pink linen and the silk. This is because the collar silk would be all floppy and sag without being held to the rest of the layers. Both pieces of the front have been treated the same way, the right side is not pictured. Tiny doublets are fun! Who am I kidding, I love all doublets!
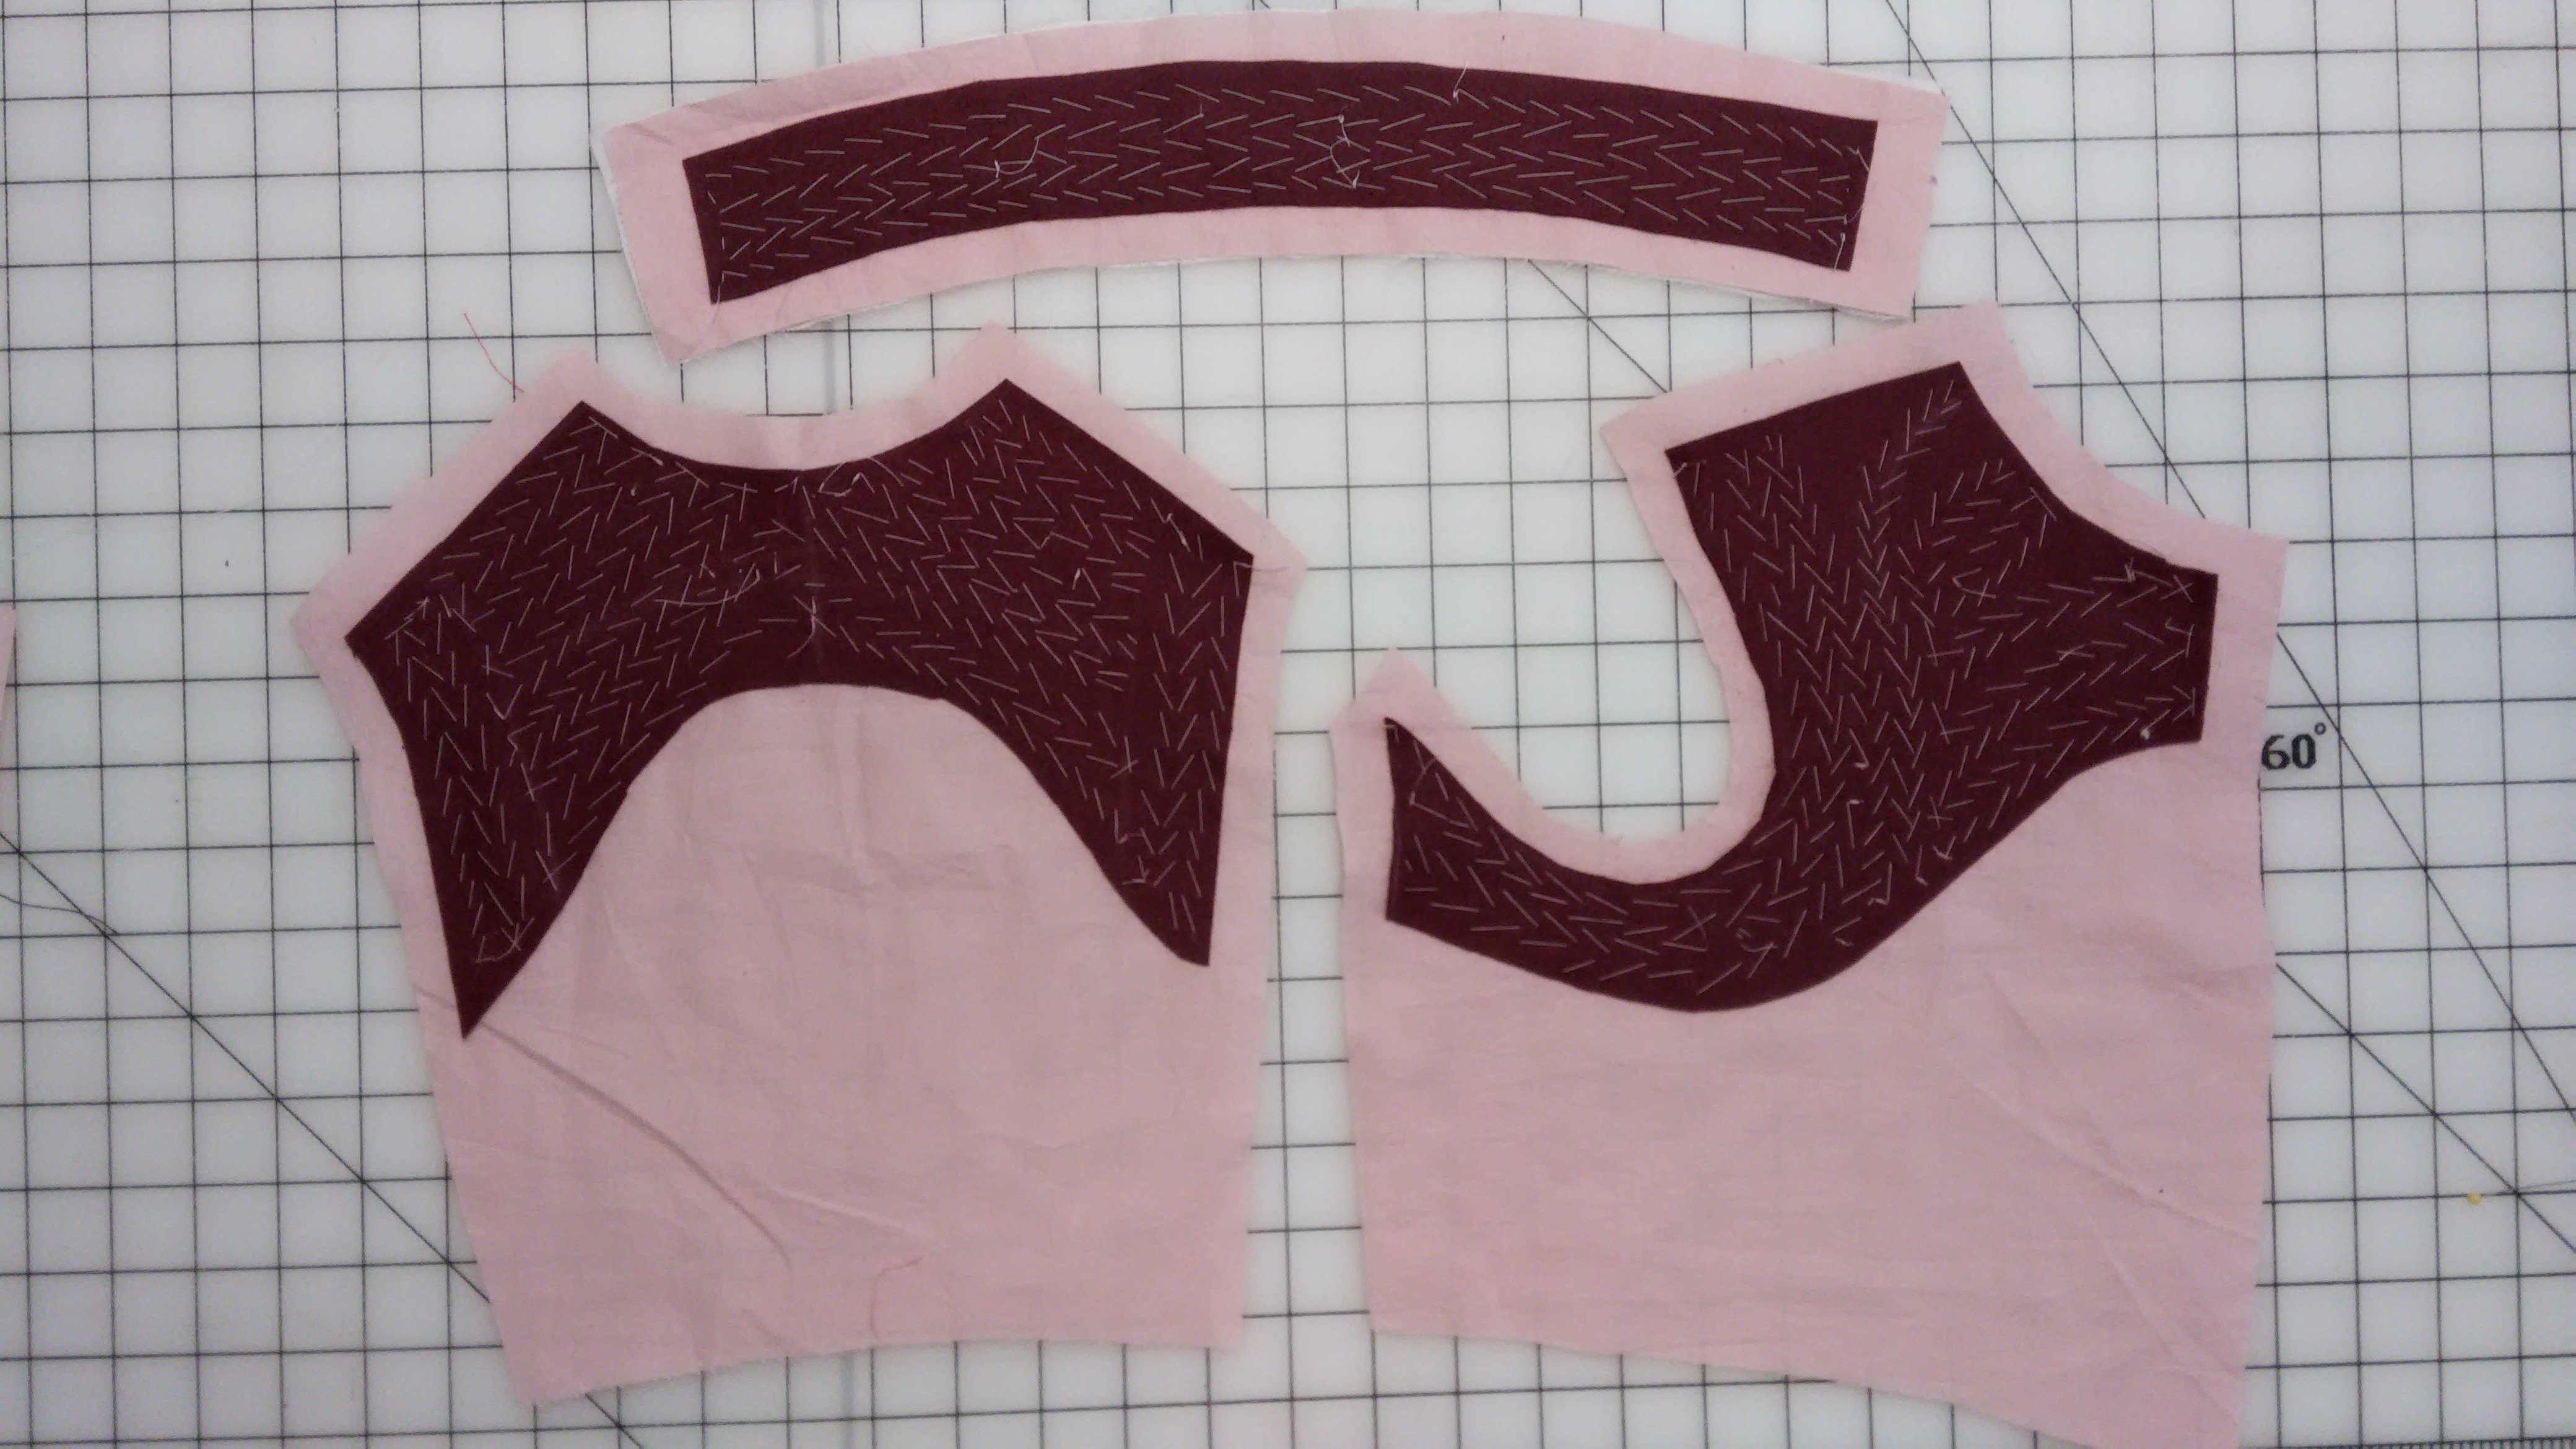
Pad stitching through wool and linen, and on the collar silk.
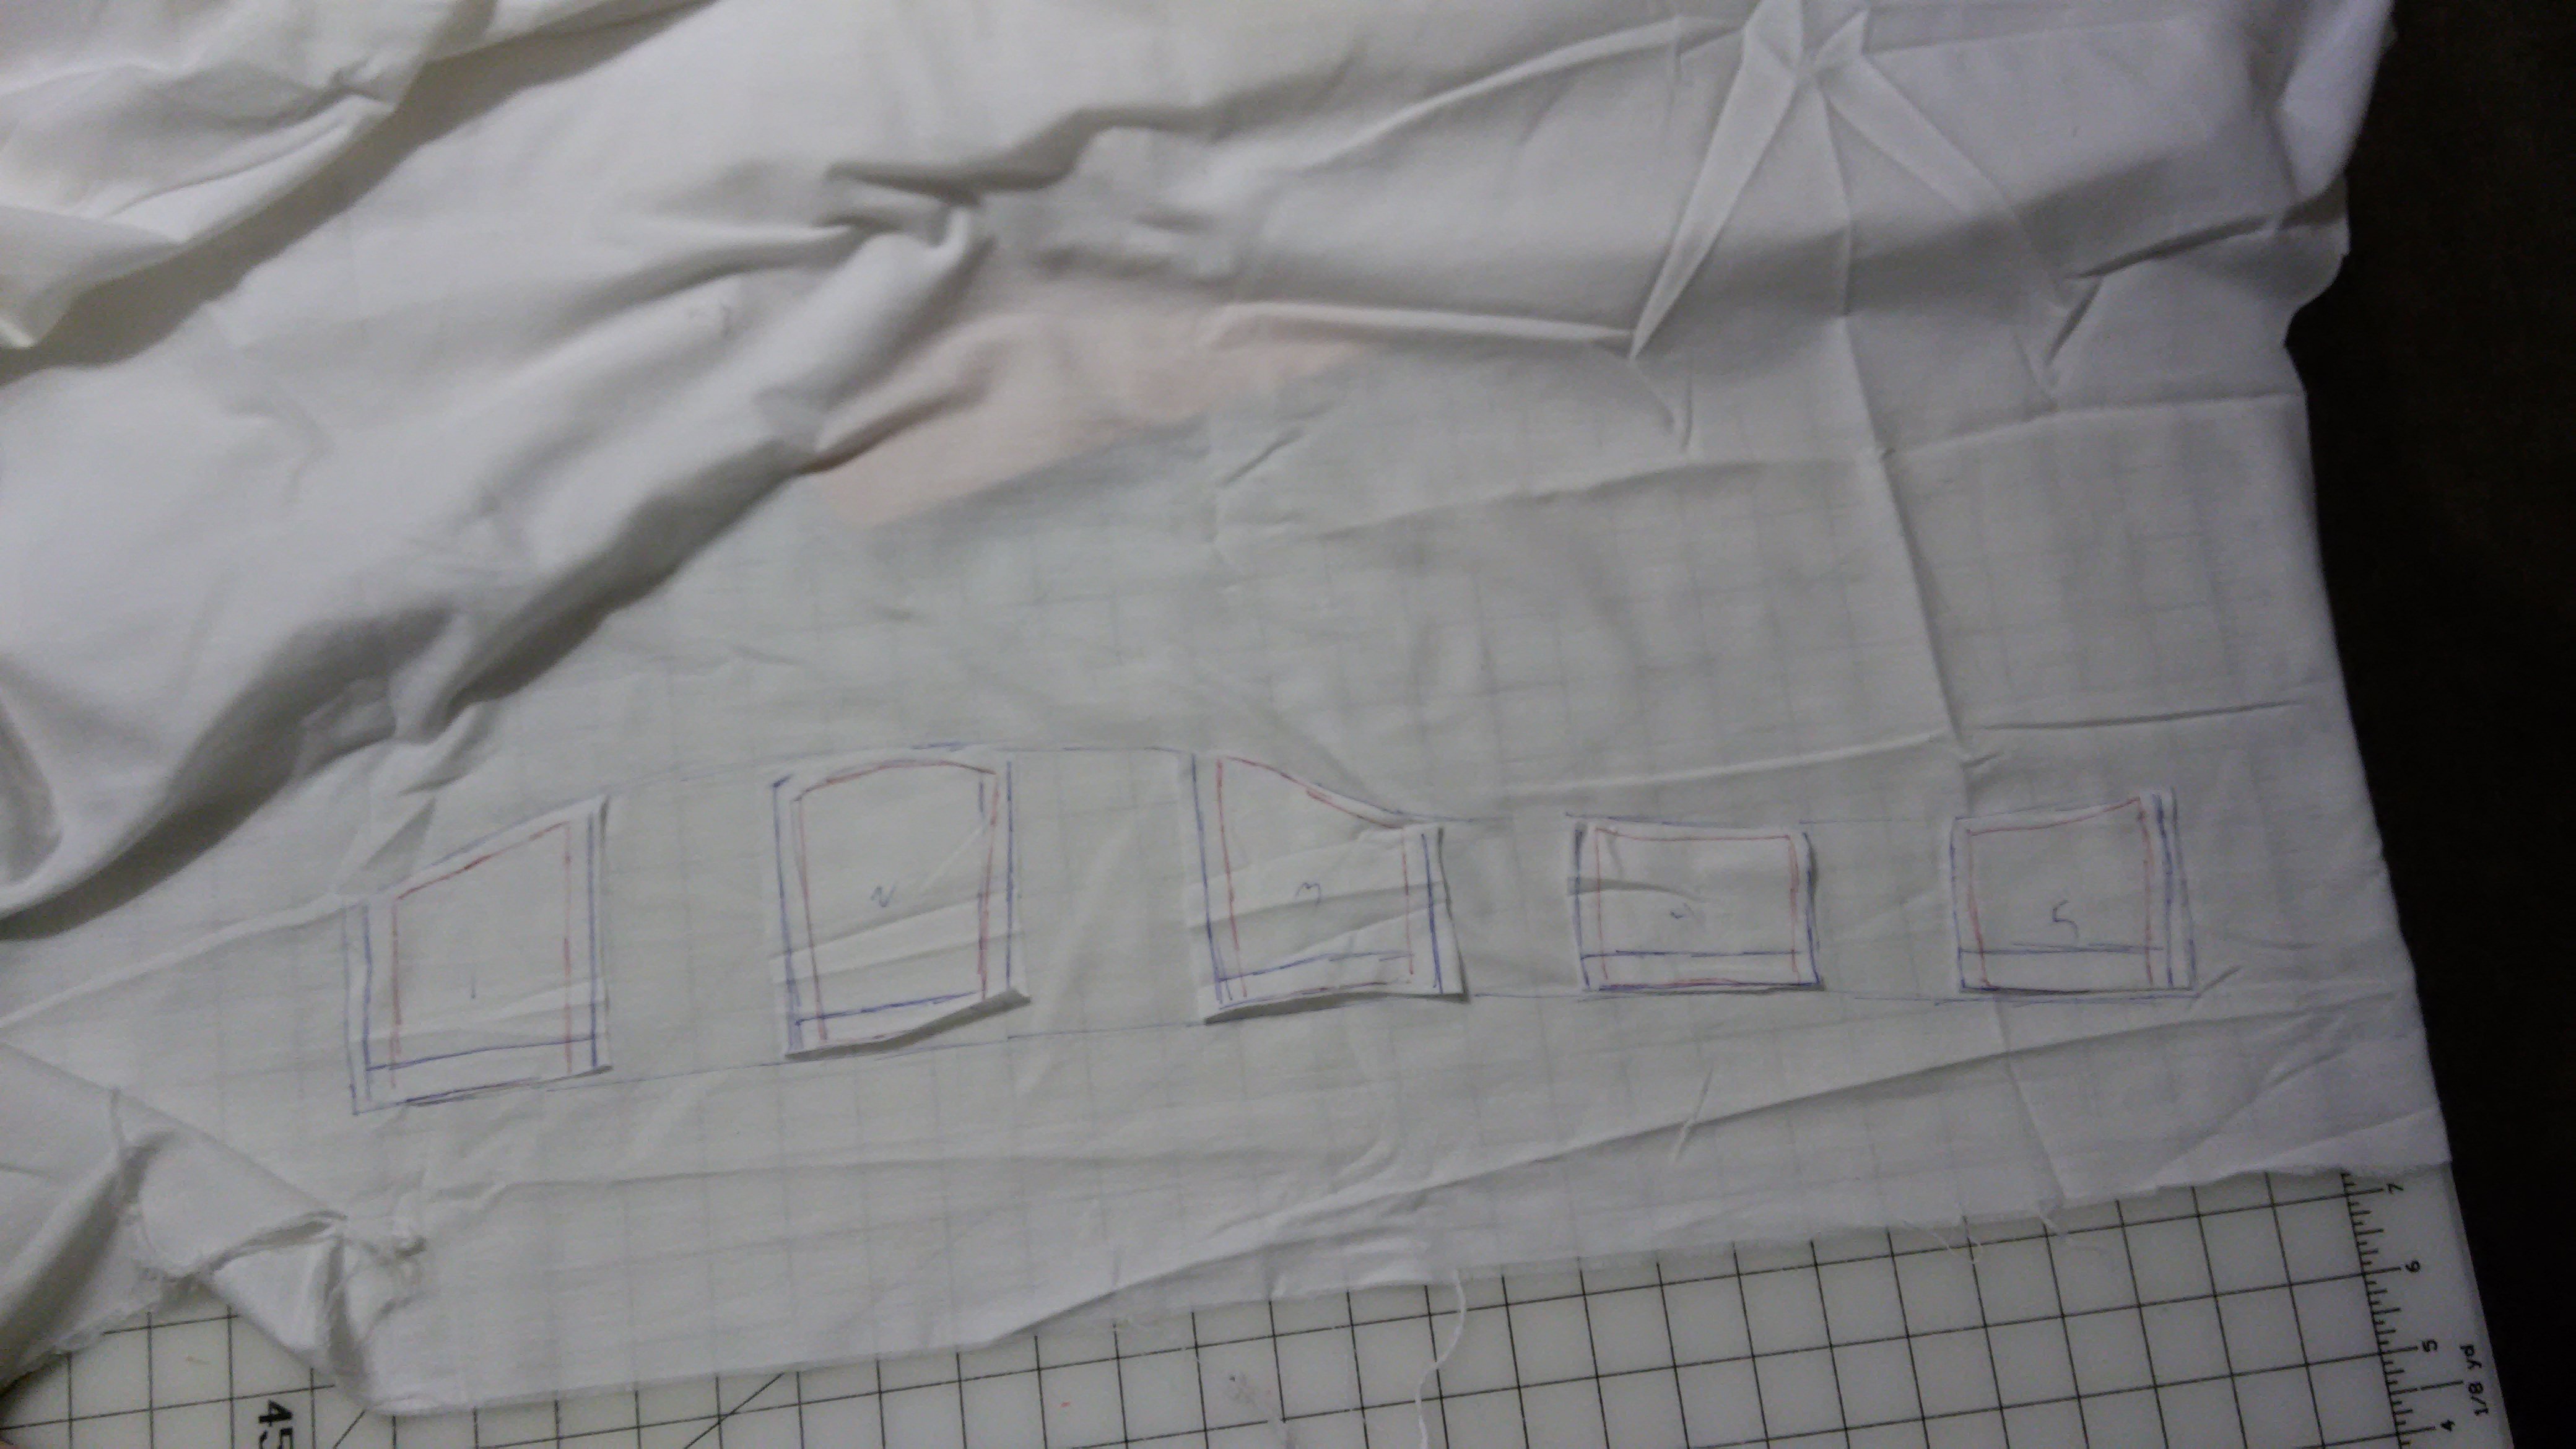
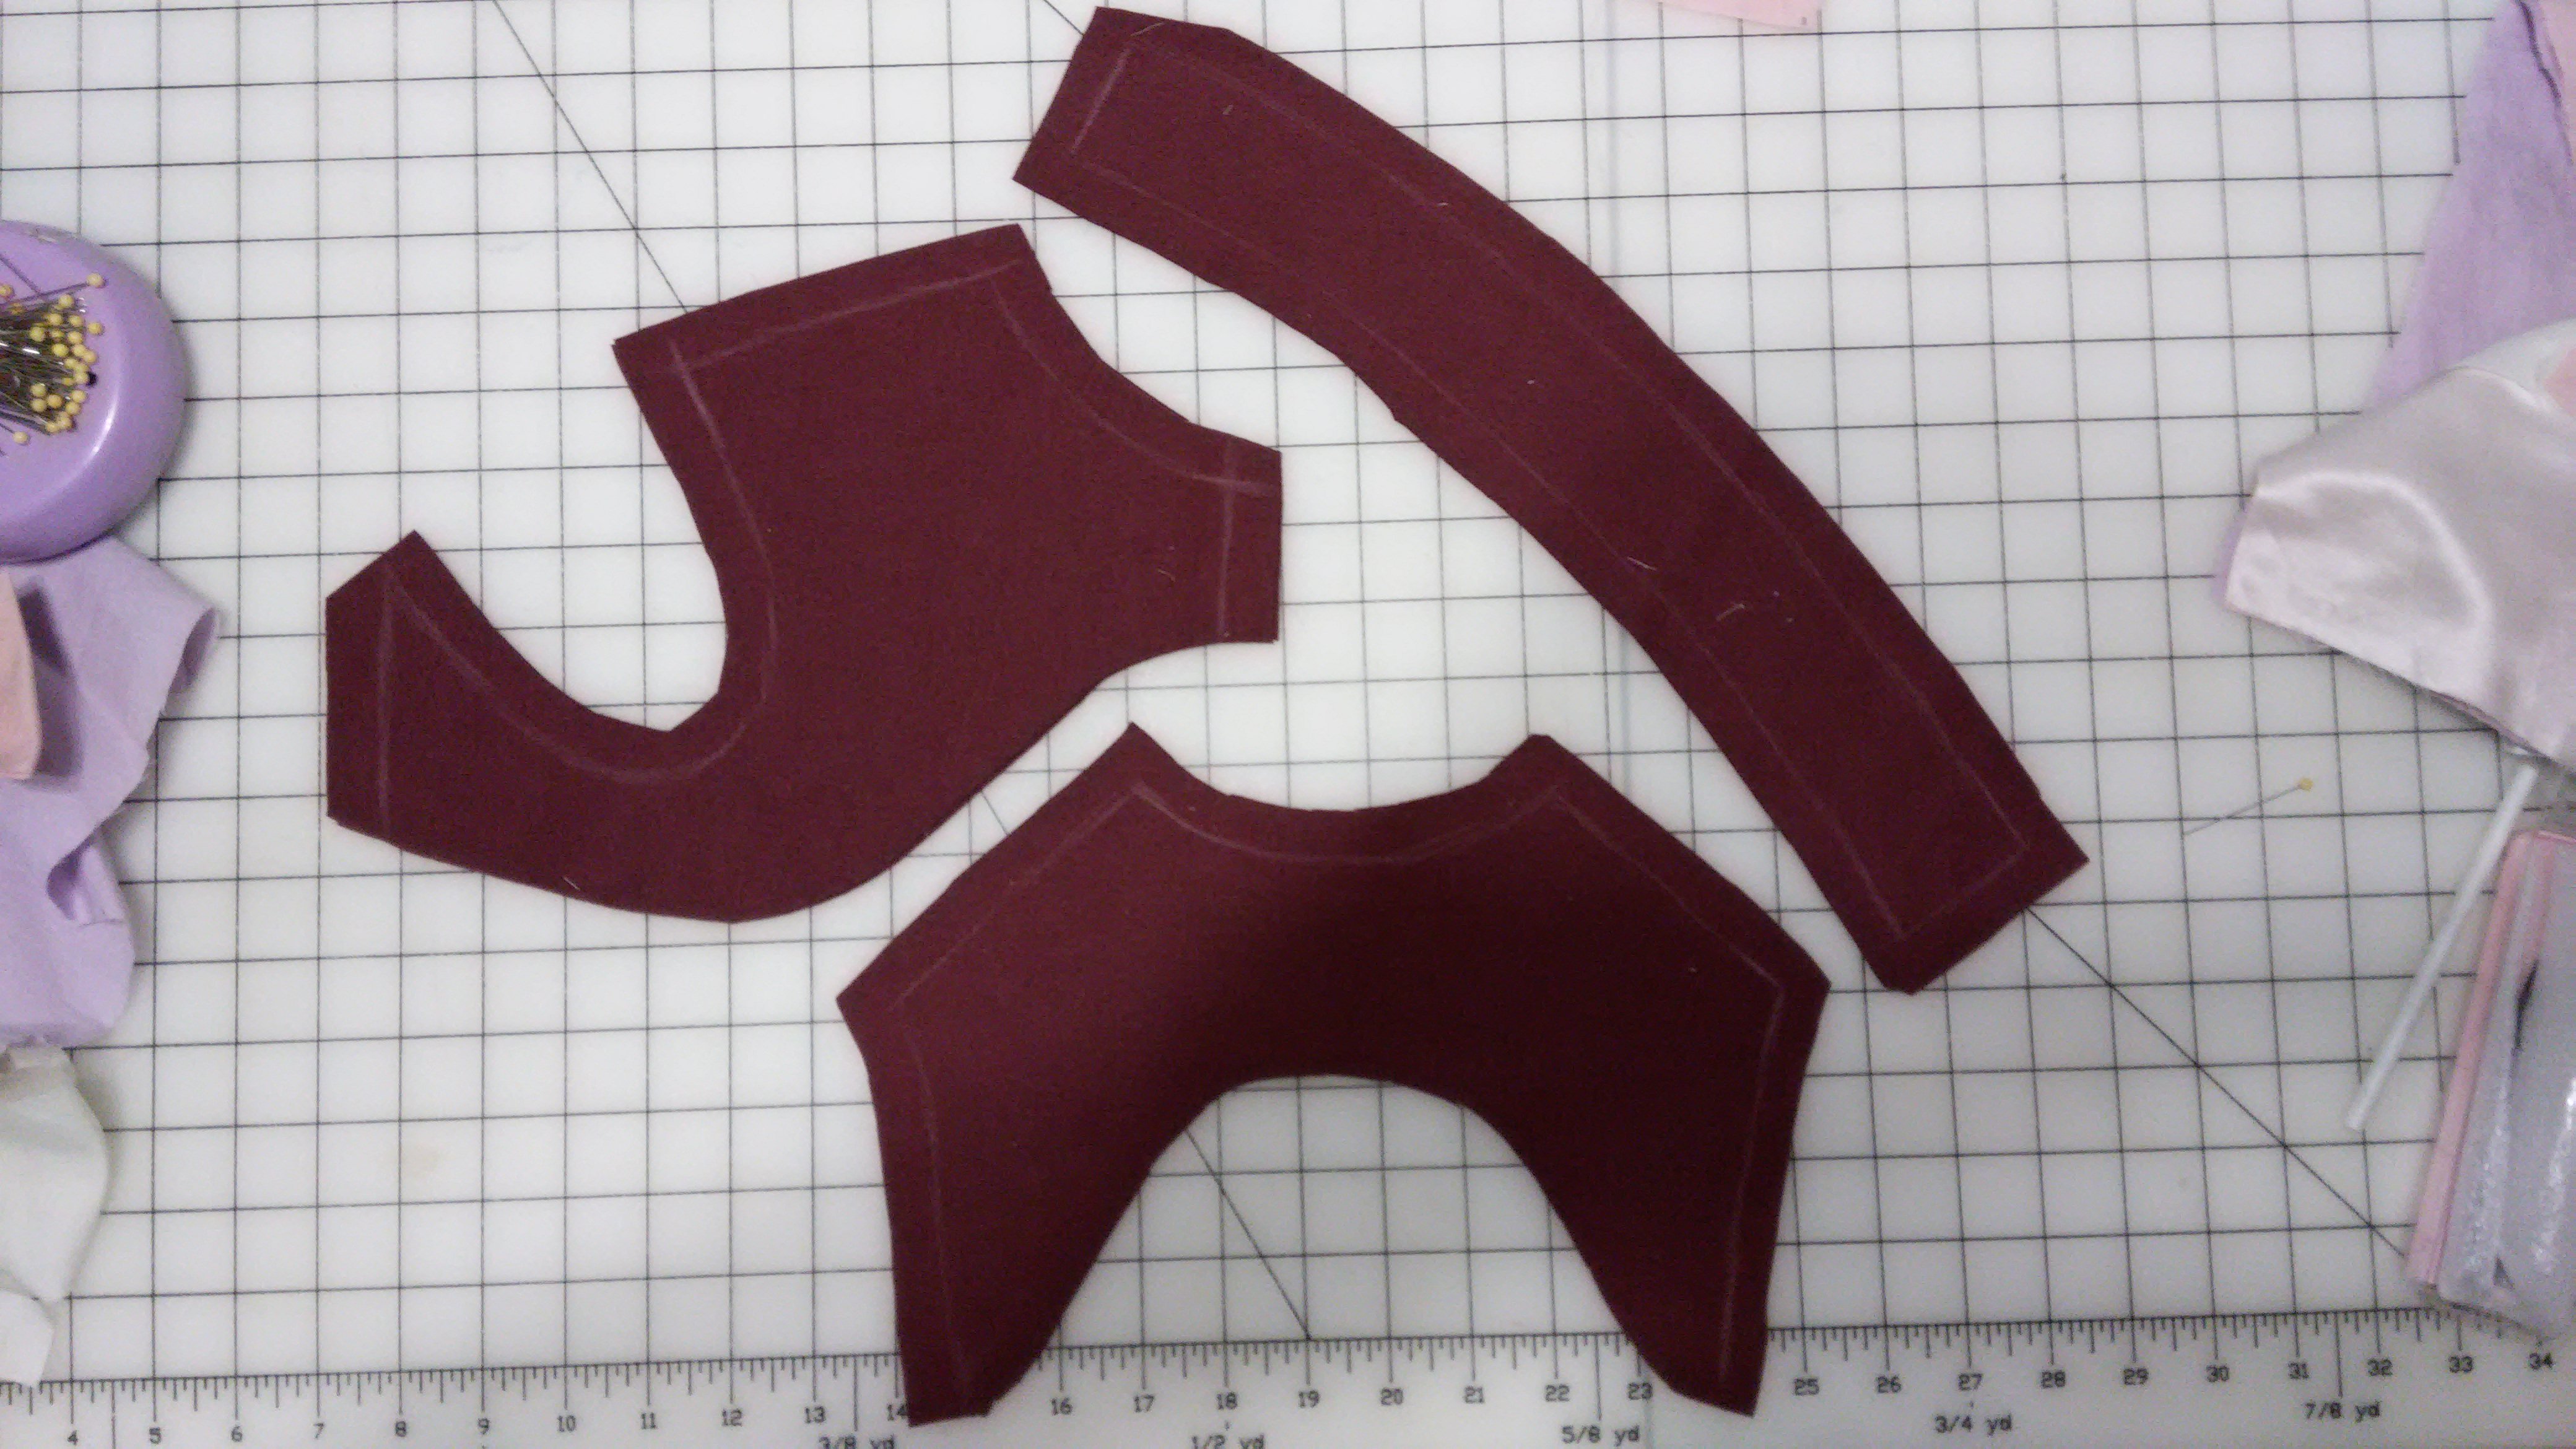
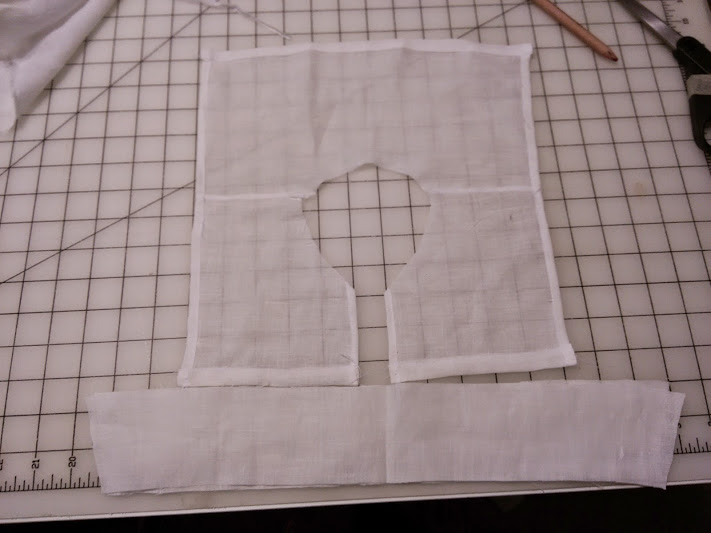
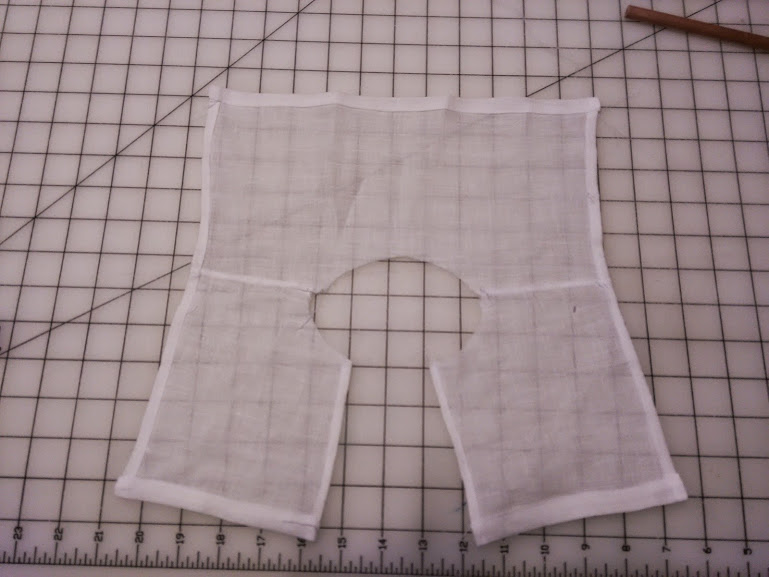
Tonight I got all the pieces for the doublet cut out. It will consist of the following layers: ivory silk, pink linen/cotton blend, wool felt, and lavender handkerchief linen. The wool will be used to pad and stiffen the collar and top of the doublet. I’m not sure that the wool is necessary for a little girls doublet, but I want to practice these techniques so padded it will be! Only the pink is shown as representation of the pattern.
Wool padding

Collar and sleeve

Back and front
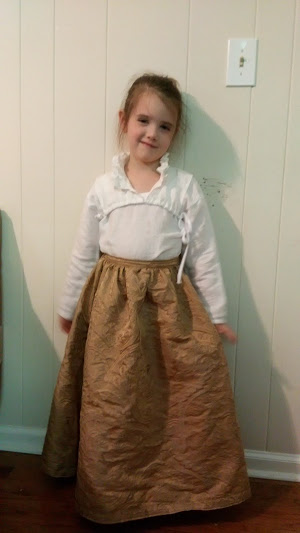
The colleto (partlet) and sottana senze imbusto (petticoat without bodice) are finished!
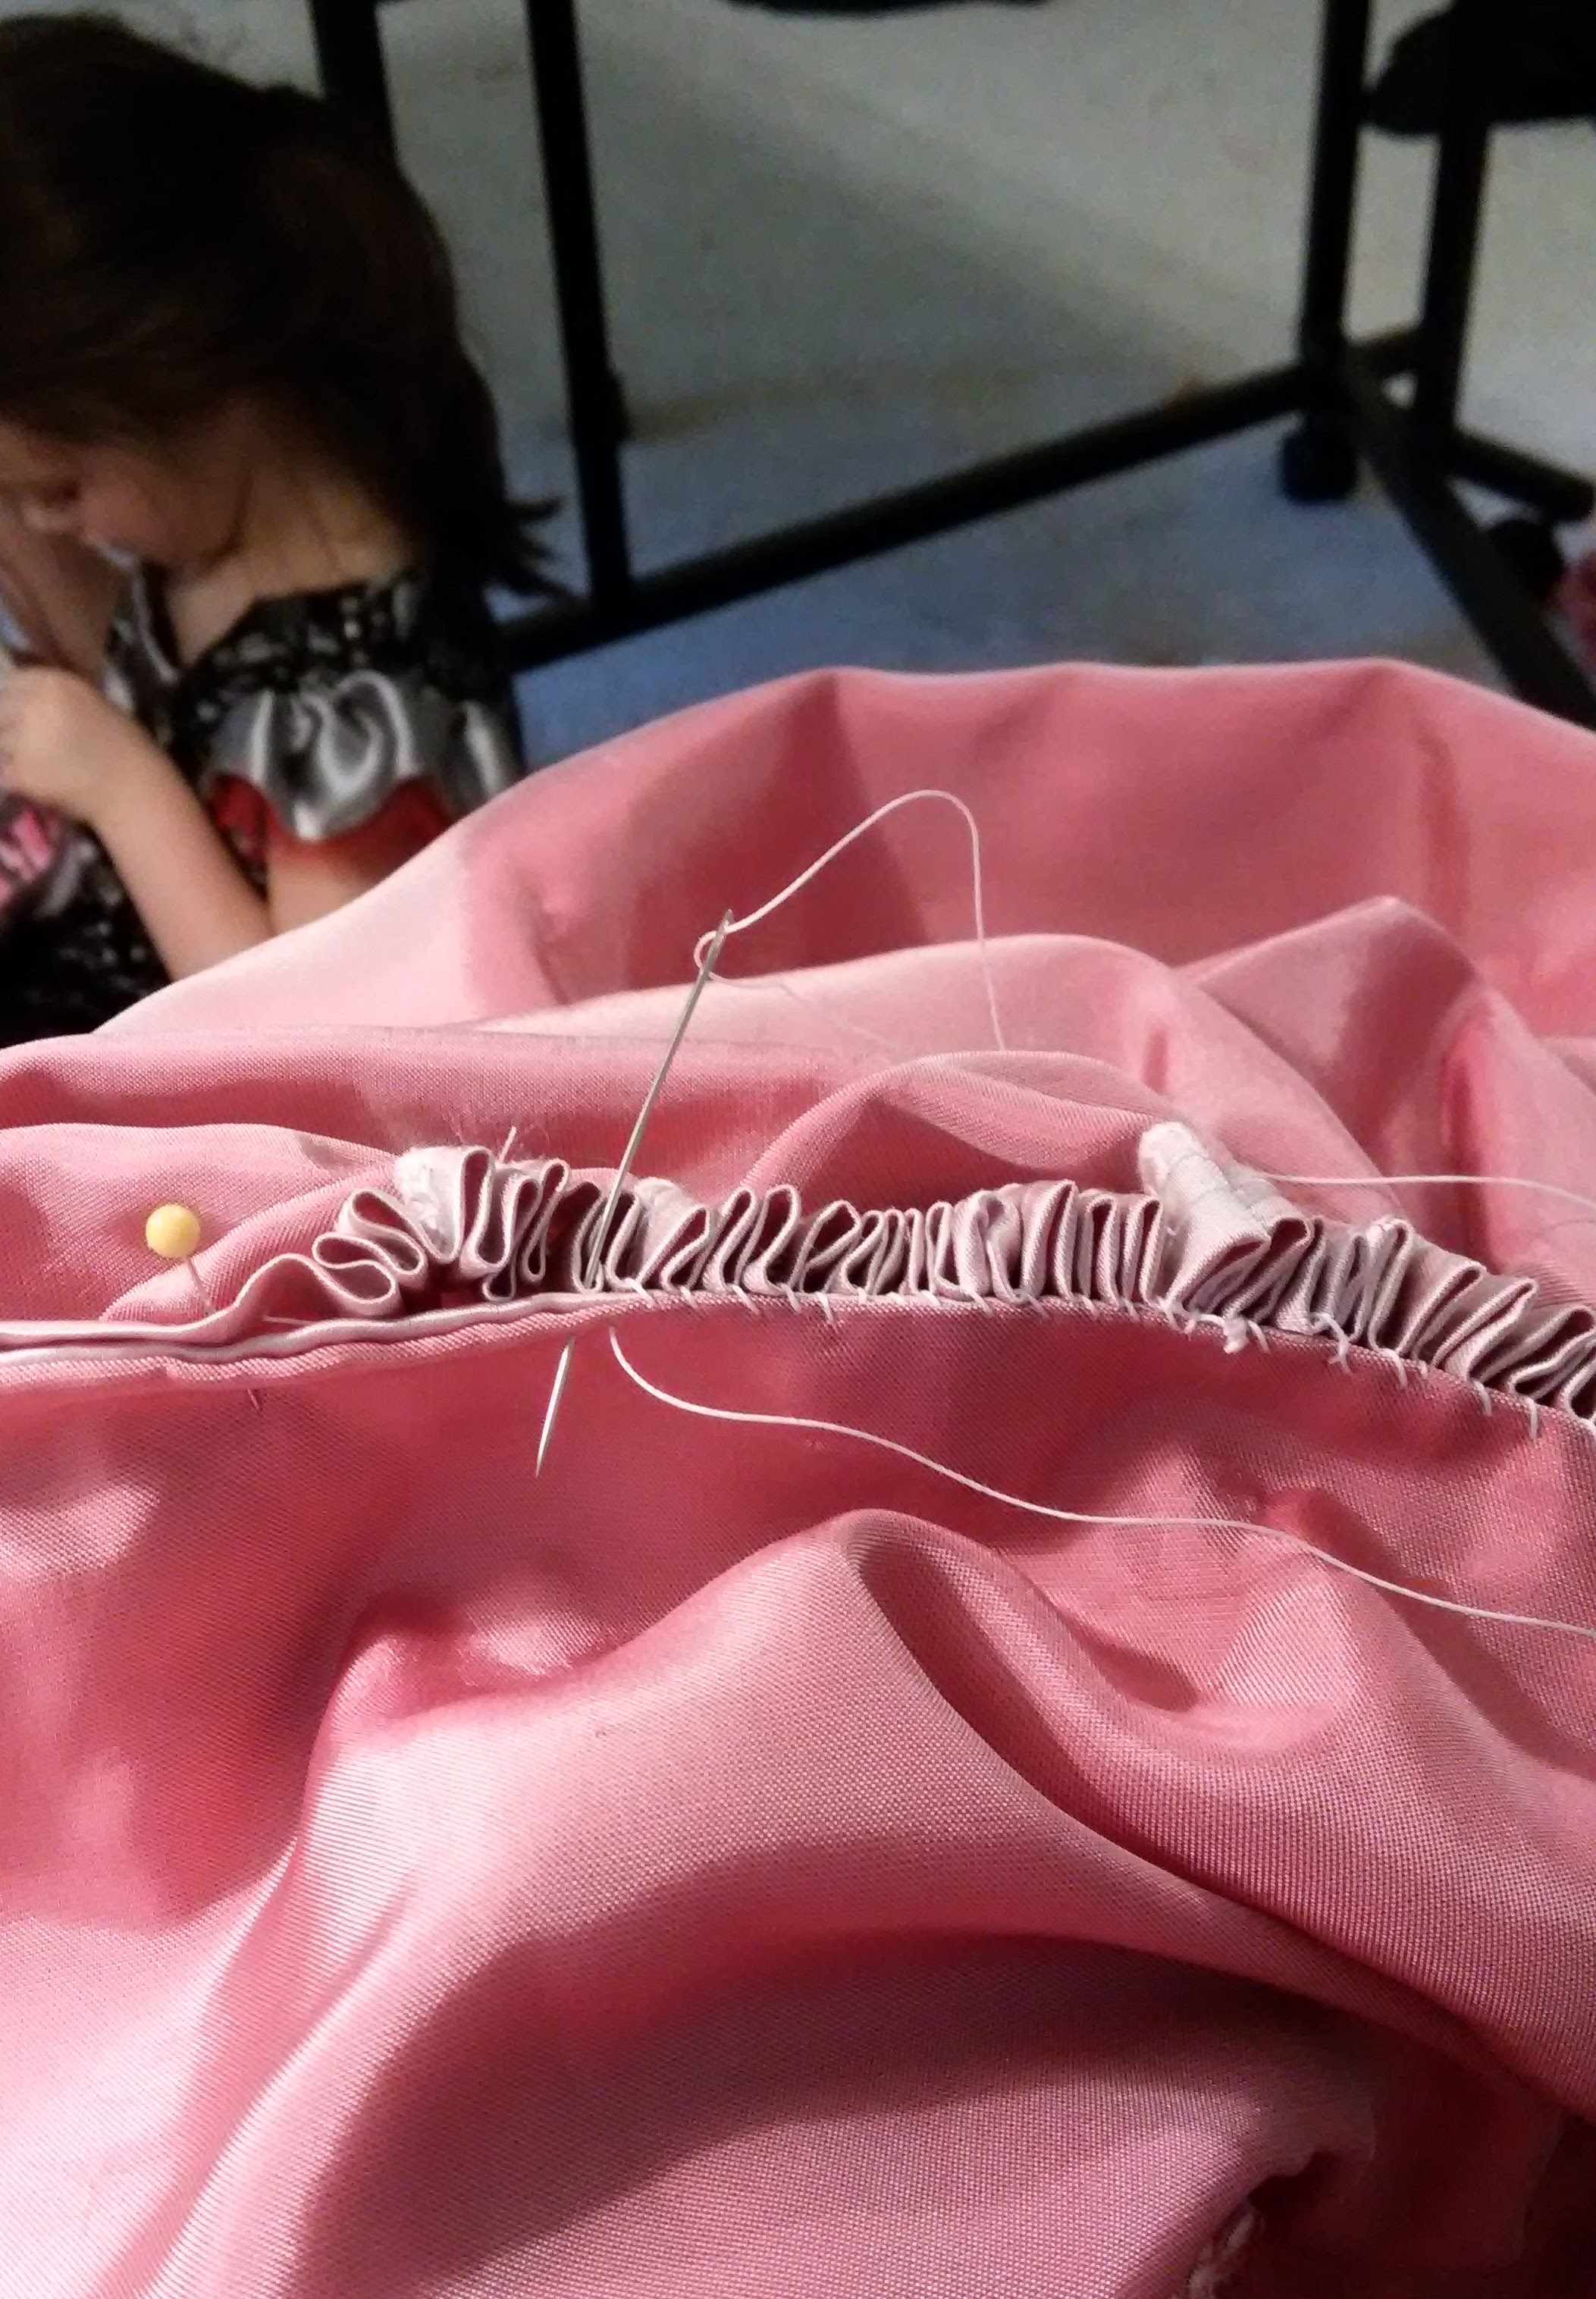
I cut out vaguely partlet shaped pieces and then draped them on Little-bug. They were joined at the shoulders and the sides and front hemmed. The bottom edges were made into a casing for a drawstring to tie under her arms. The ruffle was given a narrow hem, gathered and sewn into the collar. Finally, the collar was attached.
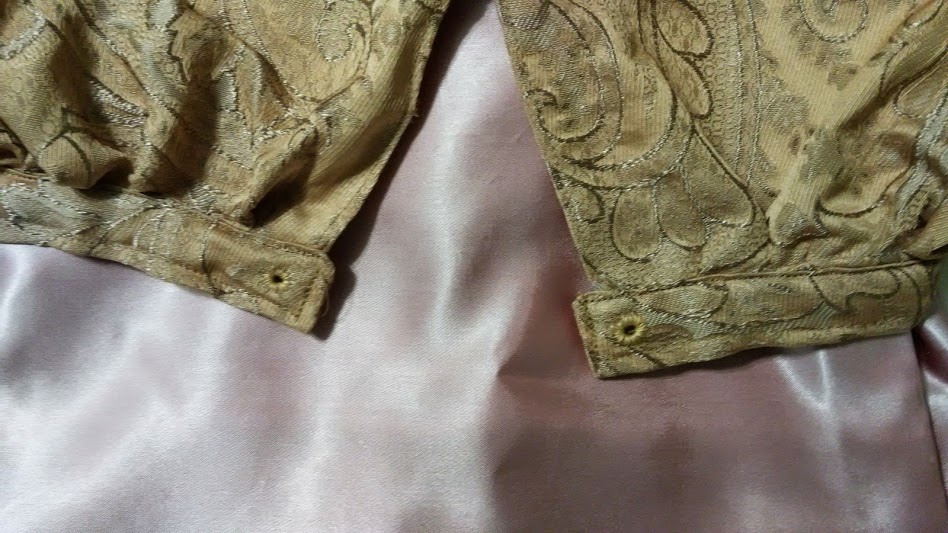
The skirt was a bit trickier as I had barely enough to to make a skirt . The gores on the sides ended up a little short, but its a functional skirt. The top edge is gathered over a string into a waistband. It fastens in the back with a tie through hand sewn eyelets. The hem has been faced with a strip of wool felt. This stiffens the edge and helps hold it out as well as prevents them hem from flipping up when it hits the floor.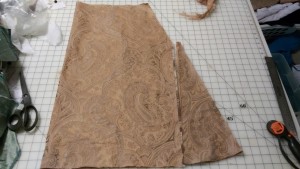

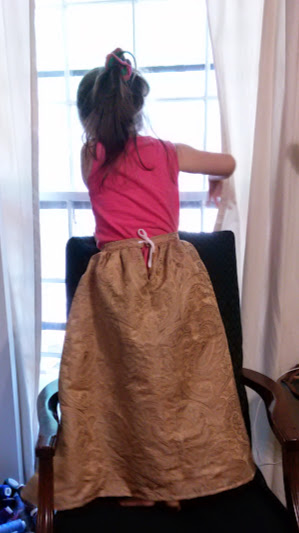
Shes so excited about the dress its been hard to get a good picture of her wearing it!
The next step is the doublet. I’m getting really excited about that as it will entail a good deal more handwork than the previous layers.
My dearest Katiebug told me, “Mommy, I want one of those white princess neck things!” After looking through a lot of portraits it was discovered she meant a ruff. I was over the moon! That is where this begins.
The dress she picked is Lavinia Fontana’s – Portrait of a girl 1580. Technically not a ruff, but I’m not going to quibble. beginning
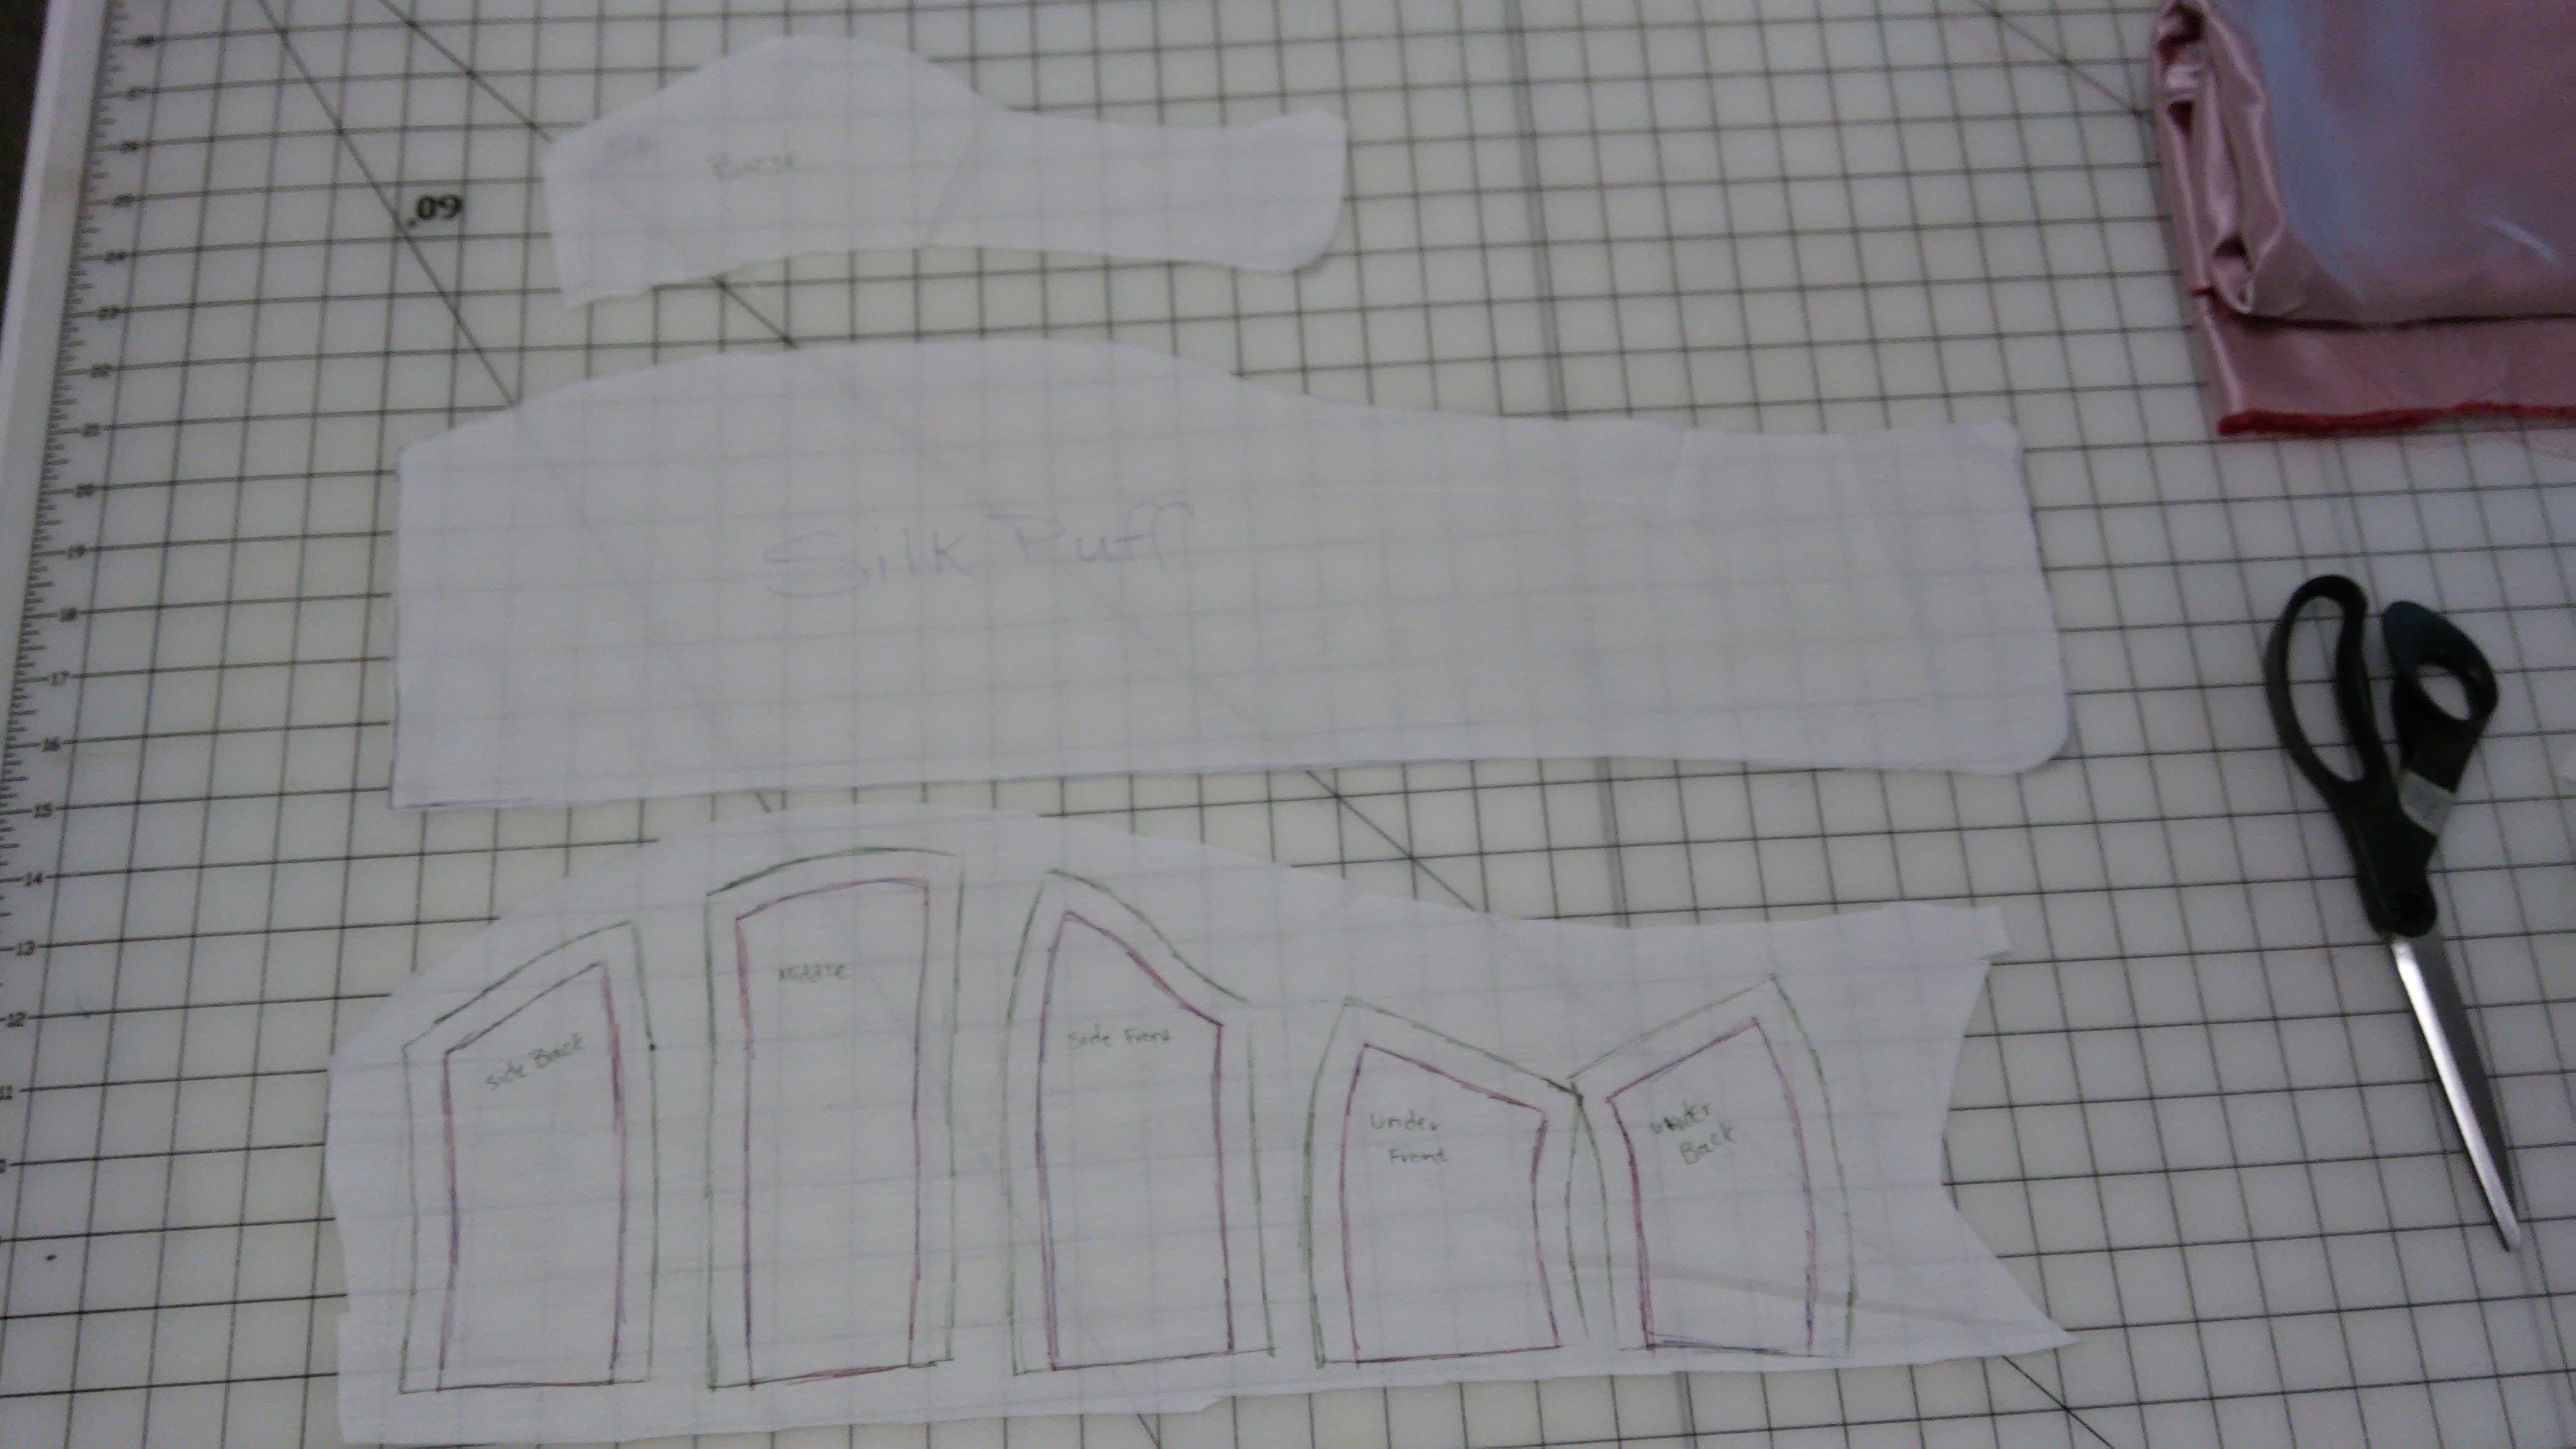
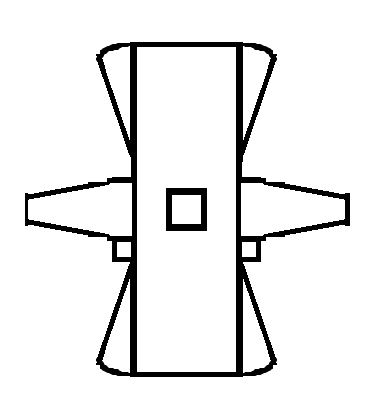
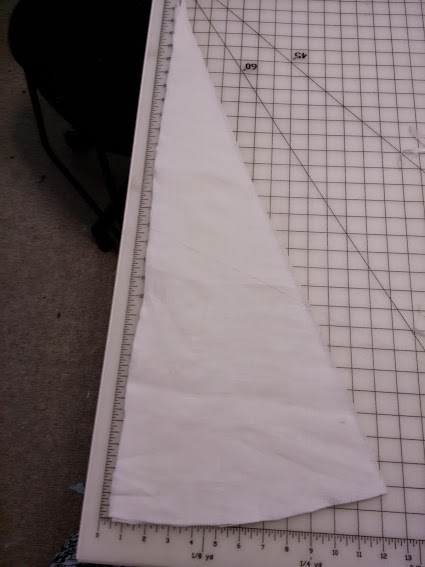
As of today, I have made her a square necked smock. Technically a bit more English than Italian, but a good basic shape that will work well with the chosen dress. This is the basic layout, though not to scale.
 Due to fabric limitations, Little-Bug’s camicia has a seam at the shoulders as well, though this is not documentable to my knowlege .
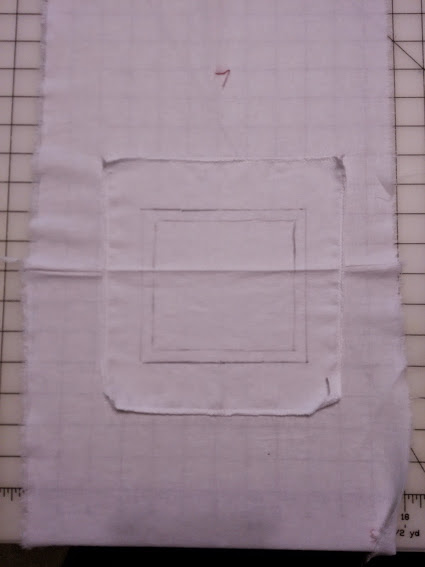
My trick for placing the neck facing:
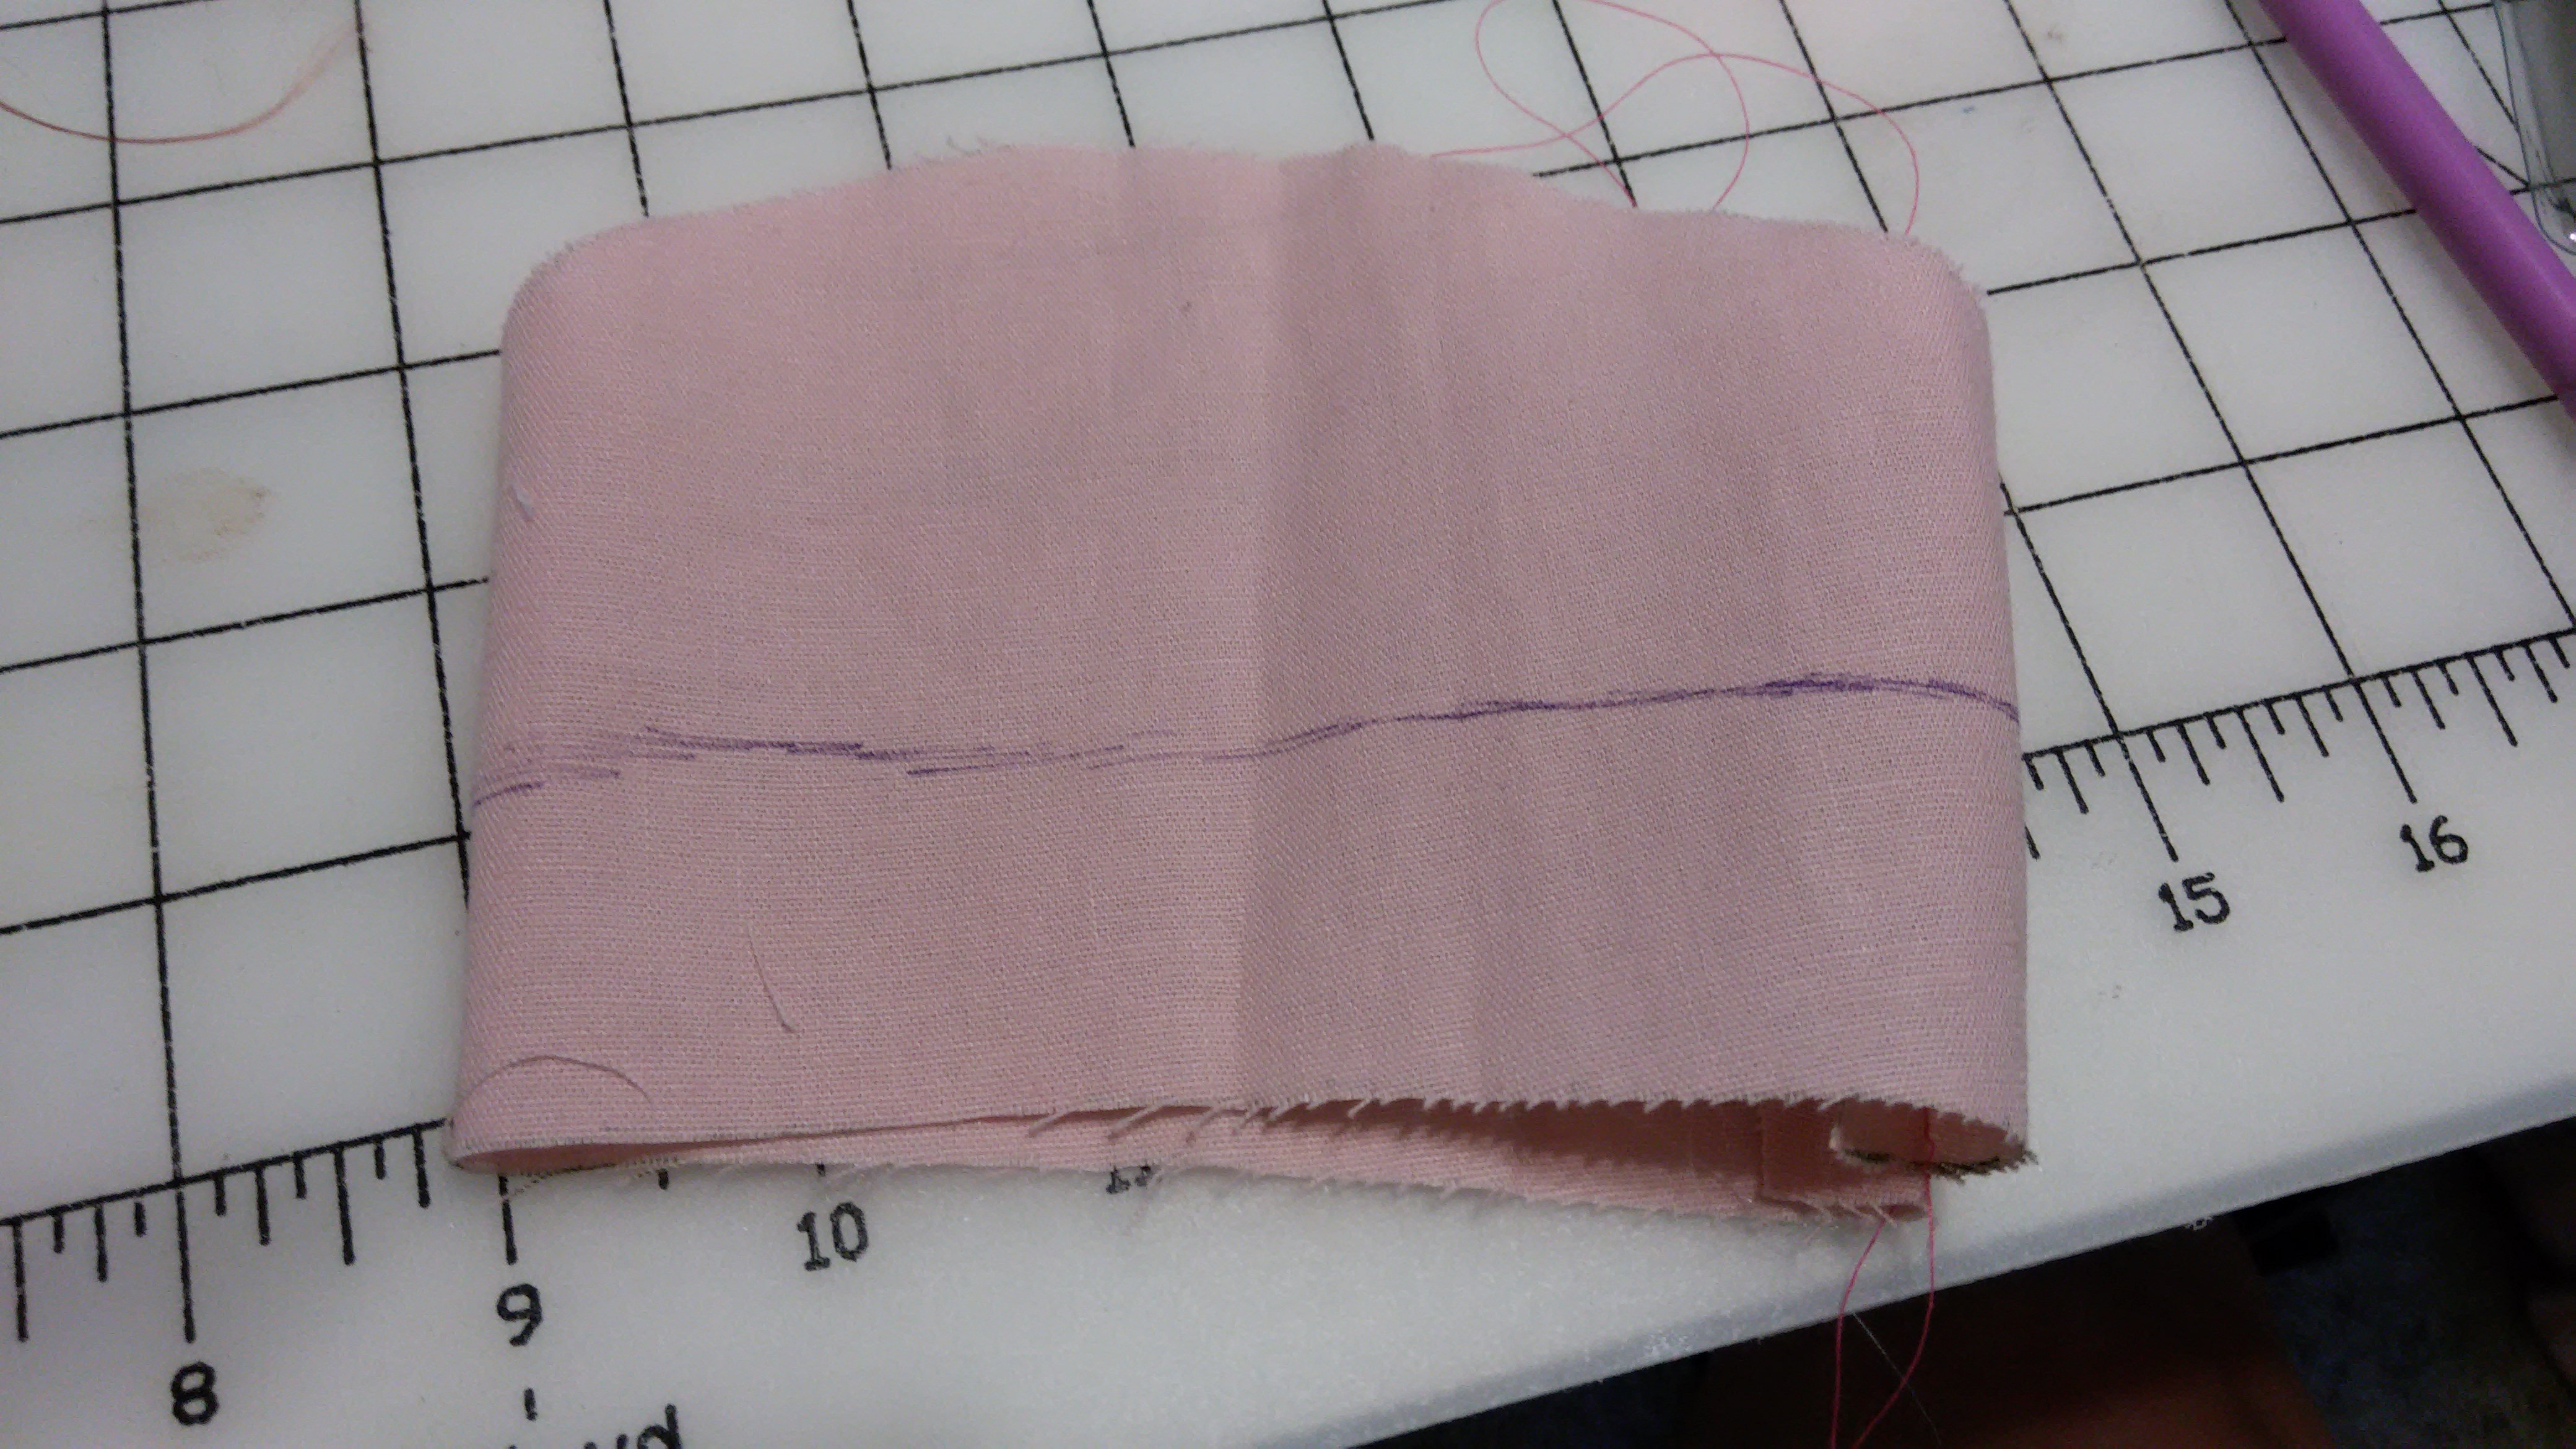
Iron the camicia ( smock) in half and then in half the other way. This will give you the center front and center across. on this particular camicia, the shoulders have a seam so that takes the place of one of of the ironing lines.
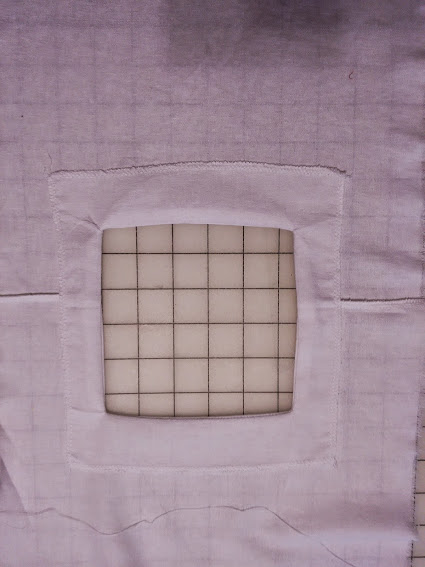
Cut out the facing square, but not the center. Mark the stitching line the size you want the neck opening to be, adjust it to have a lower neckline in the front and higher in the back. Iron so that it has a crease marking the placement. Then all you have to do is match up the ironing lines! no more dealing with wiggly necklines due to shifting fabric. AFTER stitching, cut out the neck line leaving a small seam allowance. Flip the facing and iron. Stitch down so it stays in place.
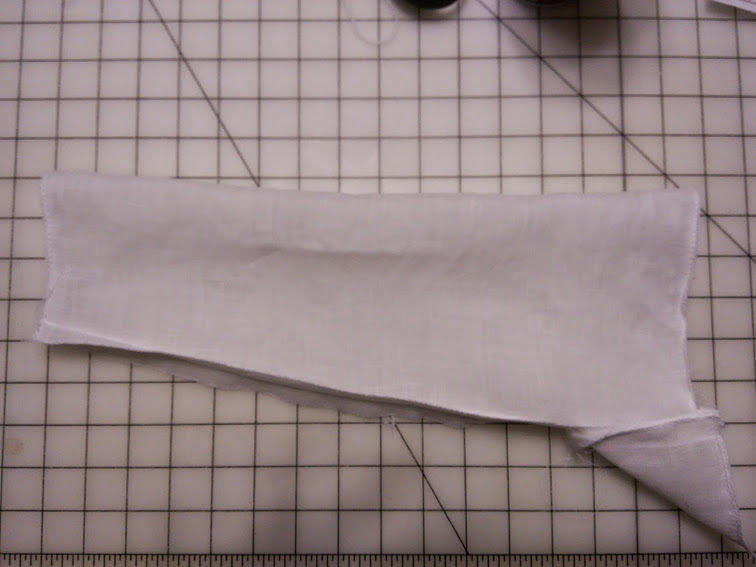
Next attach the side gores and iron the seams toward the gore. I trimmed the corners to make a rounded edge from the straight side of the gore to the bias side. Gores are sewn with the straight grain side to the main body panel. Trimming the corners off keeps it from having a dangly side.
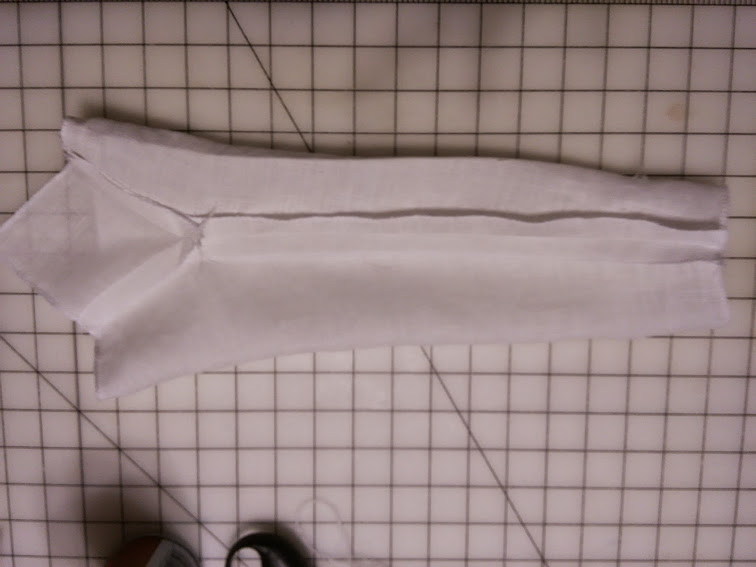
The small square gussets are set in to the sleeve, then the sleeve is set into the camicia. Two angles of the sleeve inside out.
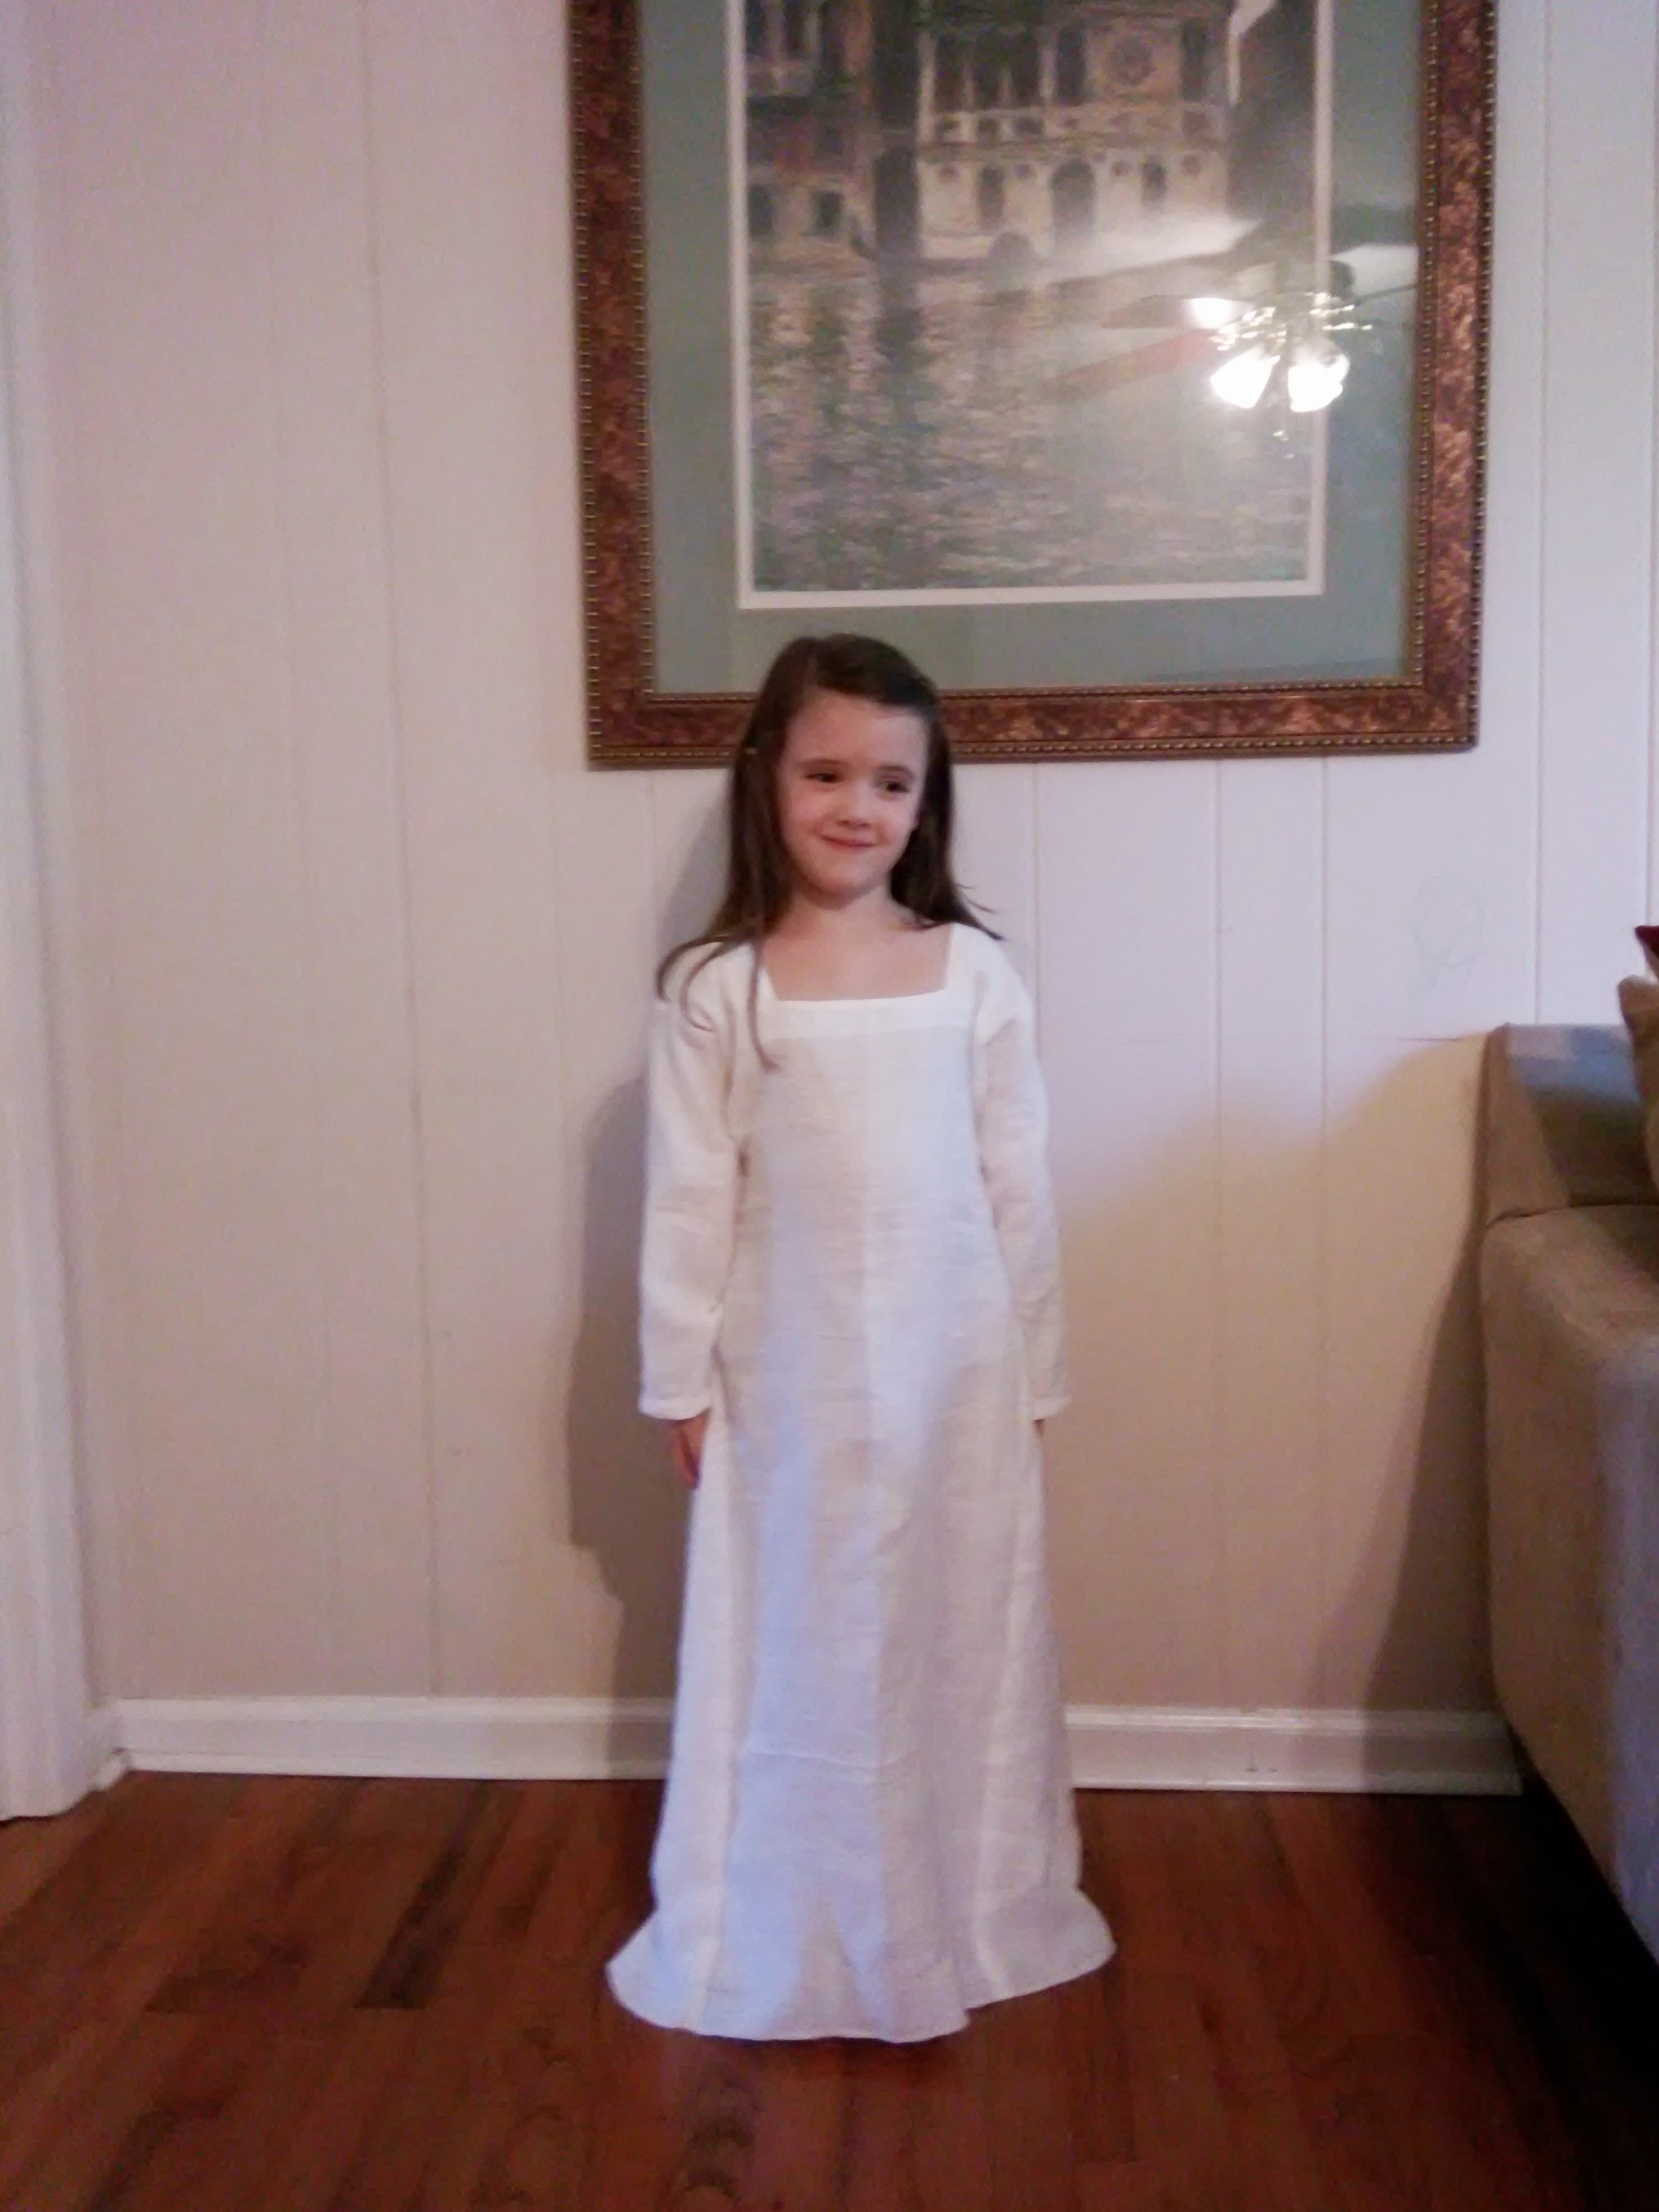
Sew up the sides and you’re done! Little-Bug’s camicia has not been hemmed just in case she has another growth spurt while making this dress. Its also quite a bit long for her in the sleeves. Here’s to hoping it might last a year!
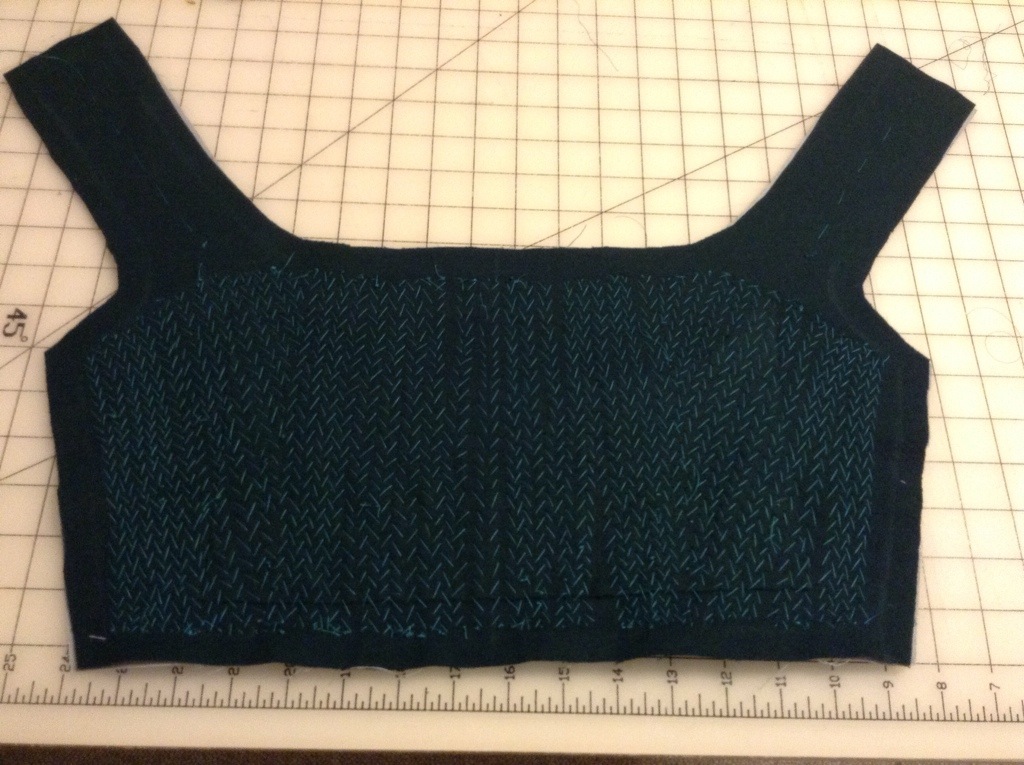
With the help of my wonderful friend, Serafina, I now have a new bodice pattern! The areas marked in pencil are to be pad stitched and a 1/2″ seam allowance is marked. It will be lacing up on the side back- but just barely to the back, more side. I cant wait to try the new lacing placement. Previously I had been making them with the lacing further to the back, as this is how it is on Eleanora’s burial gown. However, after looking at some other pictures I think that closer to the side is more accurate. This is confirmed in that in the burial gown, the lacing eyelets go through the trim in the back. It looks to be an alteration due to weight loss. The more forward position means that I will be able to lace myself into my dress on my own… potentially without hurting myself. Now onto other sewing obligations so I can get to work on this soon! 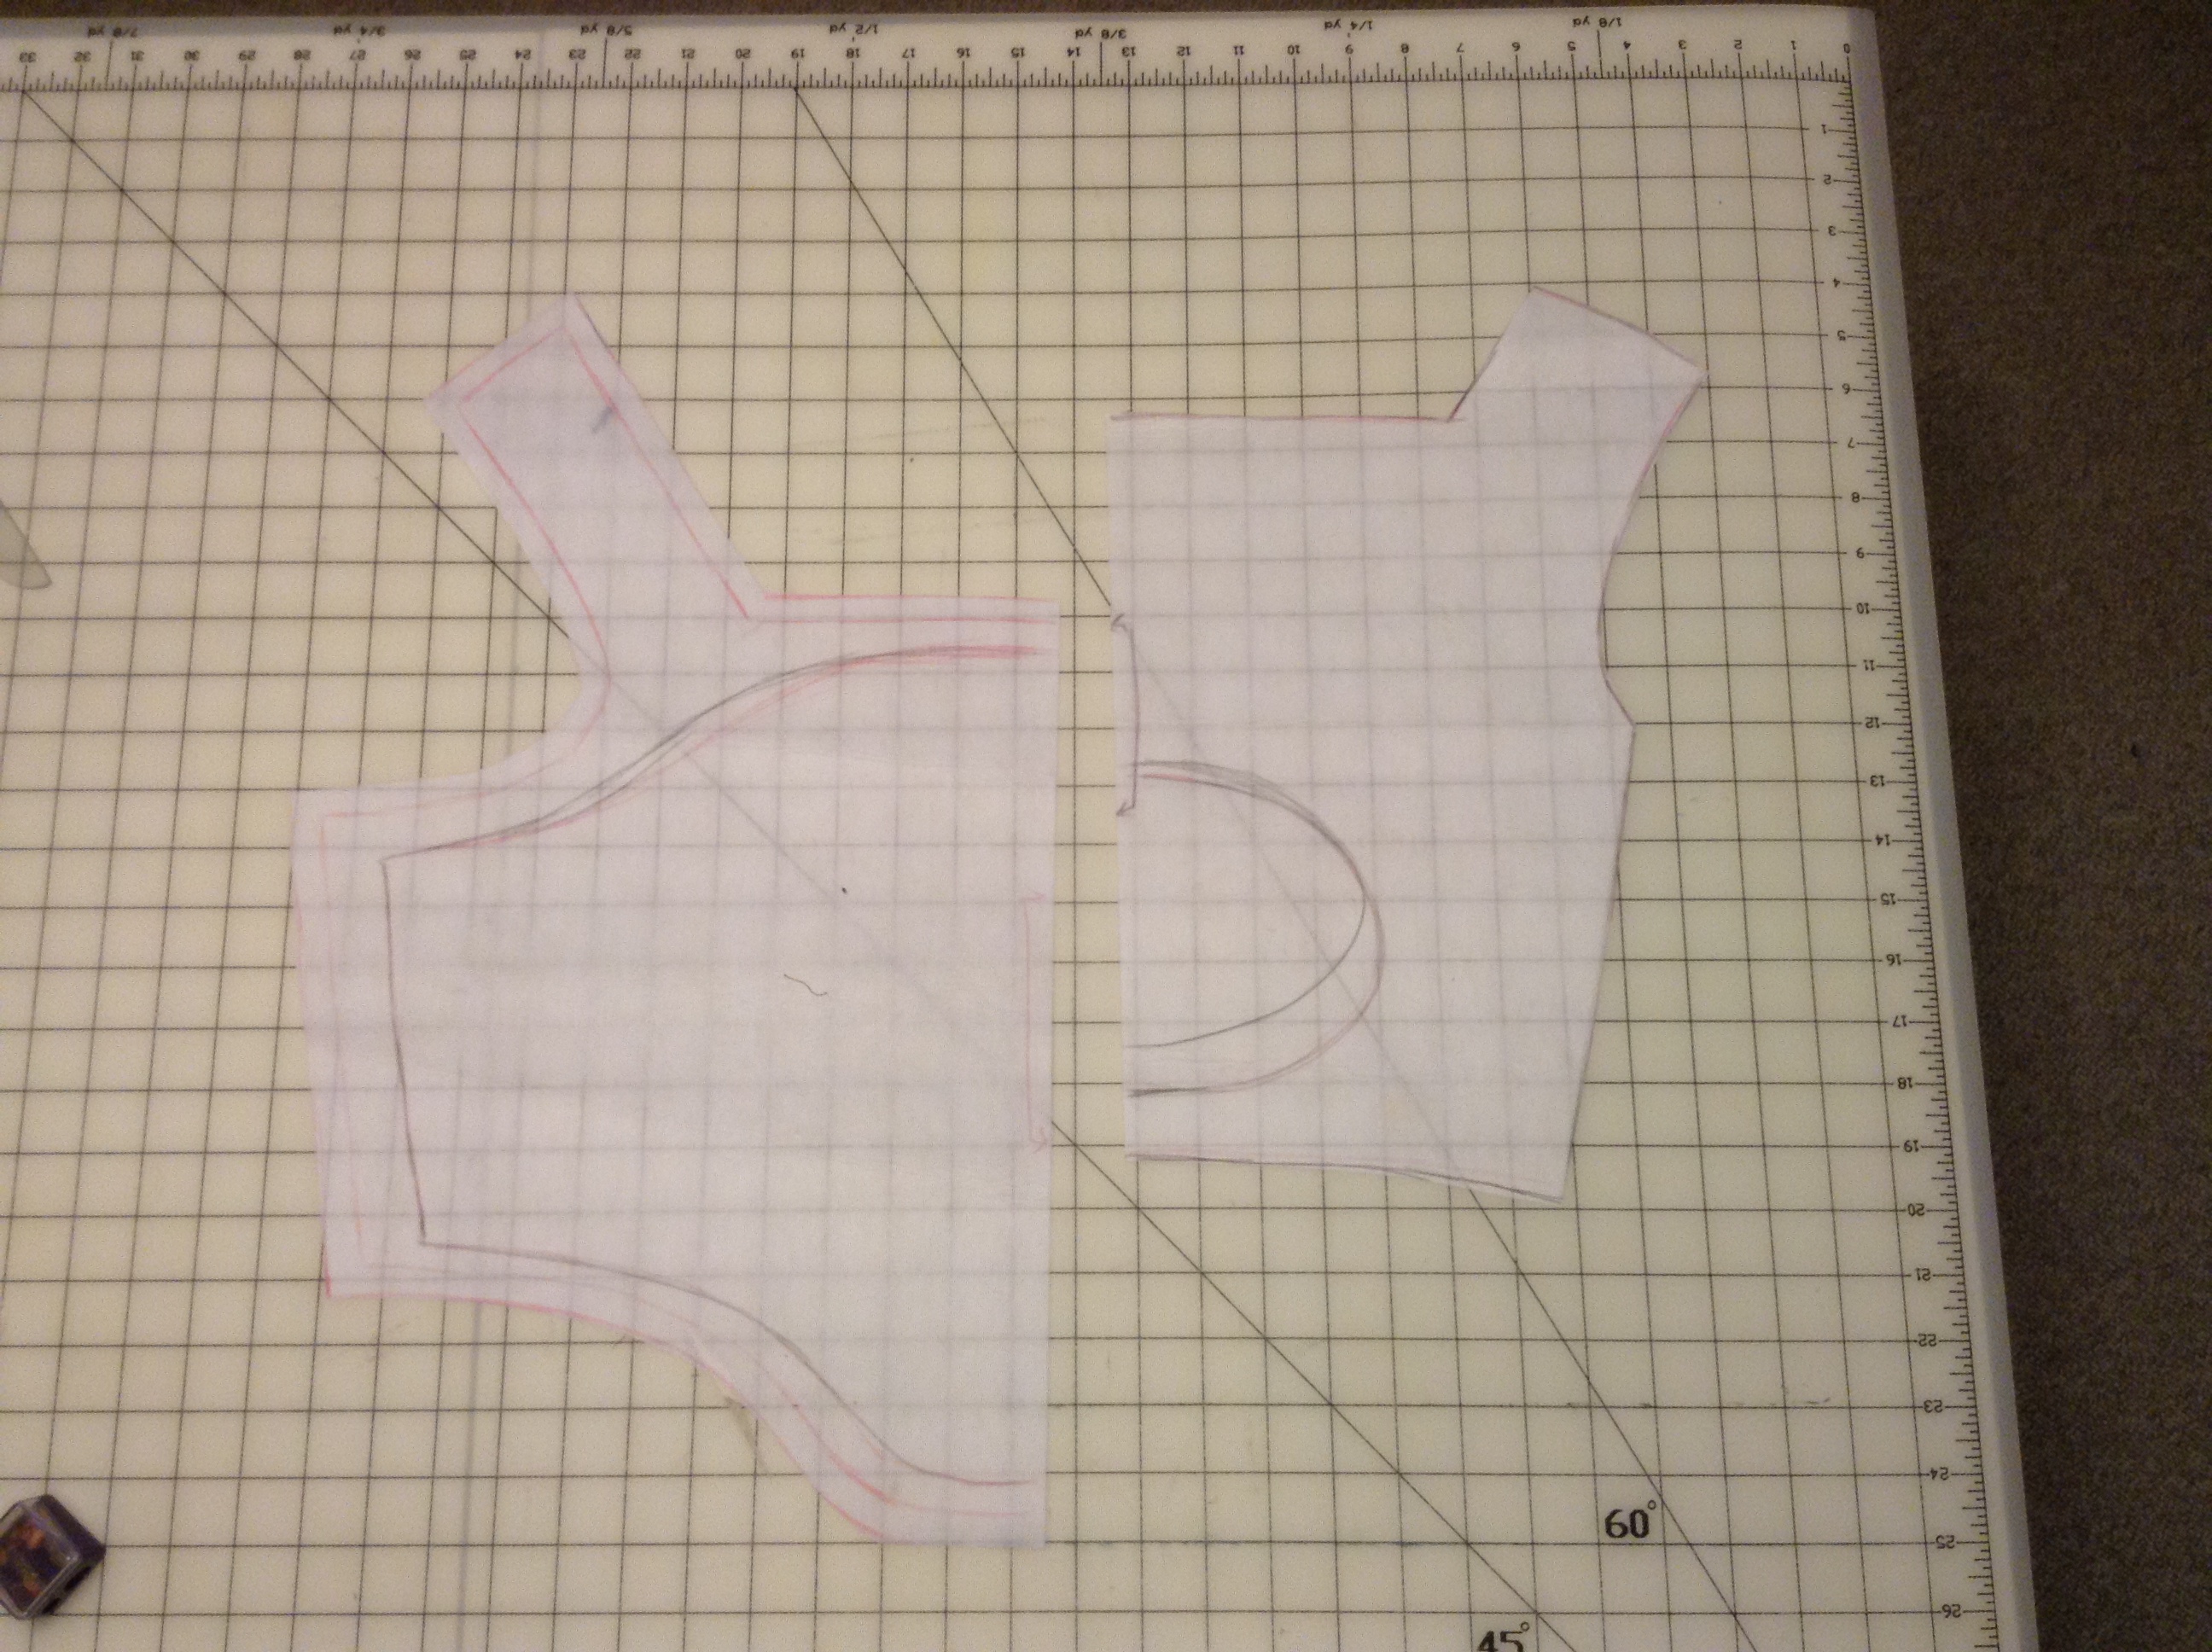
I have finished, as much as a work in constant progress can be said to be finished, my class for Castle Wars. I hope that there will be people who see this who know more and can add to my knowledge.
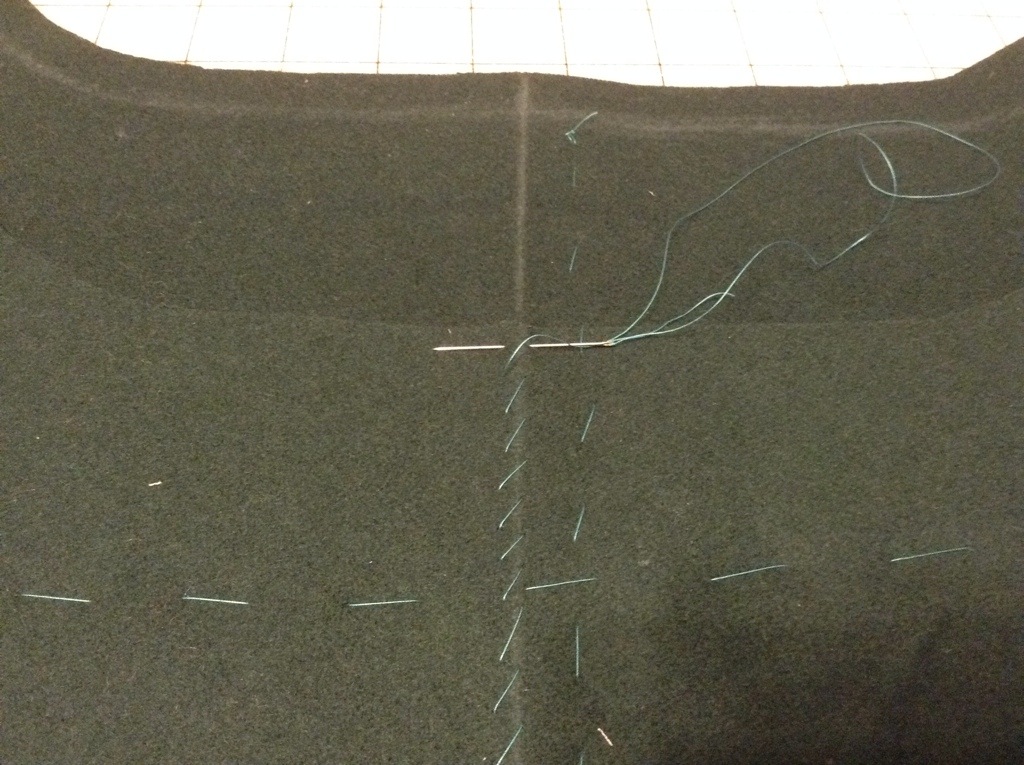
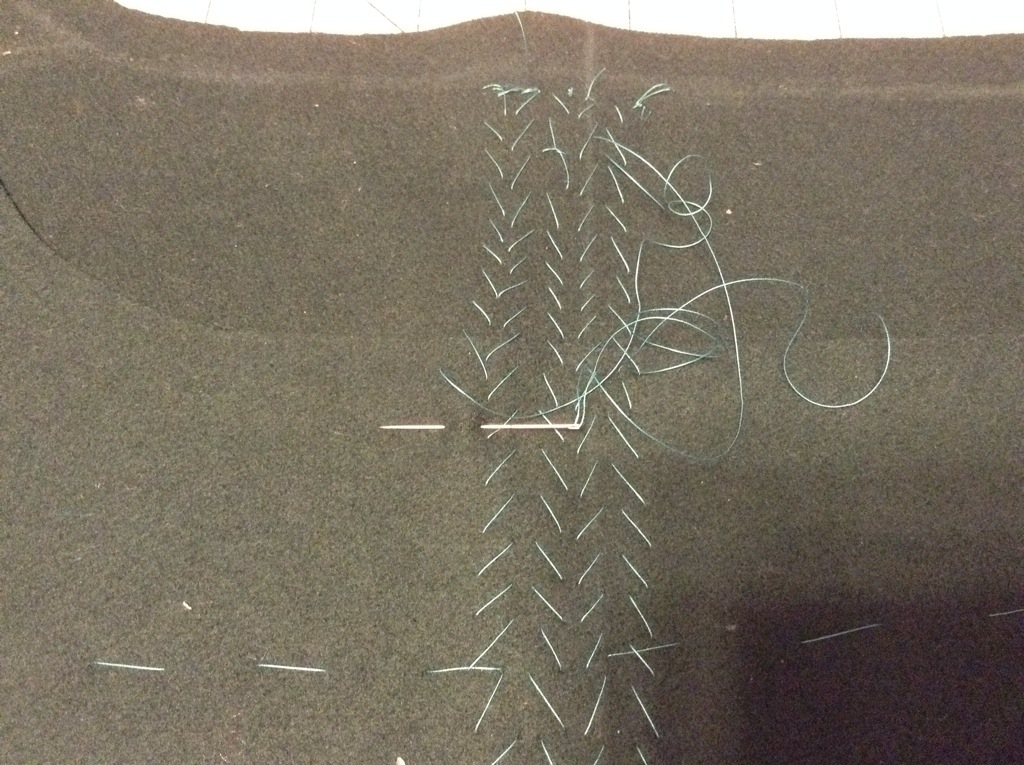
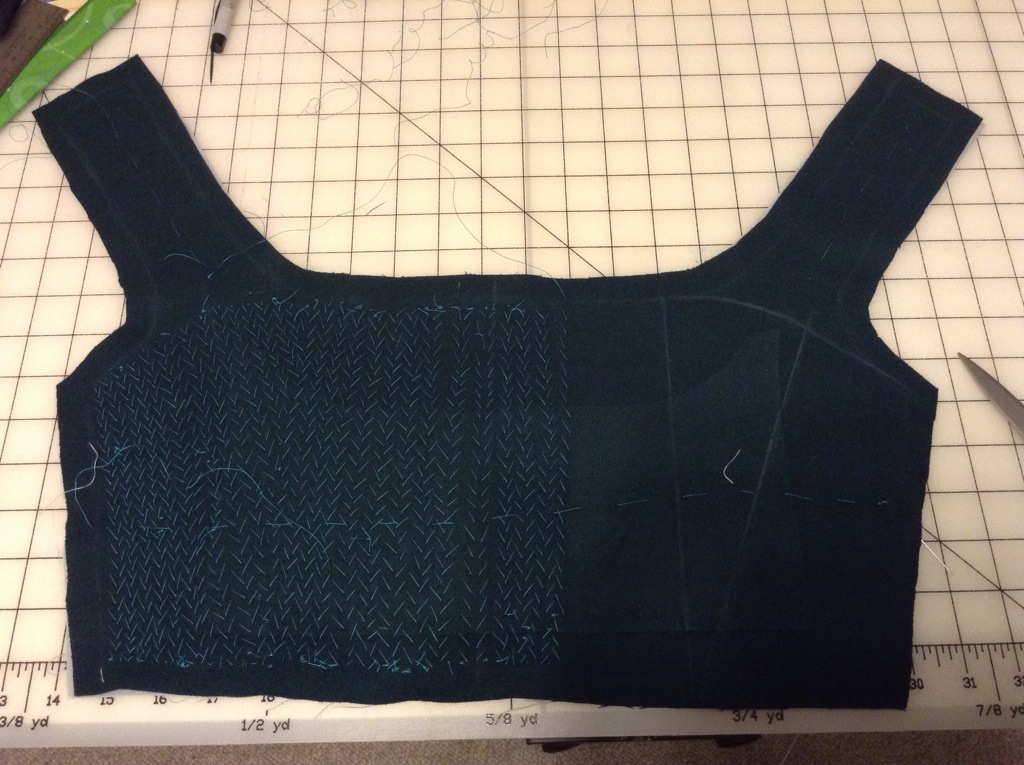
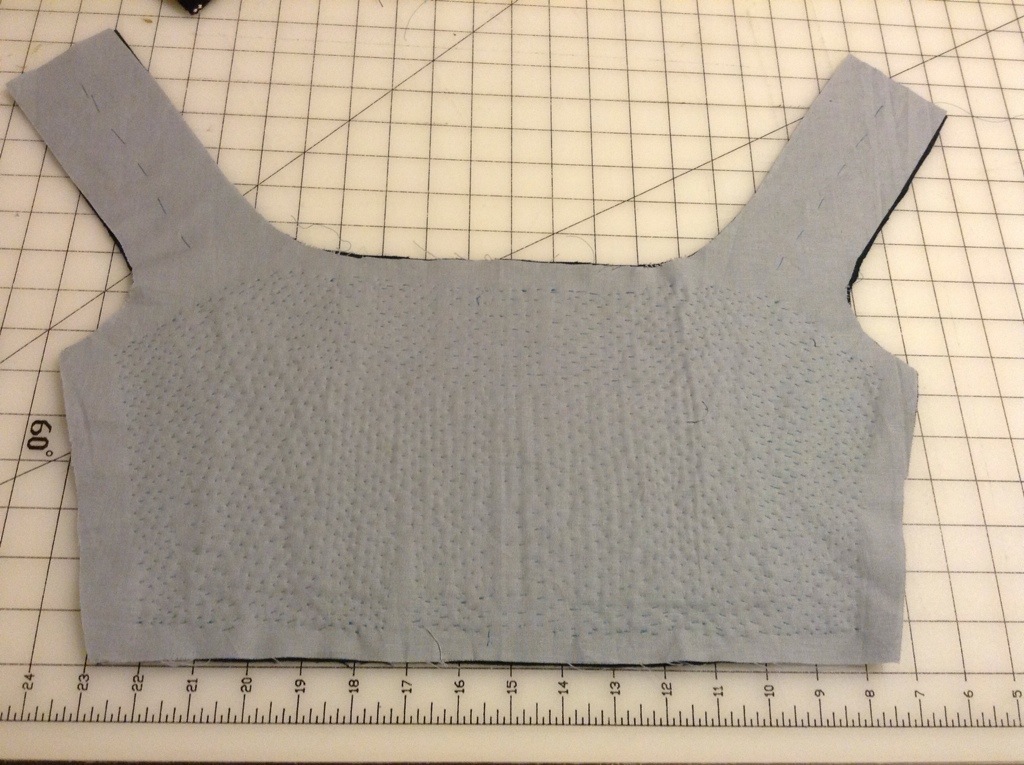
Next step is to pad stitch the heck out of it. The stitches go through all the layers. This part is easiest to do if working with the bodice laying flat. I worked with it laying on a fabric cutting board while standing. You do not want to pad stitch the straps as they need to stay soft to hug the shoulders when worn. Before stiching. Mark the seam allowance and the area to be pad stitched. You do not want to stich in the seam allowance. It’s easy to get lost in stitching and do too much.
