
Beyond Running Stitch
Hand sewing techniques for 16th century bodices
Lady Alessandra Giovanna Fioravanti
(MKA Meg Vaughan)
This started as quest to make an unboned 16th century Italian bodice. I was armed with Janet Arnold’s Patterns of Fashion 1560-1620 and the internet. I could see in the pictures of the extant gown, currently located in Pisa, from 1560, the telltale wrinkles at the under bust and waist that led 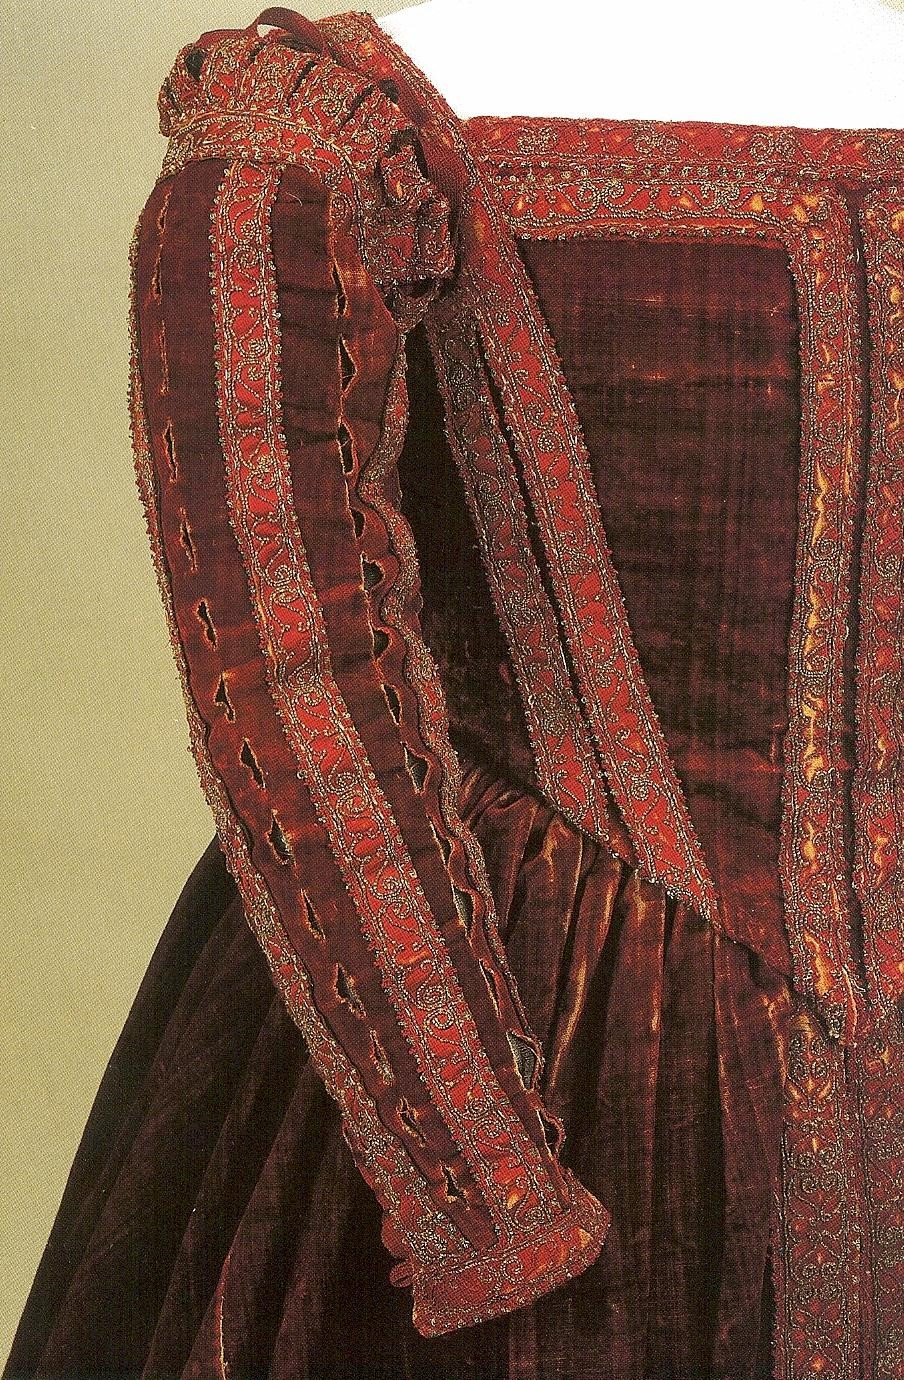 me to believe that there was no boning support in the bodice. In many more paintings from 16th century Italy, there are these same wrinkles. I was at a loss until I read Moda a Firenze 1540-1580 and read, “The padding of the garment was obtained by in internal layering of the fabrics, the doppia made up a felt and two types of cloth, one stiffened the other finer, San Gallo cloth or bottana, and for girls even cotton bambagino or bombast.” (Landini Niccoli, 84). In Patterns of Fashion, there is no indication that Eleanor De Medici’s burial gown or the velvet bodice under it were boned in any manner, however there was other information that aided me. “The satin bodice was originally lined with closely woven fine linen and tiny fragments remain by the third and sixth eyelet hole from the top on the left side of the back. Fragments of linen of a more open weave remaining beneath the stitching from the guards show that both the front and back were interlined for extra support. The seam allowances were turned in over the interlining to make neat edges and the embroidered guards mounted on the satin.” (Arnold, 104). While not bodices, doublets and other men’s garments are frequently stiffened through the use of pad stitching so I decided to apply that technique in bodice construction. I was very pleased with the results and so I share what I have learned with you.
Before you get started
Hand sewing can put a lot of strain on your whole body. Just as with exercise, it’s important to stretch and work muscles in balance. Things you can do to help deal with hand sewing strain:
1. Using a wide rubber band, put it around your fingers and then extend fingers as far as possible. Repeat. This works the muscles on the back of your hand.
2. Make bread. Not with a bread maker! Kneading the dough stretches your palms and strengthens your wrists and arms. It feels great after hand sewing and bread tastes yummy. If you aren’t to be trusted with fresh bread (me) you can also make a batch of homemade play dough to knead for 10 minutes.
3. Hold a doorway and lean through it while holding on.
4. Push ups
5. Plank position and yoga in general.
Pattern
If you cannot draft your own, Margo Anderson’s Elizabethan patterns are the best investment you could ever make. You can use her patterns as a starting point to make almost any 16th century outfit. You can purchase them here: http://www.margospatterns.com/
If you are interested in learning to draft your own, Baroness Leda Sand has an excellent class on the subject. You can contact her at: Hodginjr@Yahoo.com .
Sewing
You have your pattern, now what? For these pictures I was making a 1520’s Florentine dress, but the techniques can be used for different style bodices and gowns.
For this method you will need the following layers:
- Fashion Fabric – pretty stuff everyone will see.
- Lining – thin fabric like muslin or linen is best.
- Interlining – stiff fabric. Twill, canvas, duck, linen canvas, are all good choices.
- Felt – as much wool content as you can get.100% is best, but work in your budget.
- Flannel – soft cotton.
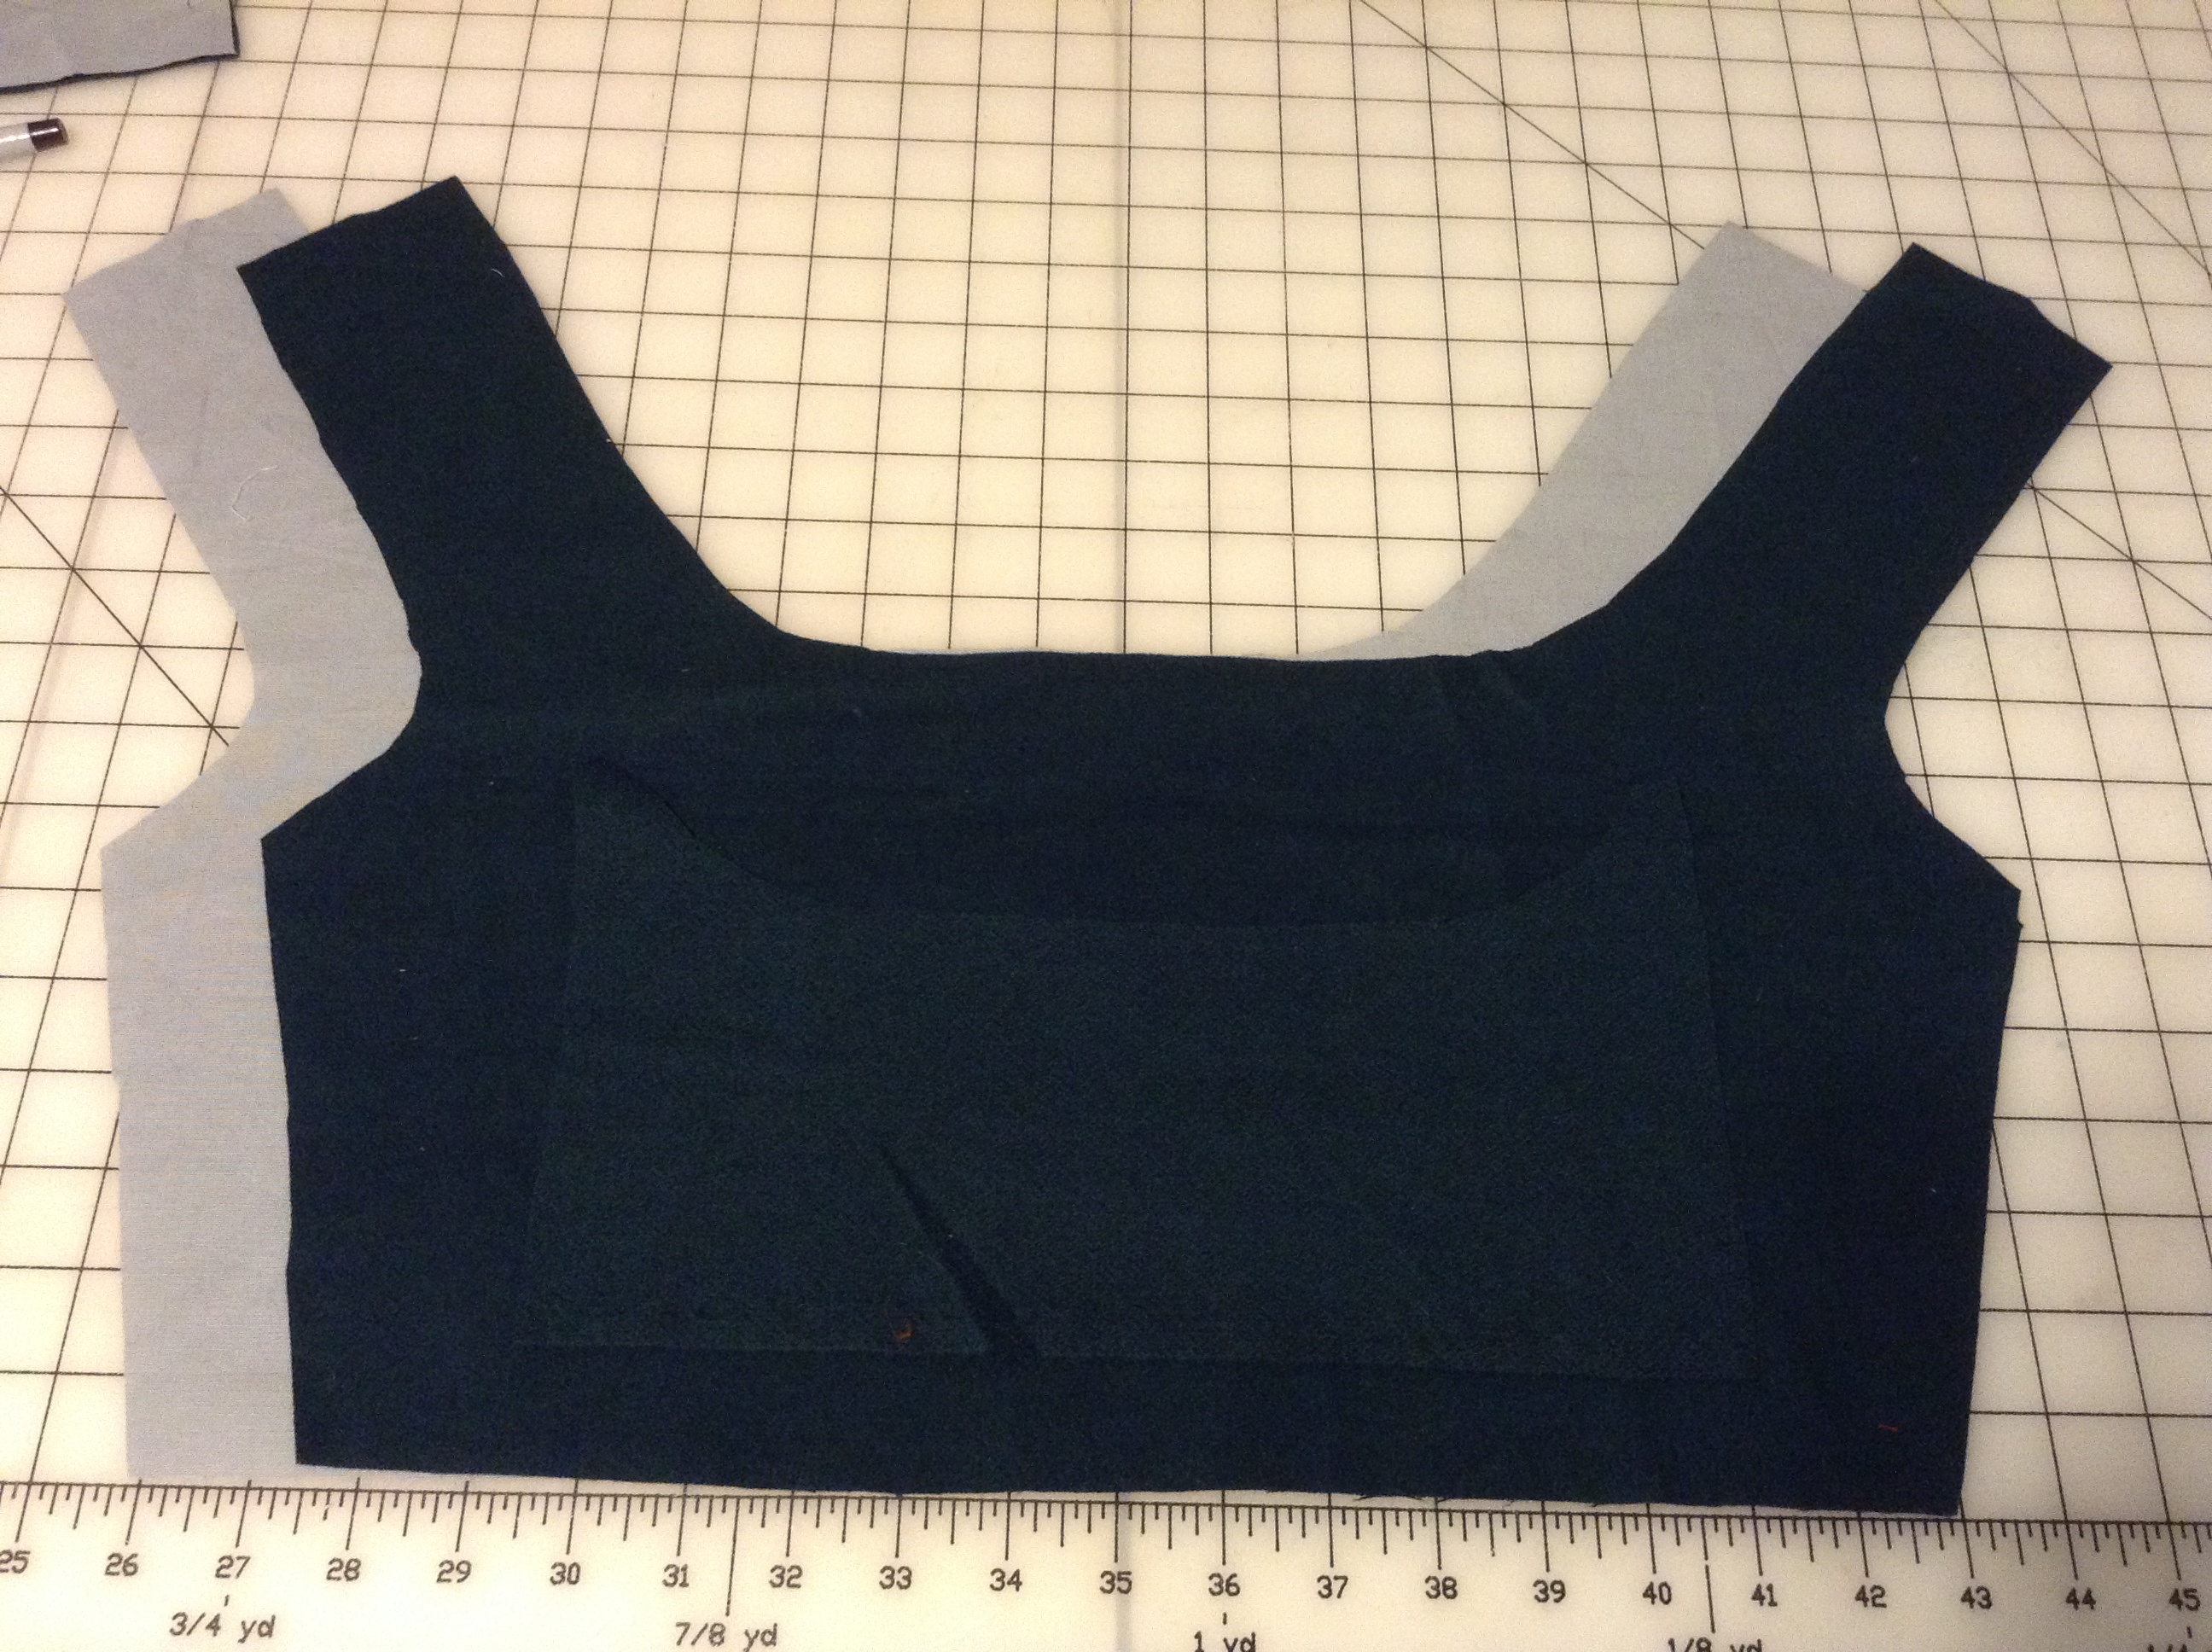
Step1.
Using your pattern, cut out your pieces from the Interlining and Felt. Mark the seam allowances with your preferred method. For my personal bodice I used an additional layer of wool felt for under the bust for further stiffening and support. This is not specifically necessary.
– Interlining shown in grey, wool is dark green.
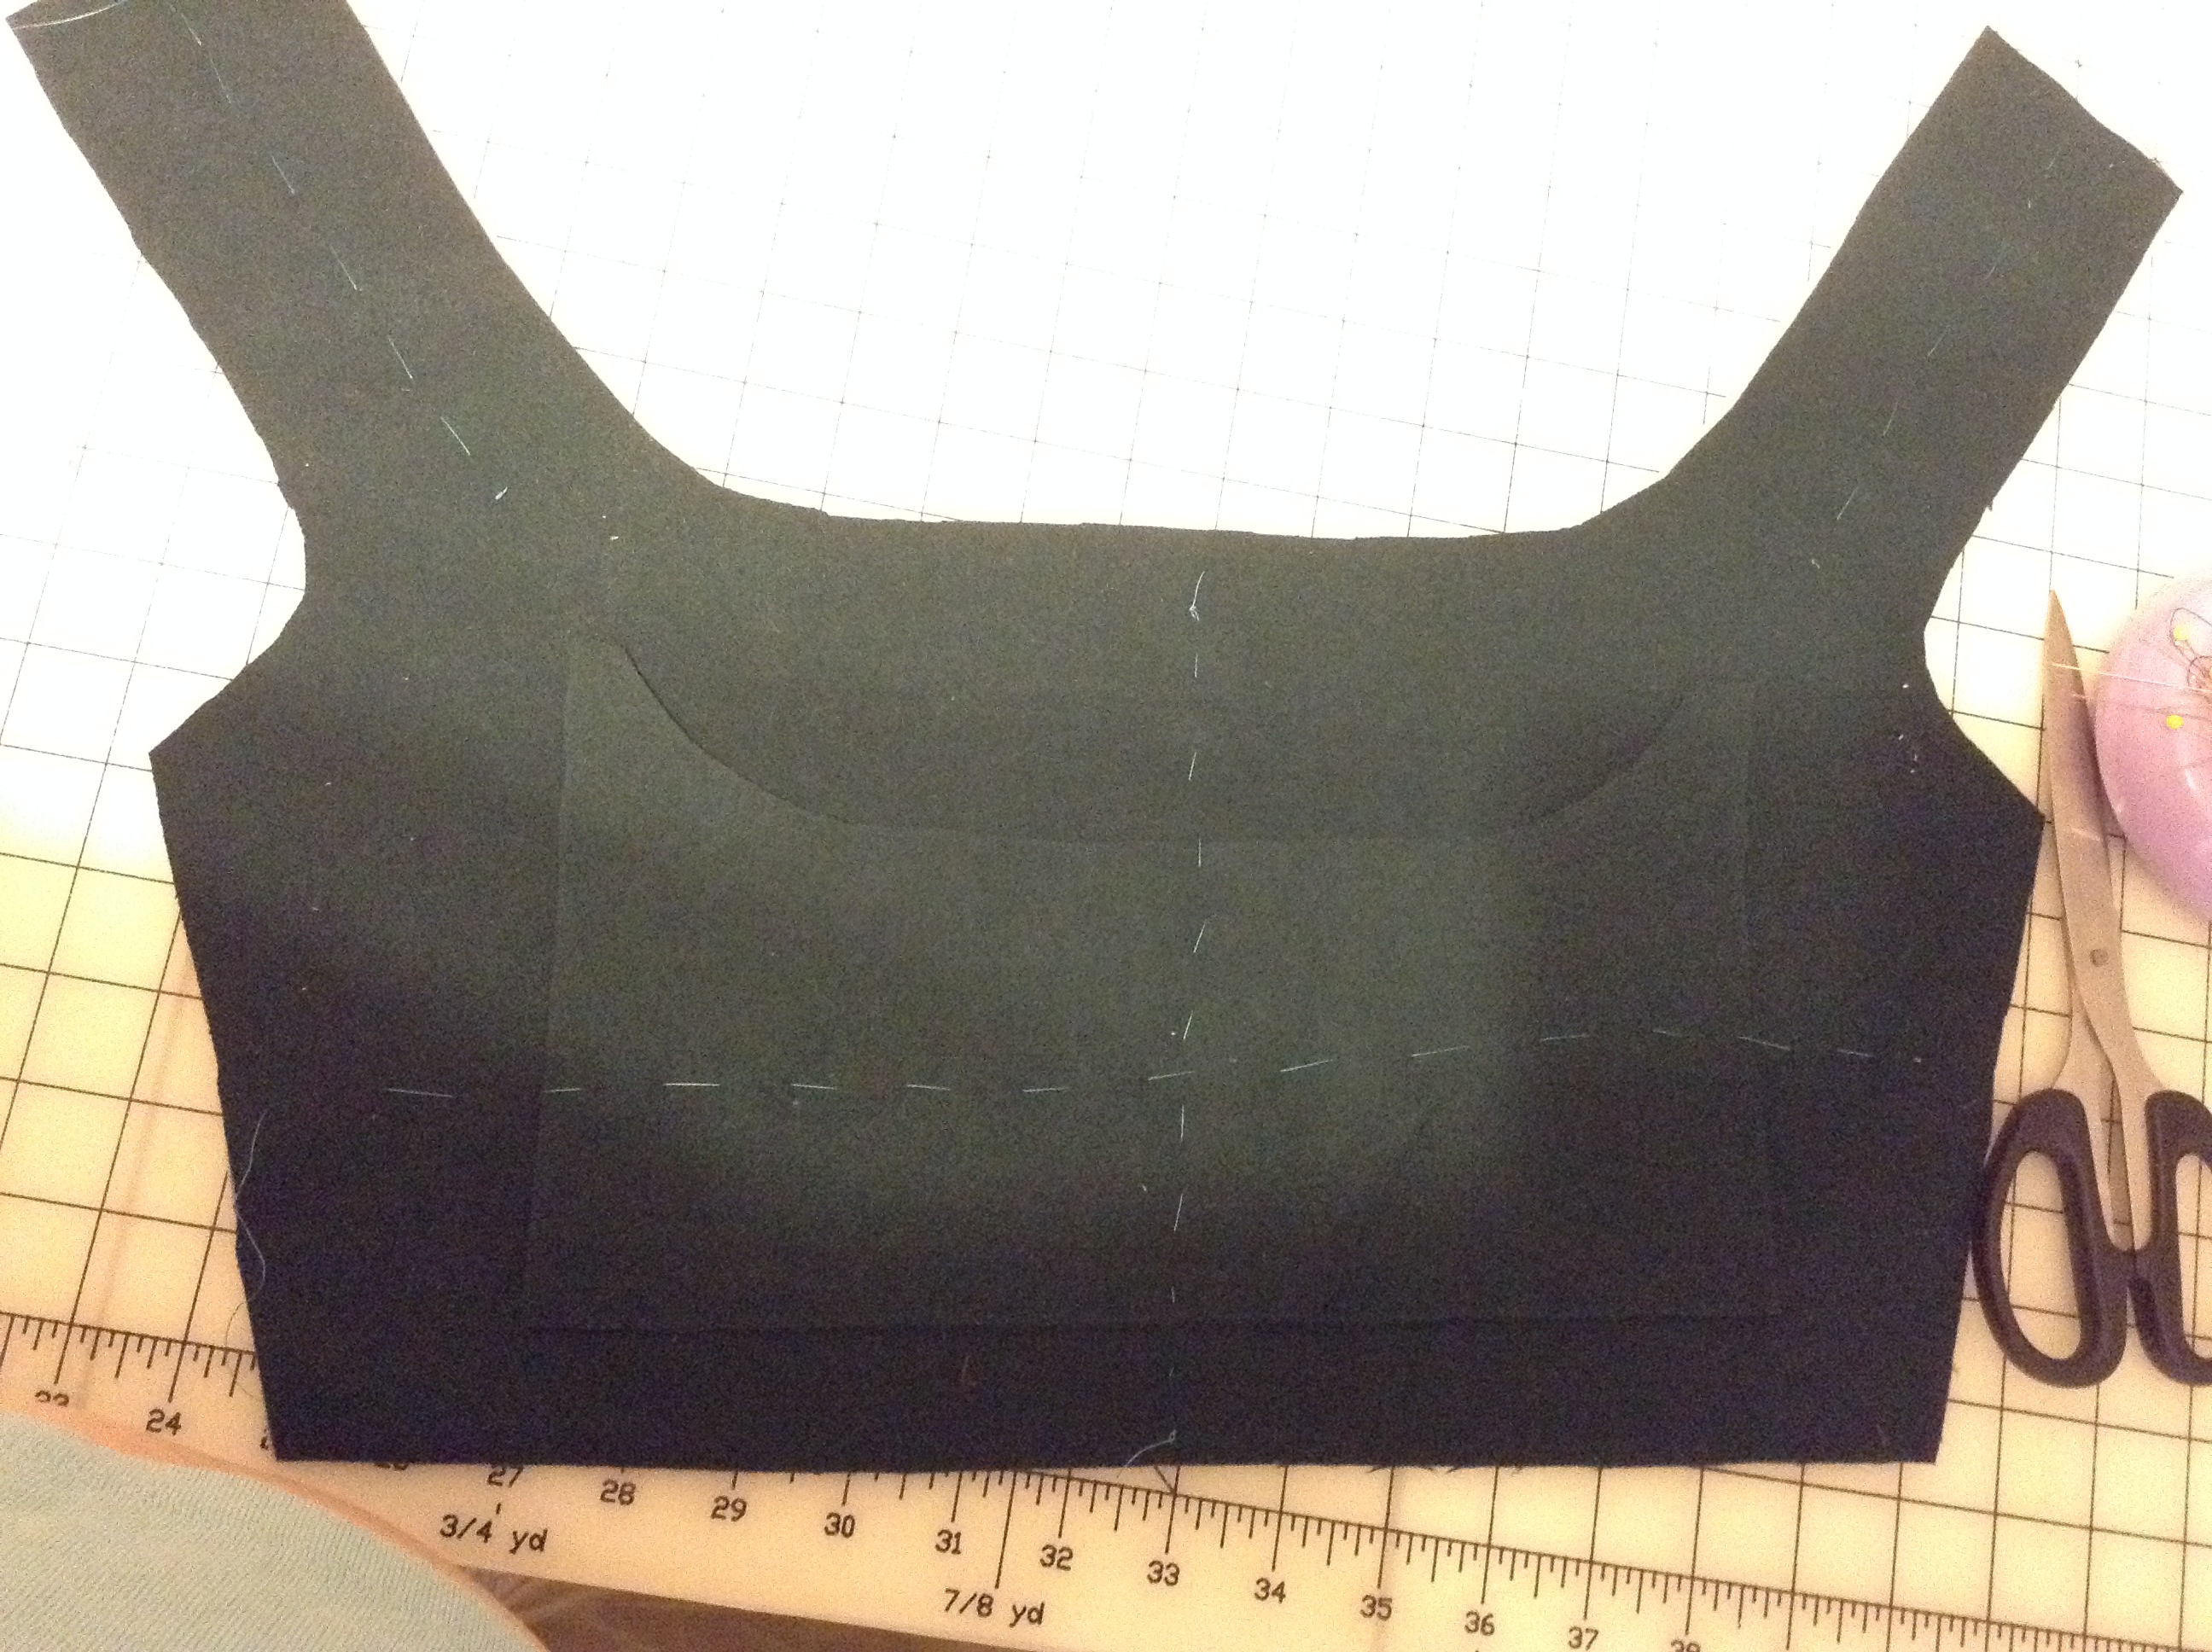
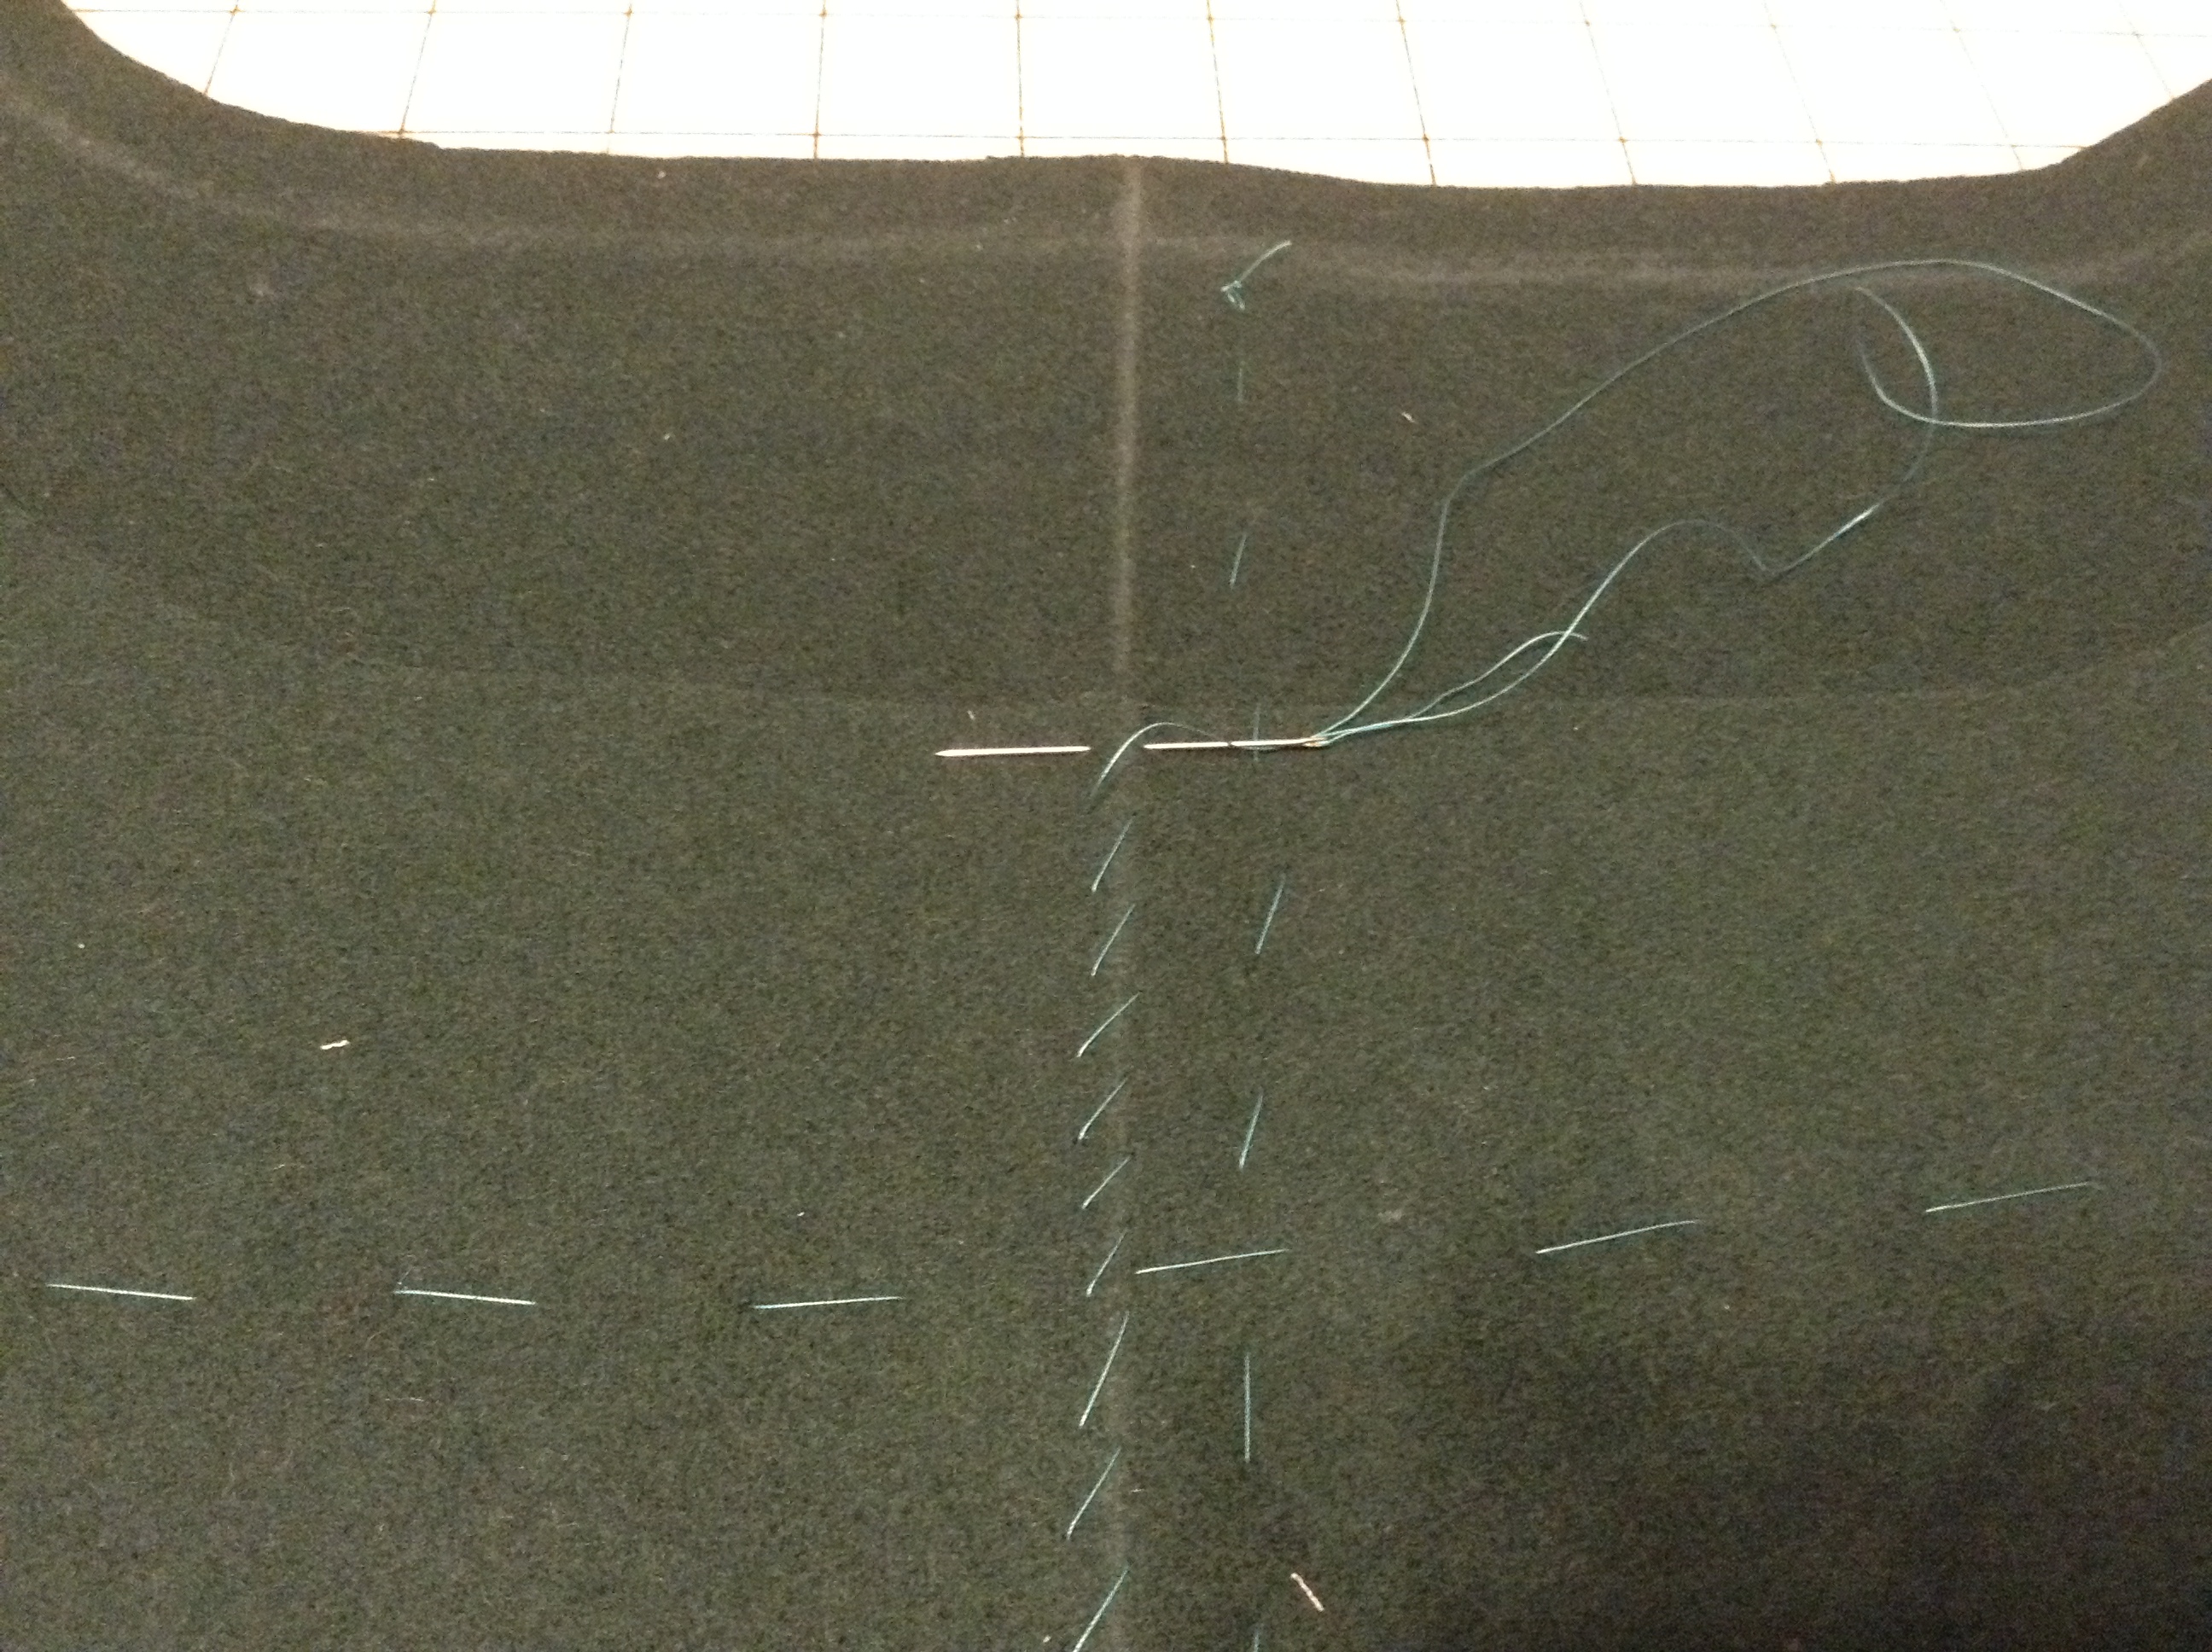
Step 2
Mark the center of the bodice. Baste the layers together through the torso and shoulders.
– Teal thread shown
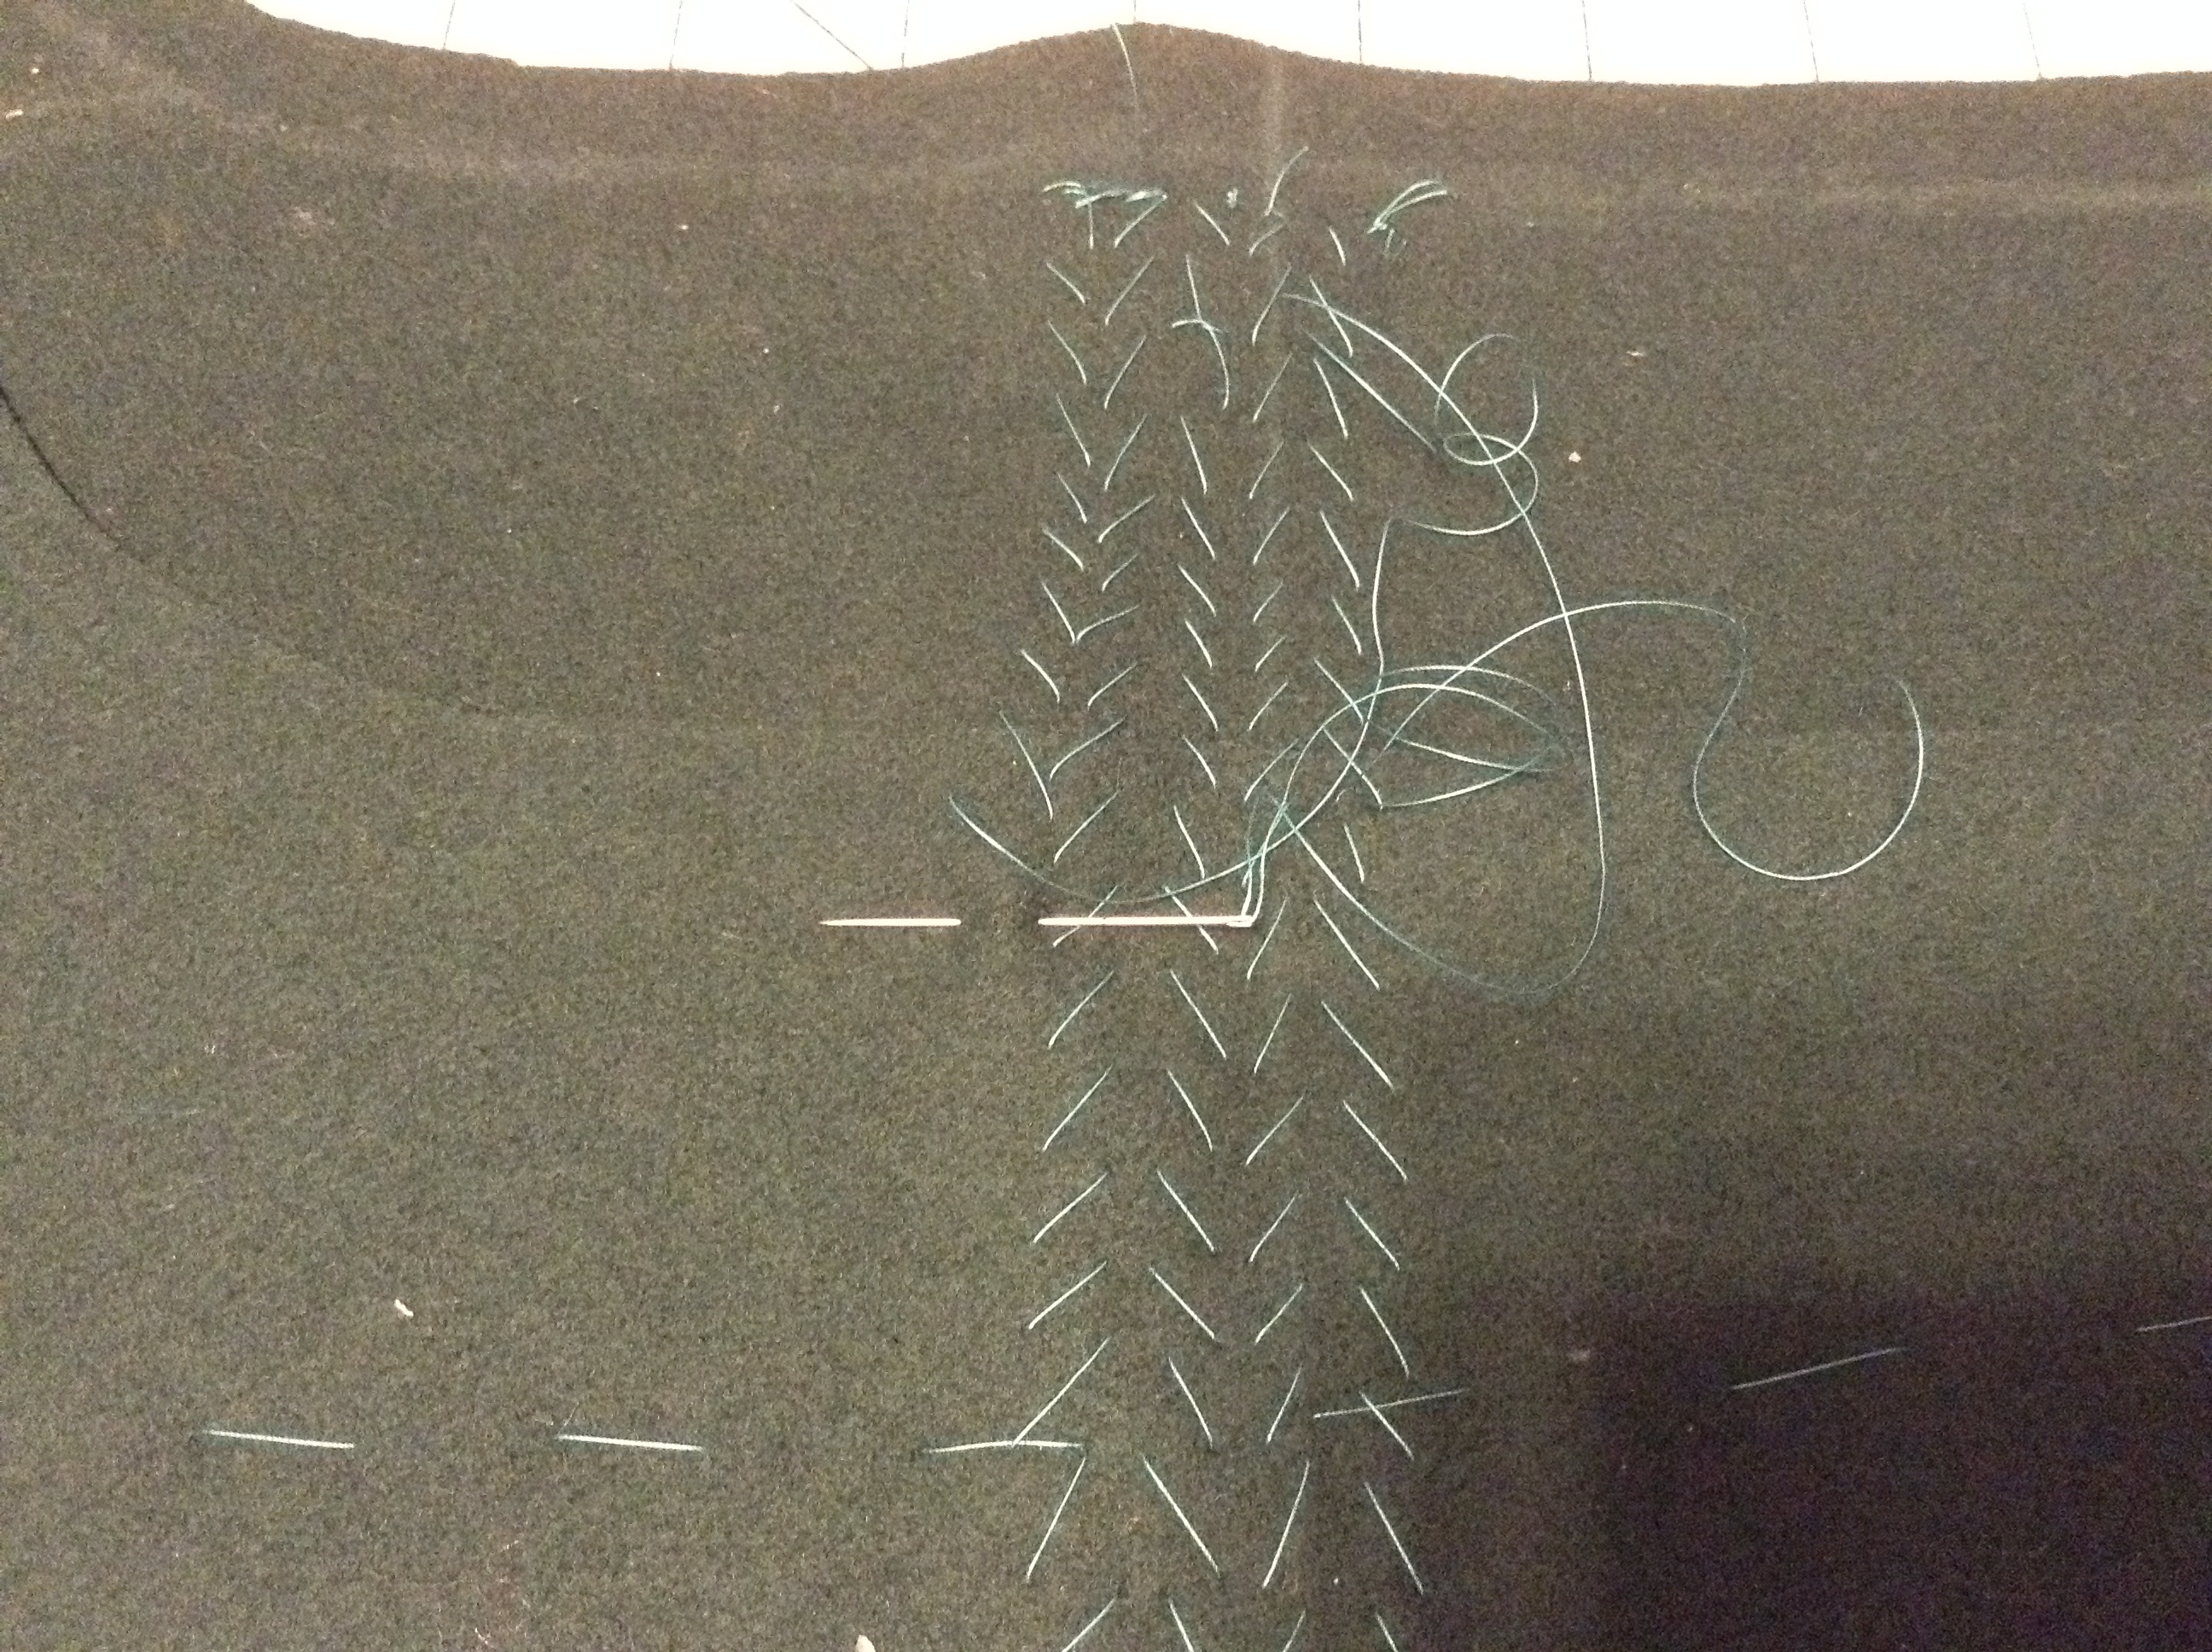
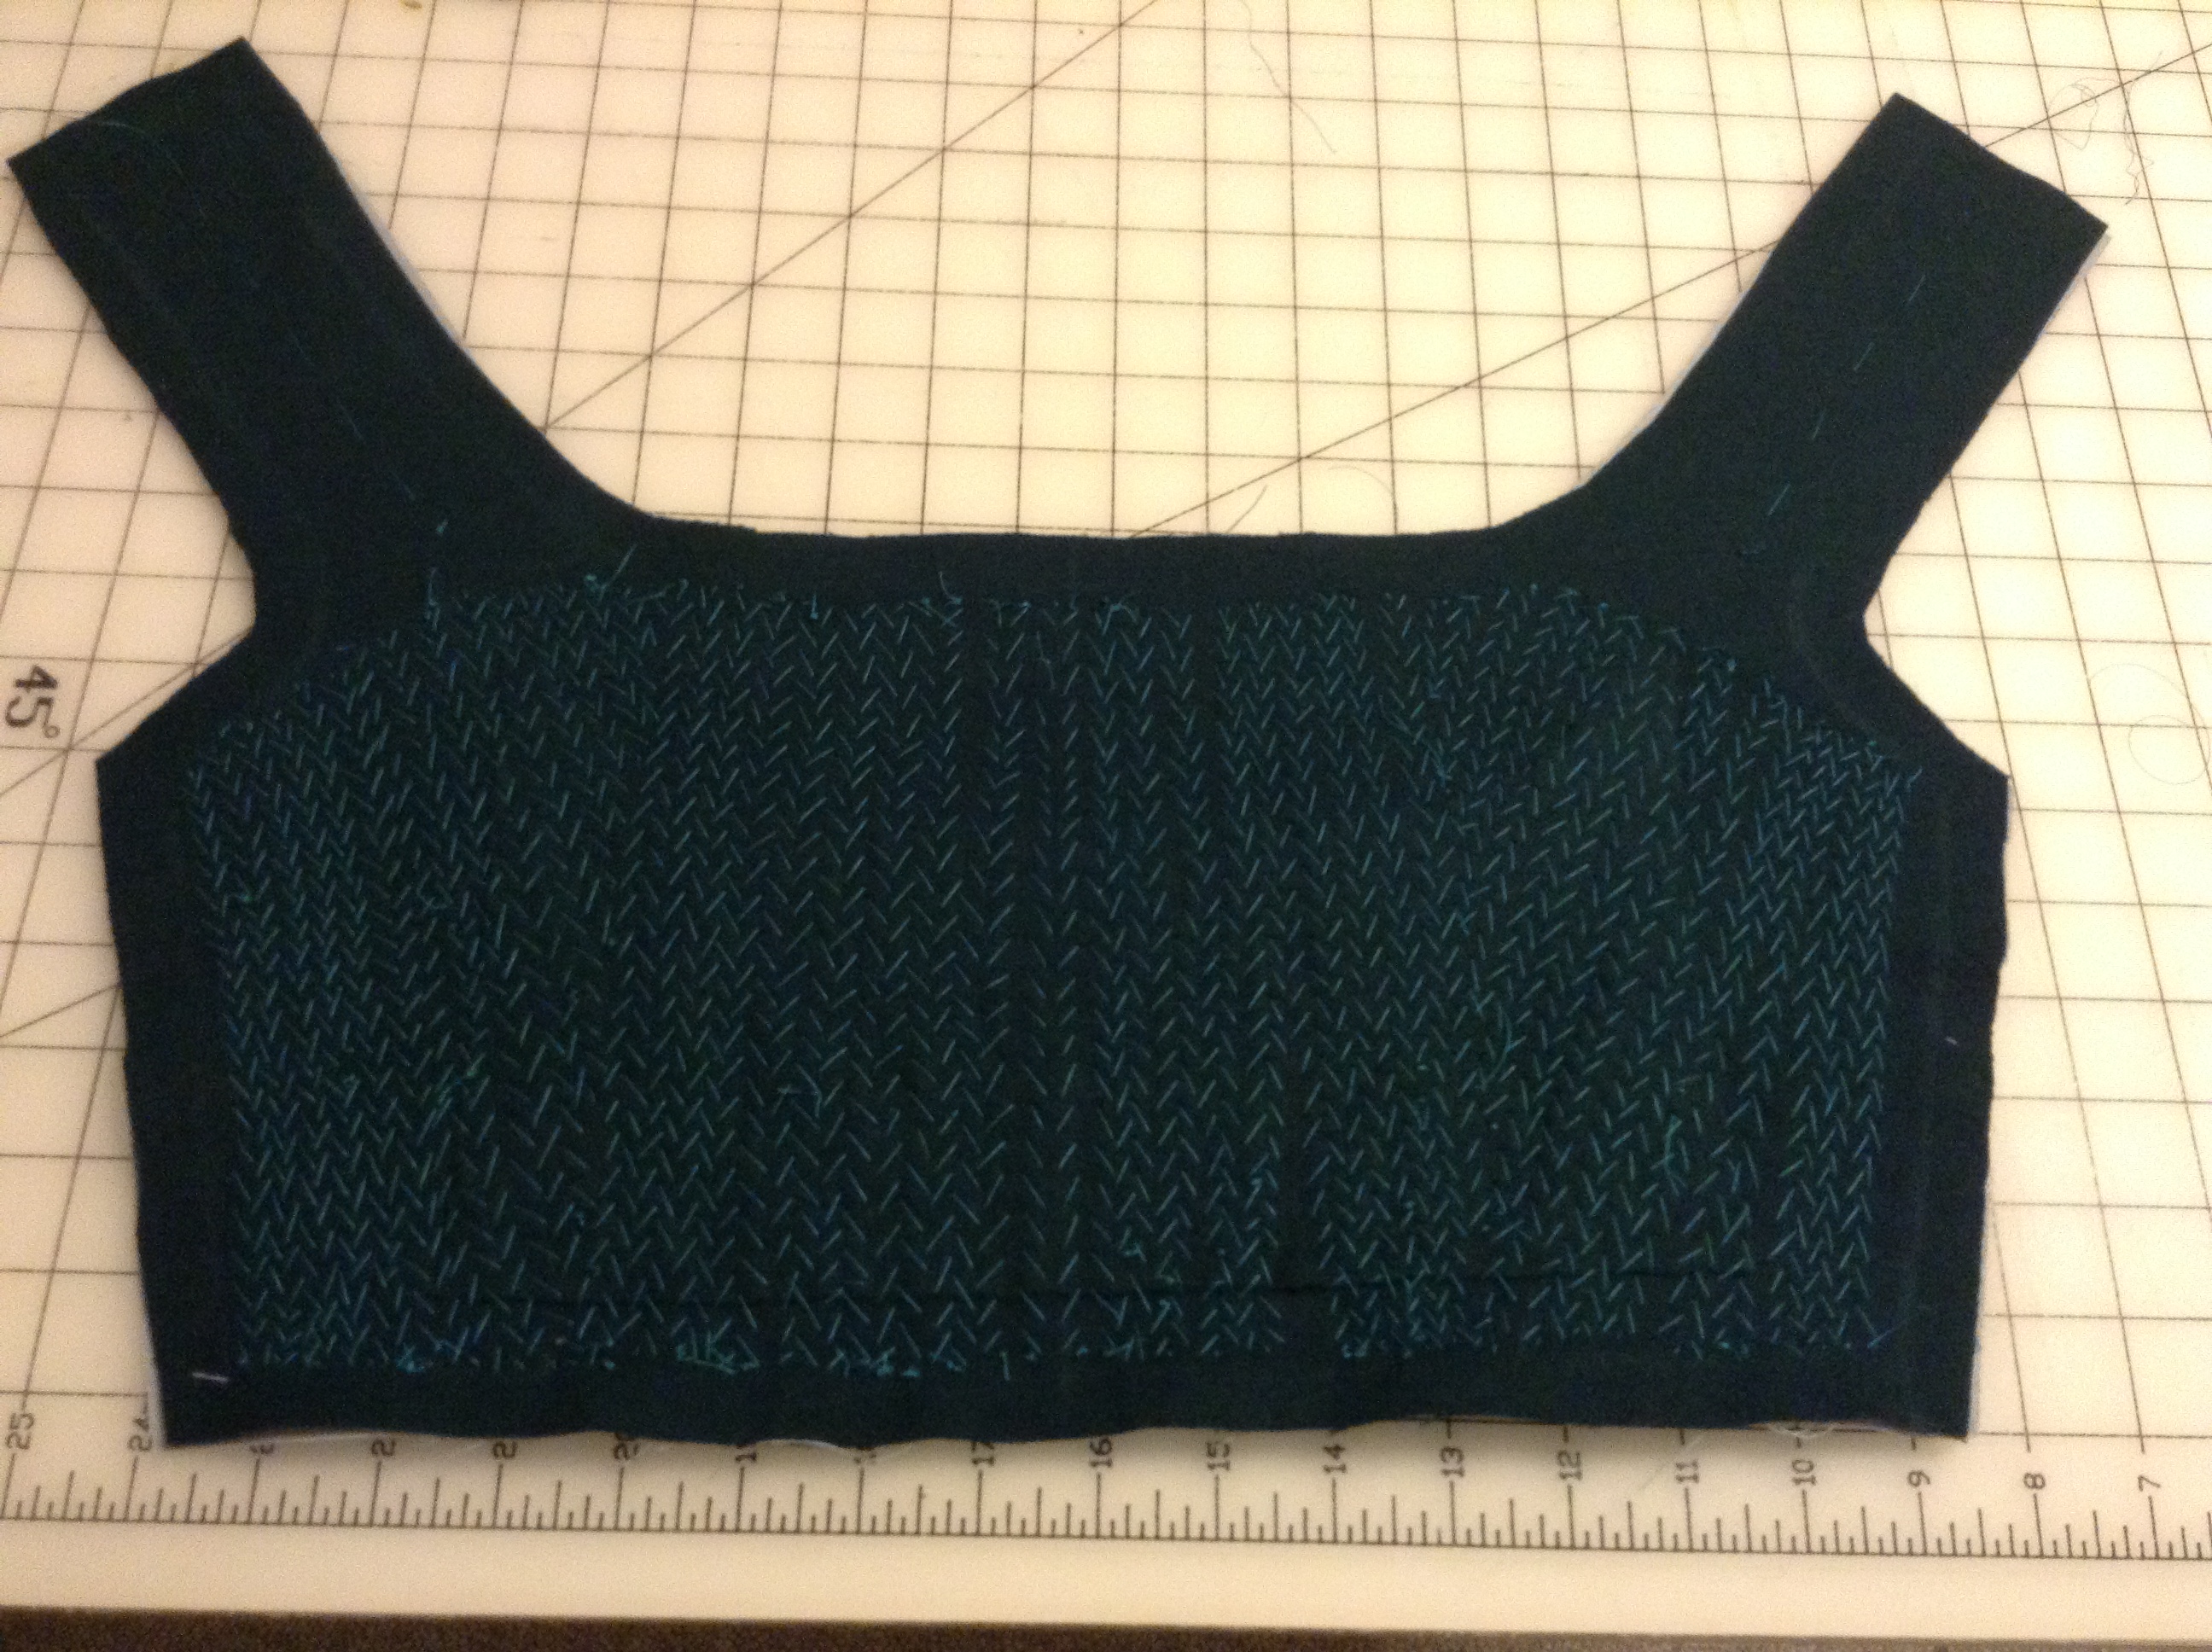
Step 3
Mark the area that you wish to be stiffened. Begin pad stitching through all layers at the center mark. The back of the stitches will cause the layers to curve ever so slightly. Continue going up and down the rows. Depending on the desired shape of the final project, you may want to slightly angle the stitches on the sides as I did. Iron it. Compare this finished work to your original pattern. The pad stitching can cause it to shrink a little. Trim the seam allowance off. This is to reduce bulk at the edges.
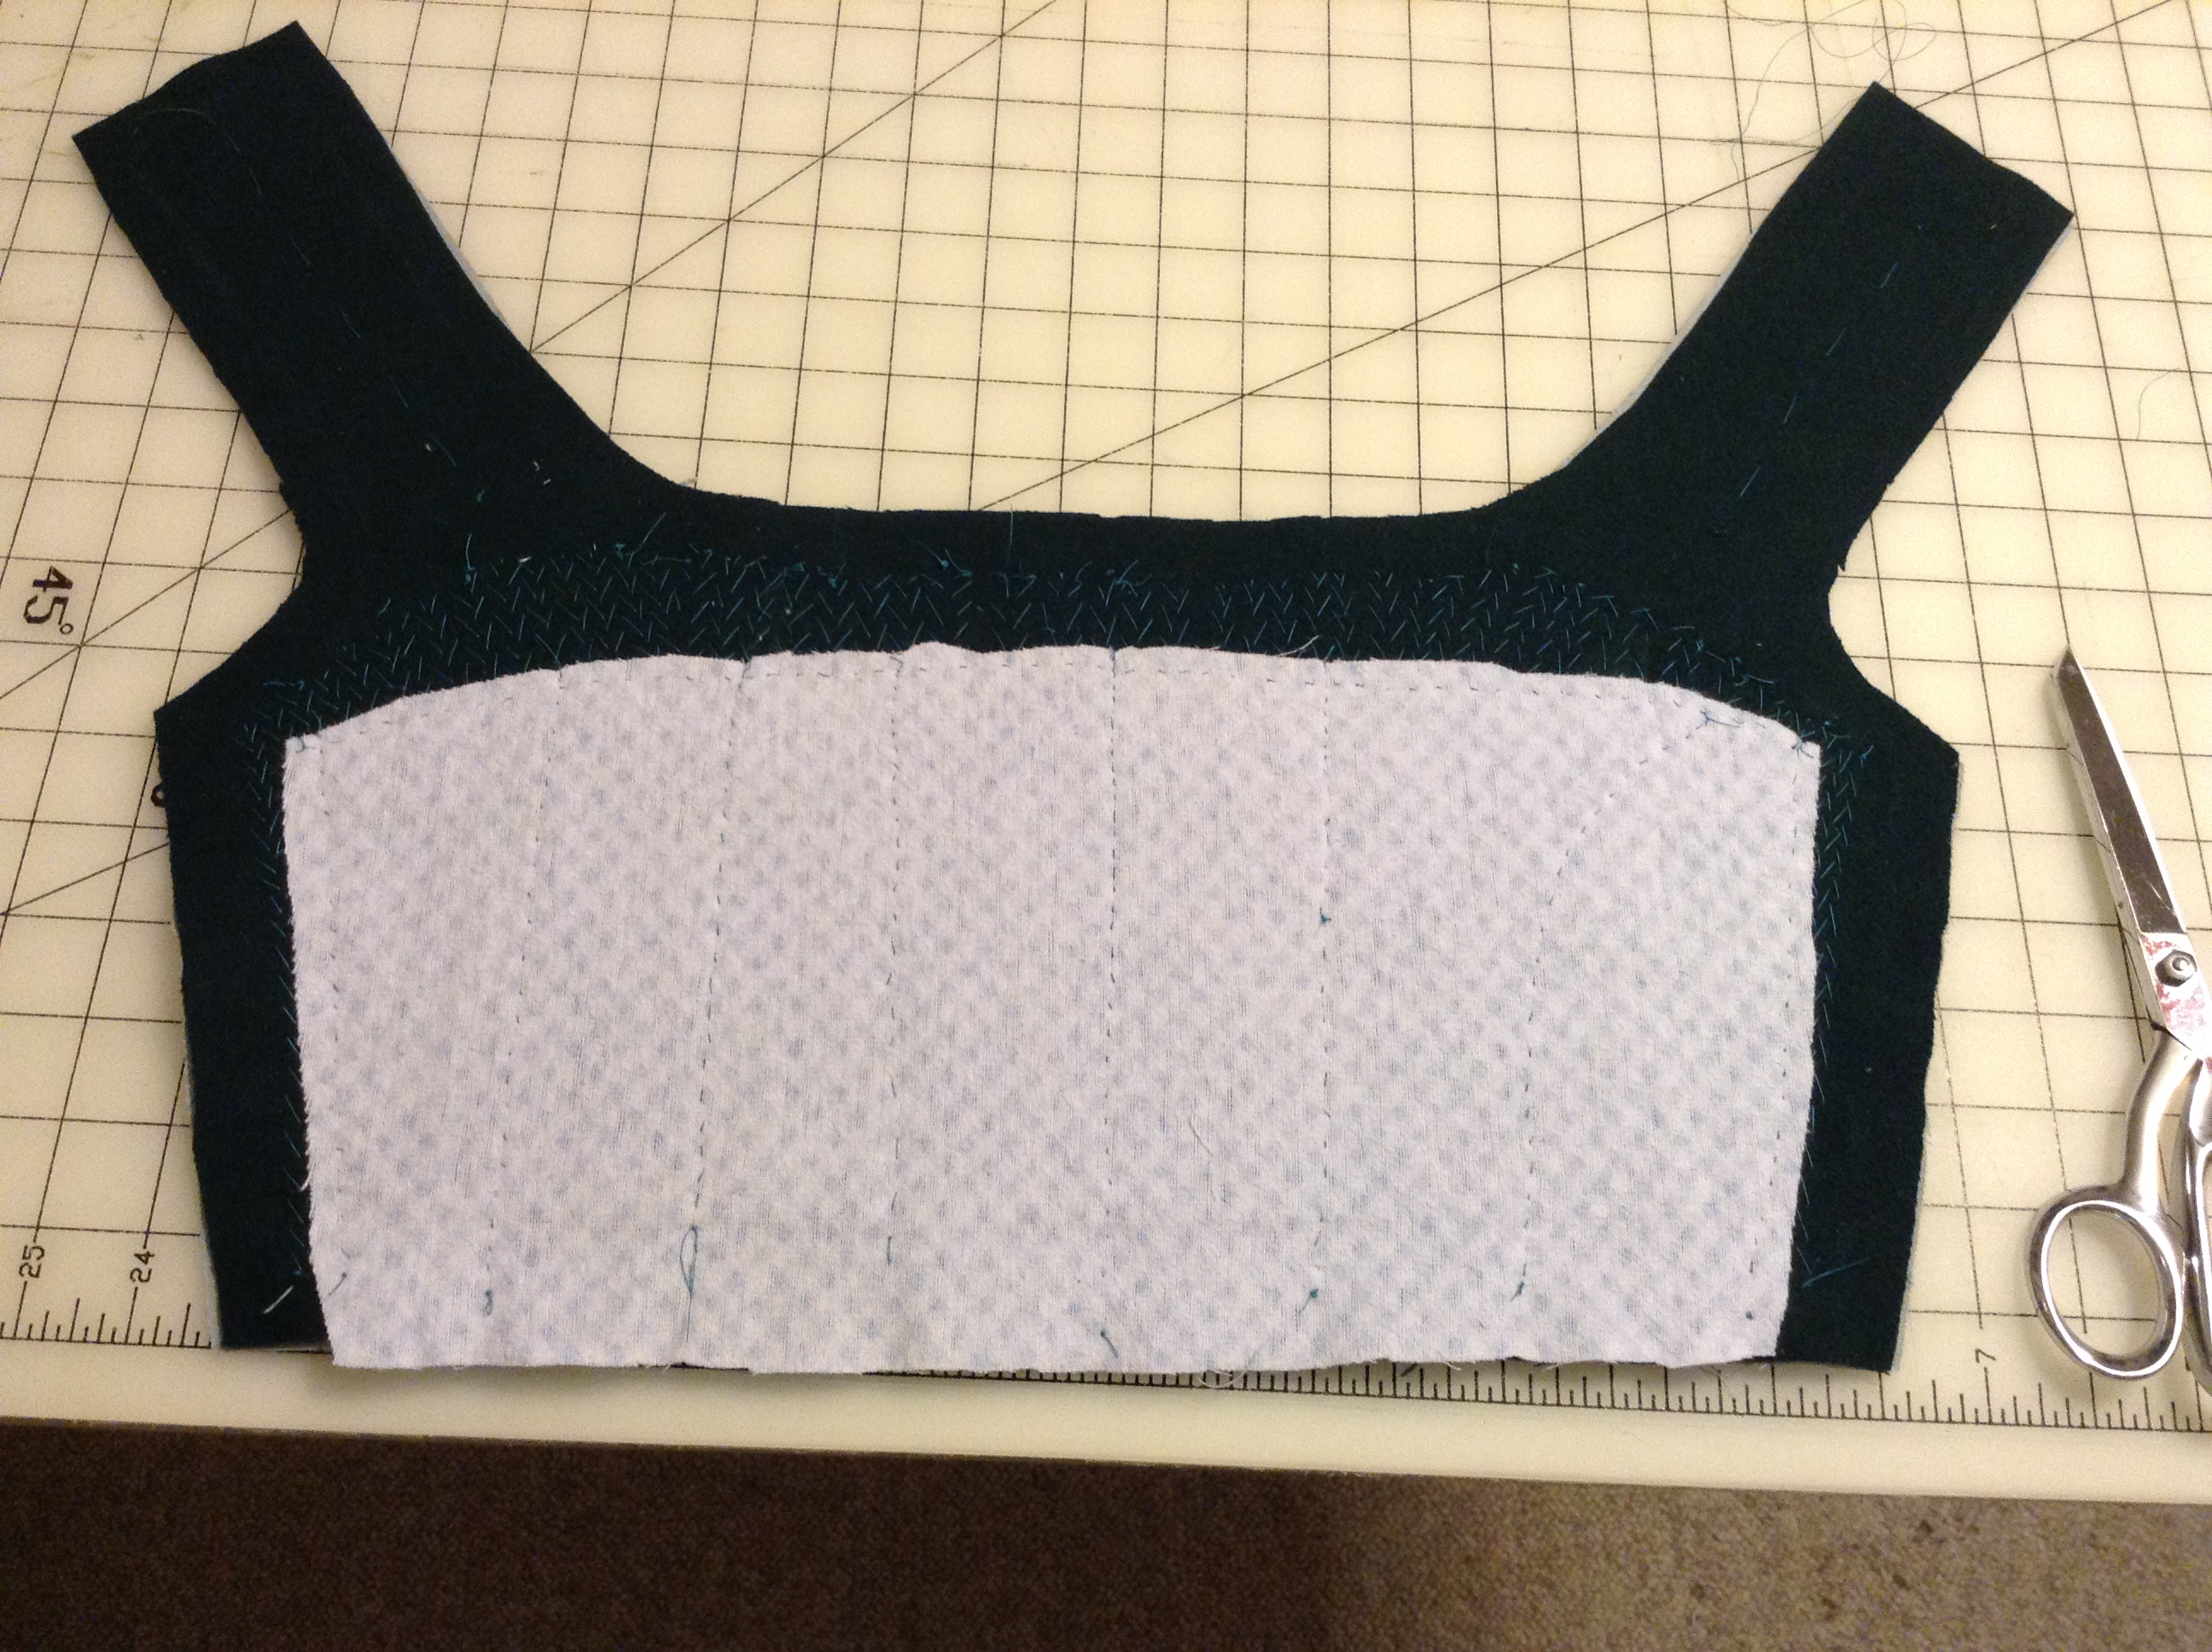
Step 4
If your fashion fabric is shiny or smooth, your pad stitching might show through. To keep this from happening, stitch a piece of cotton flannel over the area. If your fashion fabric is wool or something thicker, you can skip this step as your stitches won’t be showing through. Iron it.
Step 5
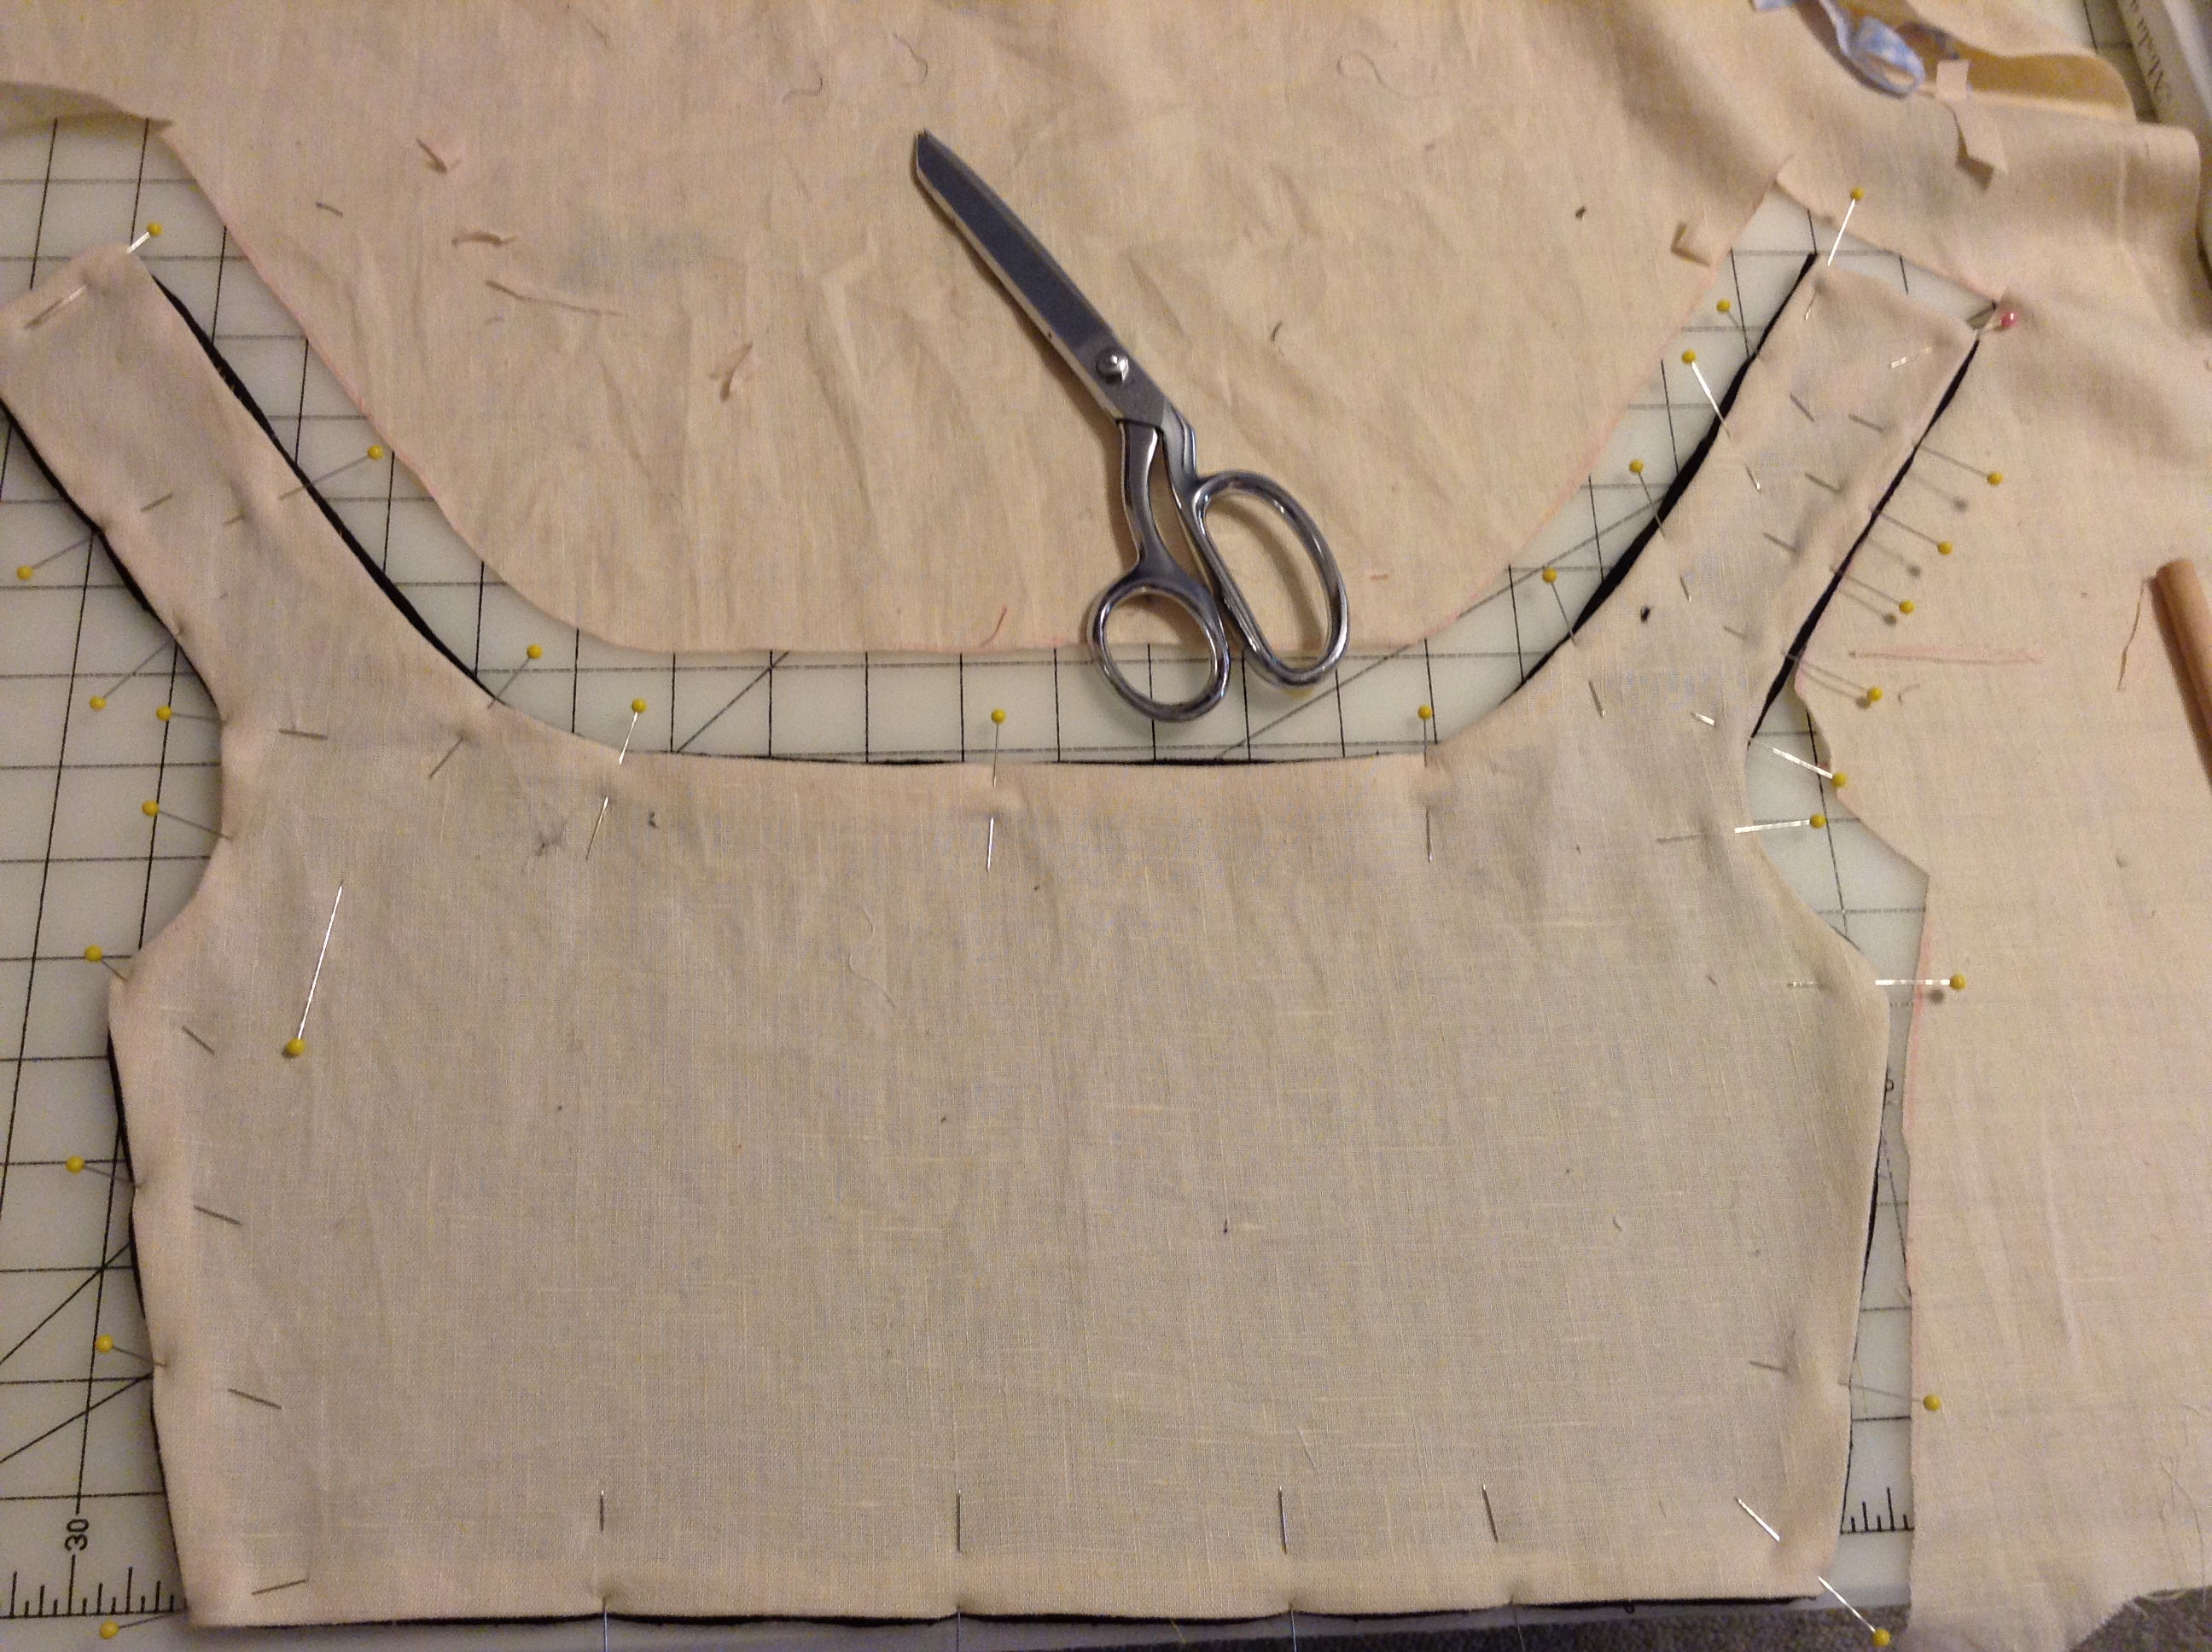
Lay out your lovely pad stitched piece (referred to as interlining from here on) on your fashion fabric with the wool felt side on the wrong side of the fashion fabric. Baste the interlining in place through the straps and along the edges (red thread shown). Make sure that your fashion fabric is smooth while you are doing this. Mark around the edge of your interlining adding seam allowance of at least 1 inch or more. Cut out the piece. Flip over your piece and check that it is all smoothed out with no weird wrinkles, lumps, bubbles, etc. Everything look good? Move on to number 6. Problems? Undo the basting in the troubled area and baste again. You can take out the original basting at this time (the teal thread).
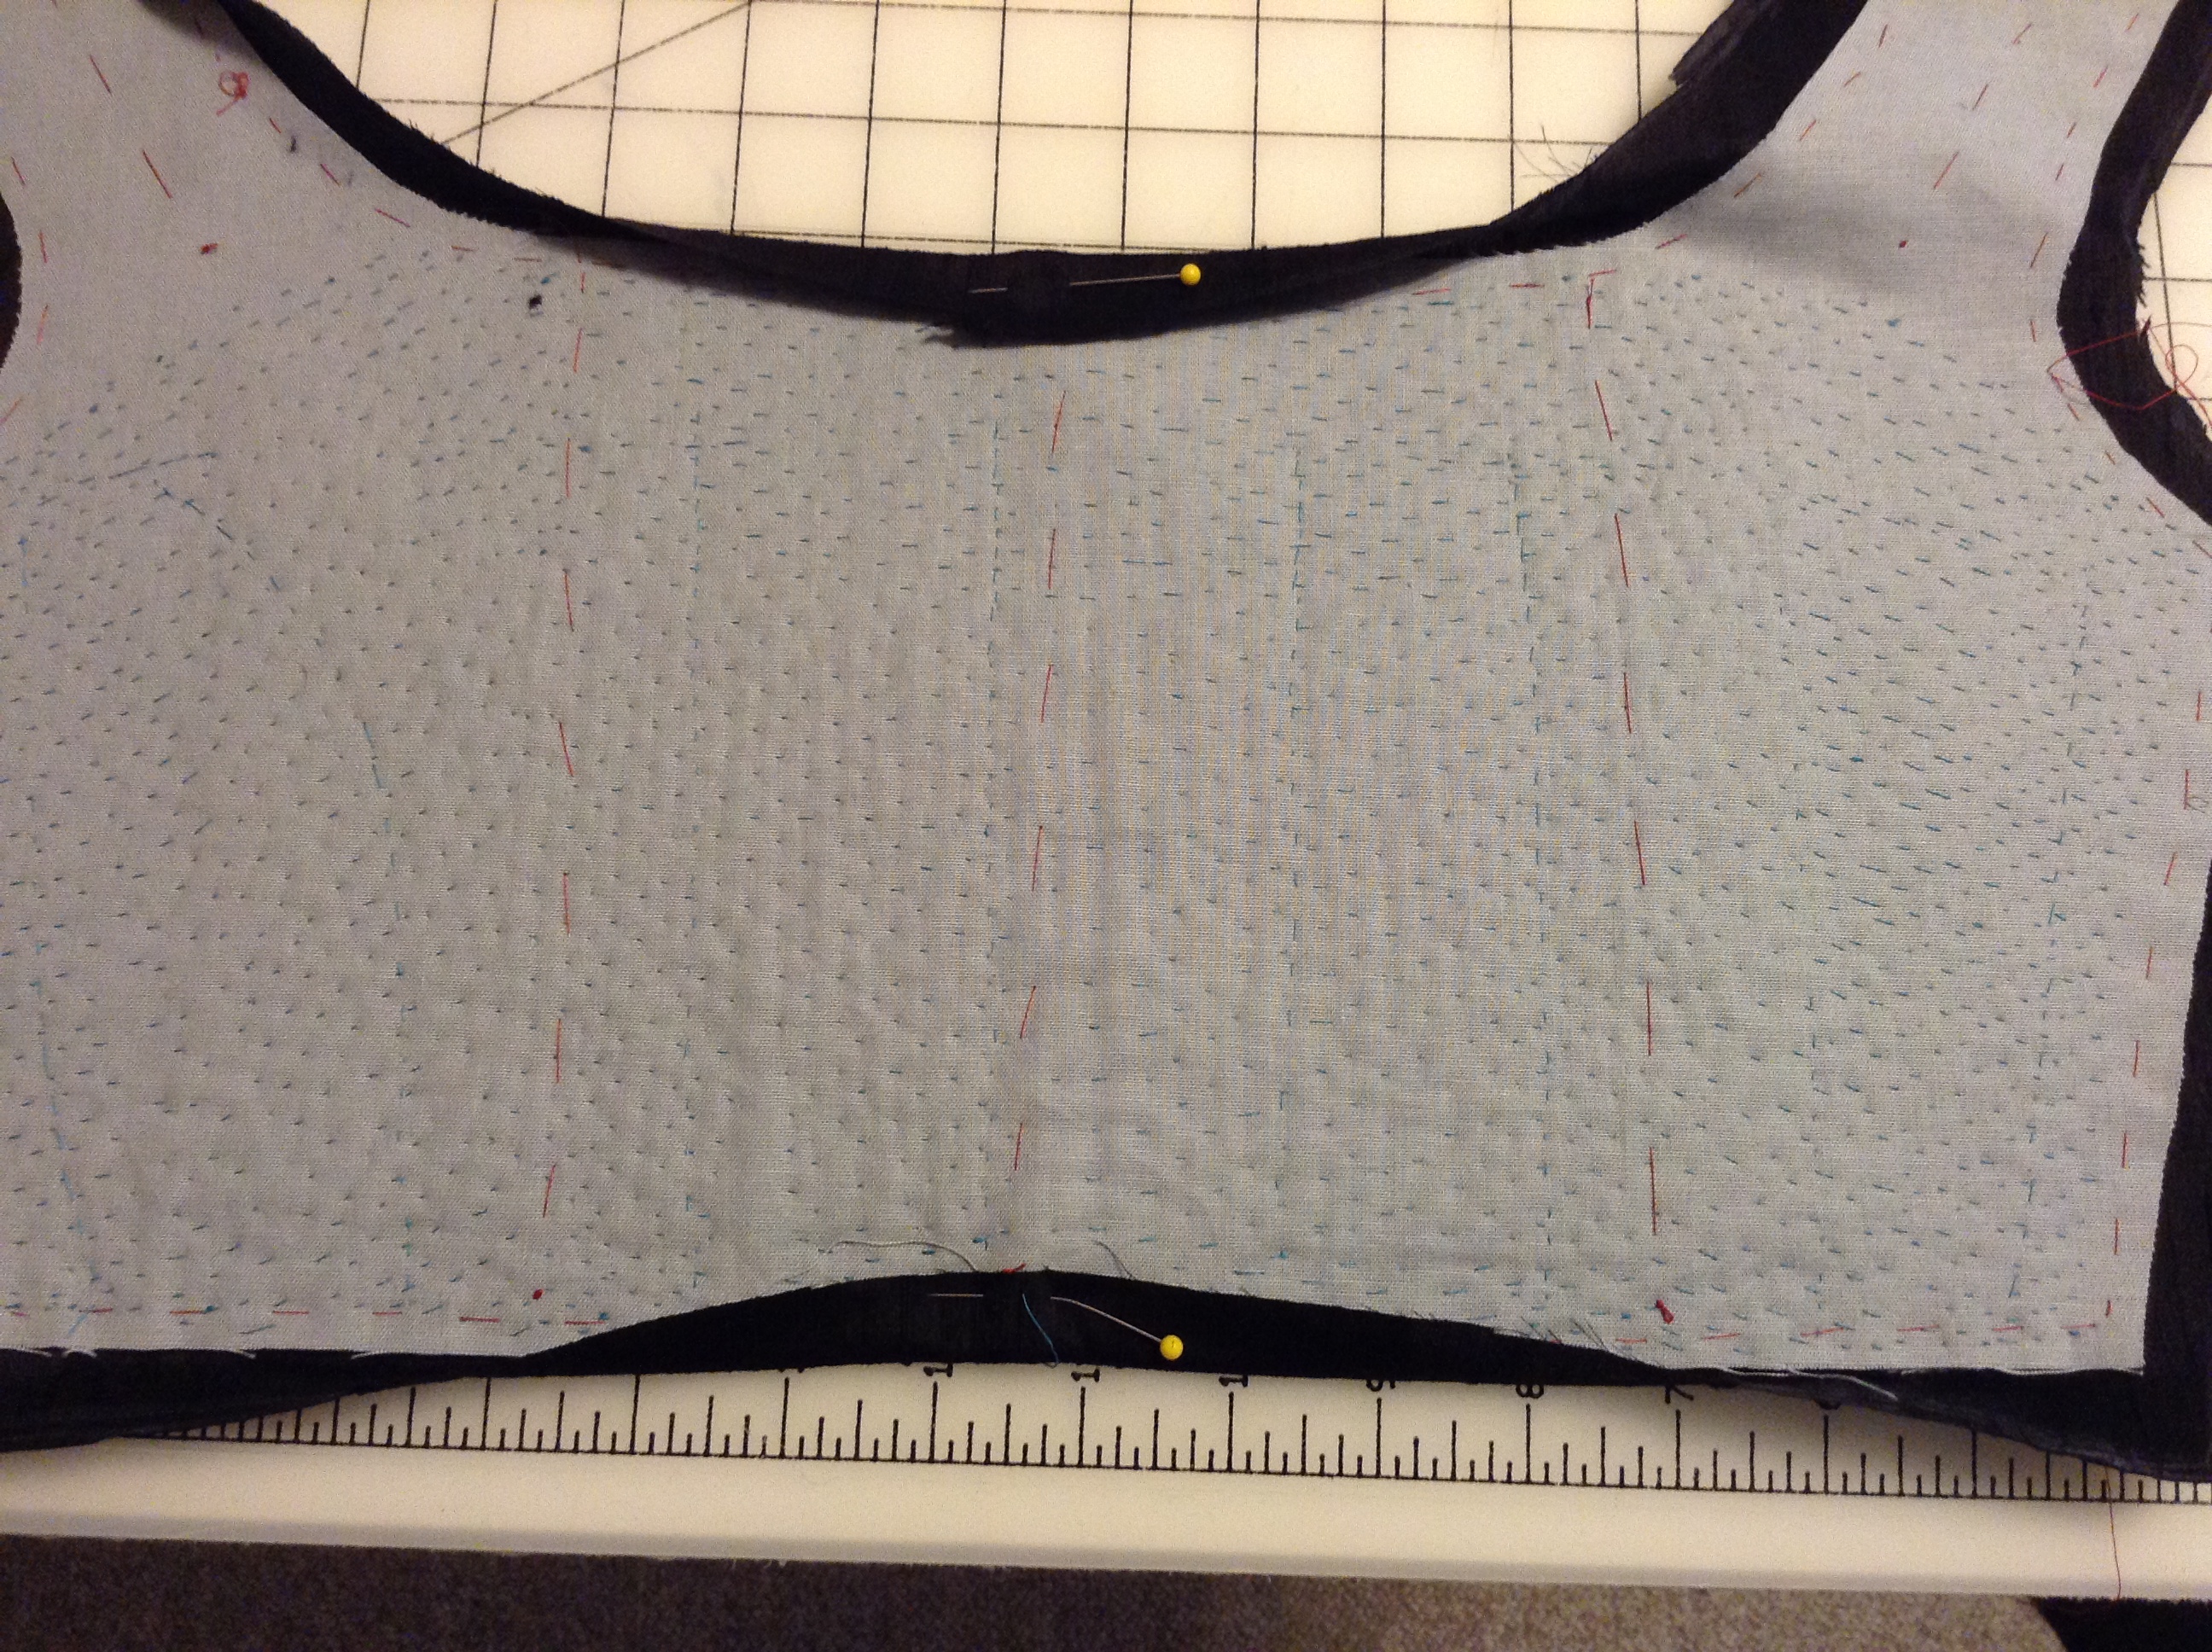
Step 6
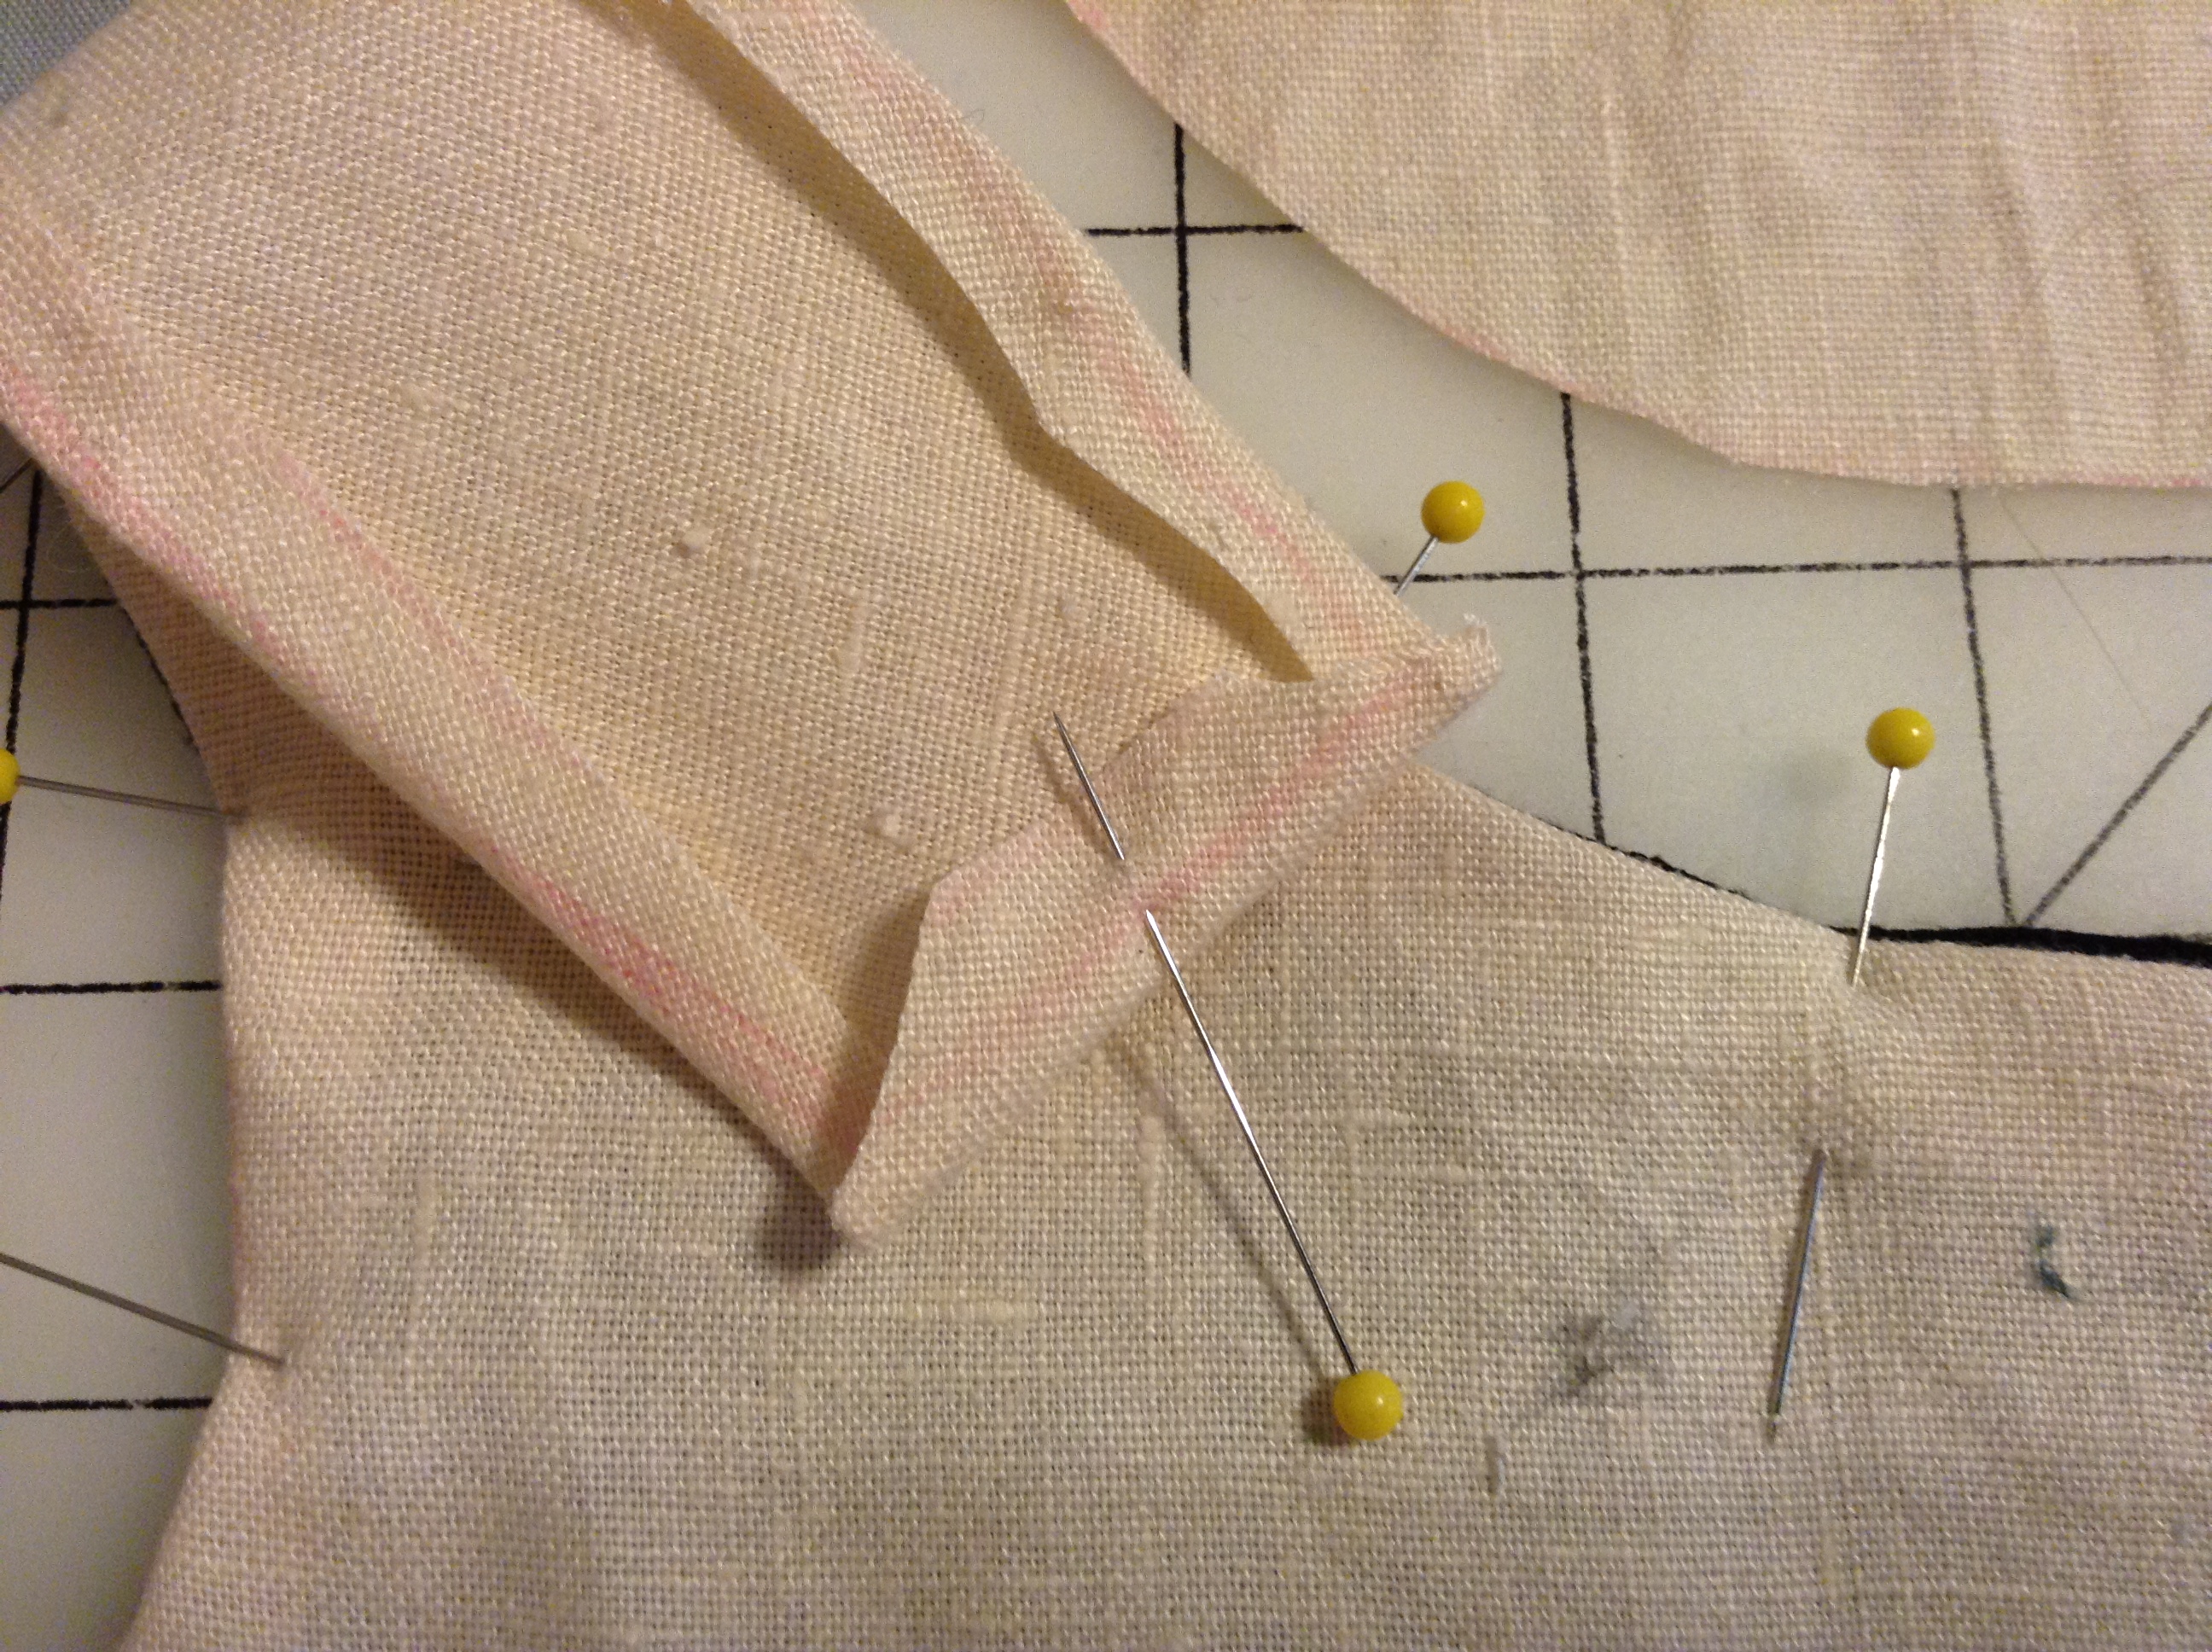
Wrap the seam allowance around the pad stitched piece (interlining). Pin in place. You may need to clip the curves in the arm, but only as little as you can. Manipulating the fabric with your fingers and an iron is better for the integrity of the fabric. Trim so you do not have more than ½” folded over the edge of your pad stitched piece. Bigger isn’t always better, a wider seam allowance will make corners bulky and difficult to work with.
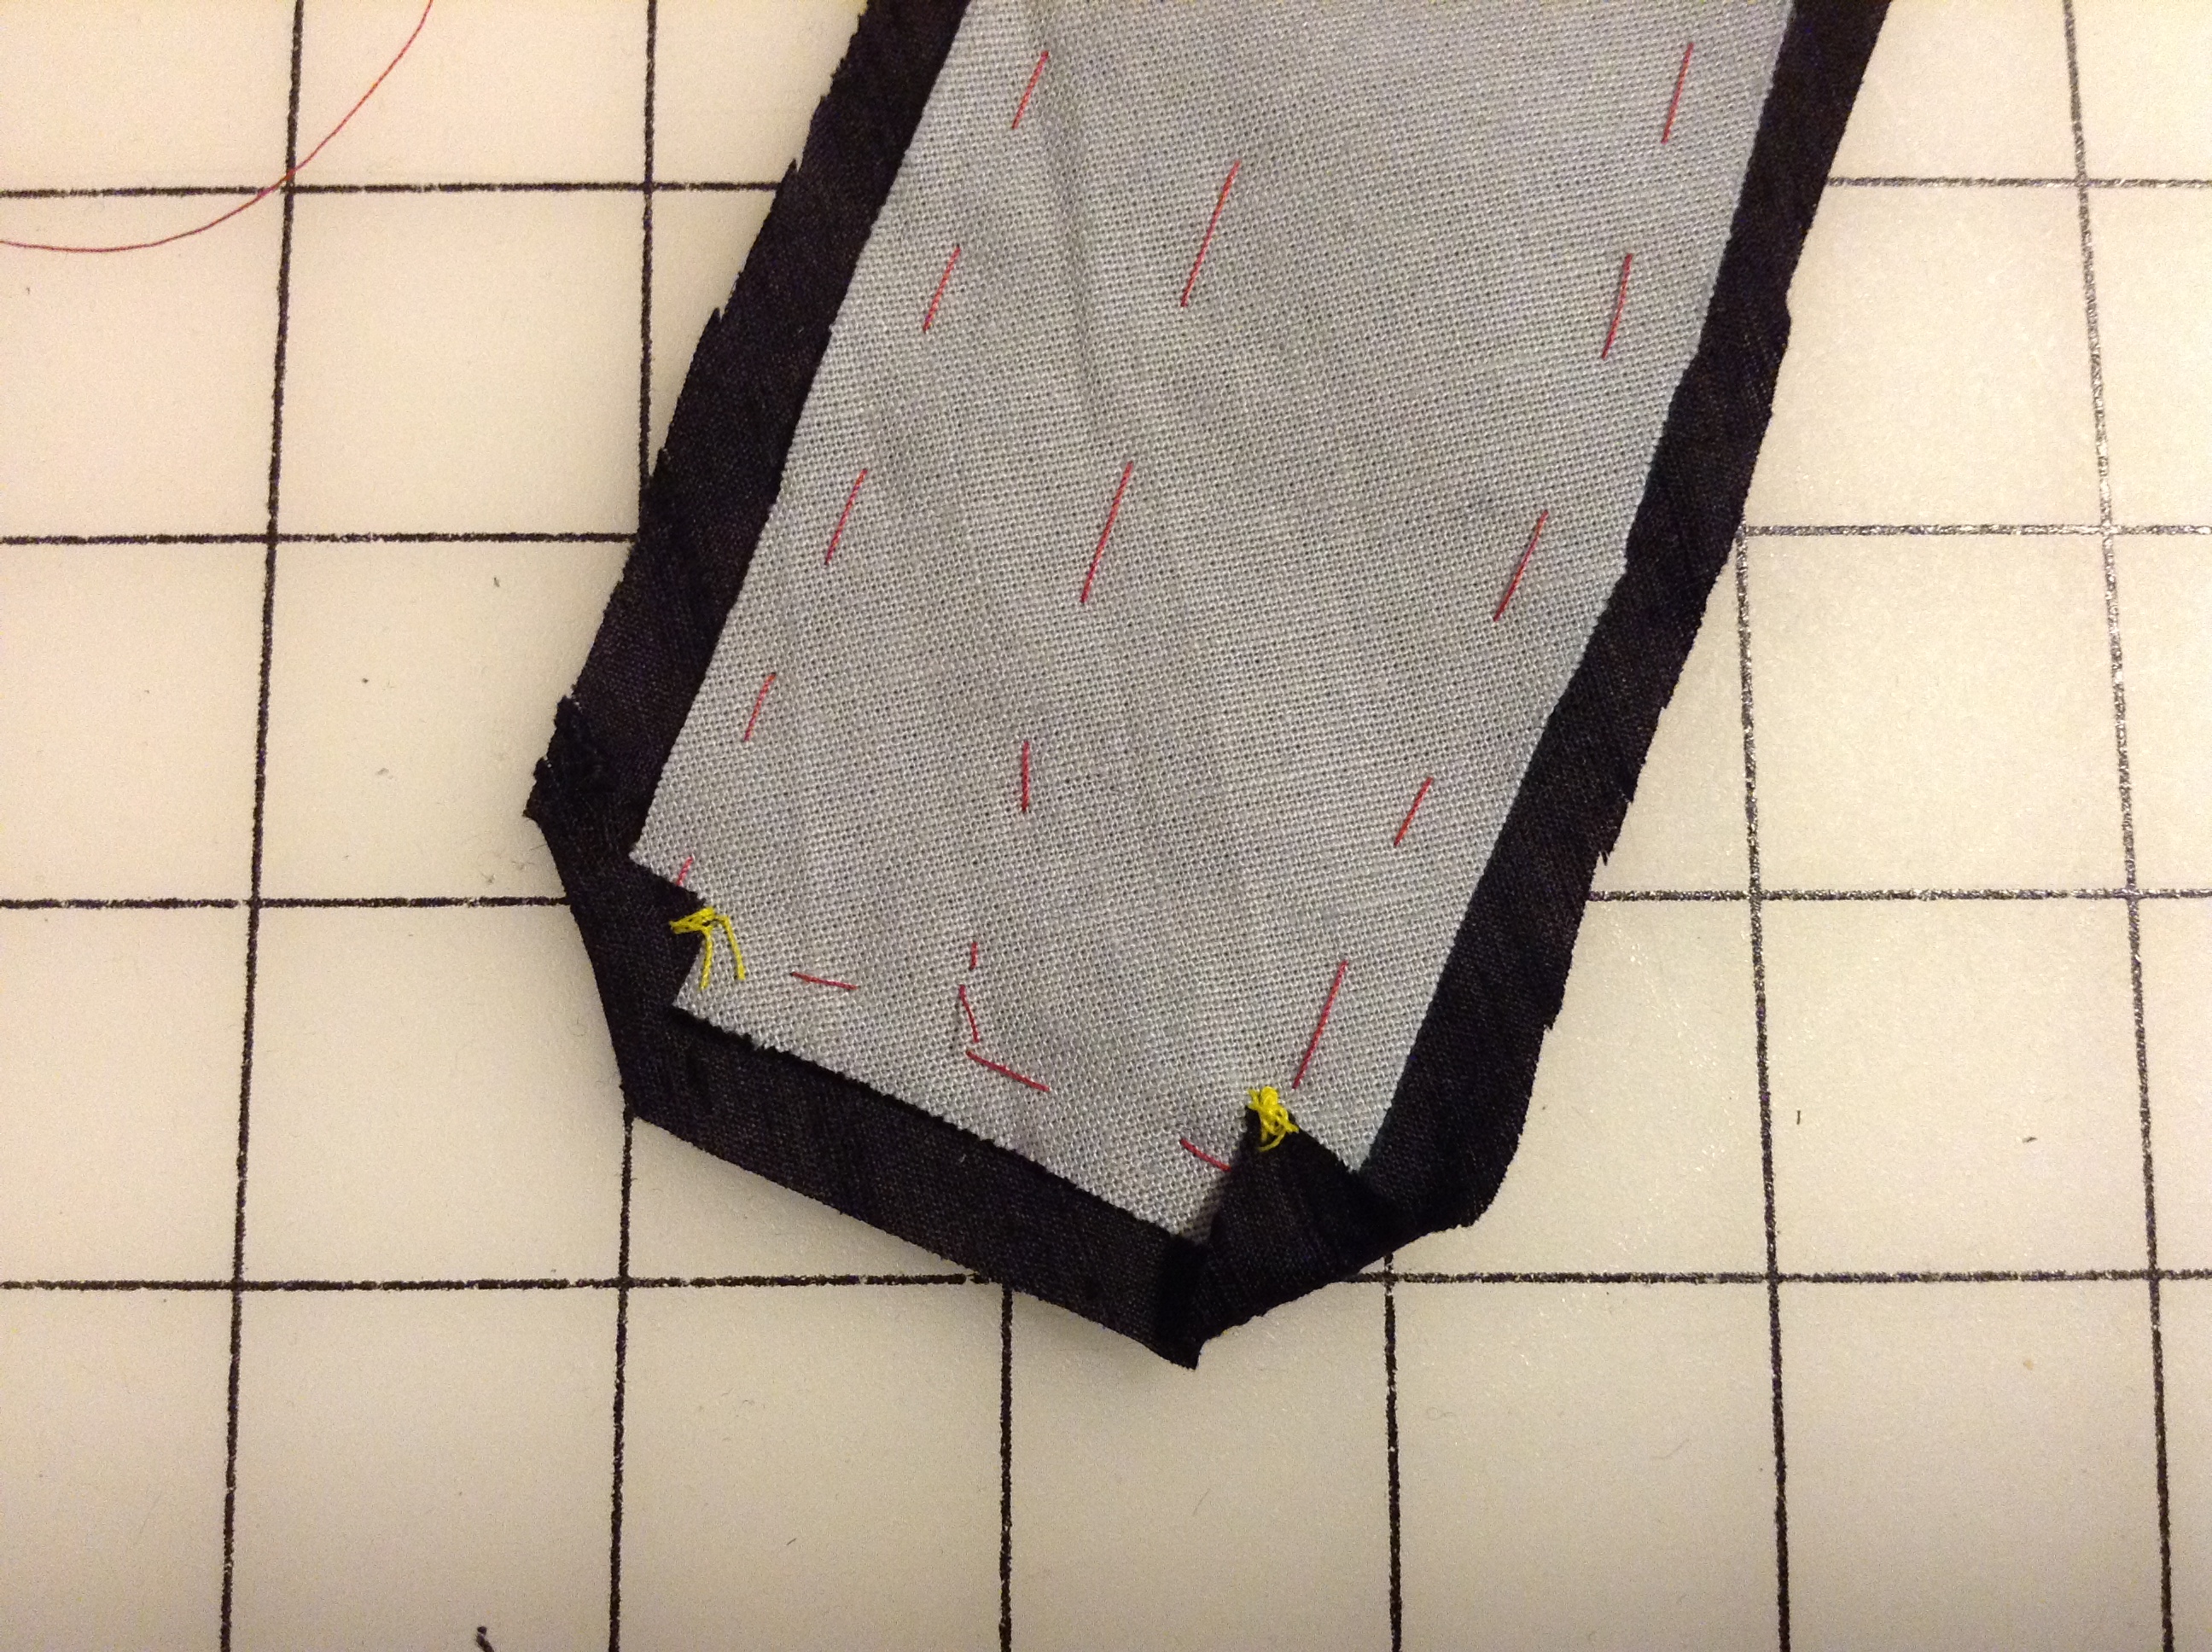
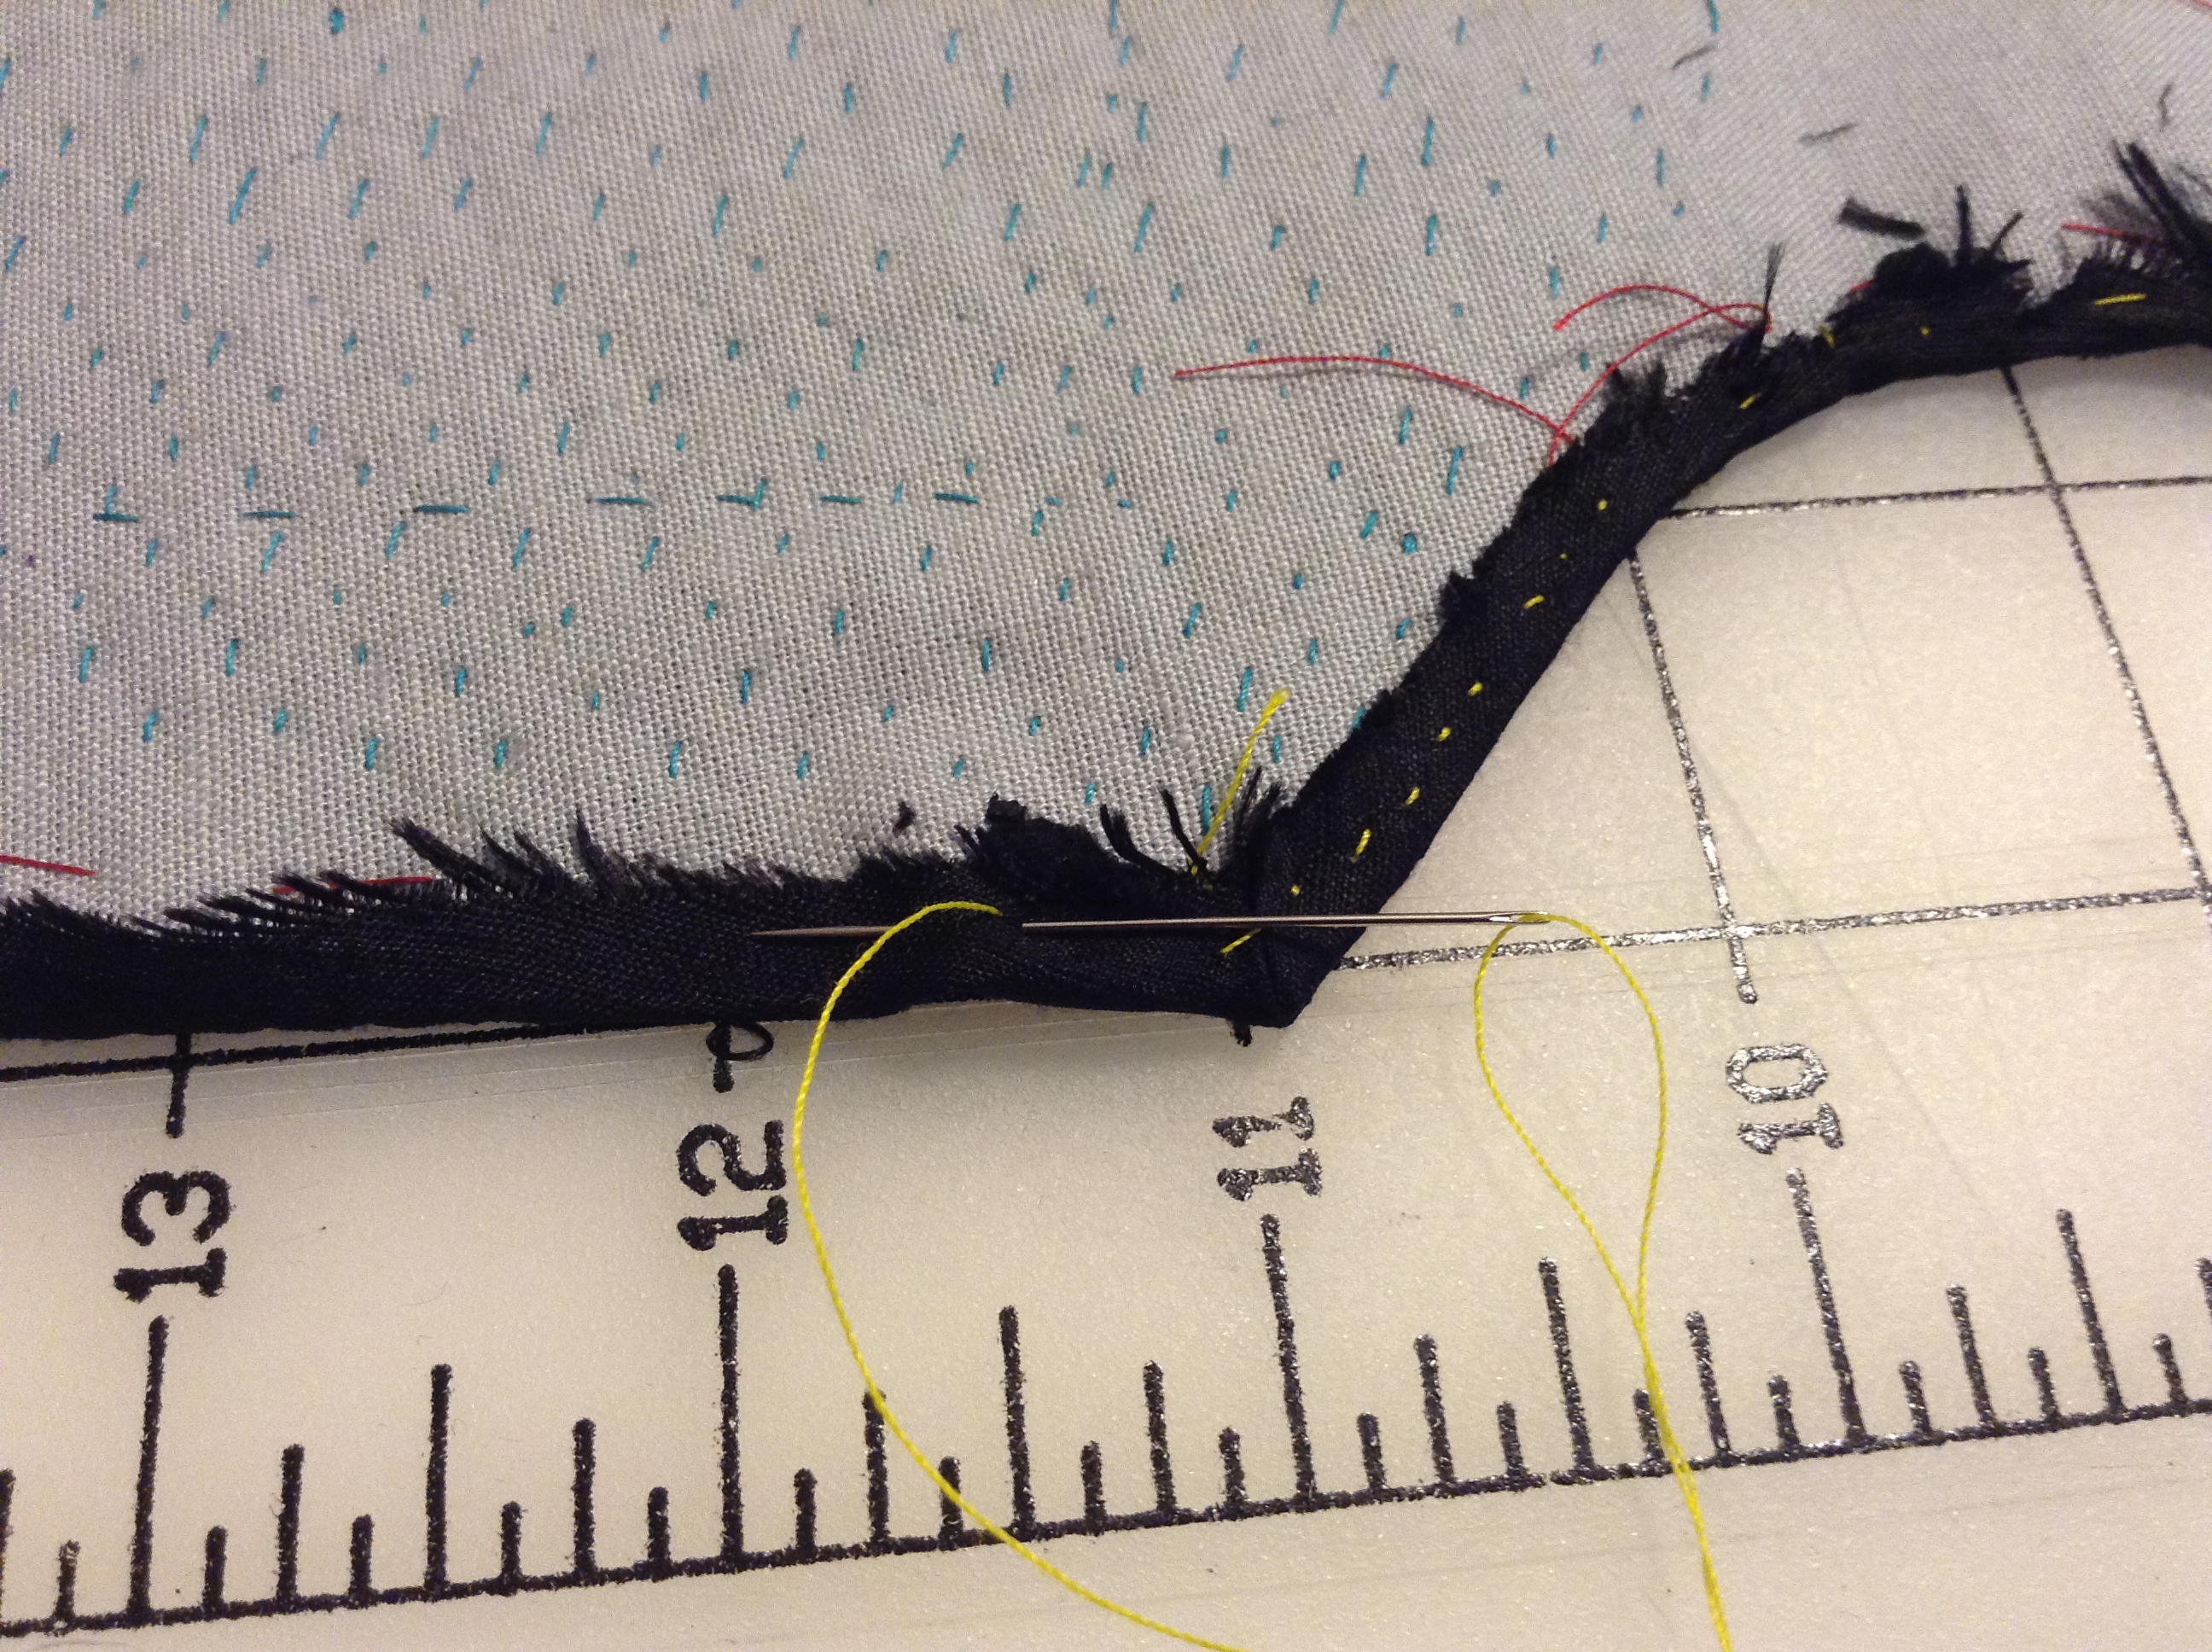
Step 7
For easier mitering of the corners, tack them down as shown. Using small back stich, sew through the seam allowance into the interlining all the way around. (Yellow thread) The picture on the left shows the arm scythe. You don’t need to have a lot of seam allowance, and don’t clip too far into it when making the curve work.
Flip it over, does everything look ok? Yes? Take out the basting! Then, you guessed it,iron it. On to the lining!
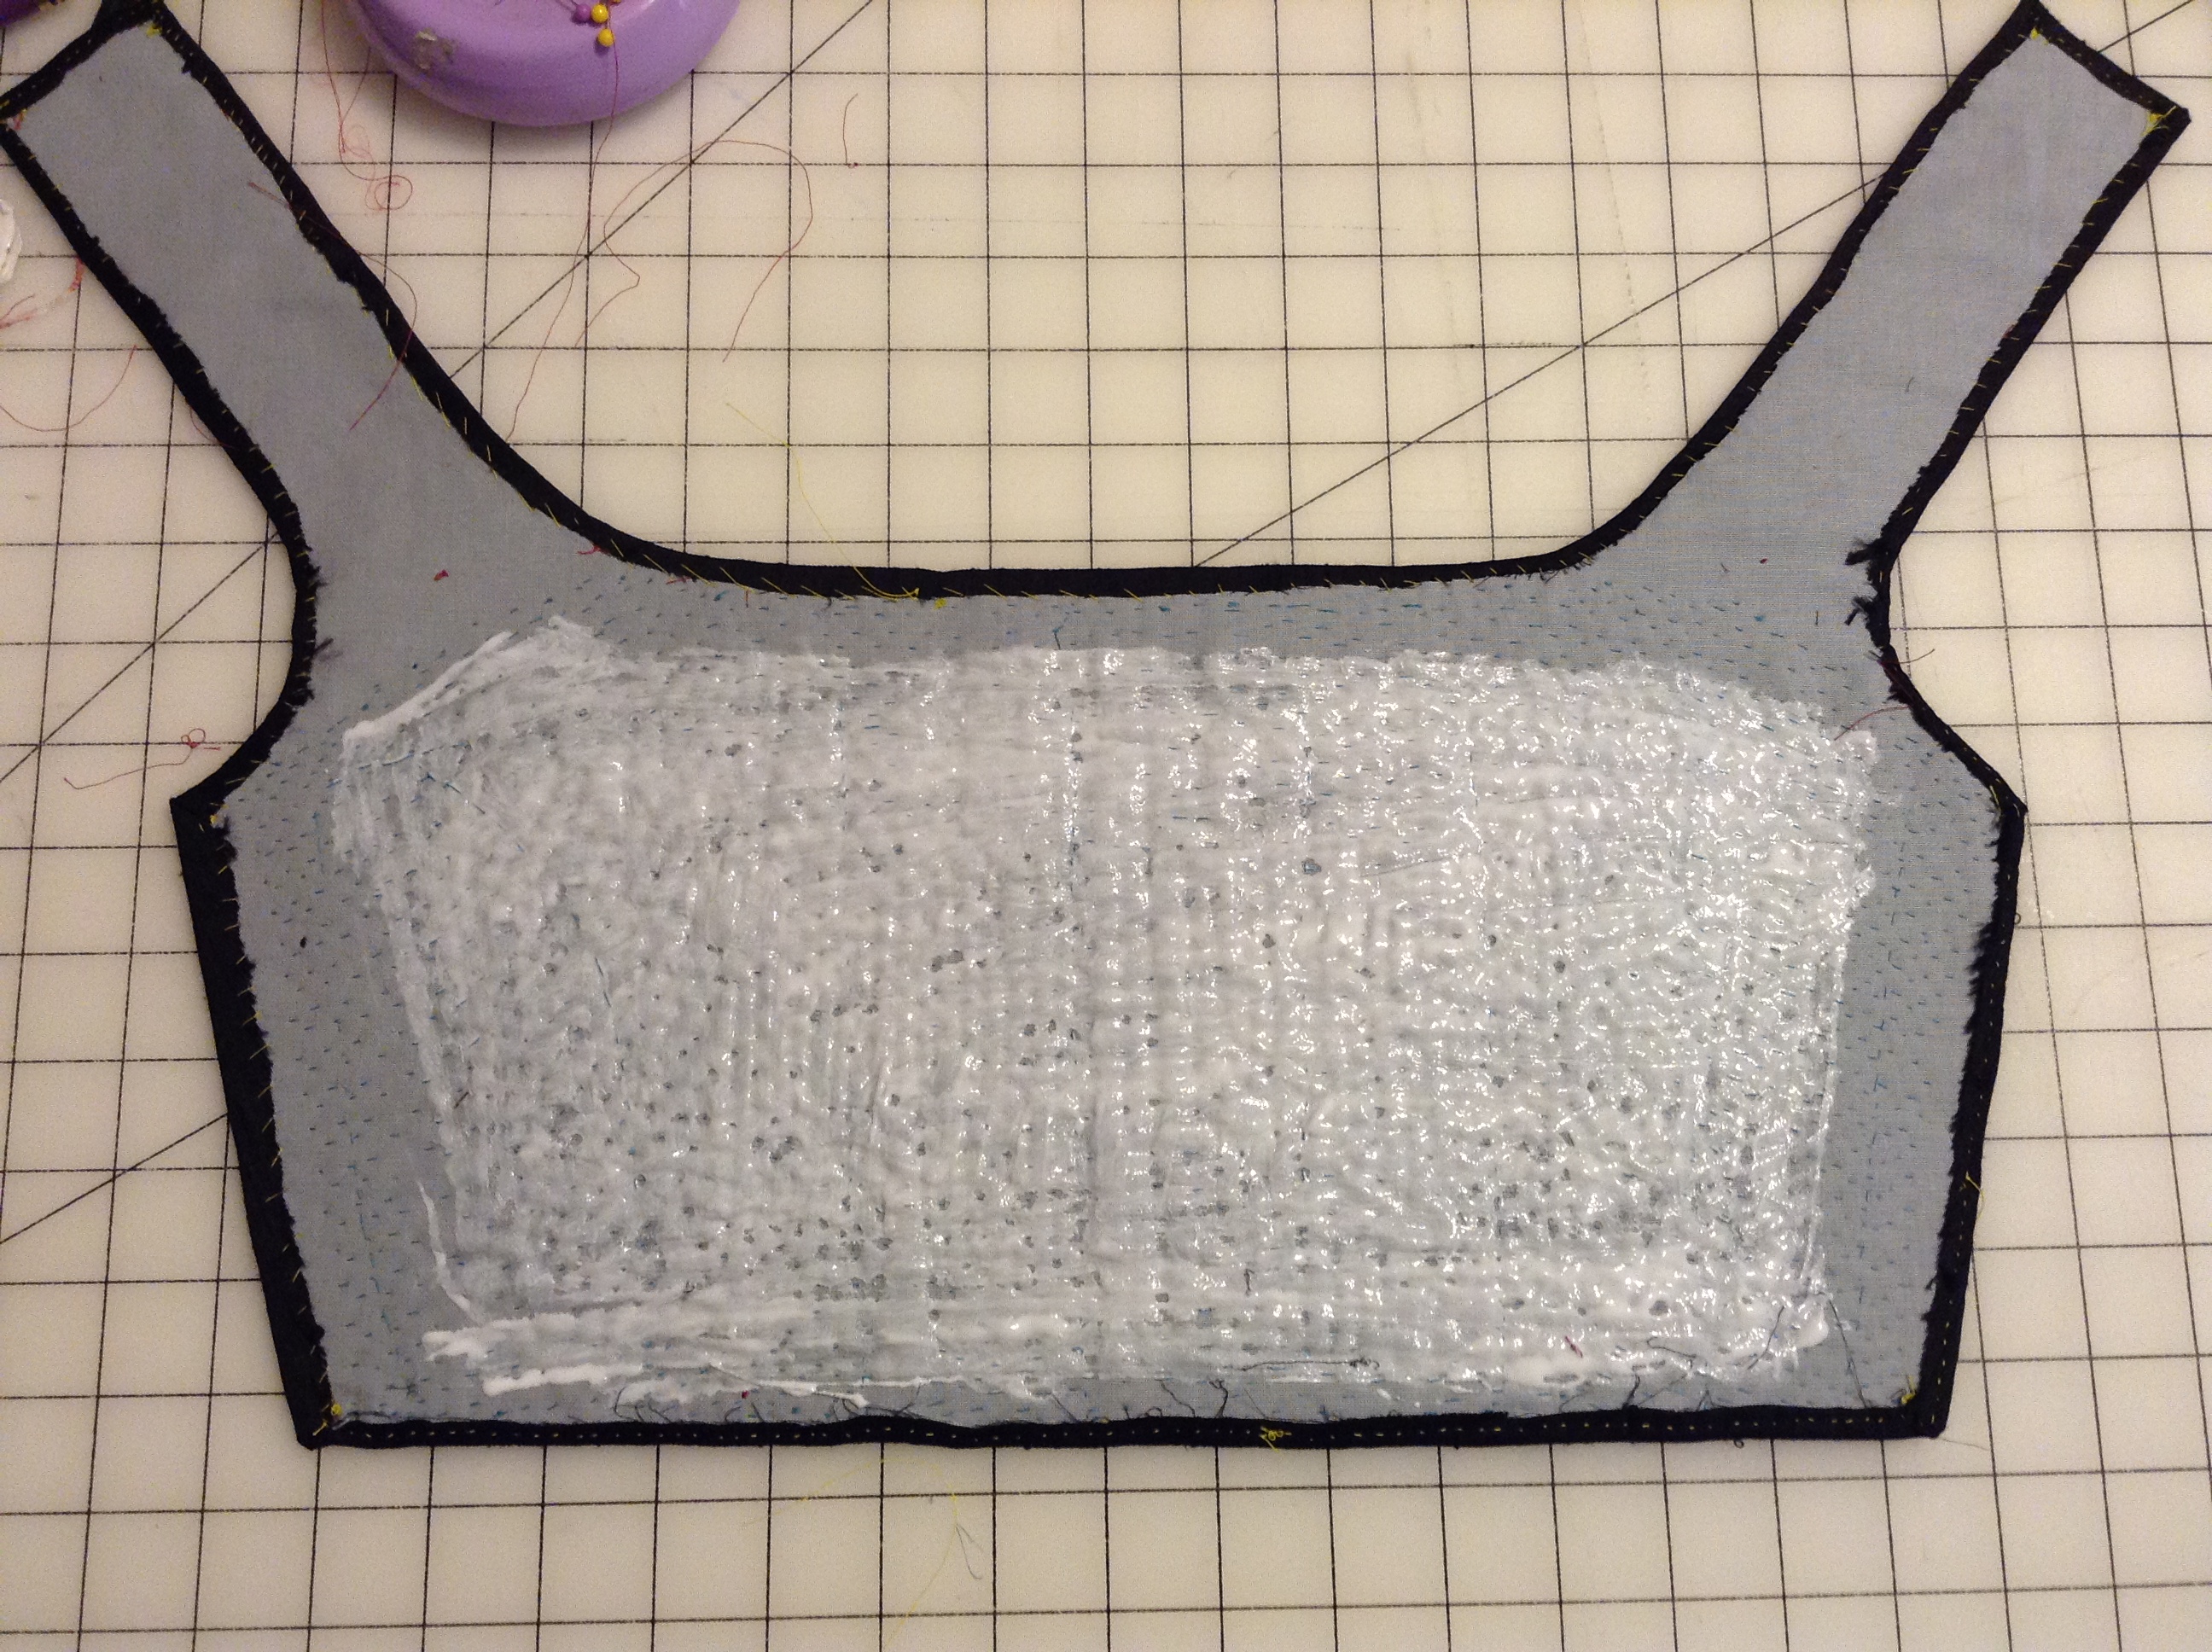
Step 8
Using fabric or hide glue, paint the area that needs to be the stiffest. Make sure you DO NOT put glue in any spot that you will need to sew through or place an eyelet. I leaned this the hard way.
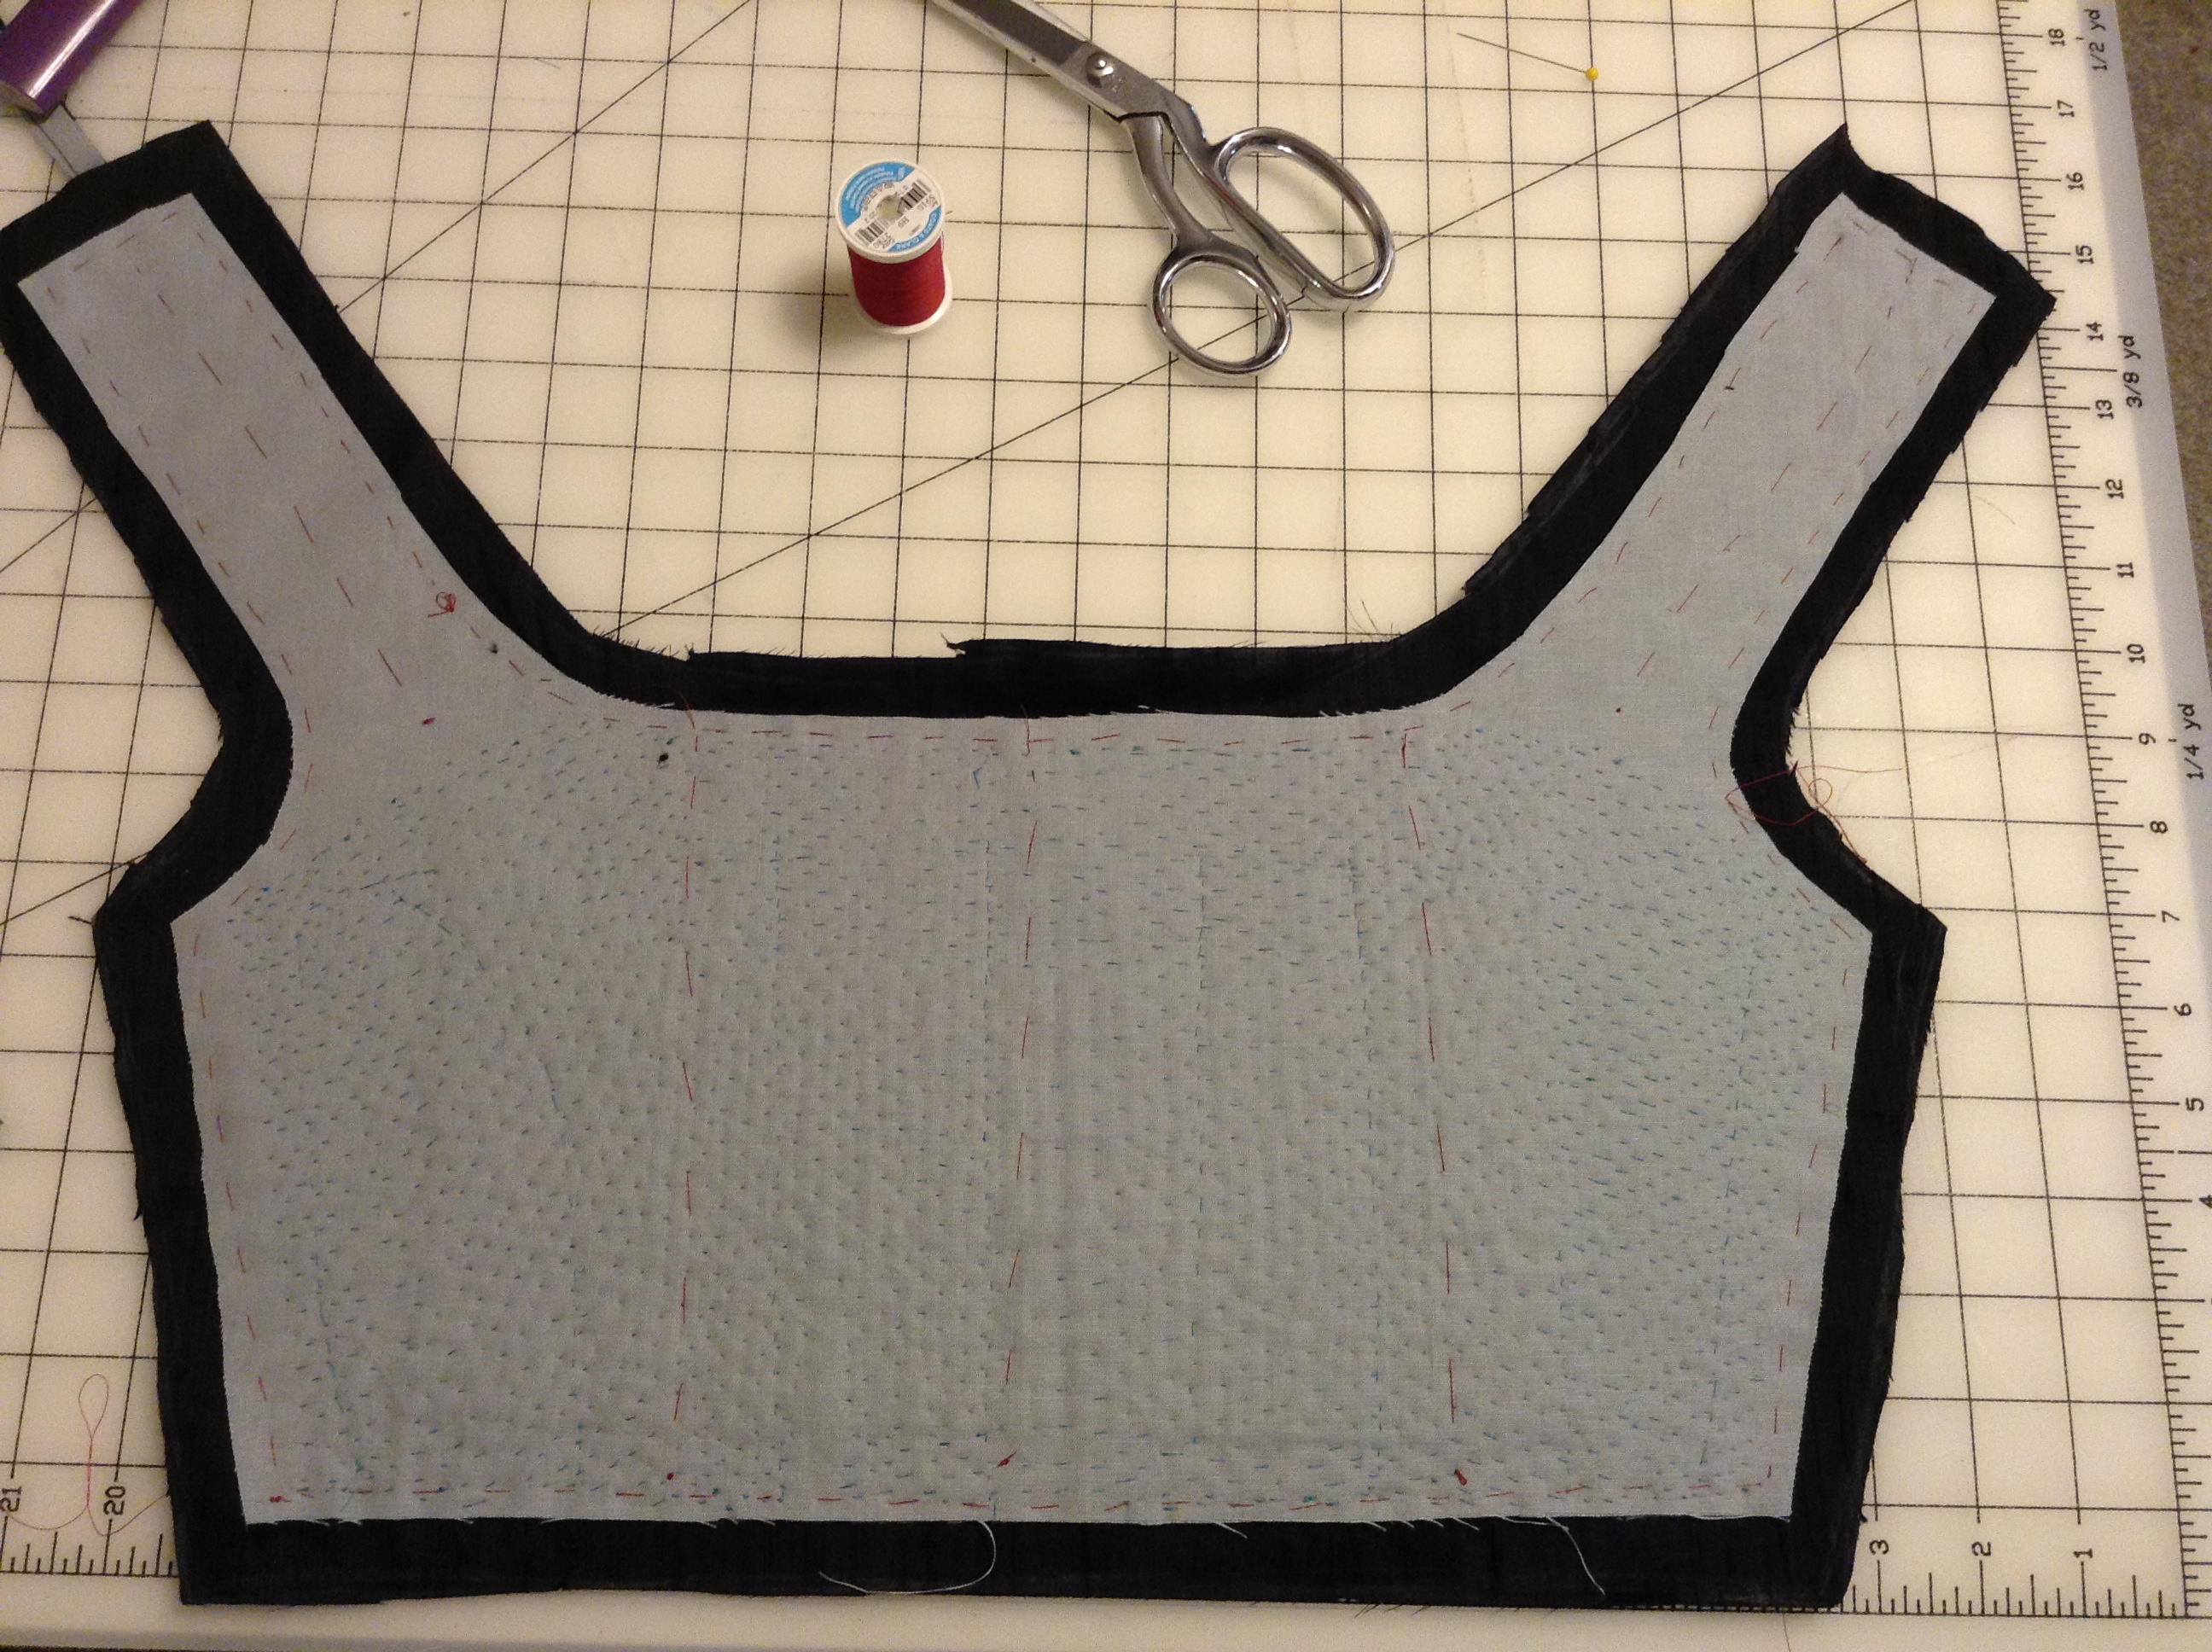
Step 9
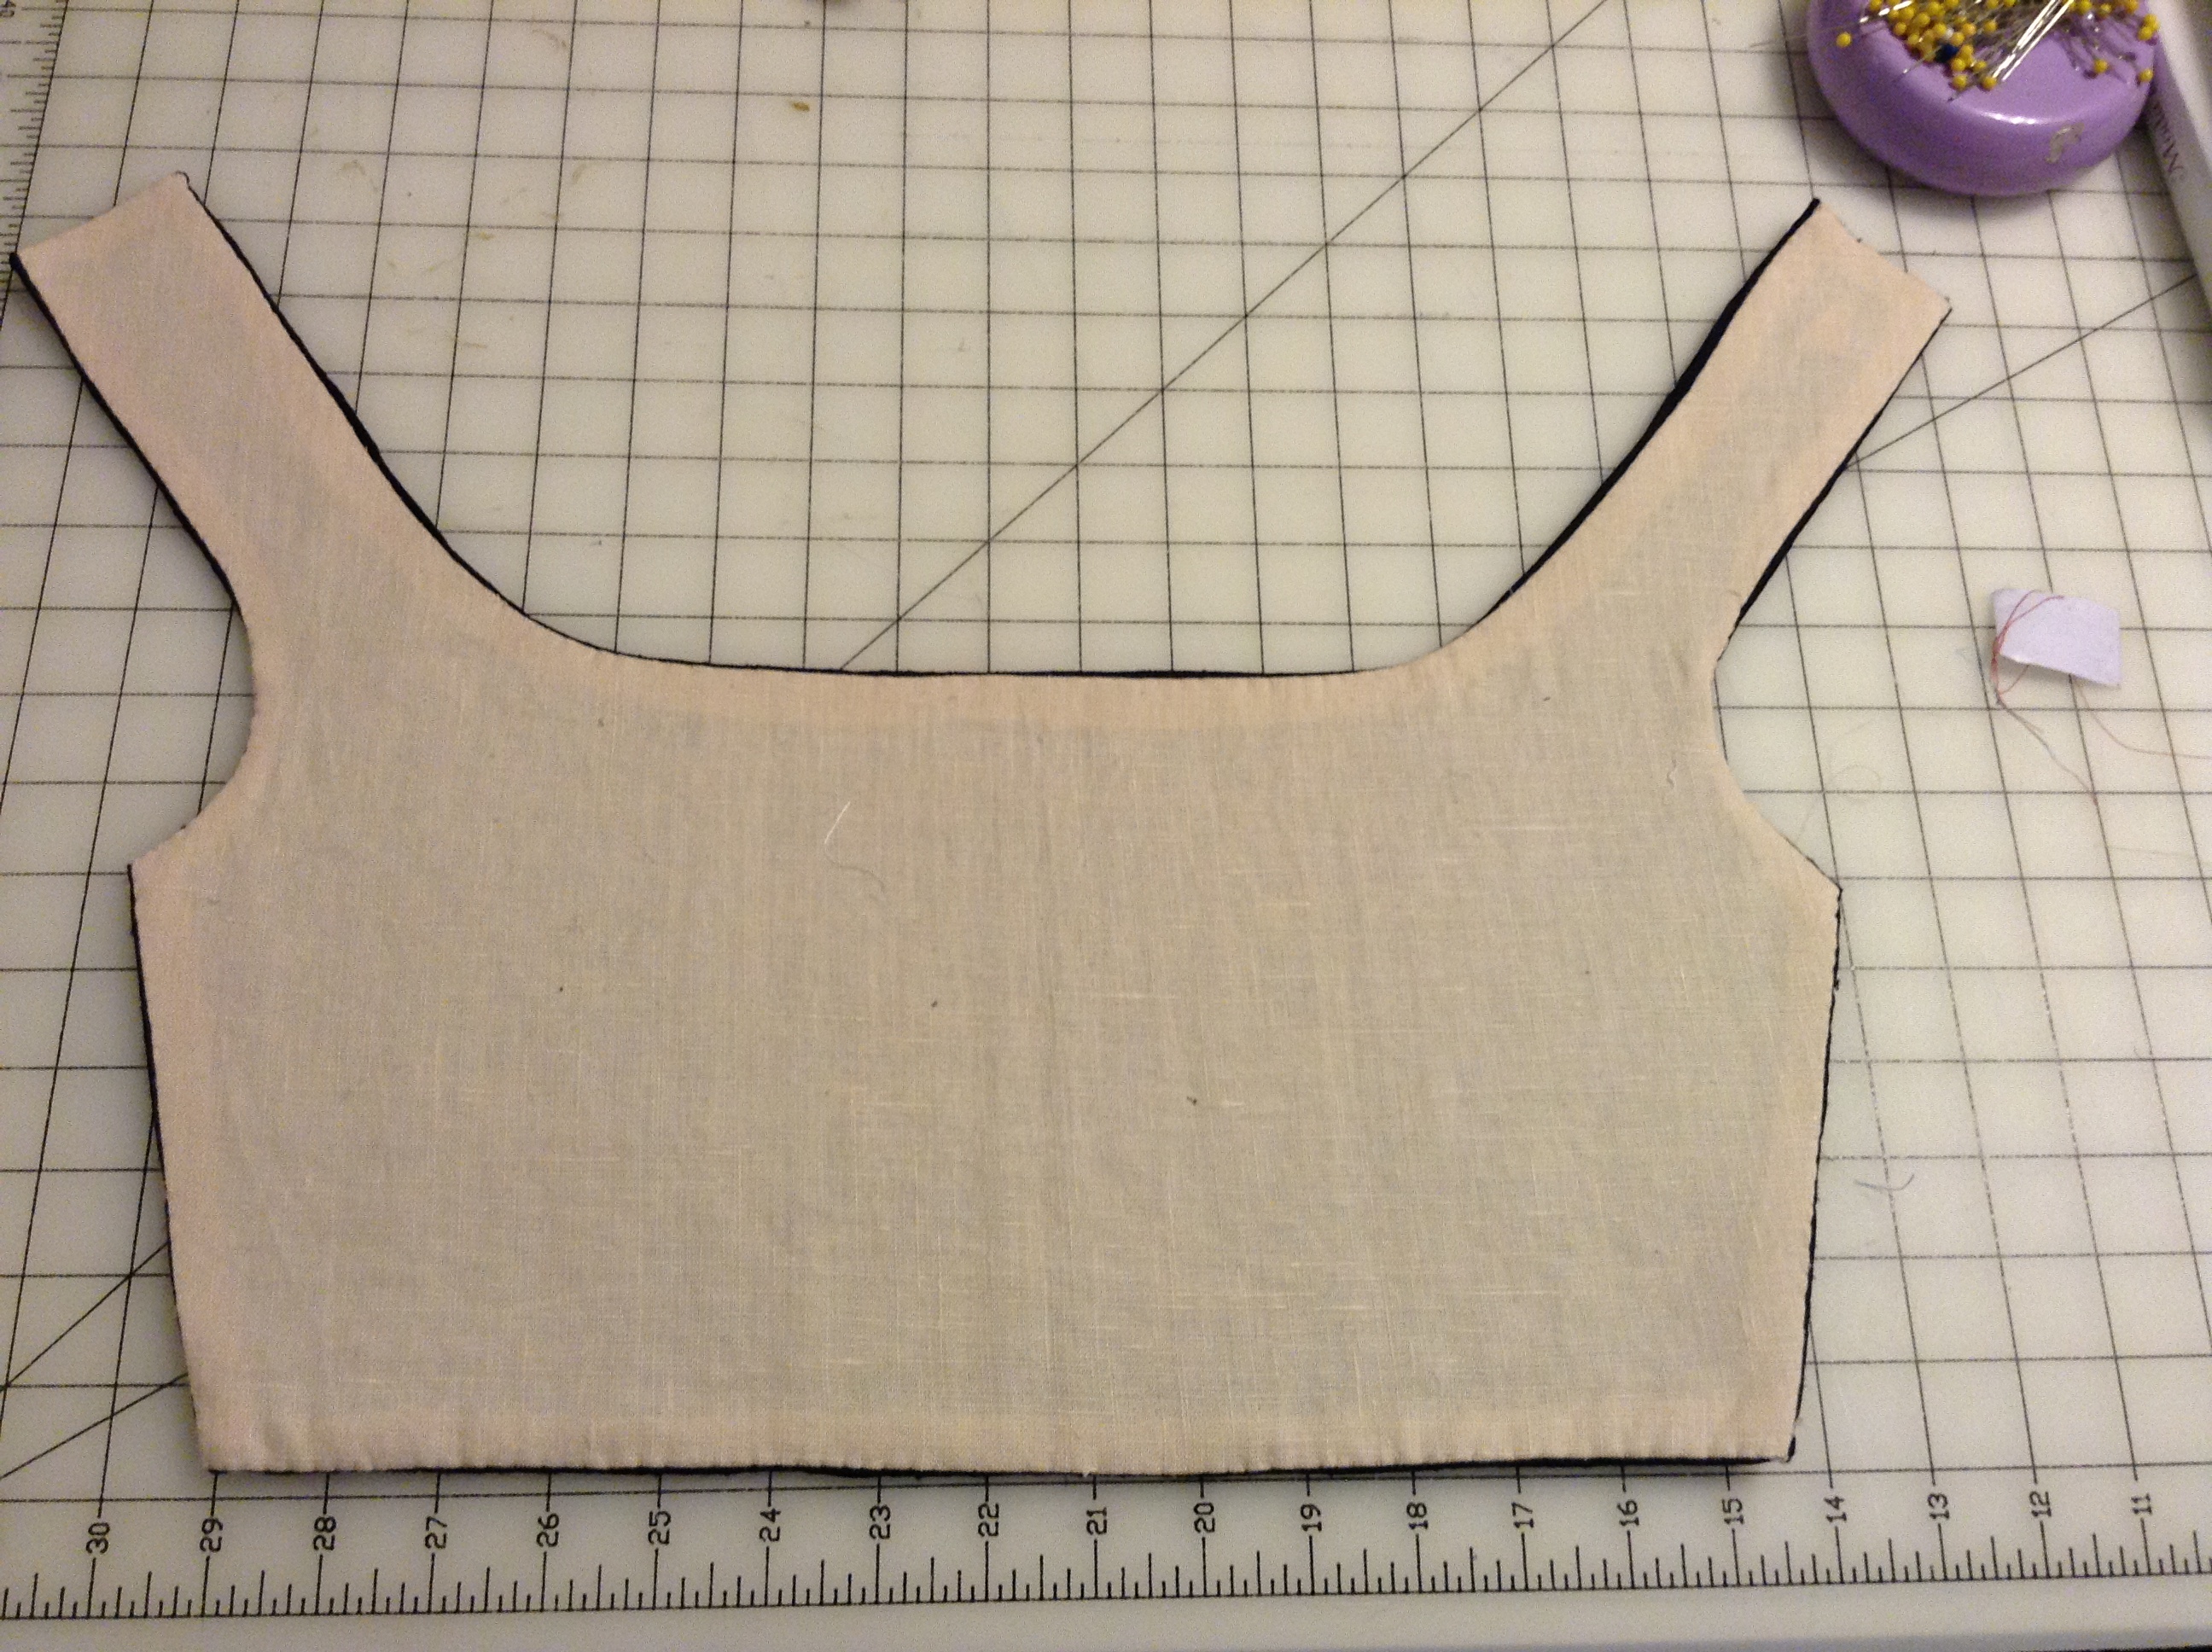
Cut out your pattern piece in the lining fabric. Mark the seam allowance, fold over just past your mark and iron it. For example, if your seam allowance was ½ inch, fold over 5/8 inch then iron. You will need to trim the seam allowance to about 3/8 inch and trim corners to reduce bulk. Pin your lining in place.
Step 10
Sew the lining in place by using a small slip stitch. Catch just 2 or three threads on the edge of the lining per stitch. Done this way, your stitches will barely show, if at all.
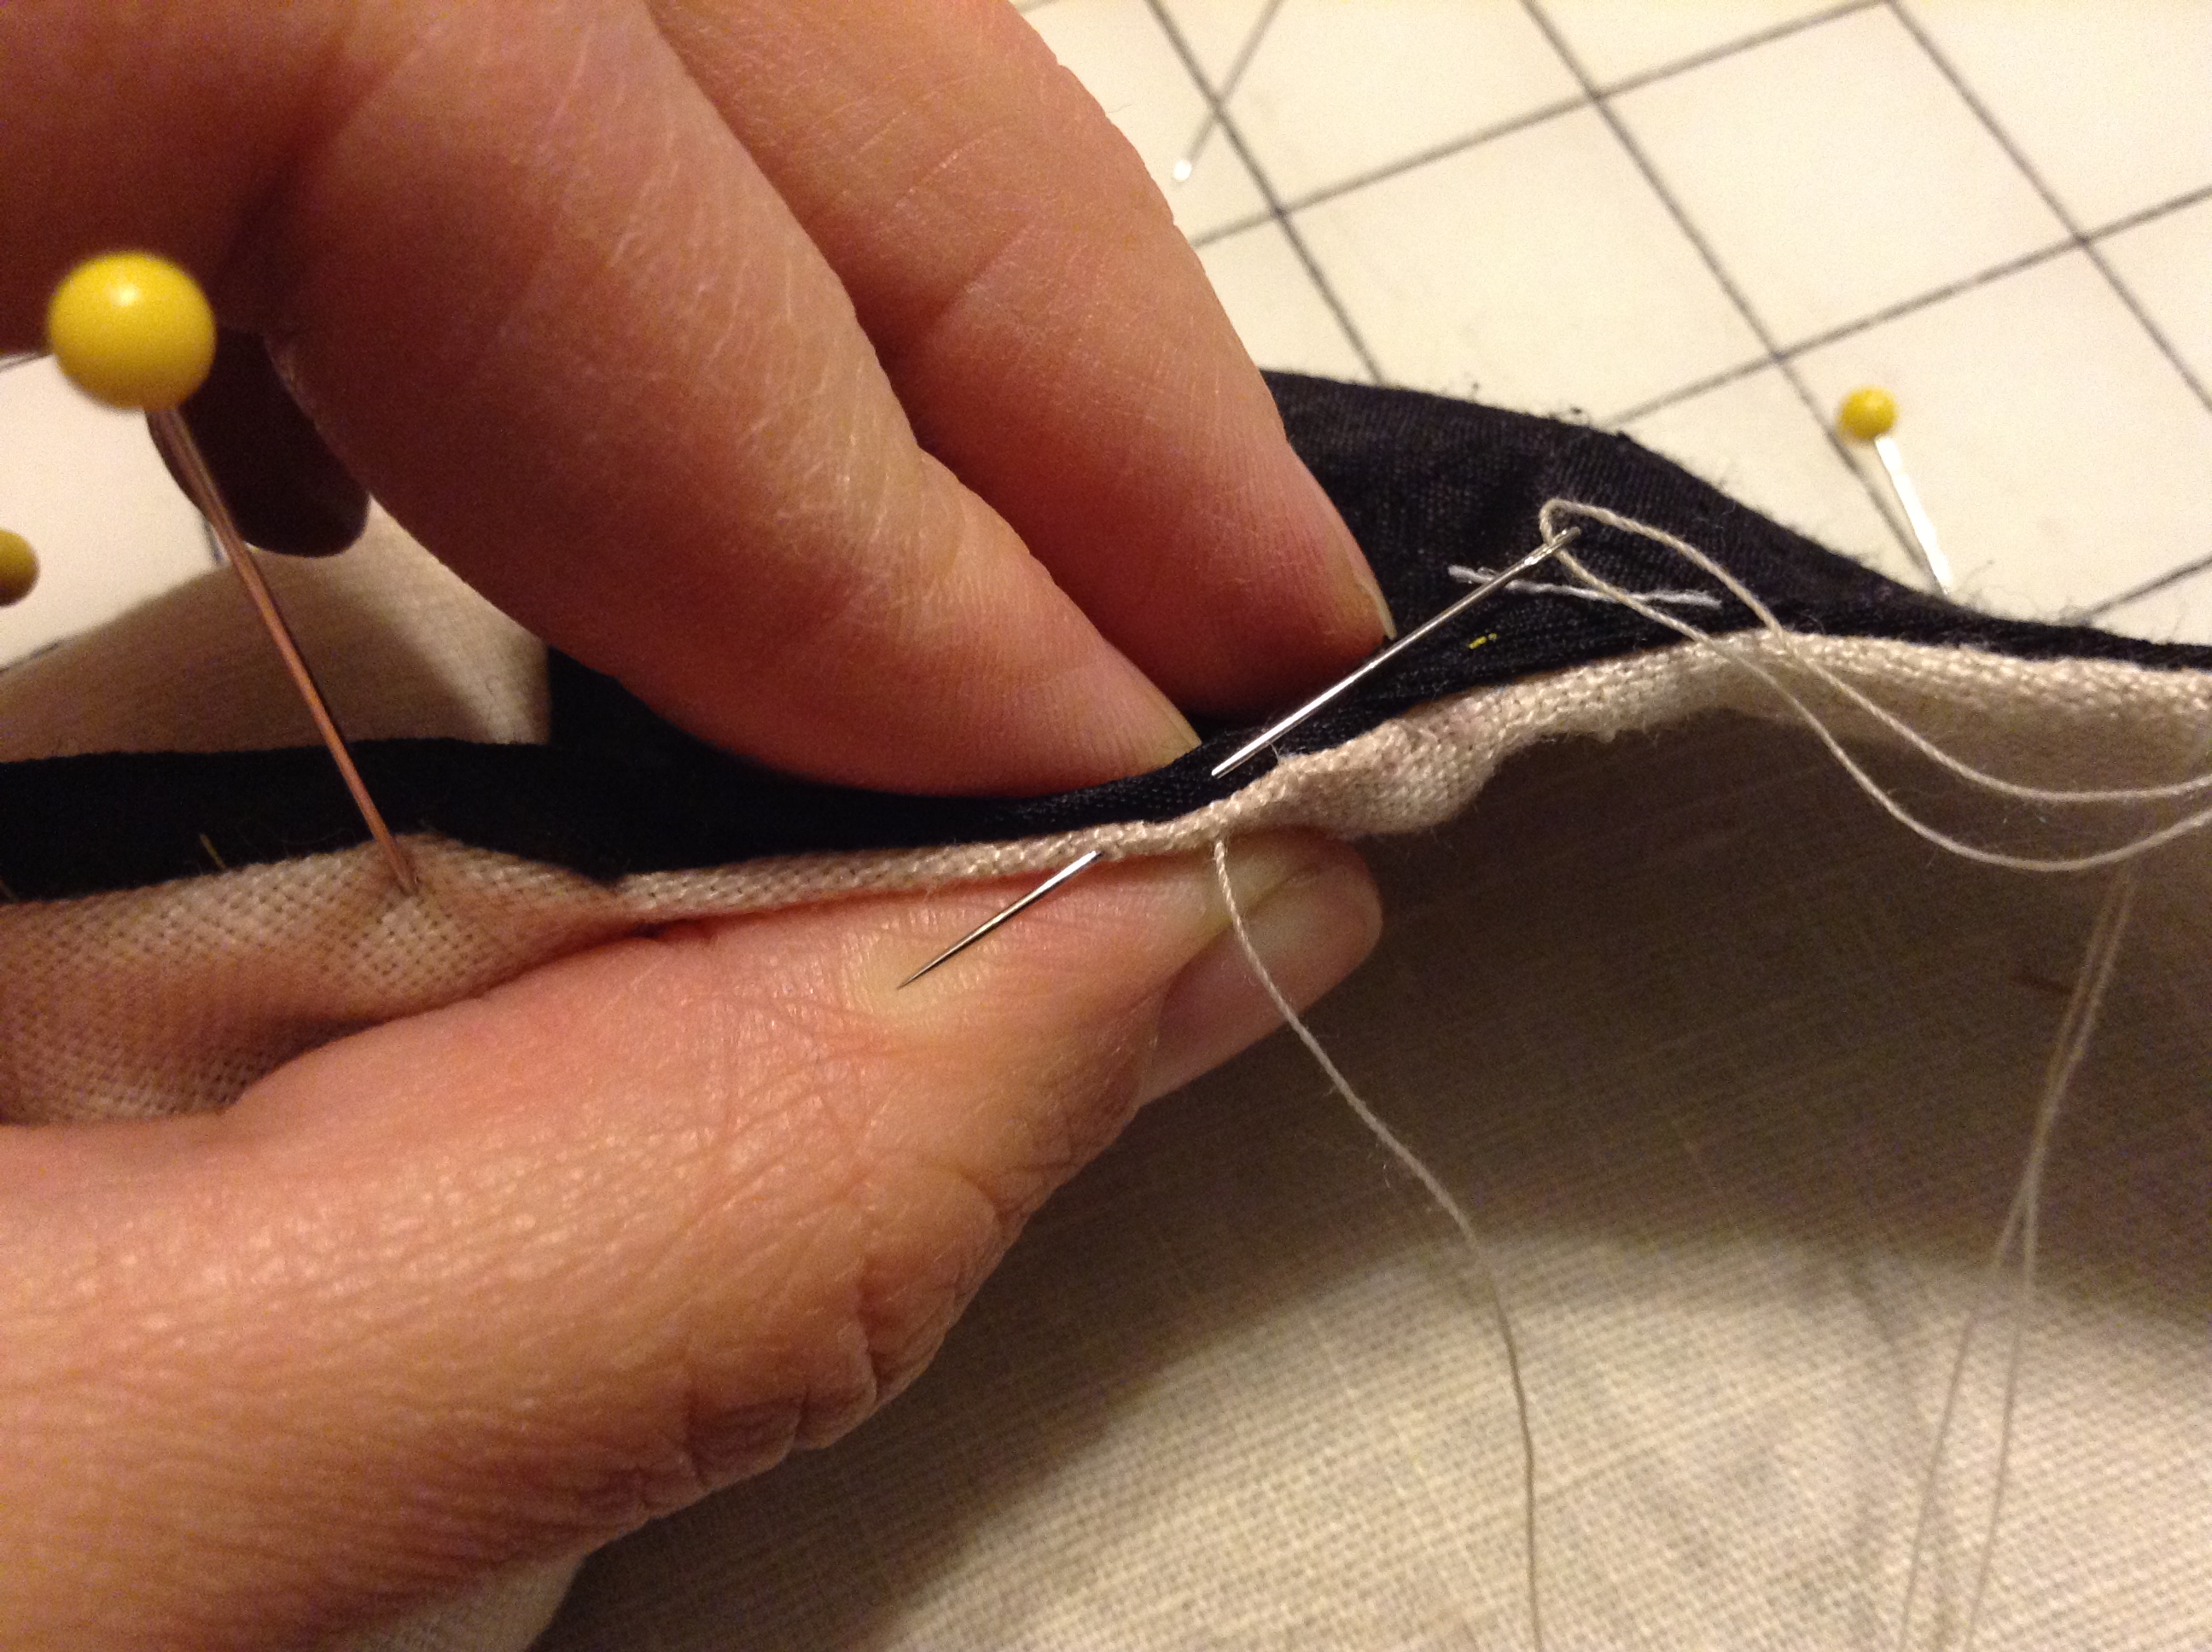
Everything stitched in place, a little of the fashion fabric will show all the way around except at the top of the straps. This means the lining won’t show when you are wearing it. For the next step, you will need the other pieces of your bodice completed.
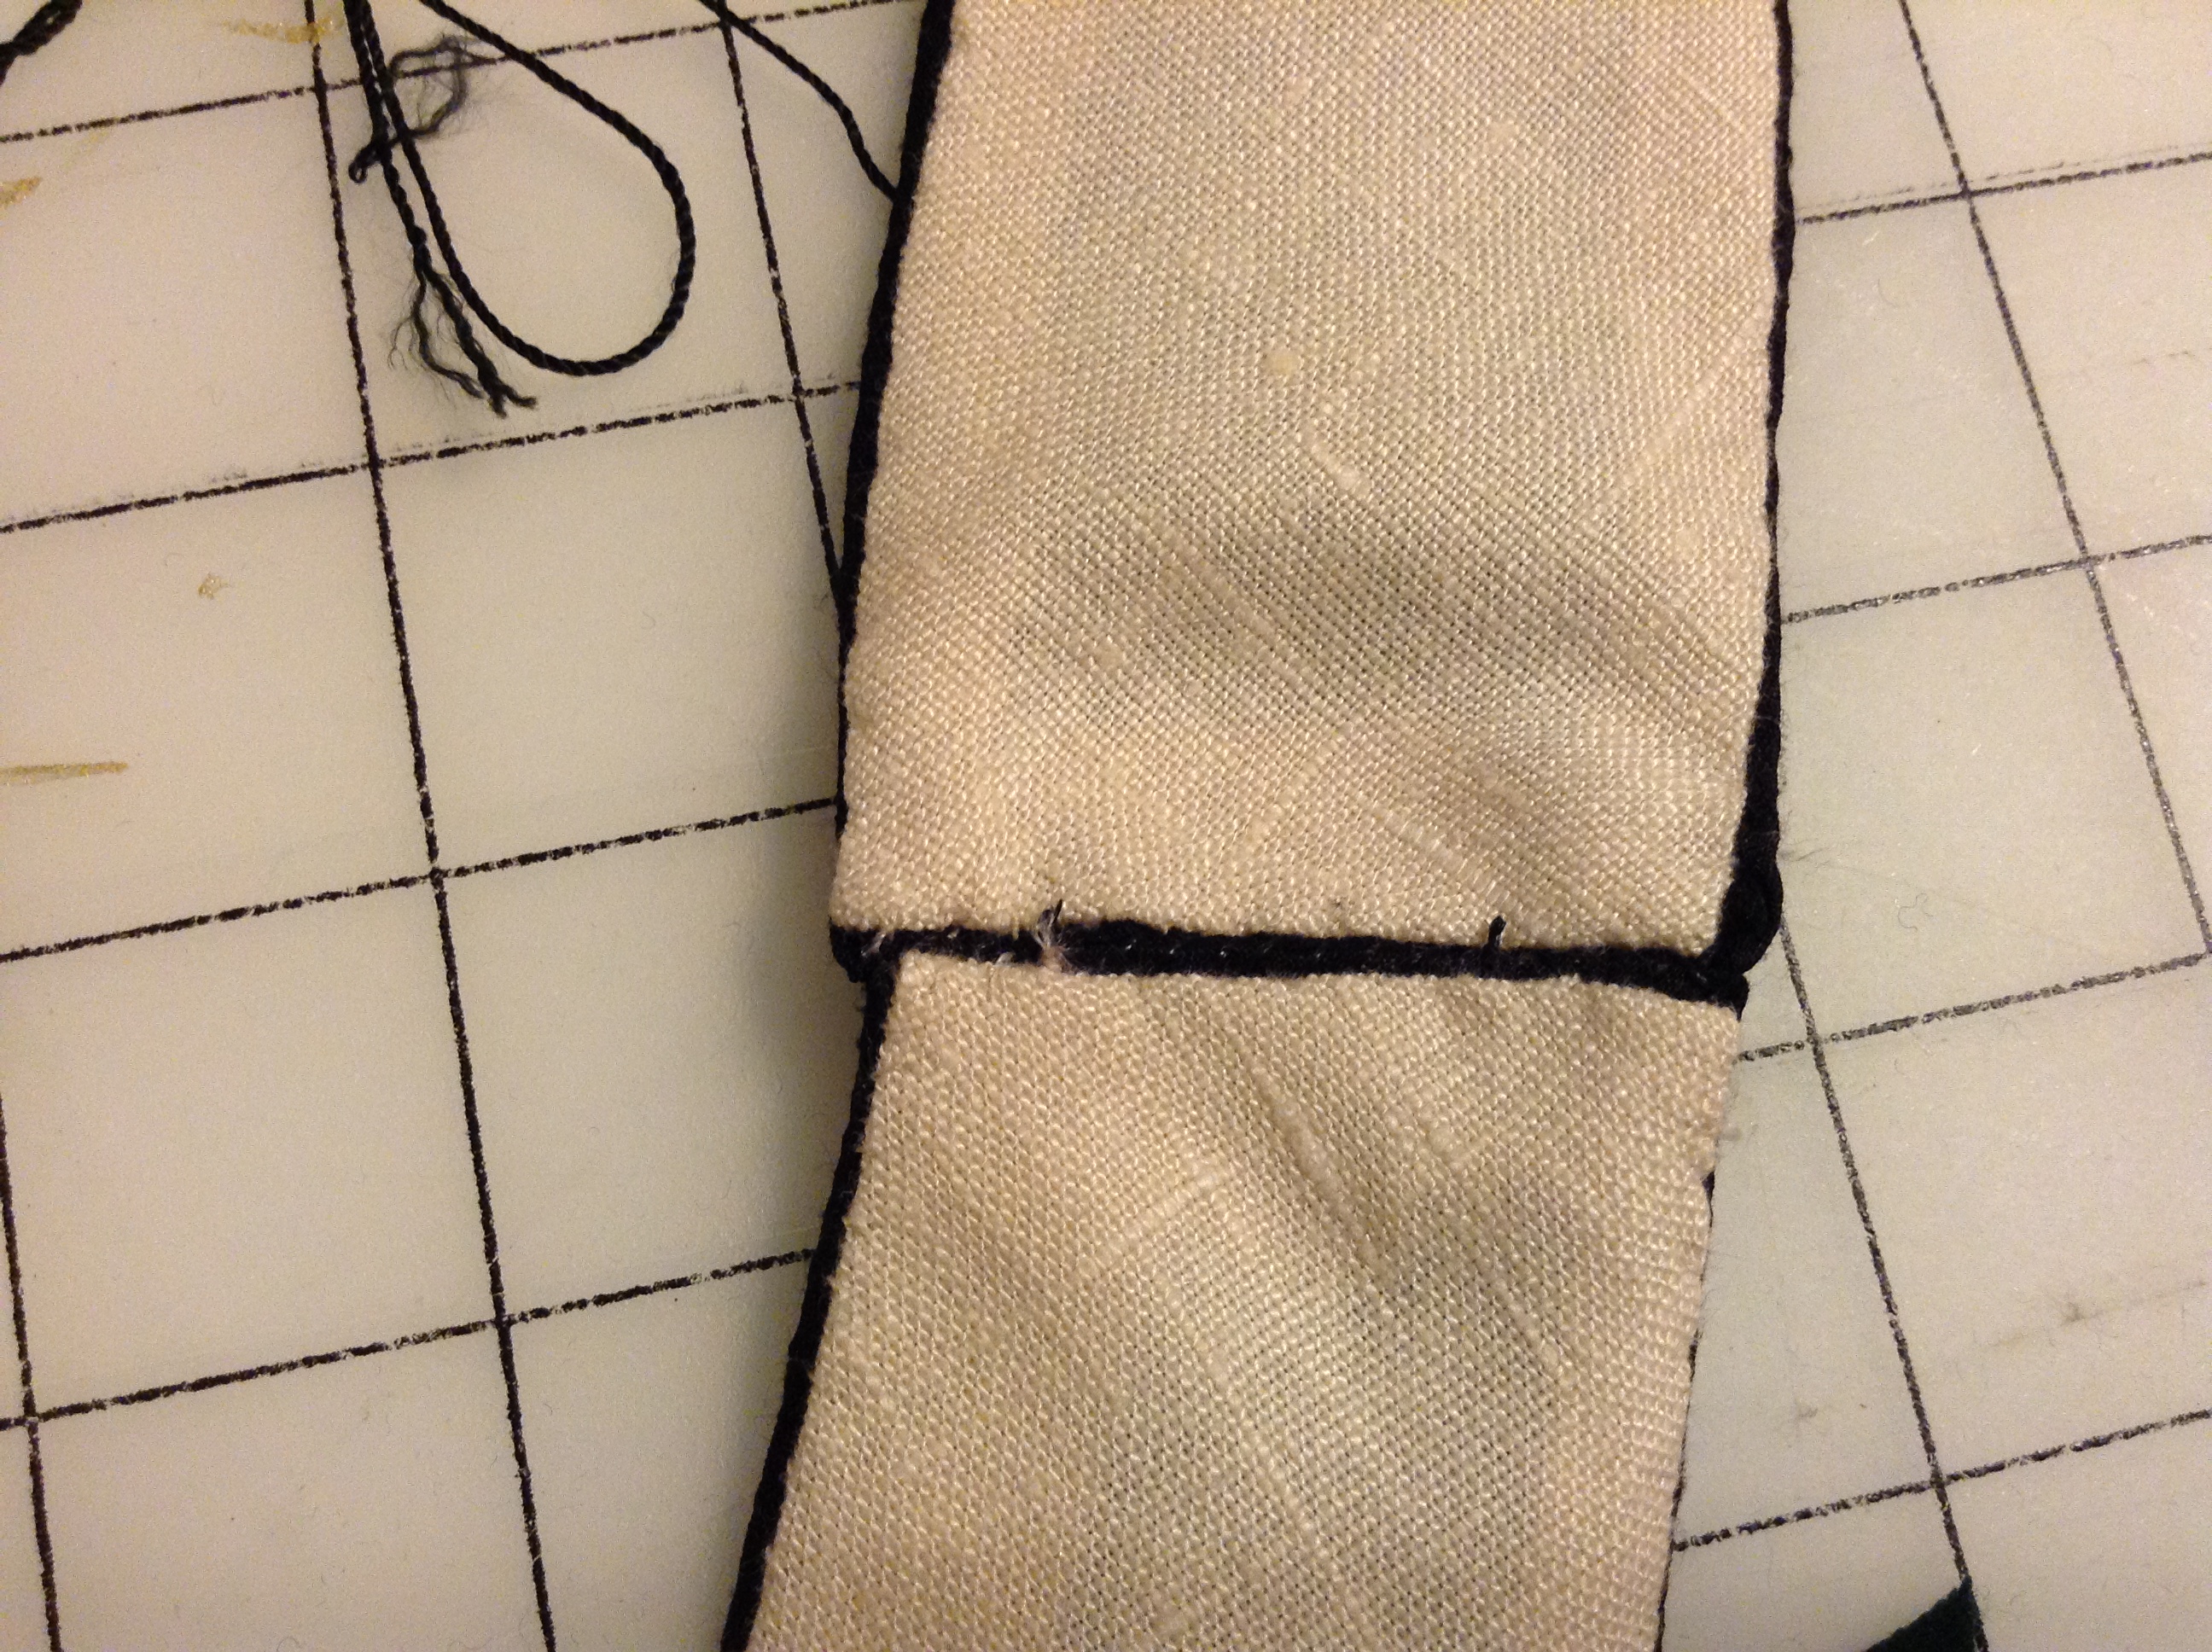
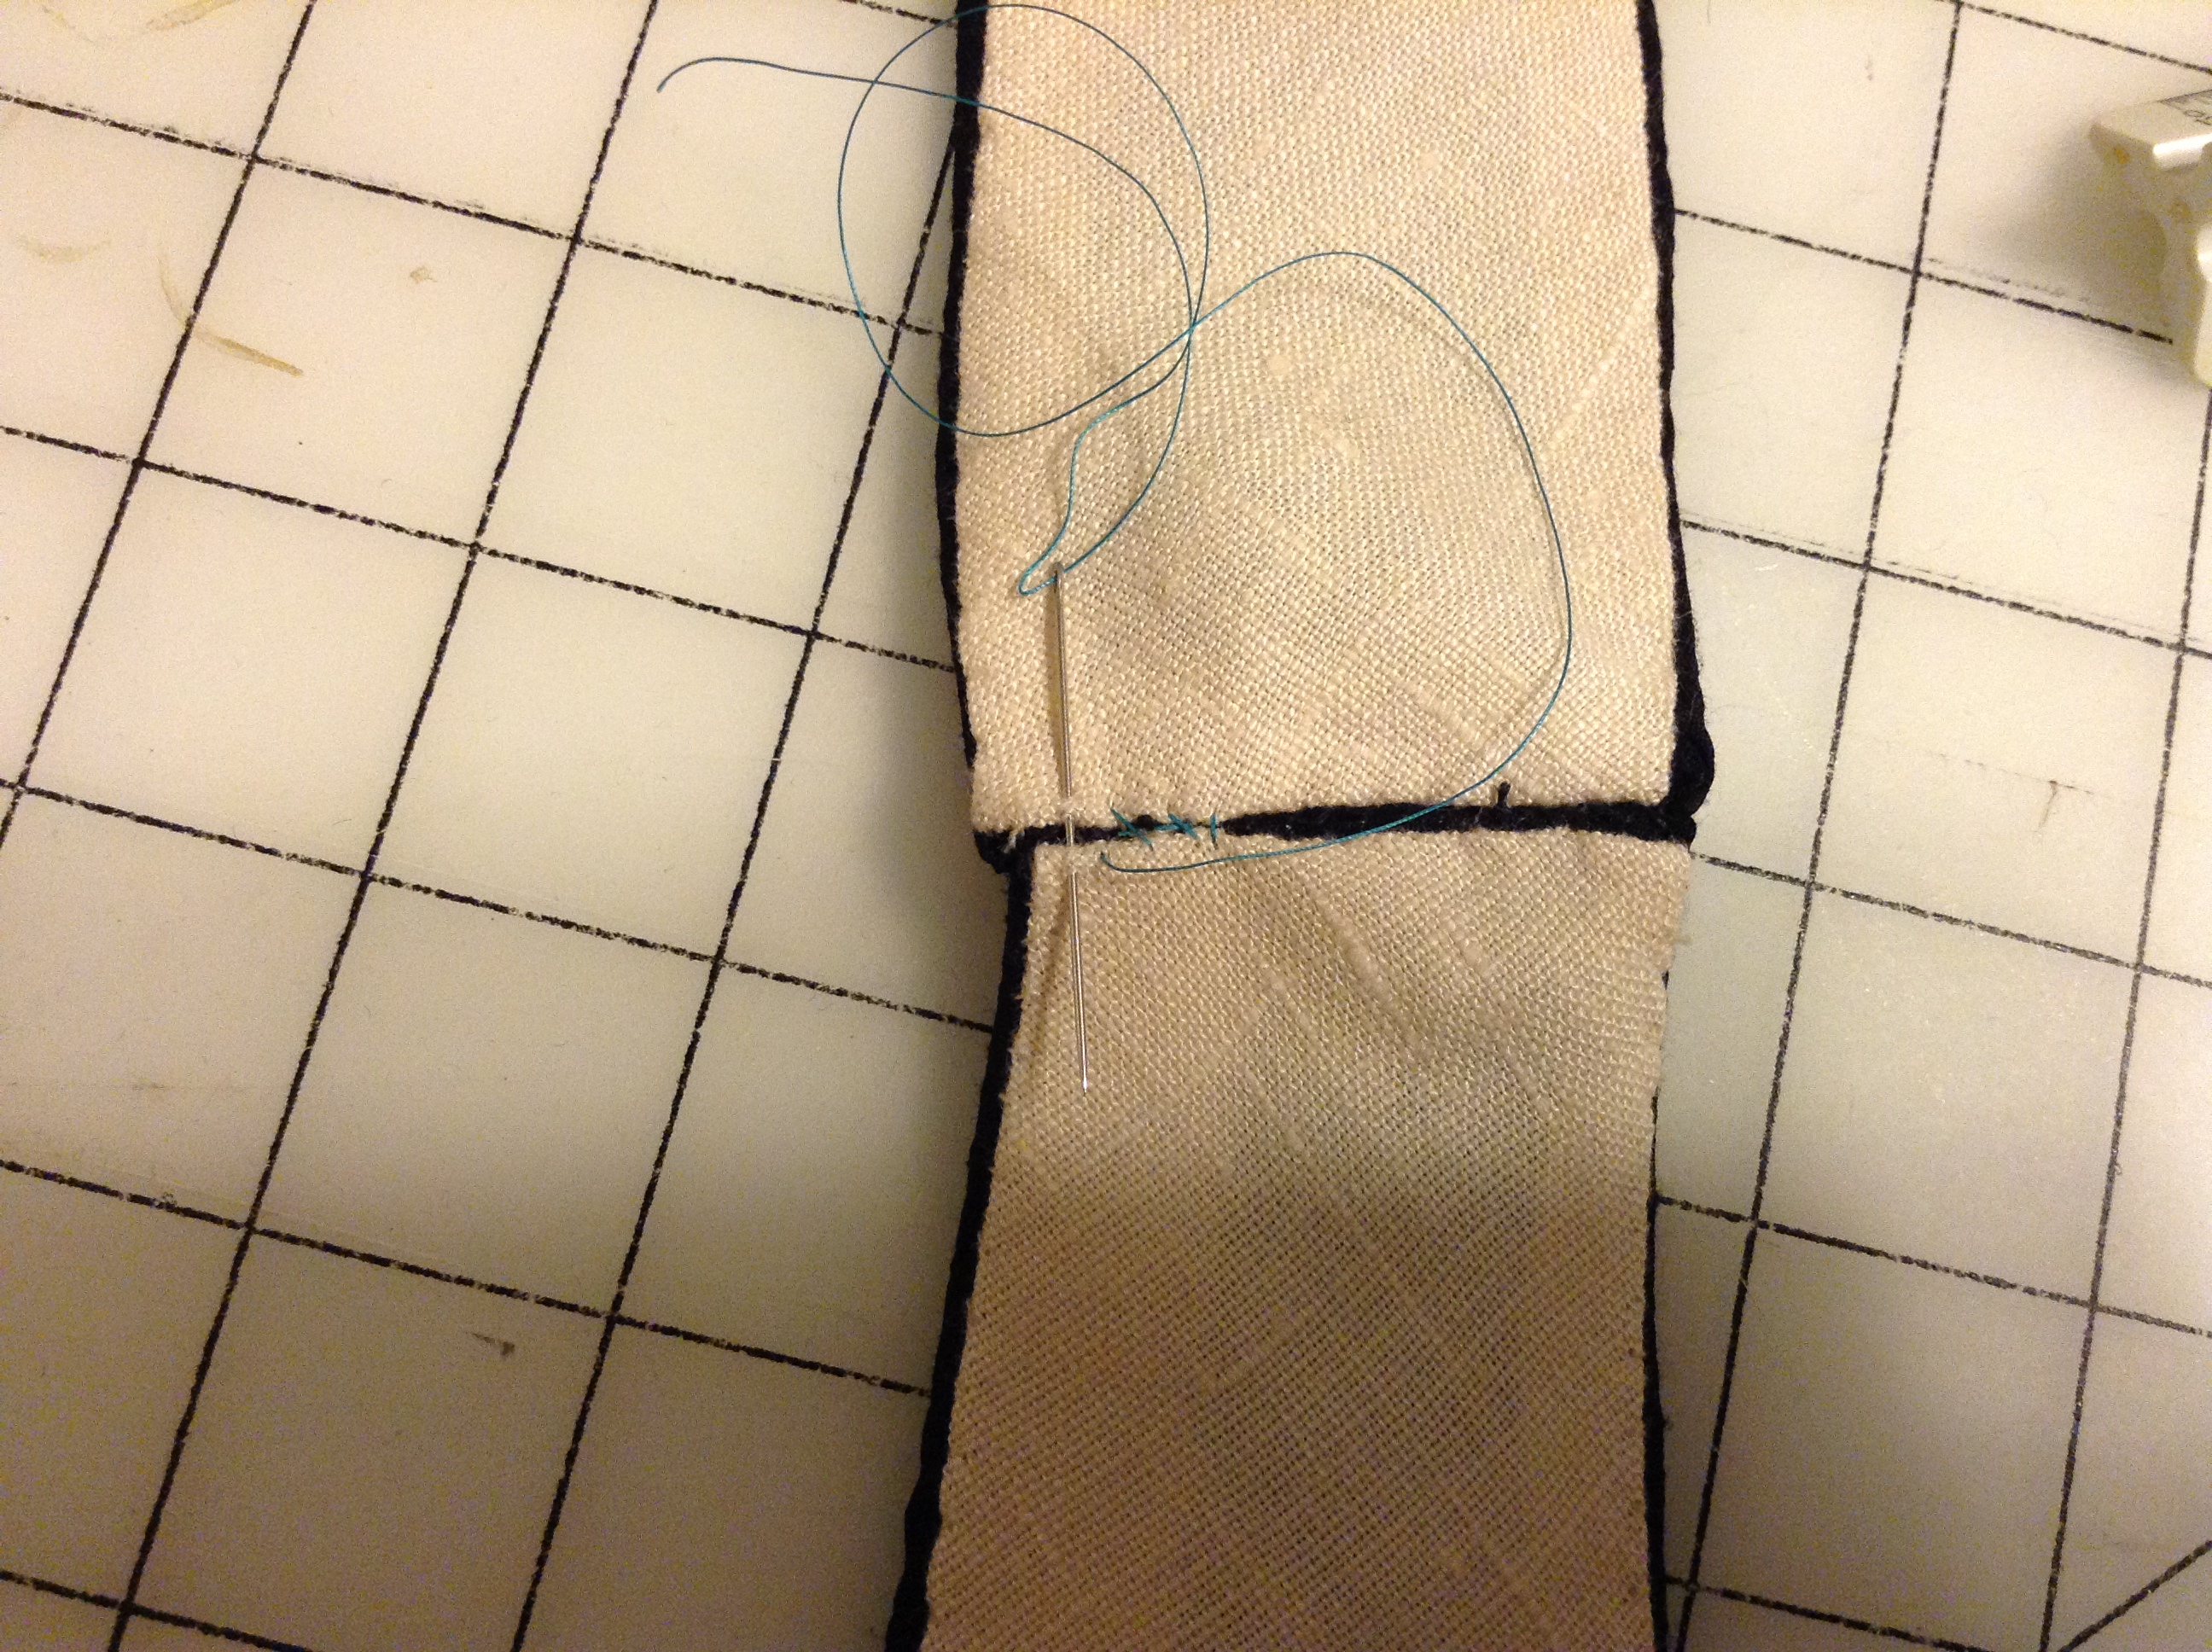
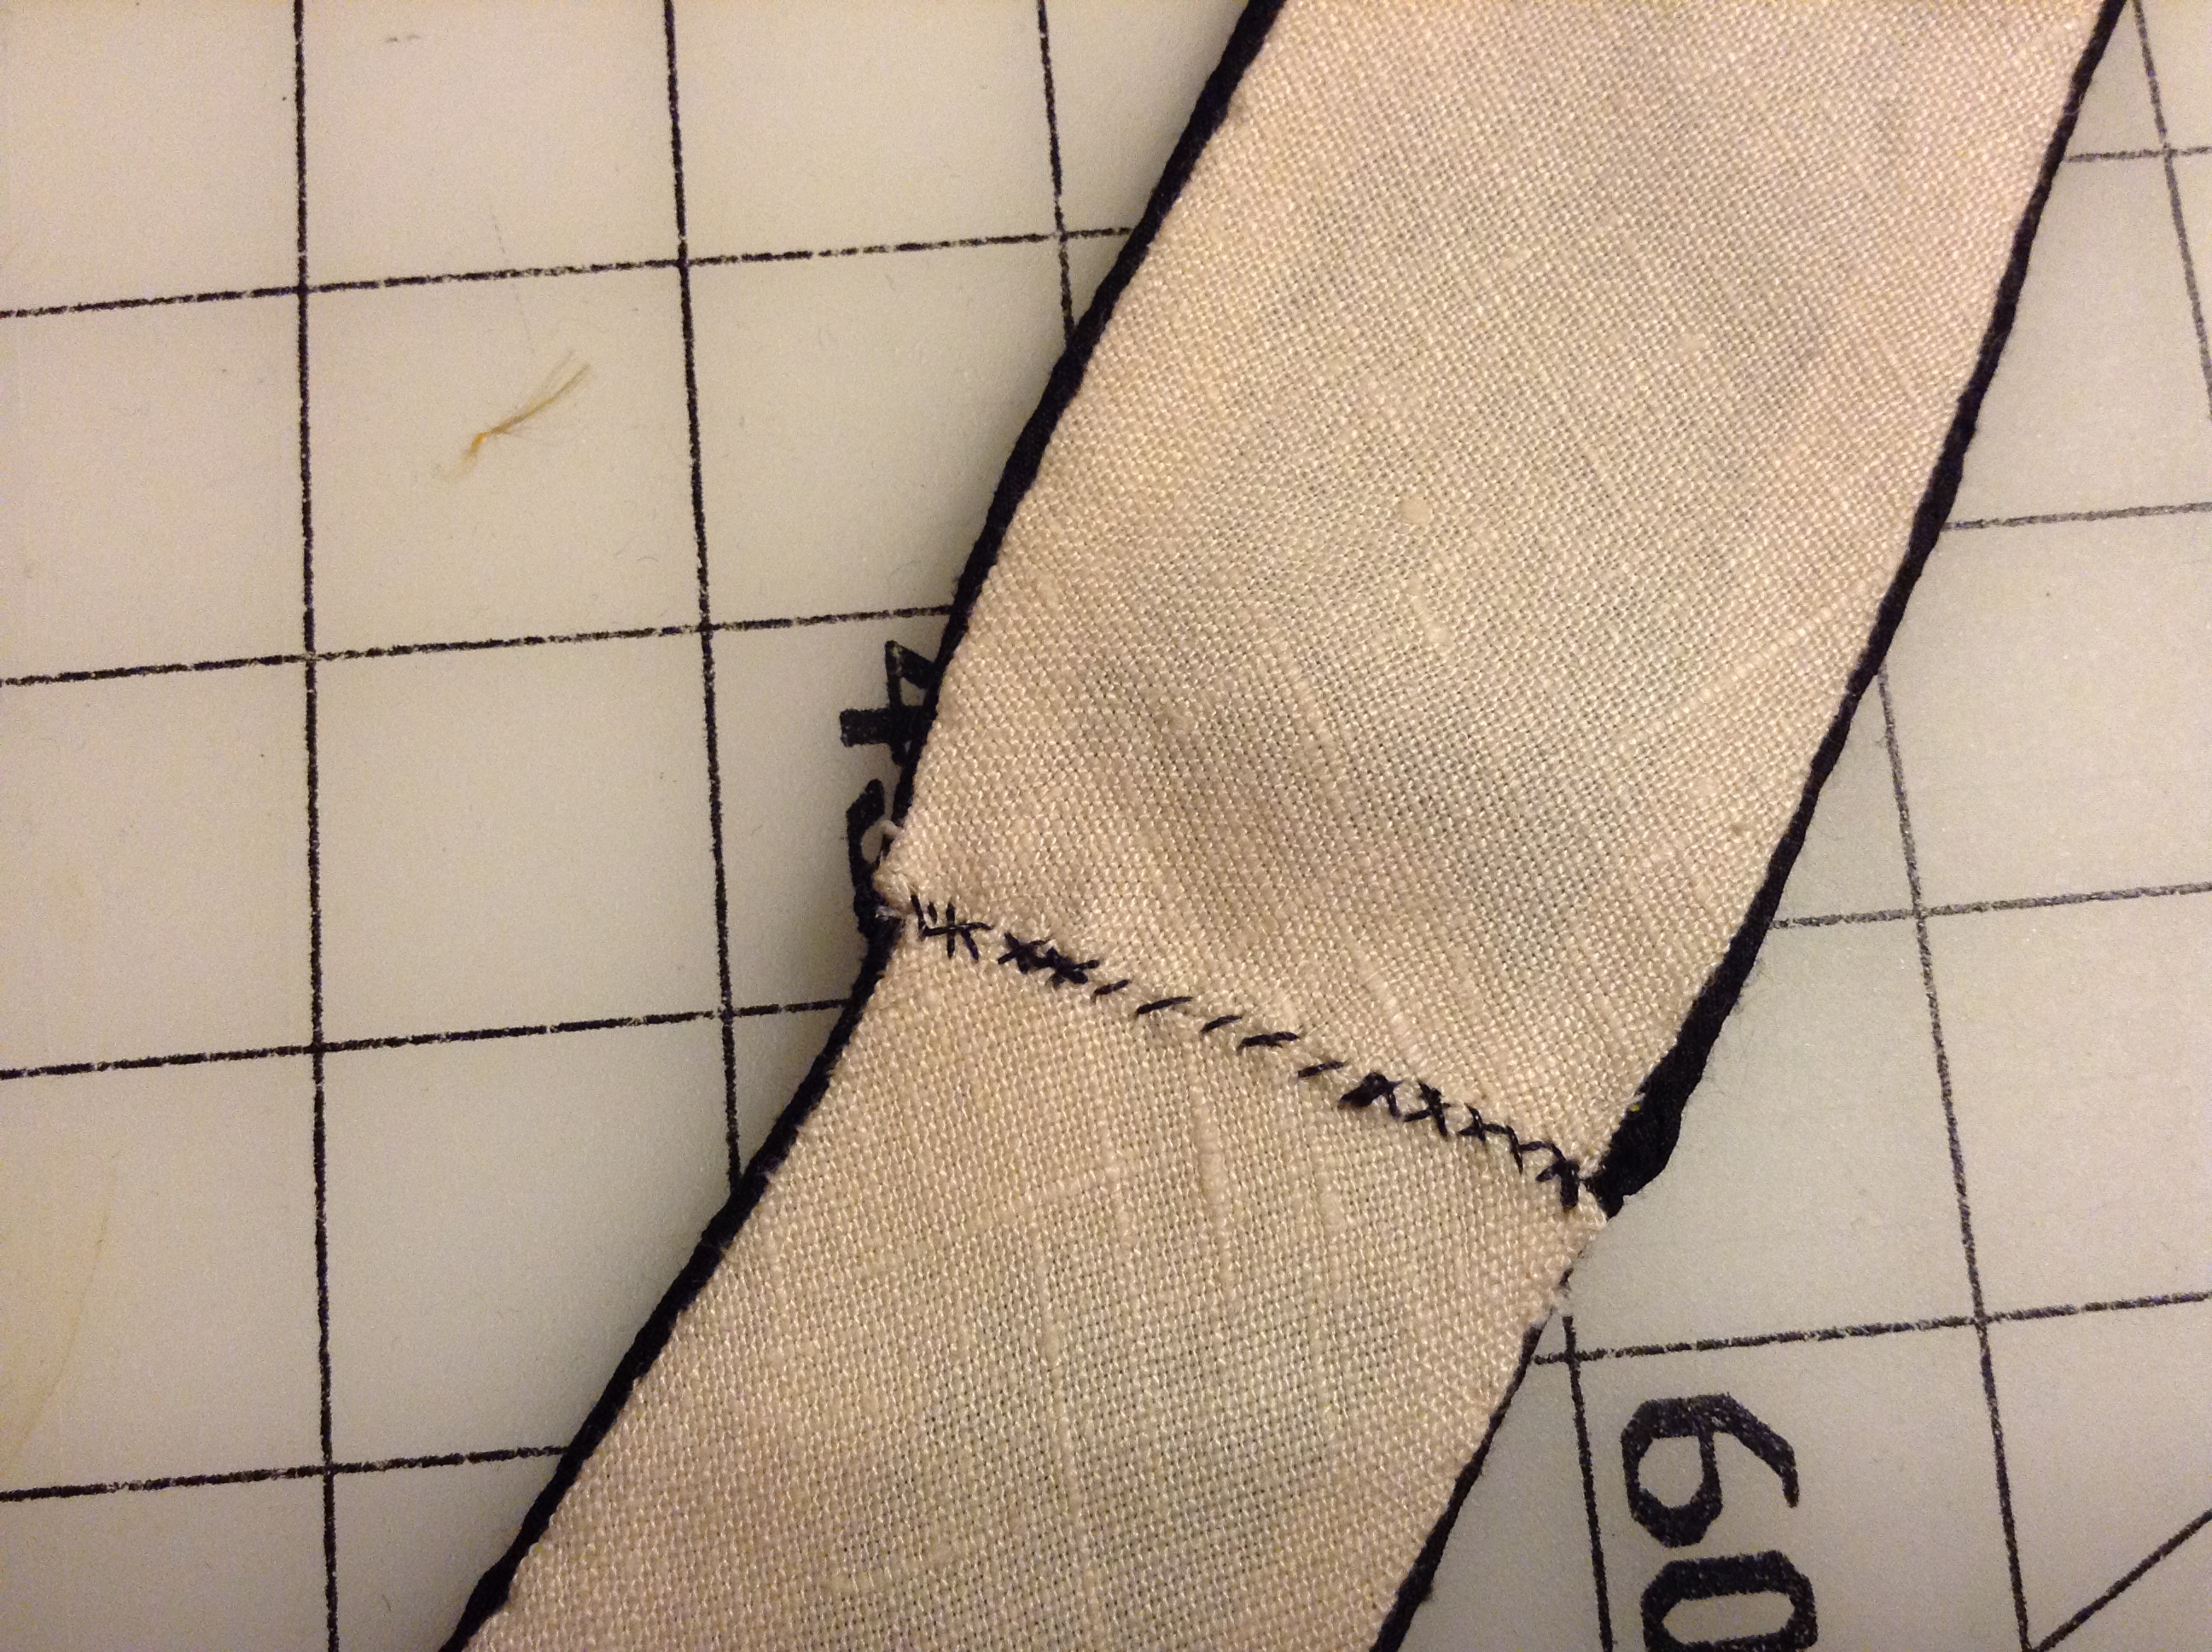
Step 11
For the straps. First sew the fashion fabric of the together with a whip stitch. Start ½ inch away from the edge. Sew to the edge, then double back across your first stitching. Go to the other edge, then double back ½ inch to tie off. Repeat on the lining fabric. This keep the edges of the shoulders from coming unsewn and reinforces them. If you have additional pieces to your bodice, you can sew them together in the same manner.
Eyelets
Time to sew some eyelets. Mark where you want them to be. They should not be more than 1 inch apart.
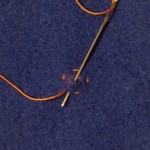
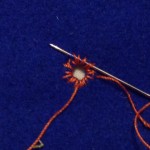
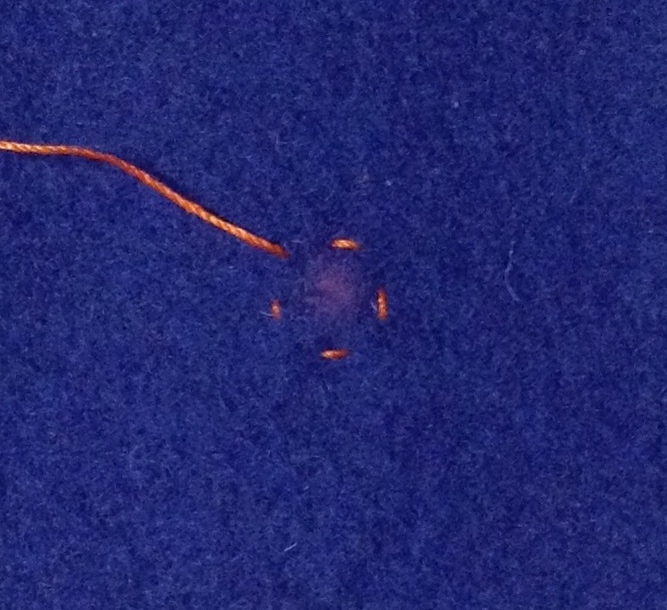
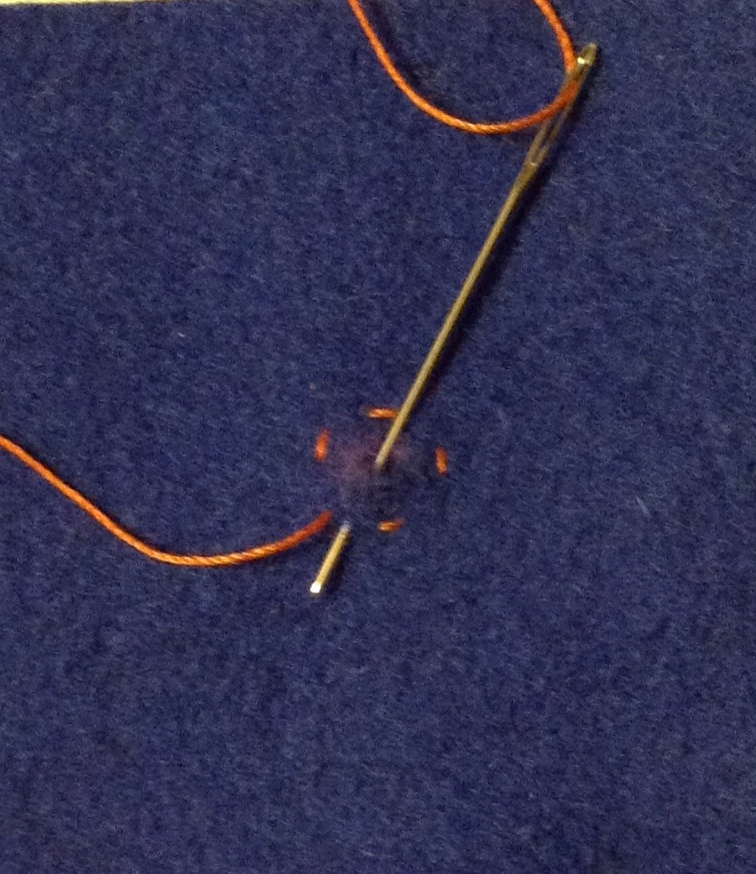
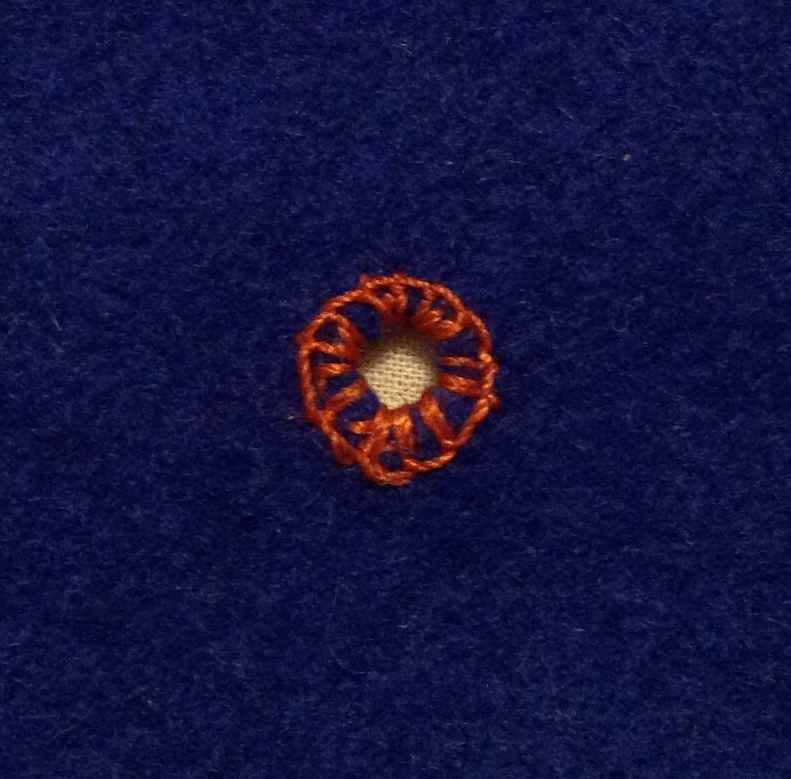
- Using a running stitch, sew around the dot you marked. This reinforces the eyelet and serves as a guide for your stiches.
- Poke a small hole through the fabric with an awl. Go down through the hole, and come back up just outside your running stitch guide.
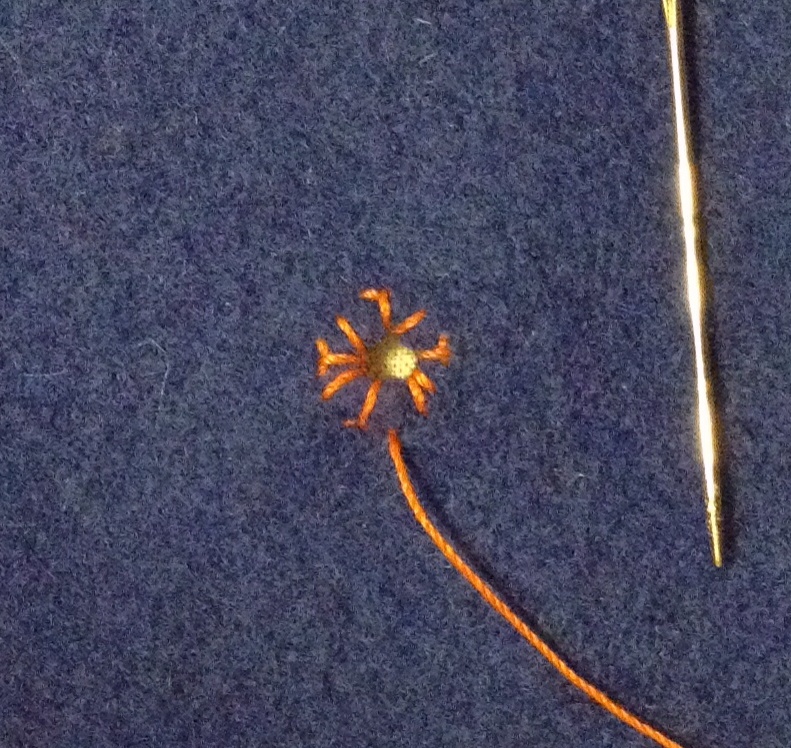
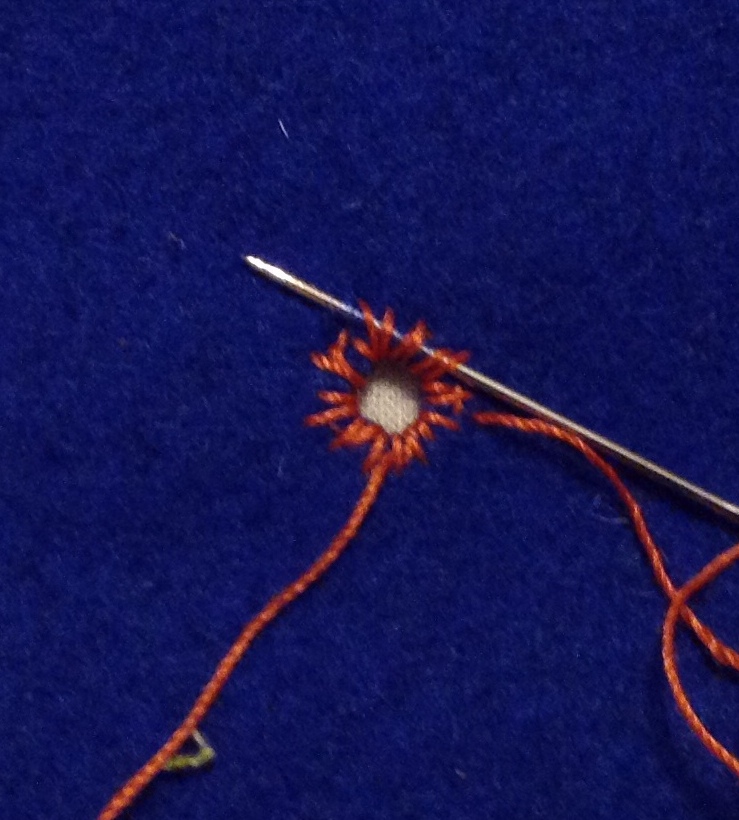
- Repeat whipping around the edge, going down through the hole and back up through the fabric. You do not need a lot of stitches, just enough to hold open the eyelet. Using an awl, open the eyelet hole again if needed.
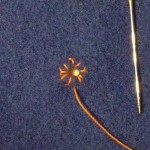
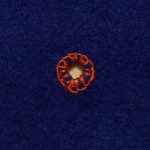
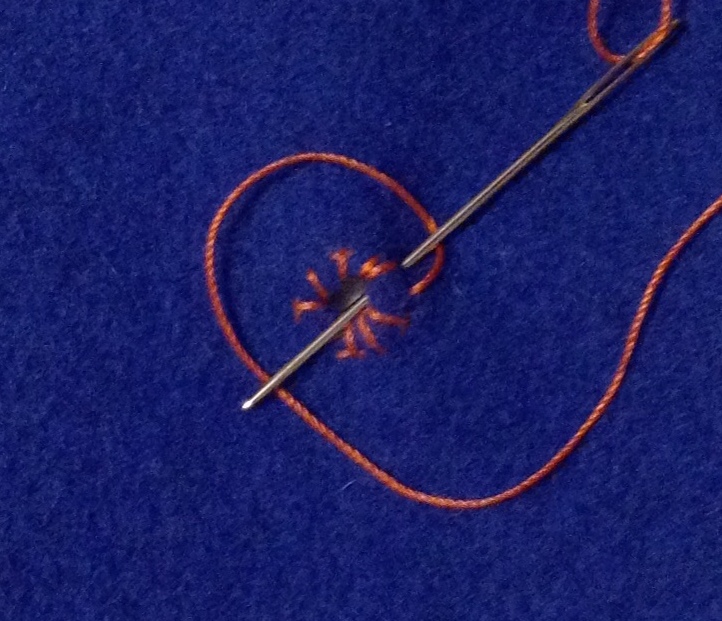
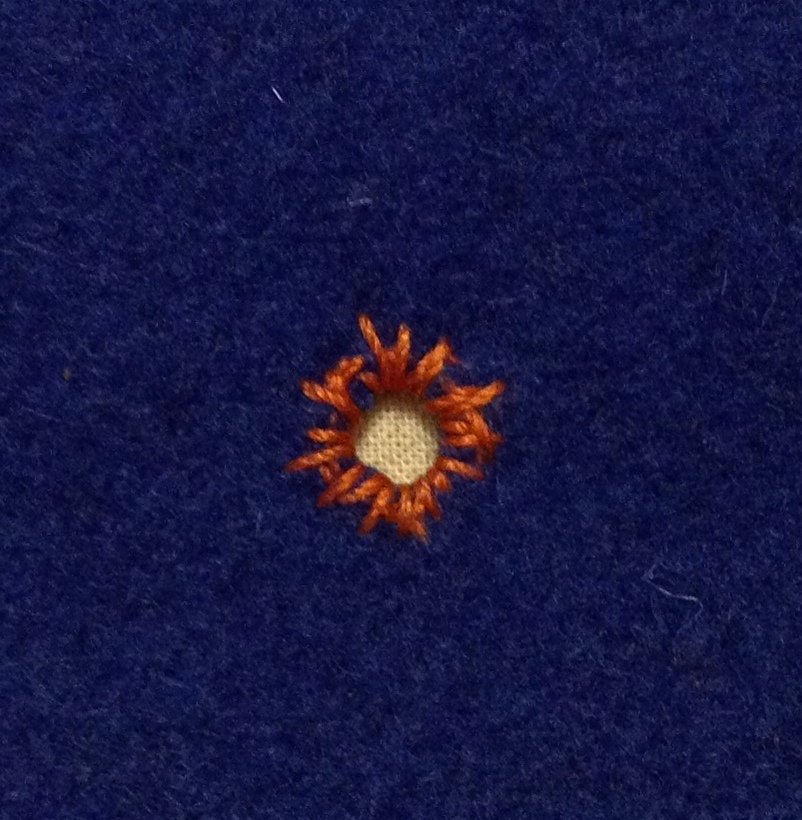
- Wrap the thread around the eyelet. Go down through the fabric and come up through the hole with the needle keeping the tread under your needle. Pull the needles and thread away from the eyelet to tighten the stitch. Repeat all the way around. You do not need to do a lot of stitches. Too many stitches will weaken the fabric and can cause the eyelet to rip out when under tension.
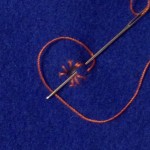
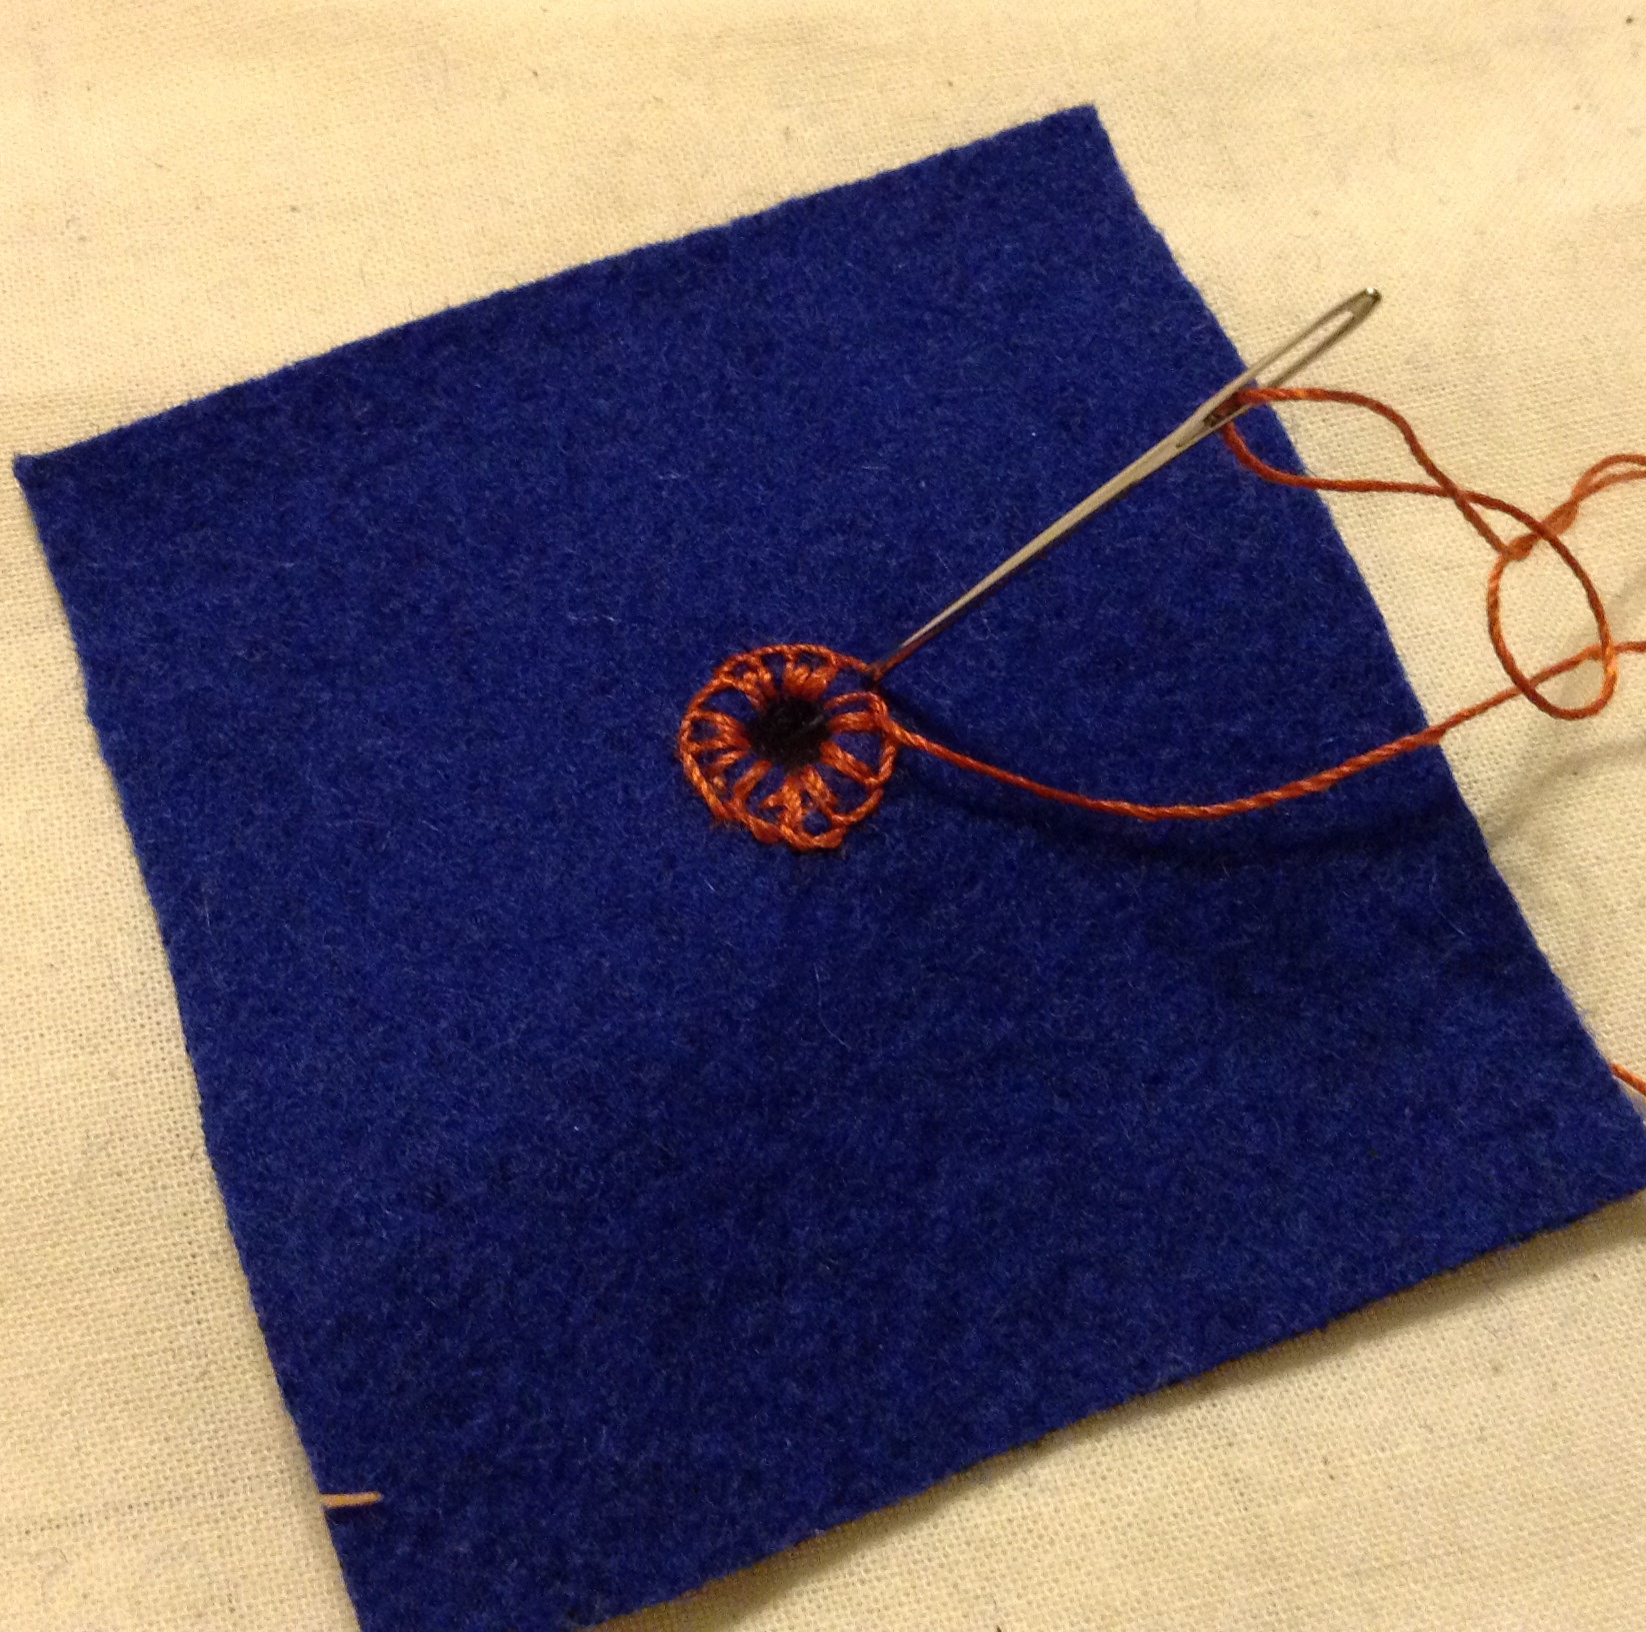
- When you get all the way around, go down through the fabric through the first stitch.
- On the back side of the eyelet, thread the thread end through the stitches all the way around the eyelet.
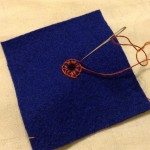
- Trim the threads.
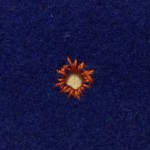
- Admire your eyelet!
If you have any questions, please comment below and I will try to help. If you have more information on this subject, I would love to hear from you too!
Bibliography
Arnold, Janet. Patterns of Fashion: The Cut and Construction of Clothes for Men and Women, C1560-1620. London: Macmillan, 1985
Landini, Roberta Orsi, and Bruna Niccoli. Moda a Firenze, 1540-1580: Lo Stile Di Eleonora Di Toledo E La Sua Influenza. Firenze: Pagliai Polistampa, 2005