
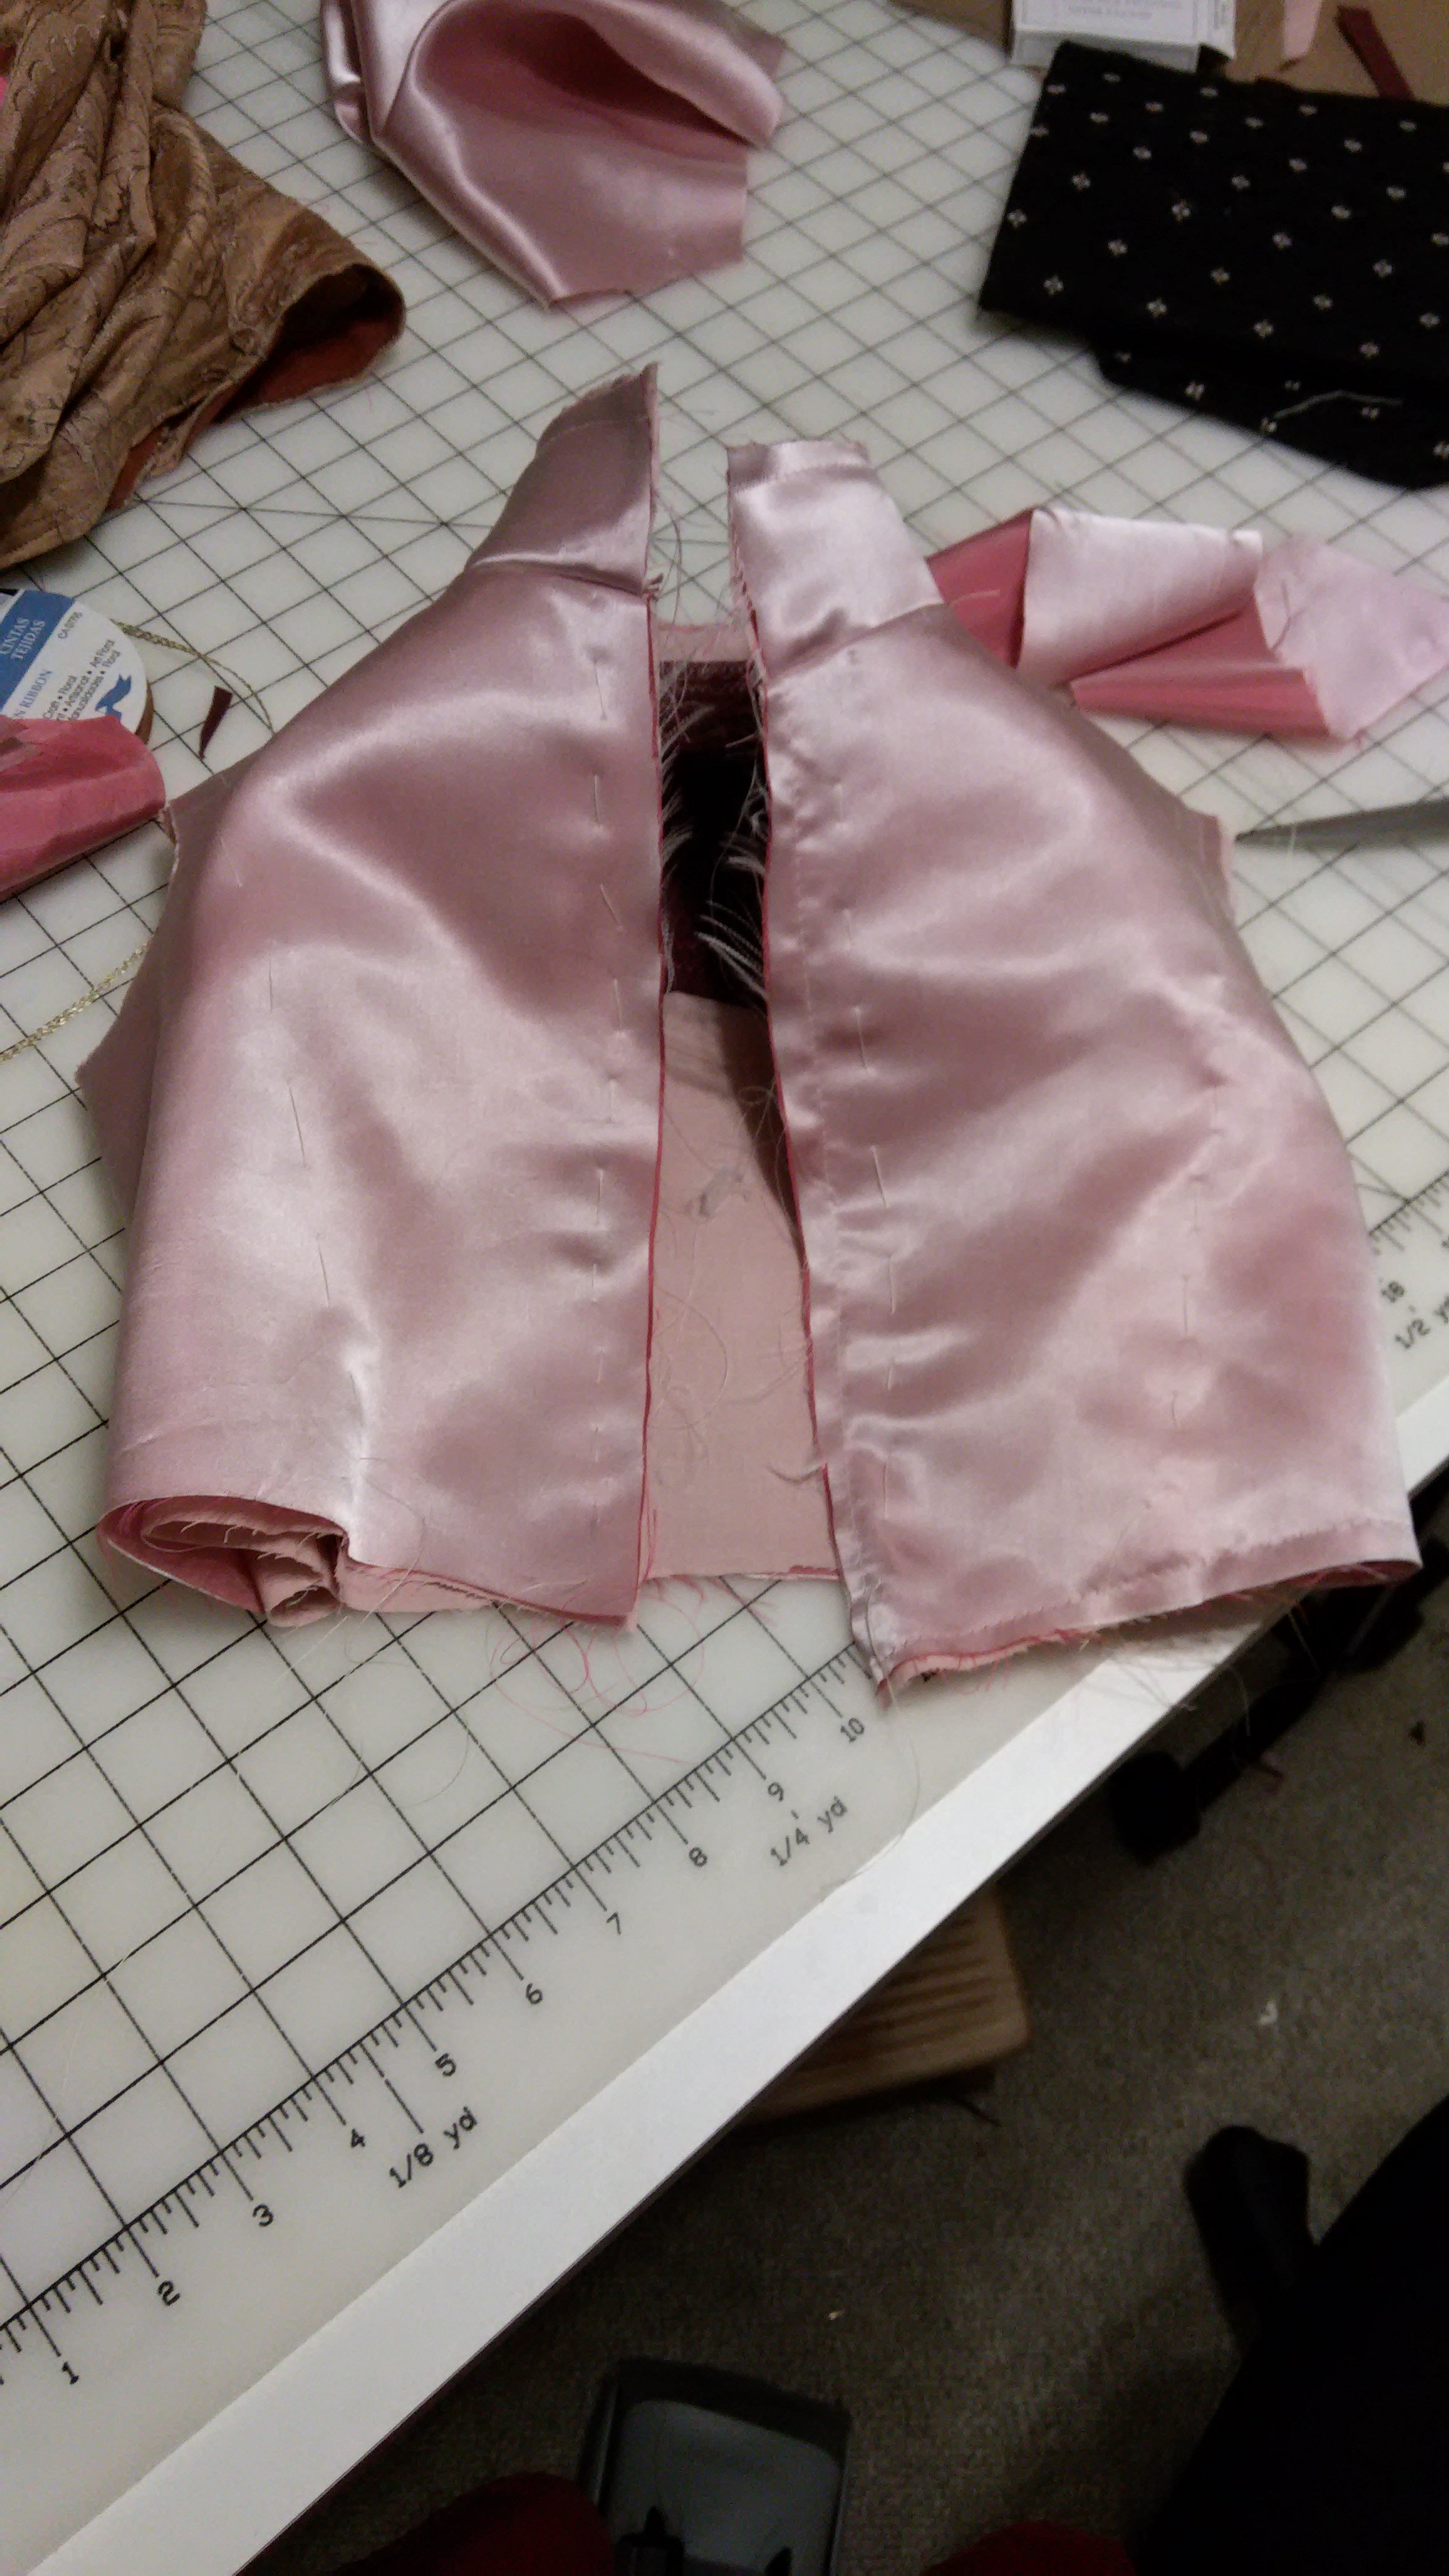
The Veste is complete! I am not sure what kind of fabric the pink is, but Little-Bug loves it. the lining is made from the reverse of the light pink . Silk organza was used in the puffs and linen/cotton blend for the interlining. The main body of it is constructed exactly the same as the white doublet, so I shall not bore you with those details. The skirt panels were cut in the same manner as the underskirt, but since I had enough fabric the side gores are a better shape.
I didn’t have enough fabric to do hanging sleeves like in the Fontana portrait, so I decided to use this as an opportunity to figure out how to make the Baragoni shown in Alessandro Allori’s portrait of Maria de Medici.
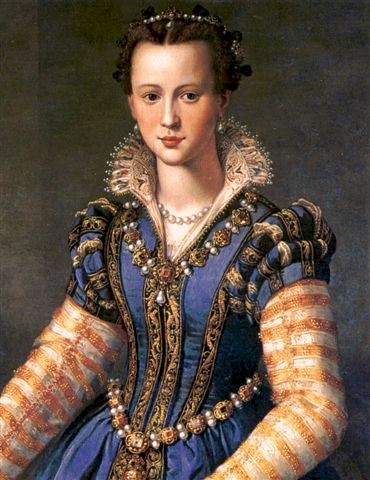
Maria de Medici, By Alessandro Allori
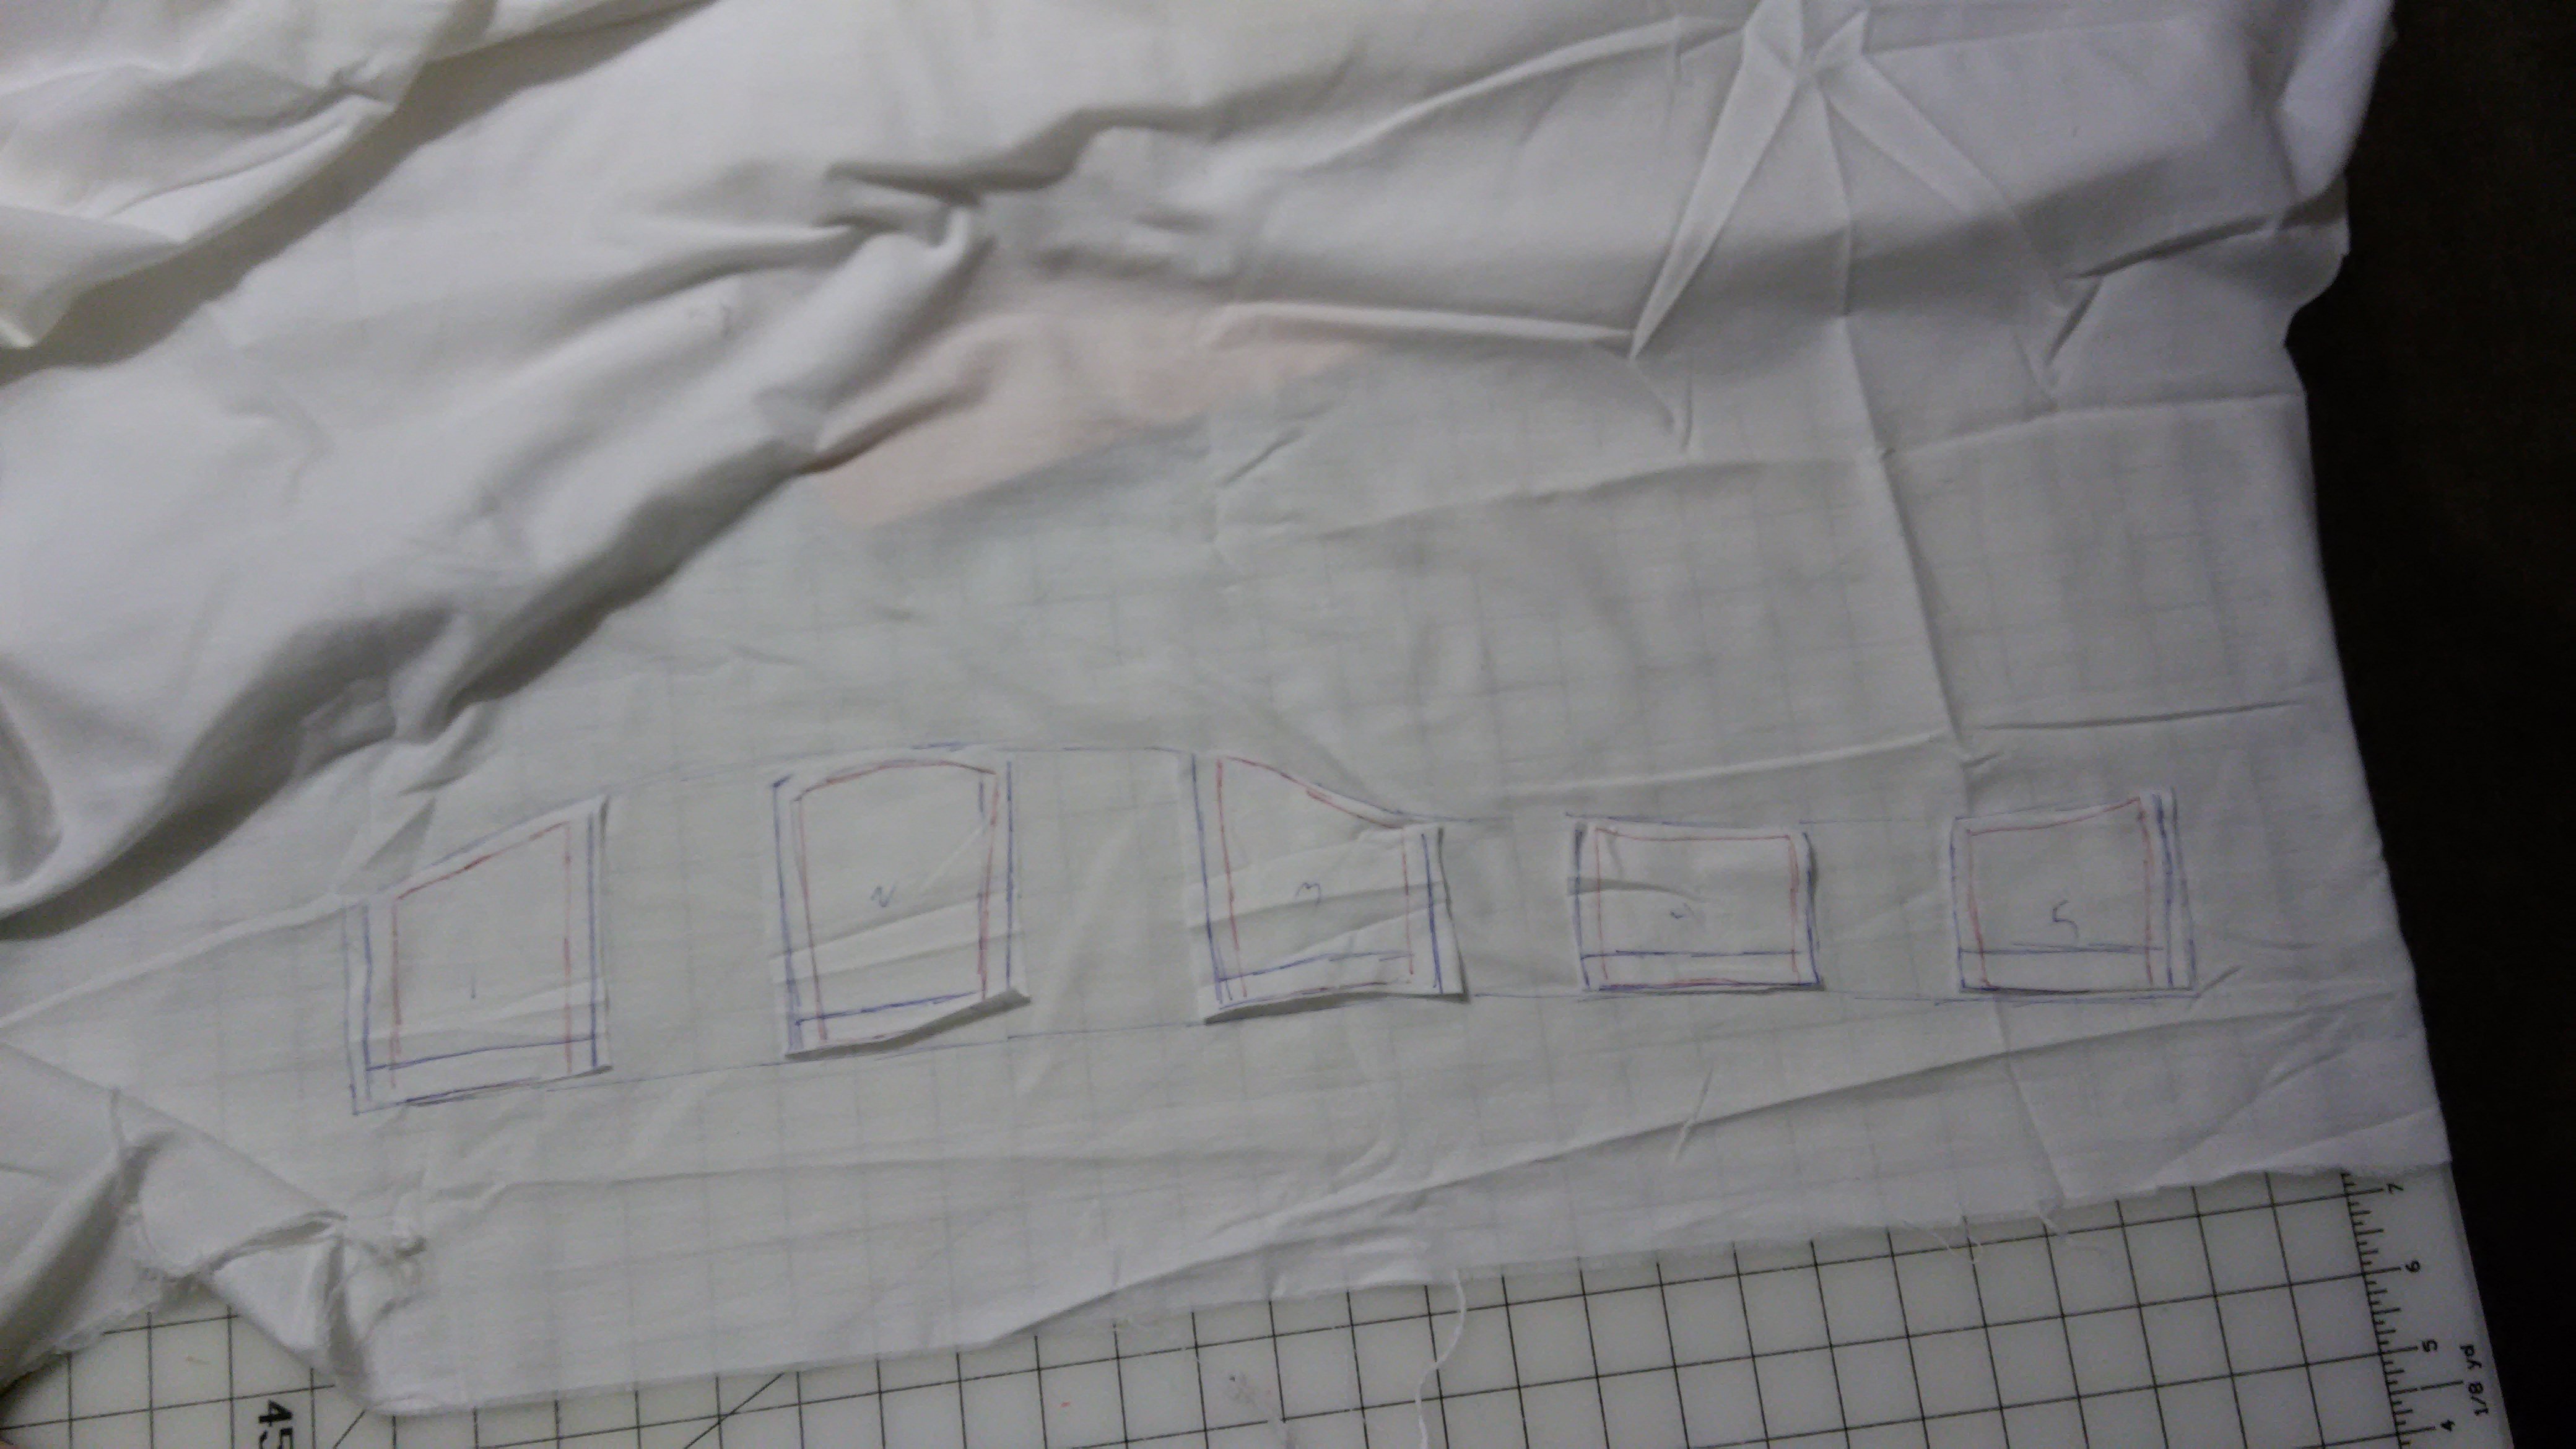
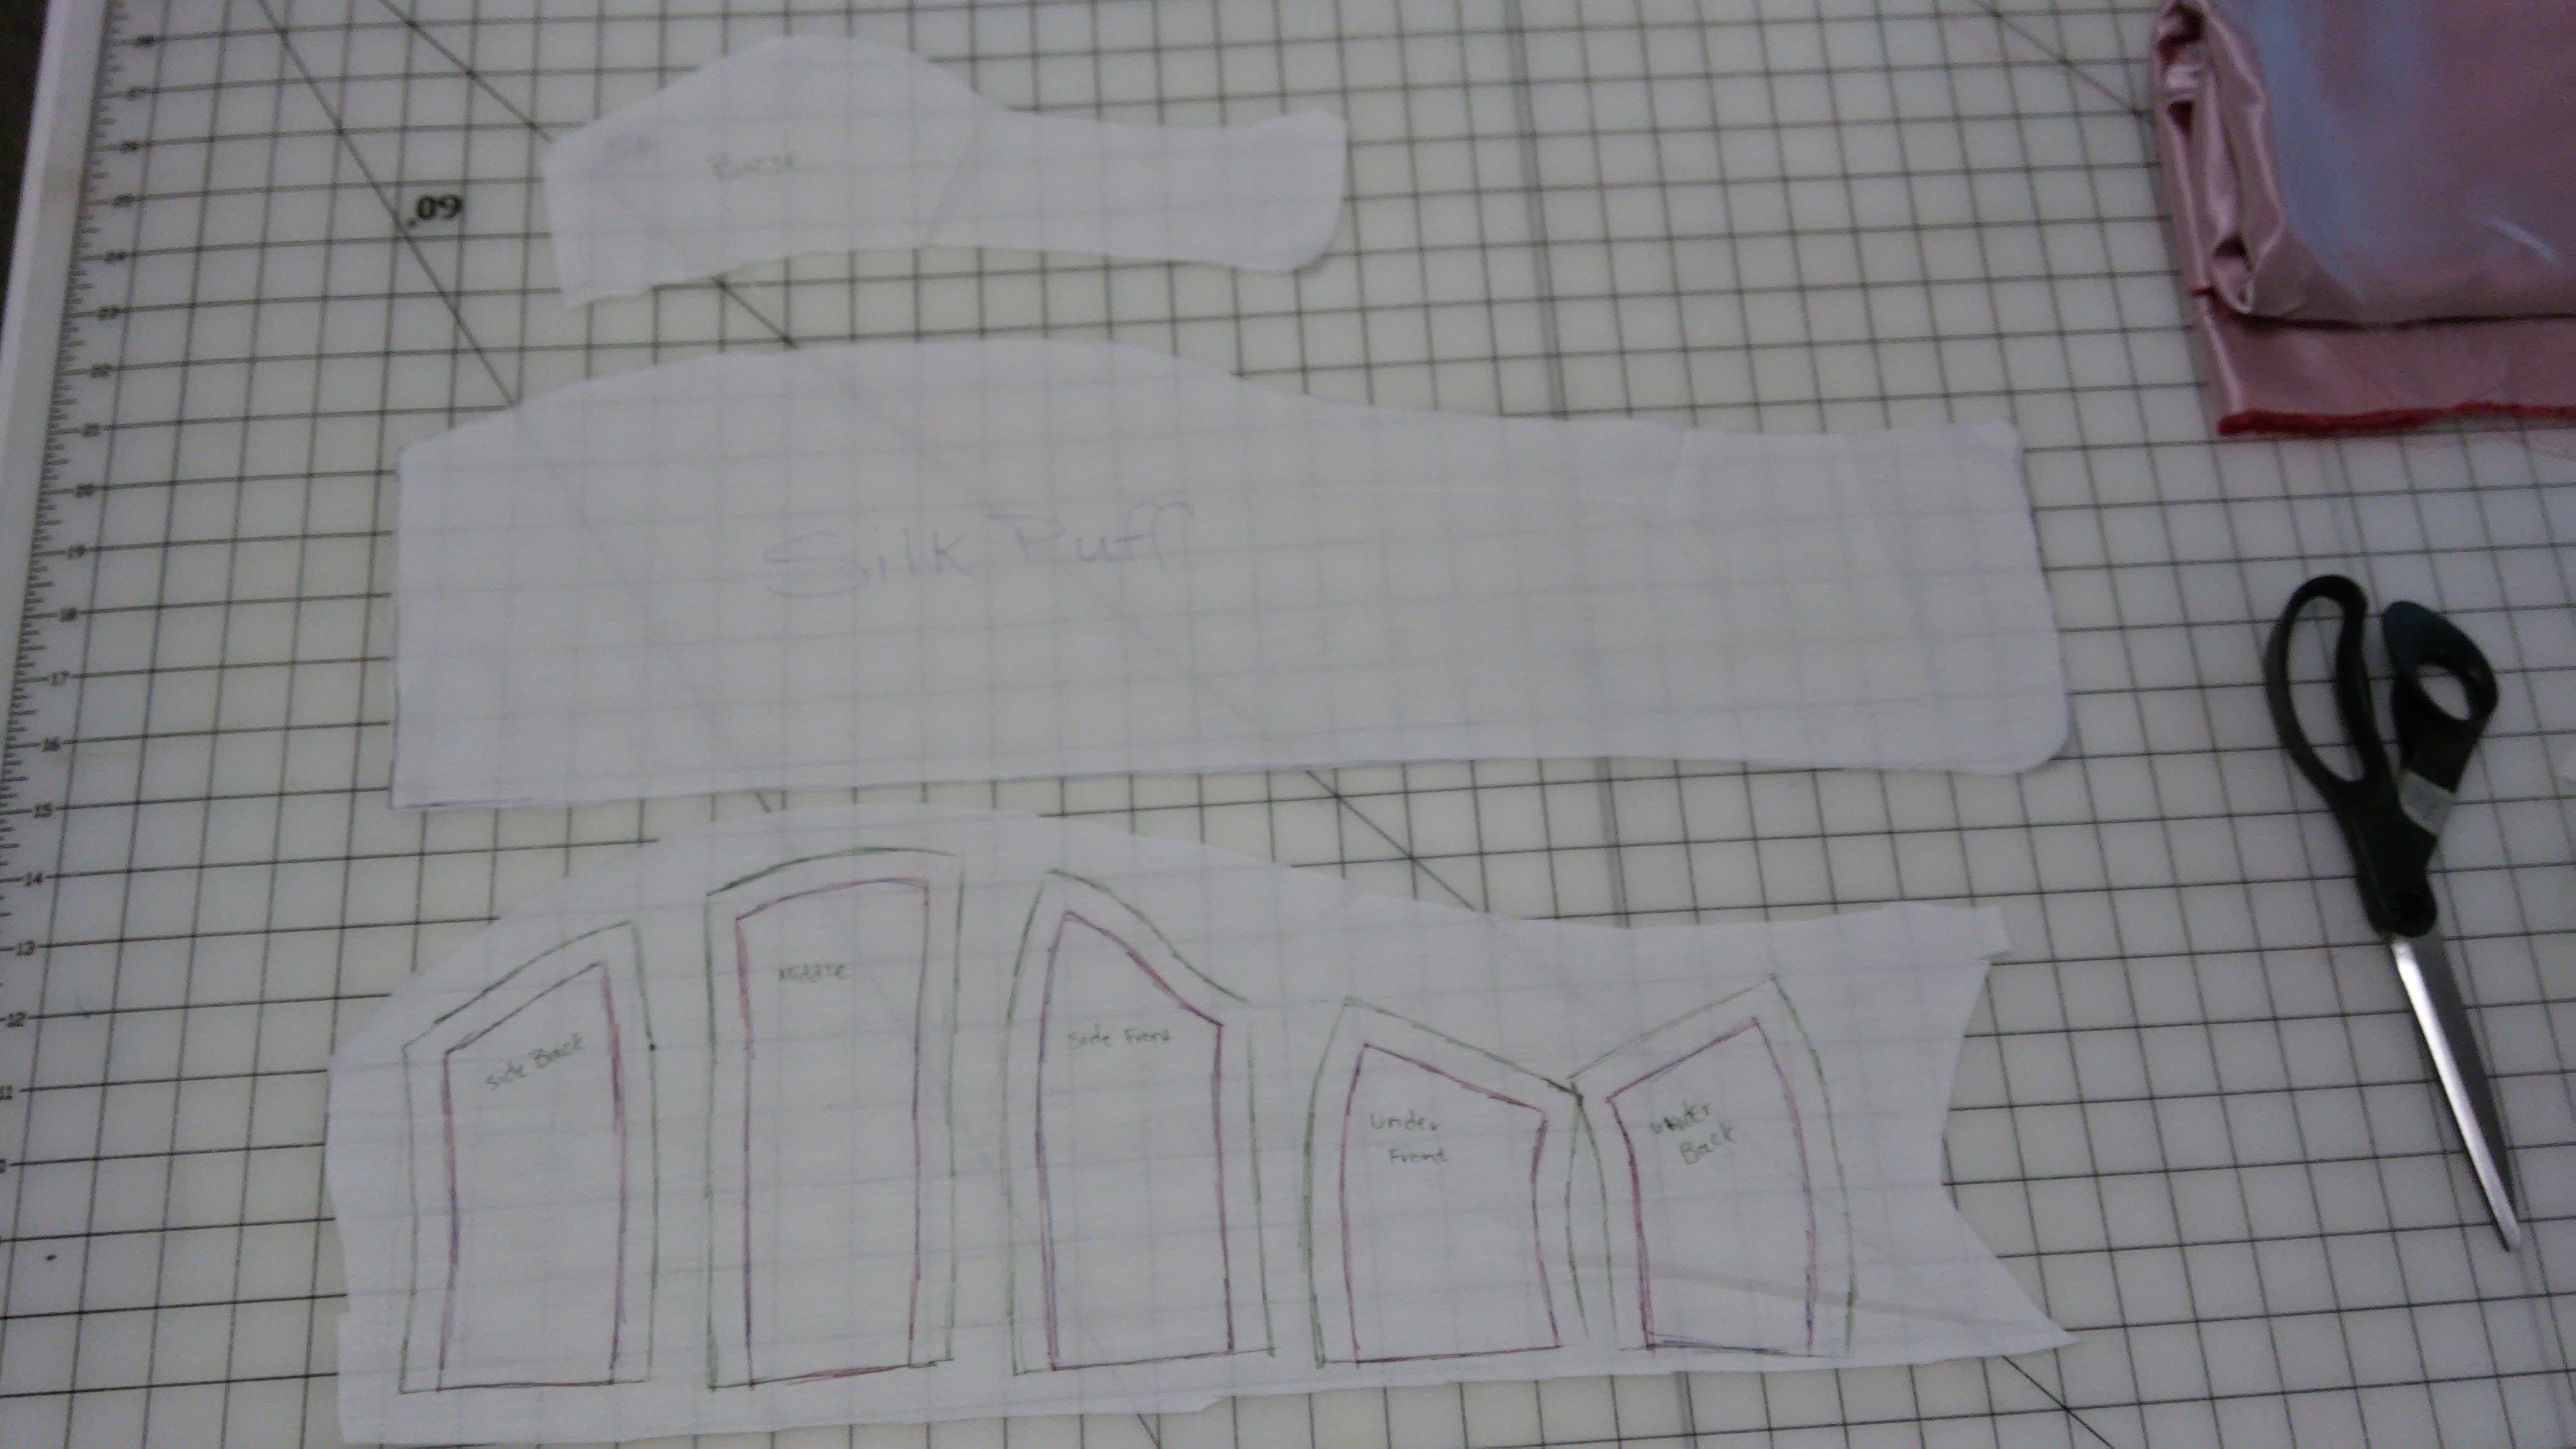
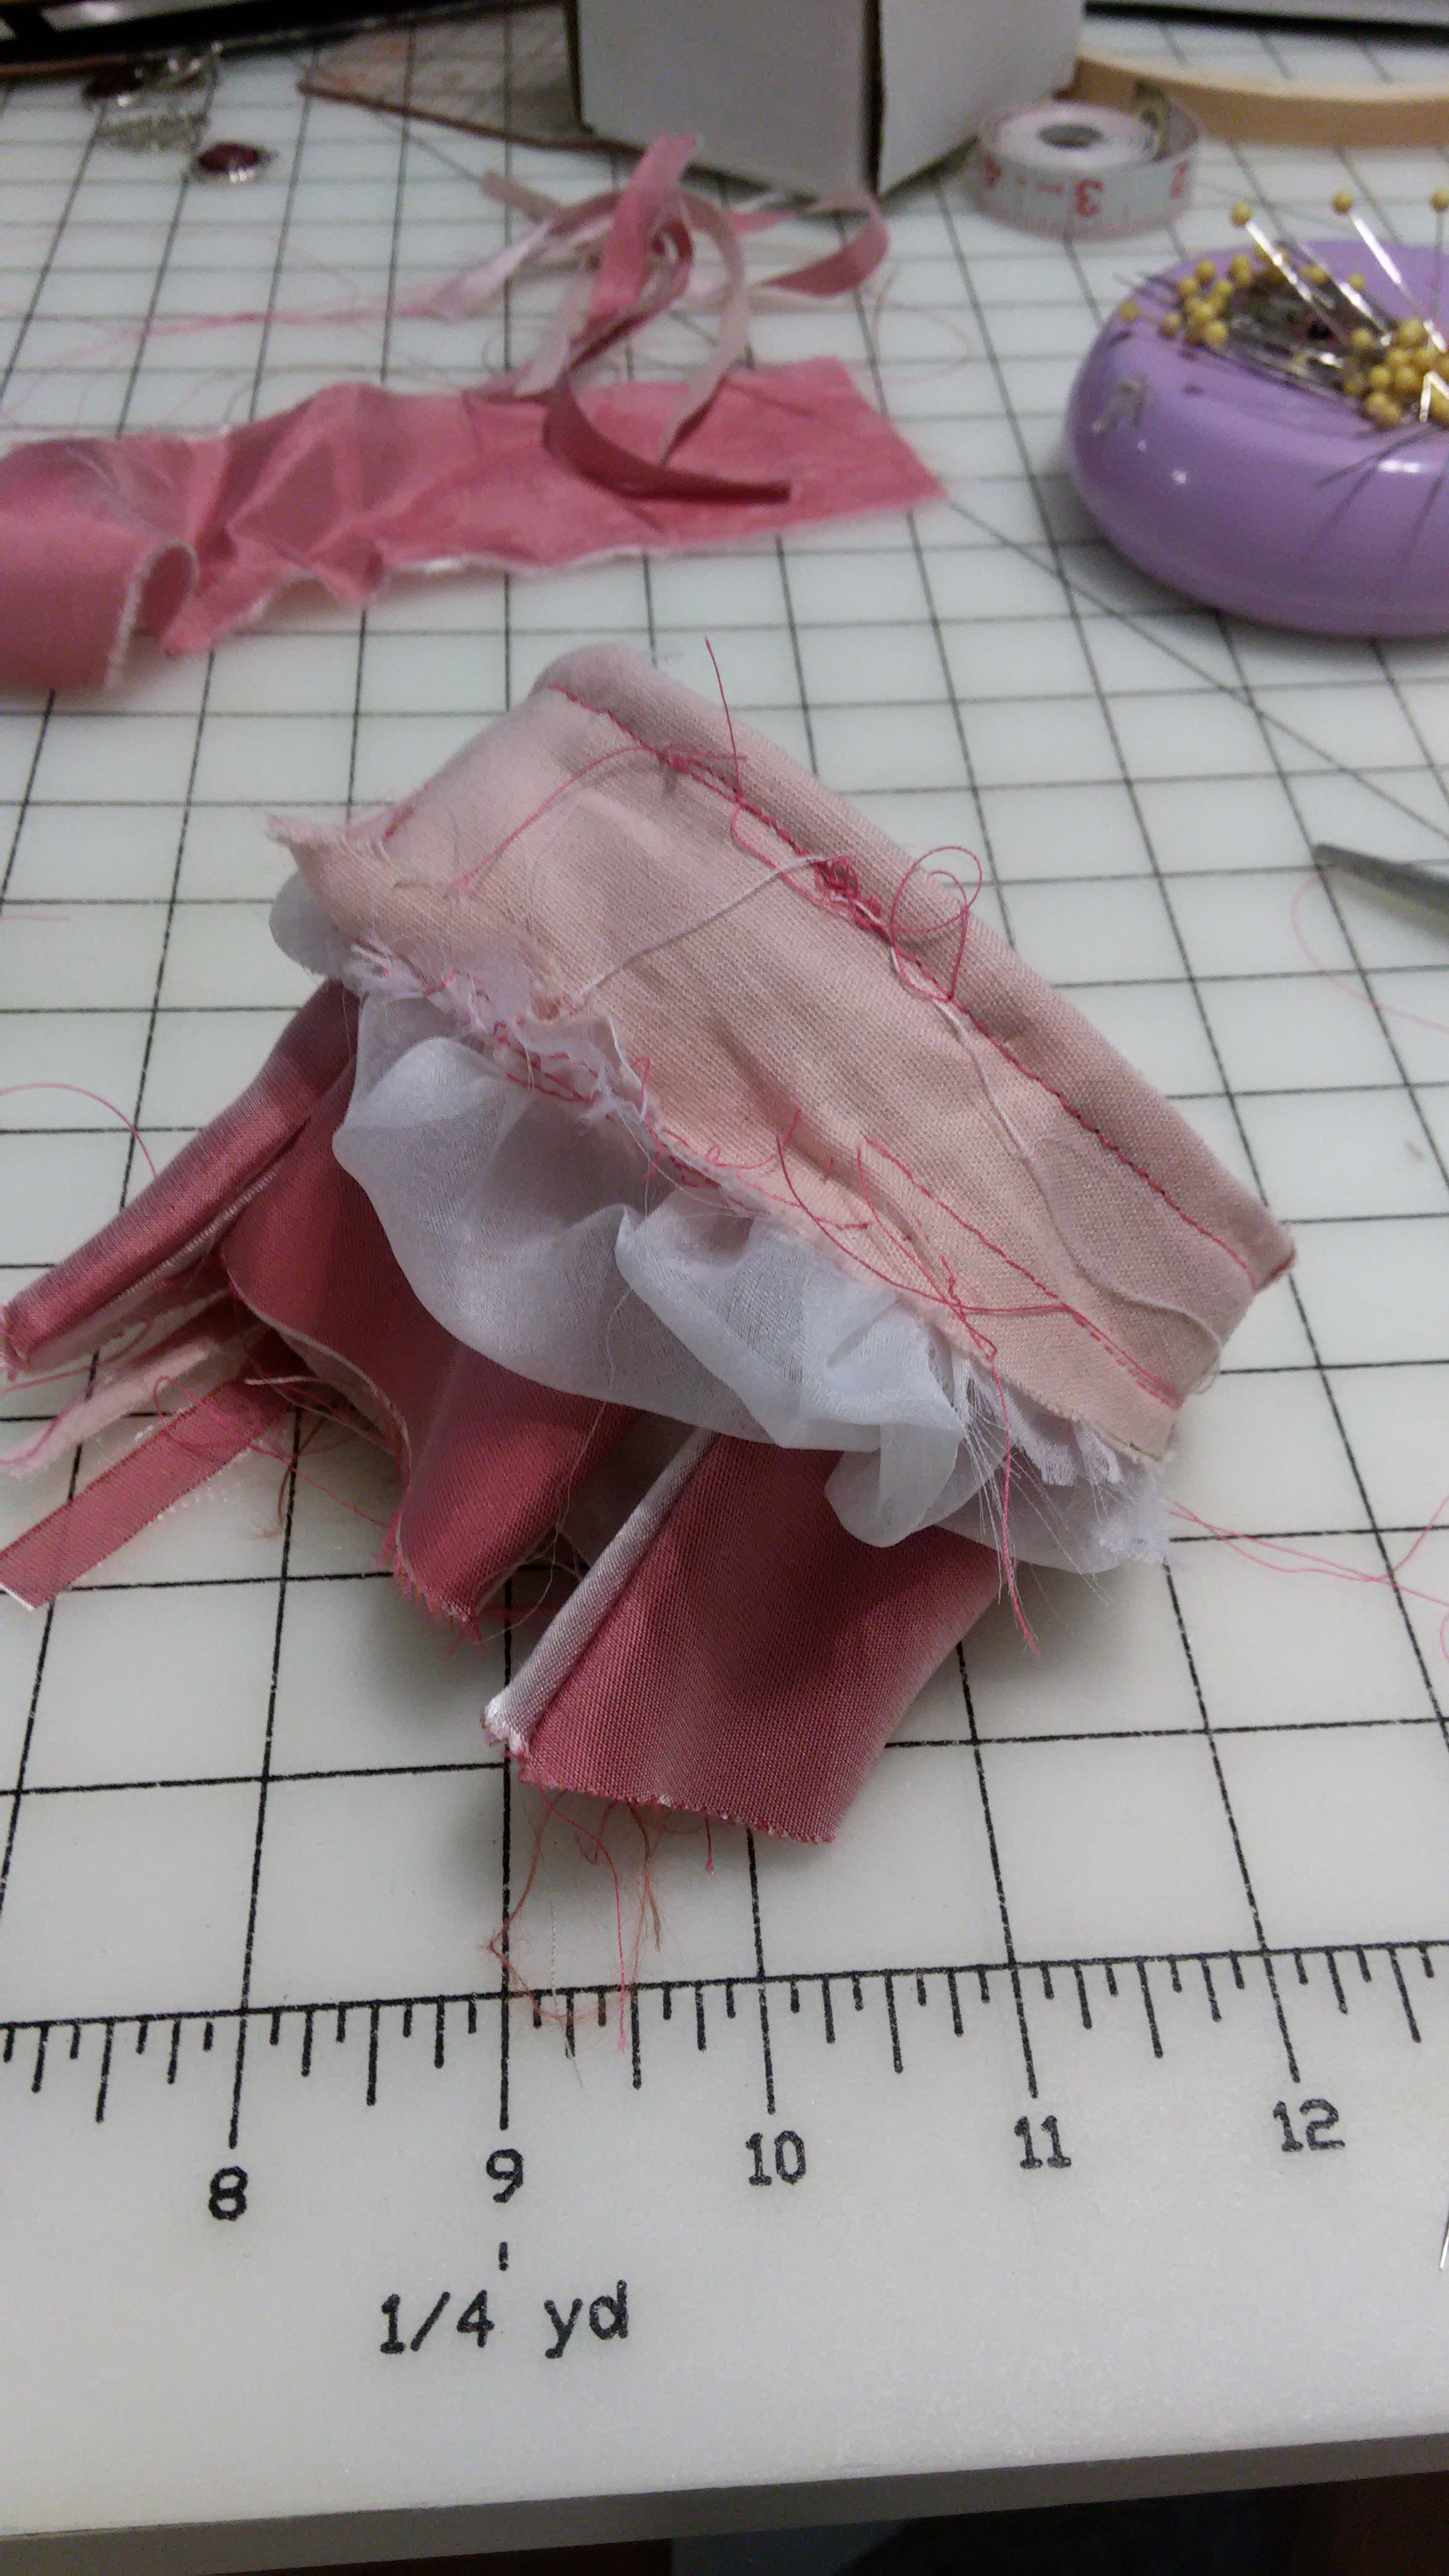
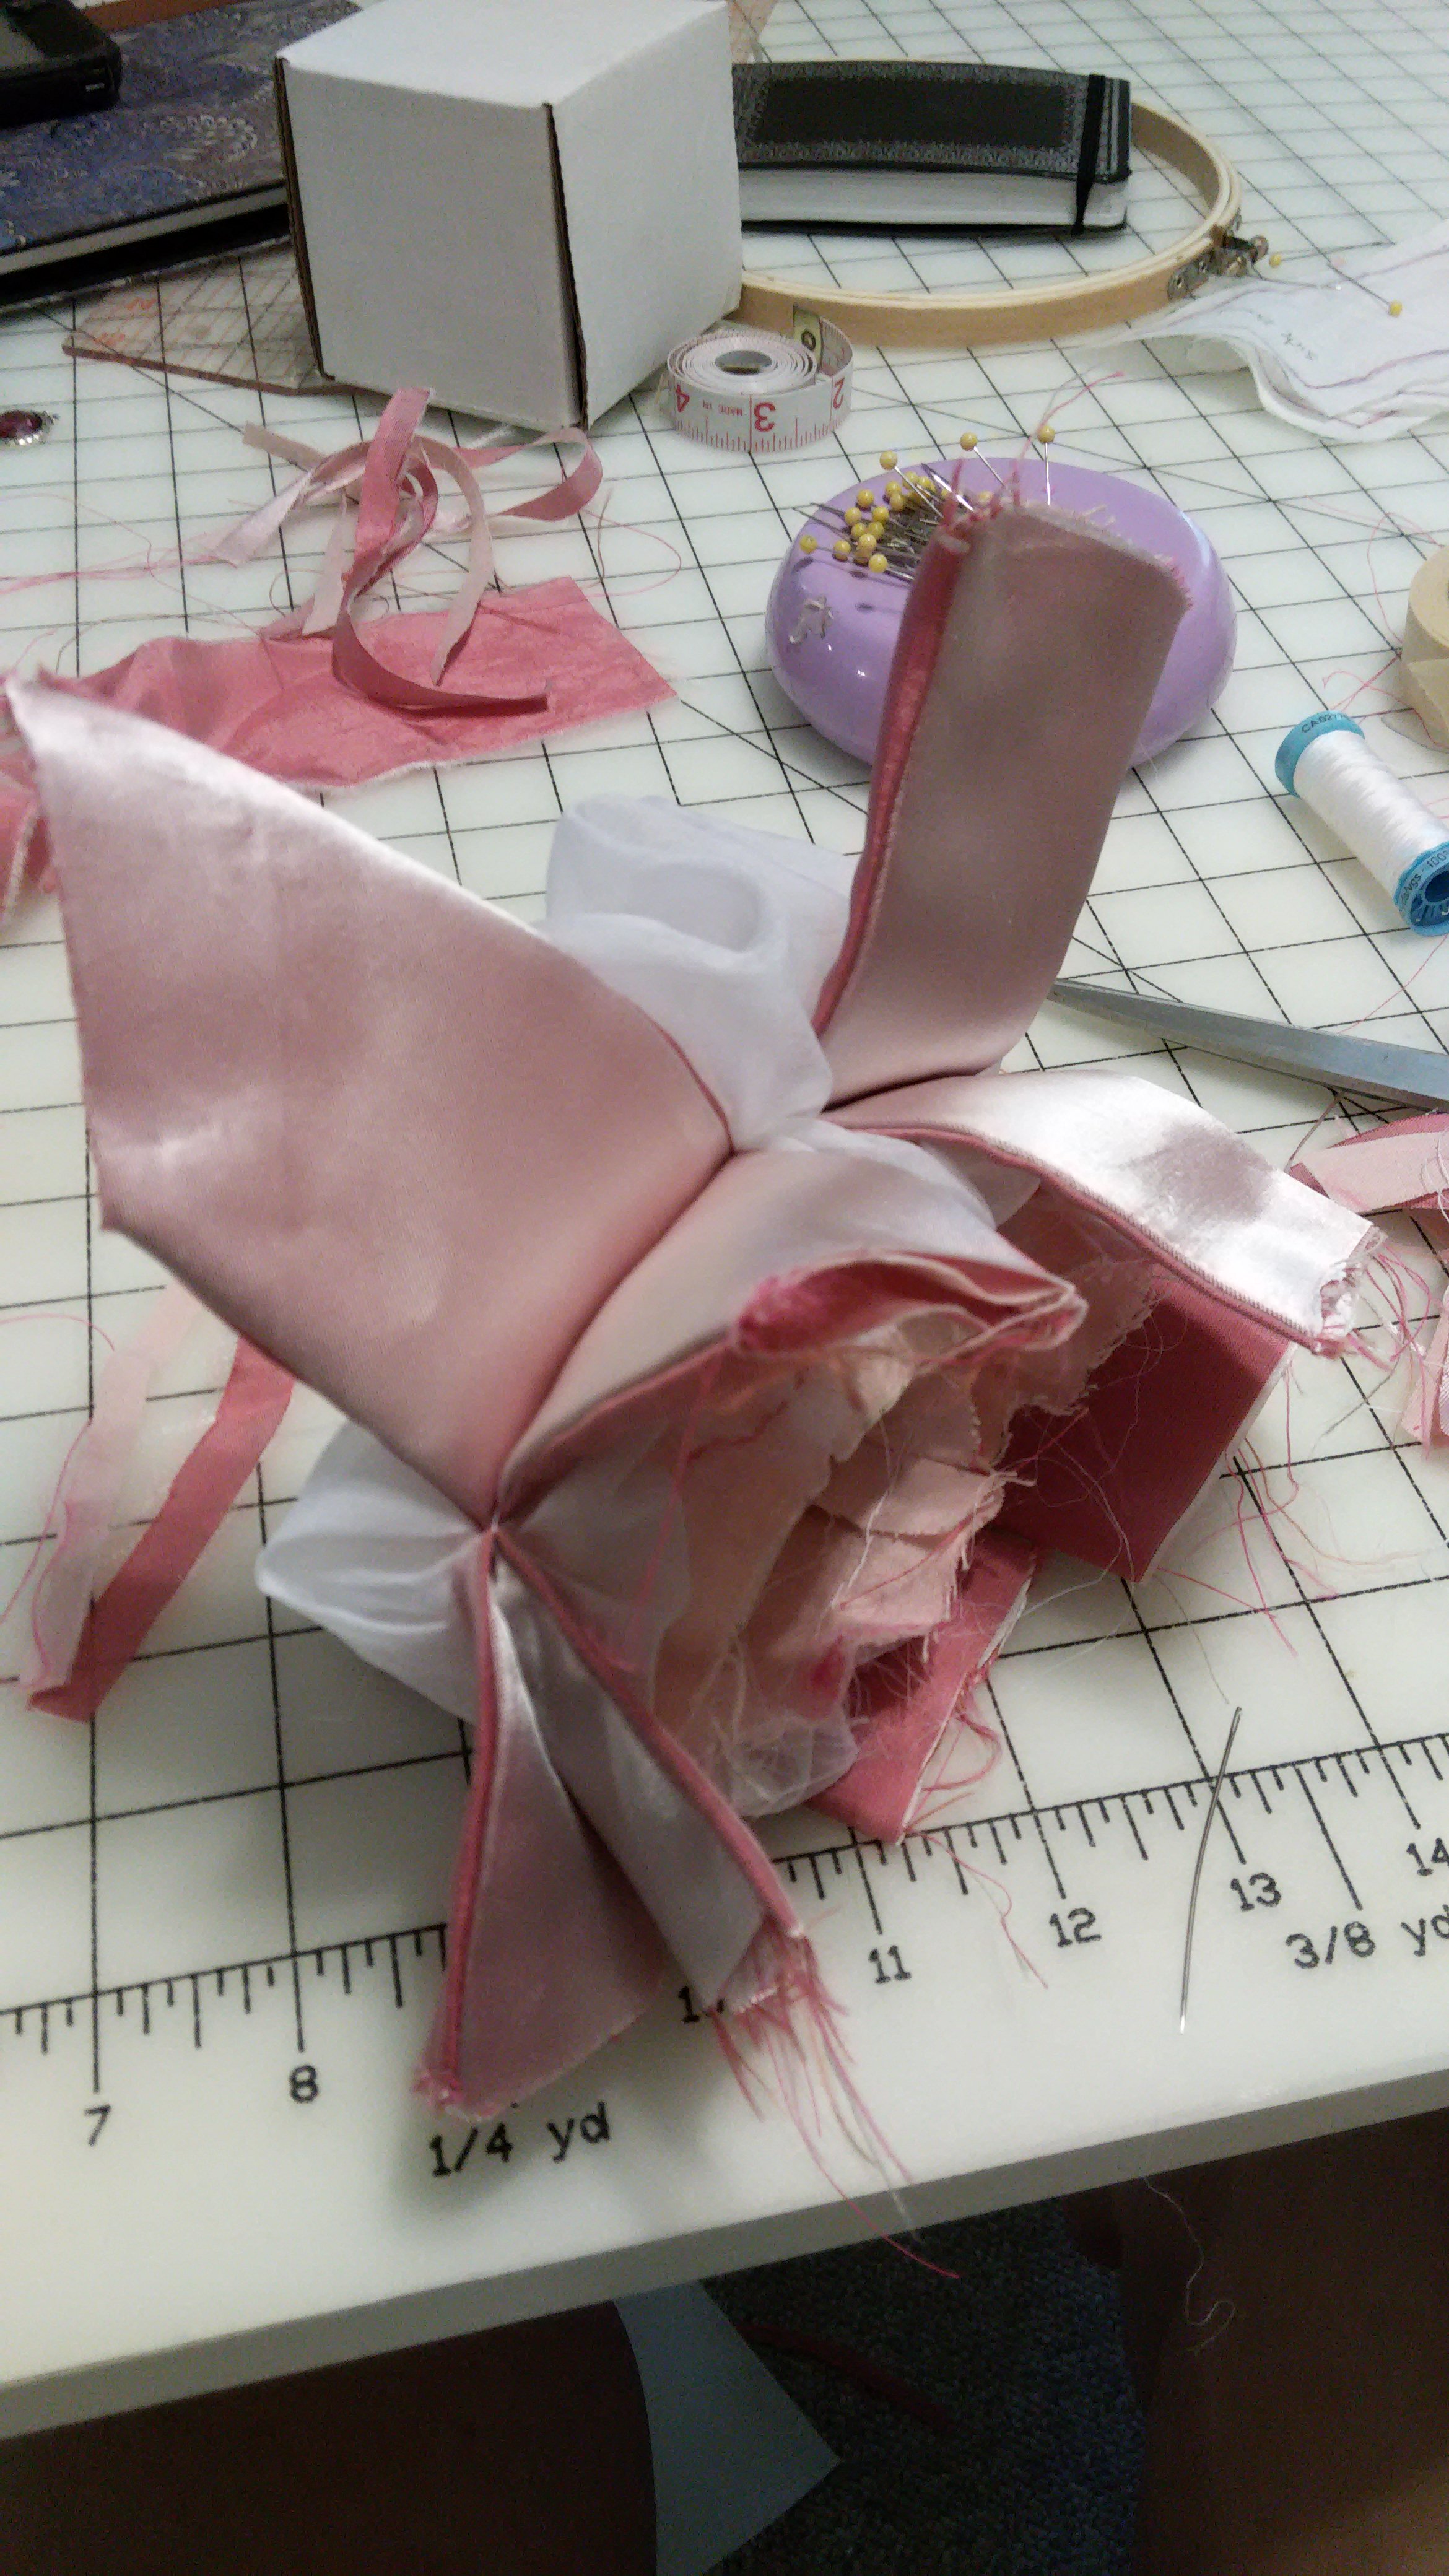
I started with a base for the sleeve taken from the top of the full sleeve of the white doublet. I stashed and spread the base shape to create panes and the silk poofs.
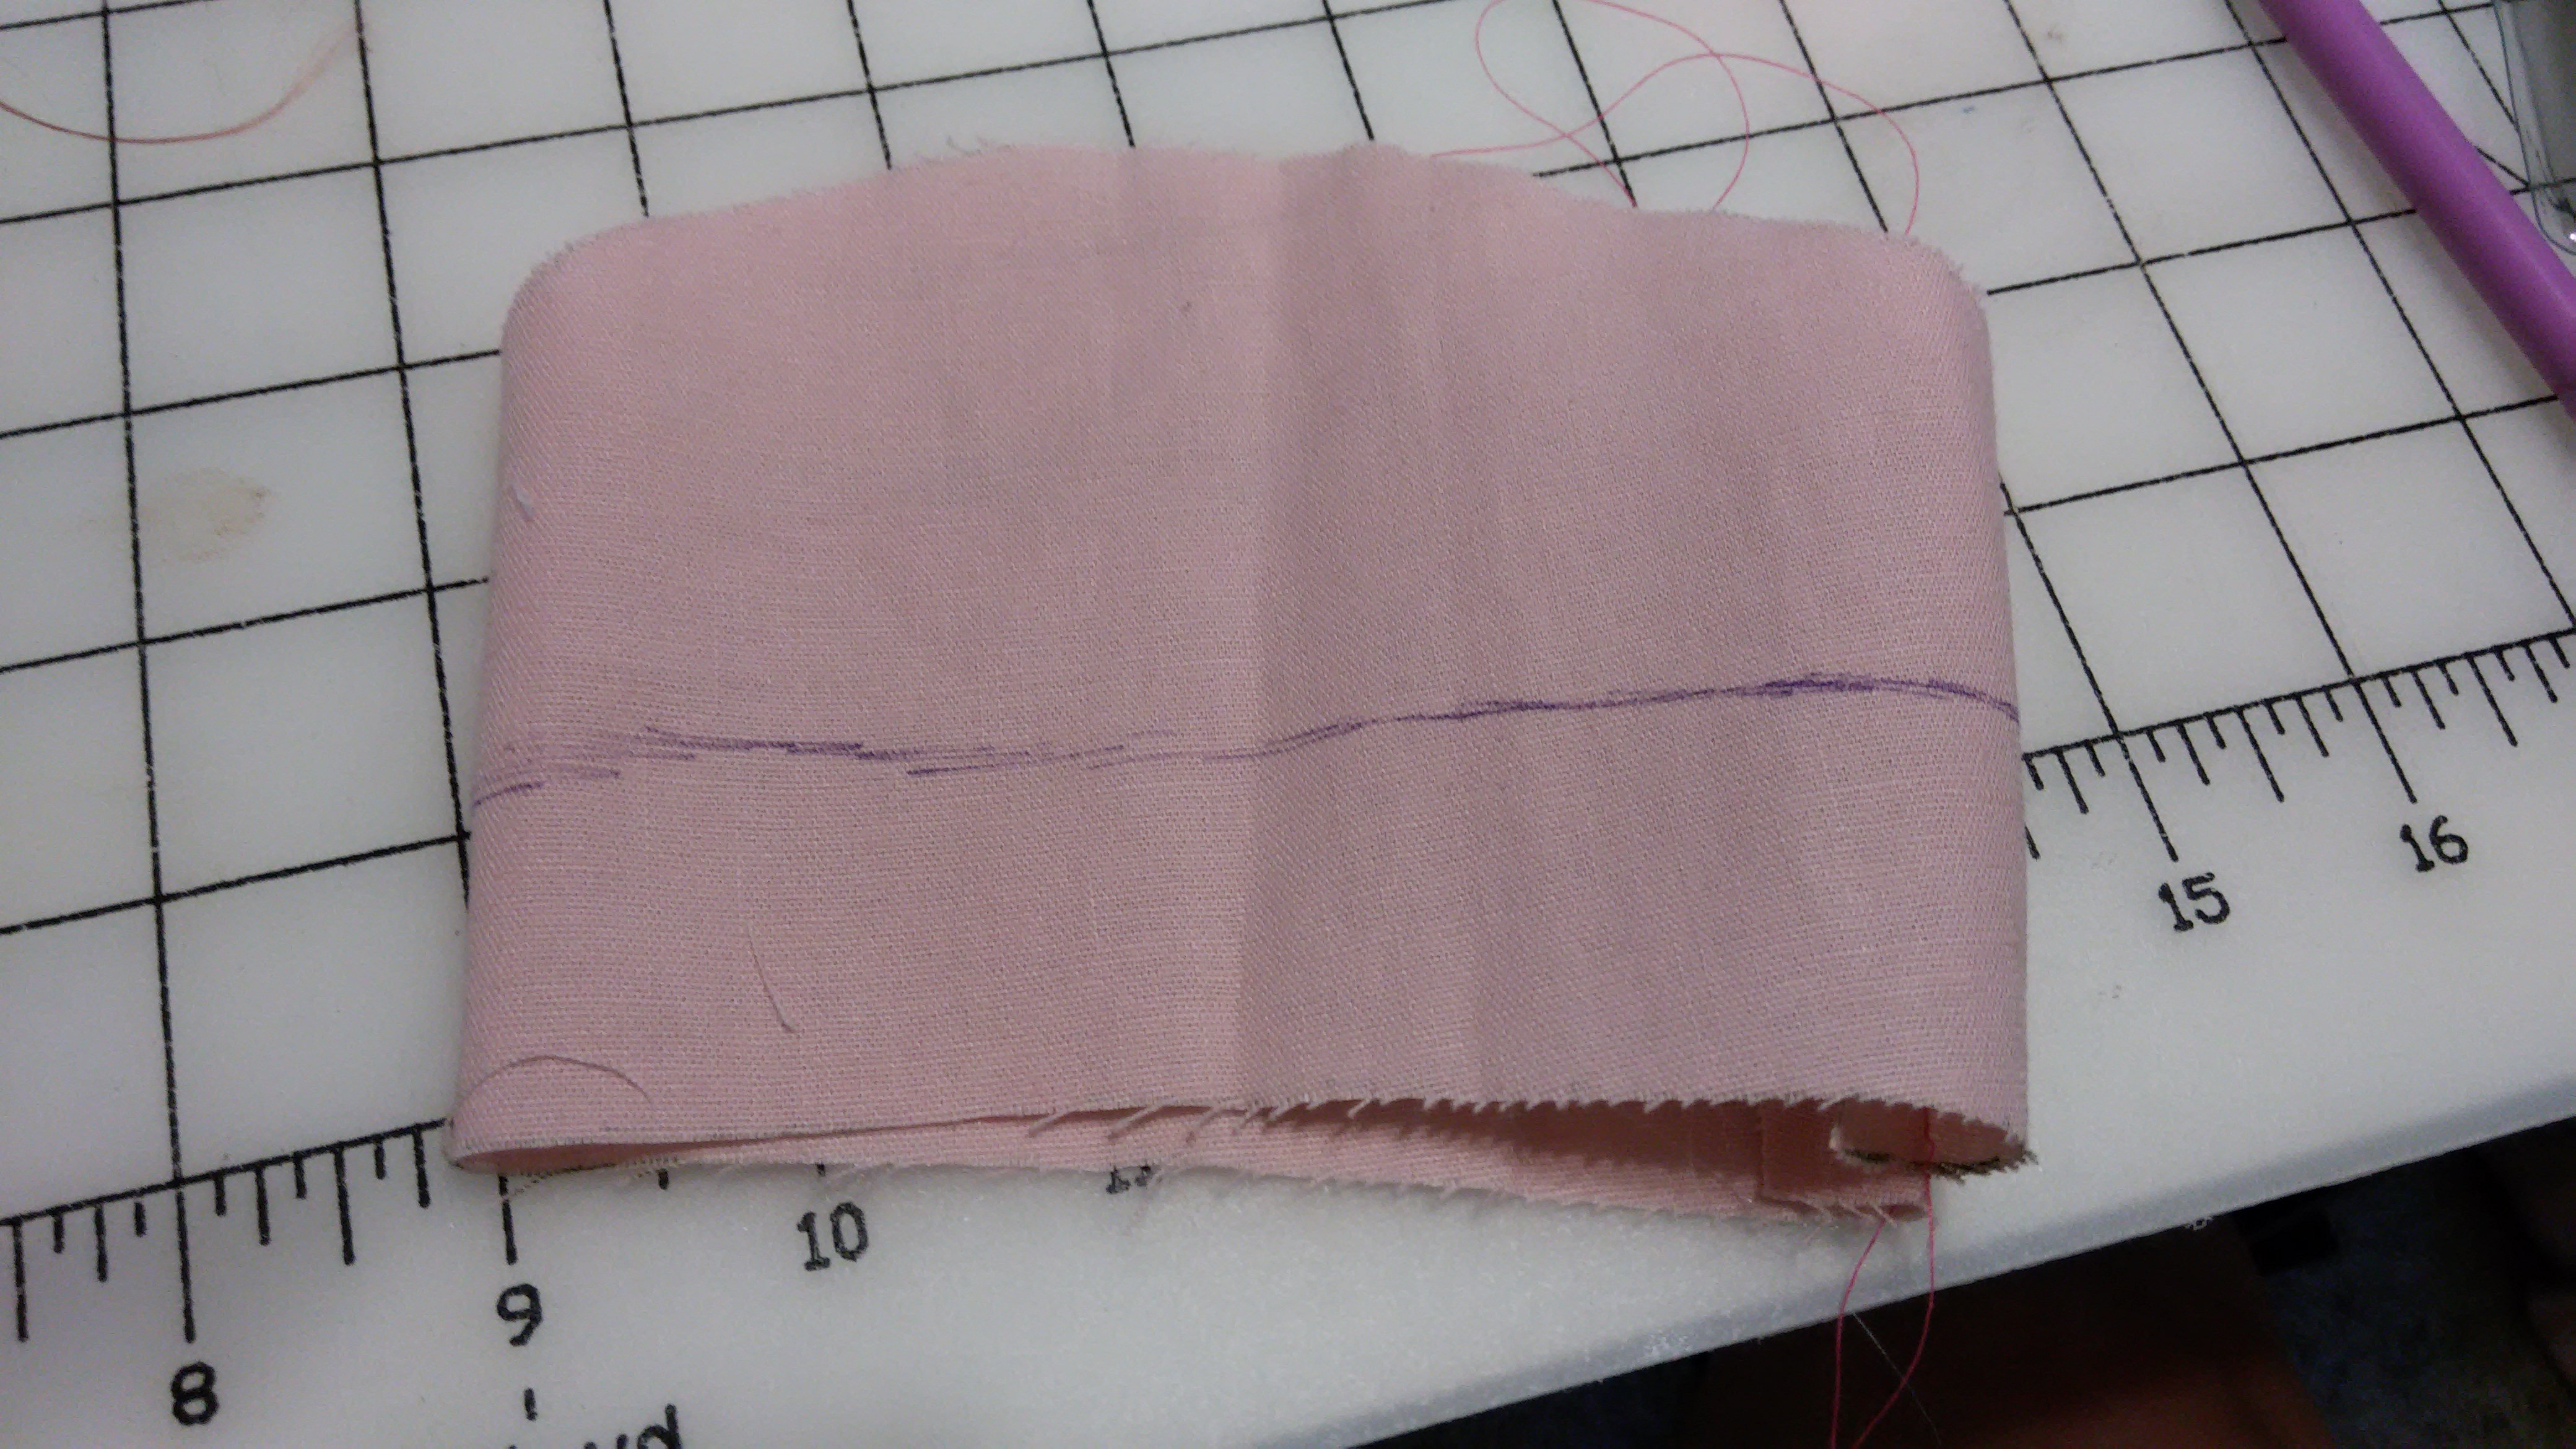
First I sewed up the seam on the silk puffs and the base. Hind sight being 20/20, if I do this type of baragoni again, I will construct it flat then sew up the seam. I marked a line where I wanted to tack down the silk puff.
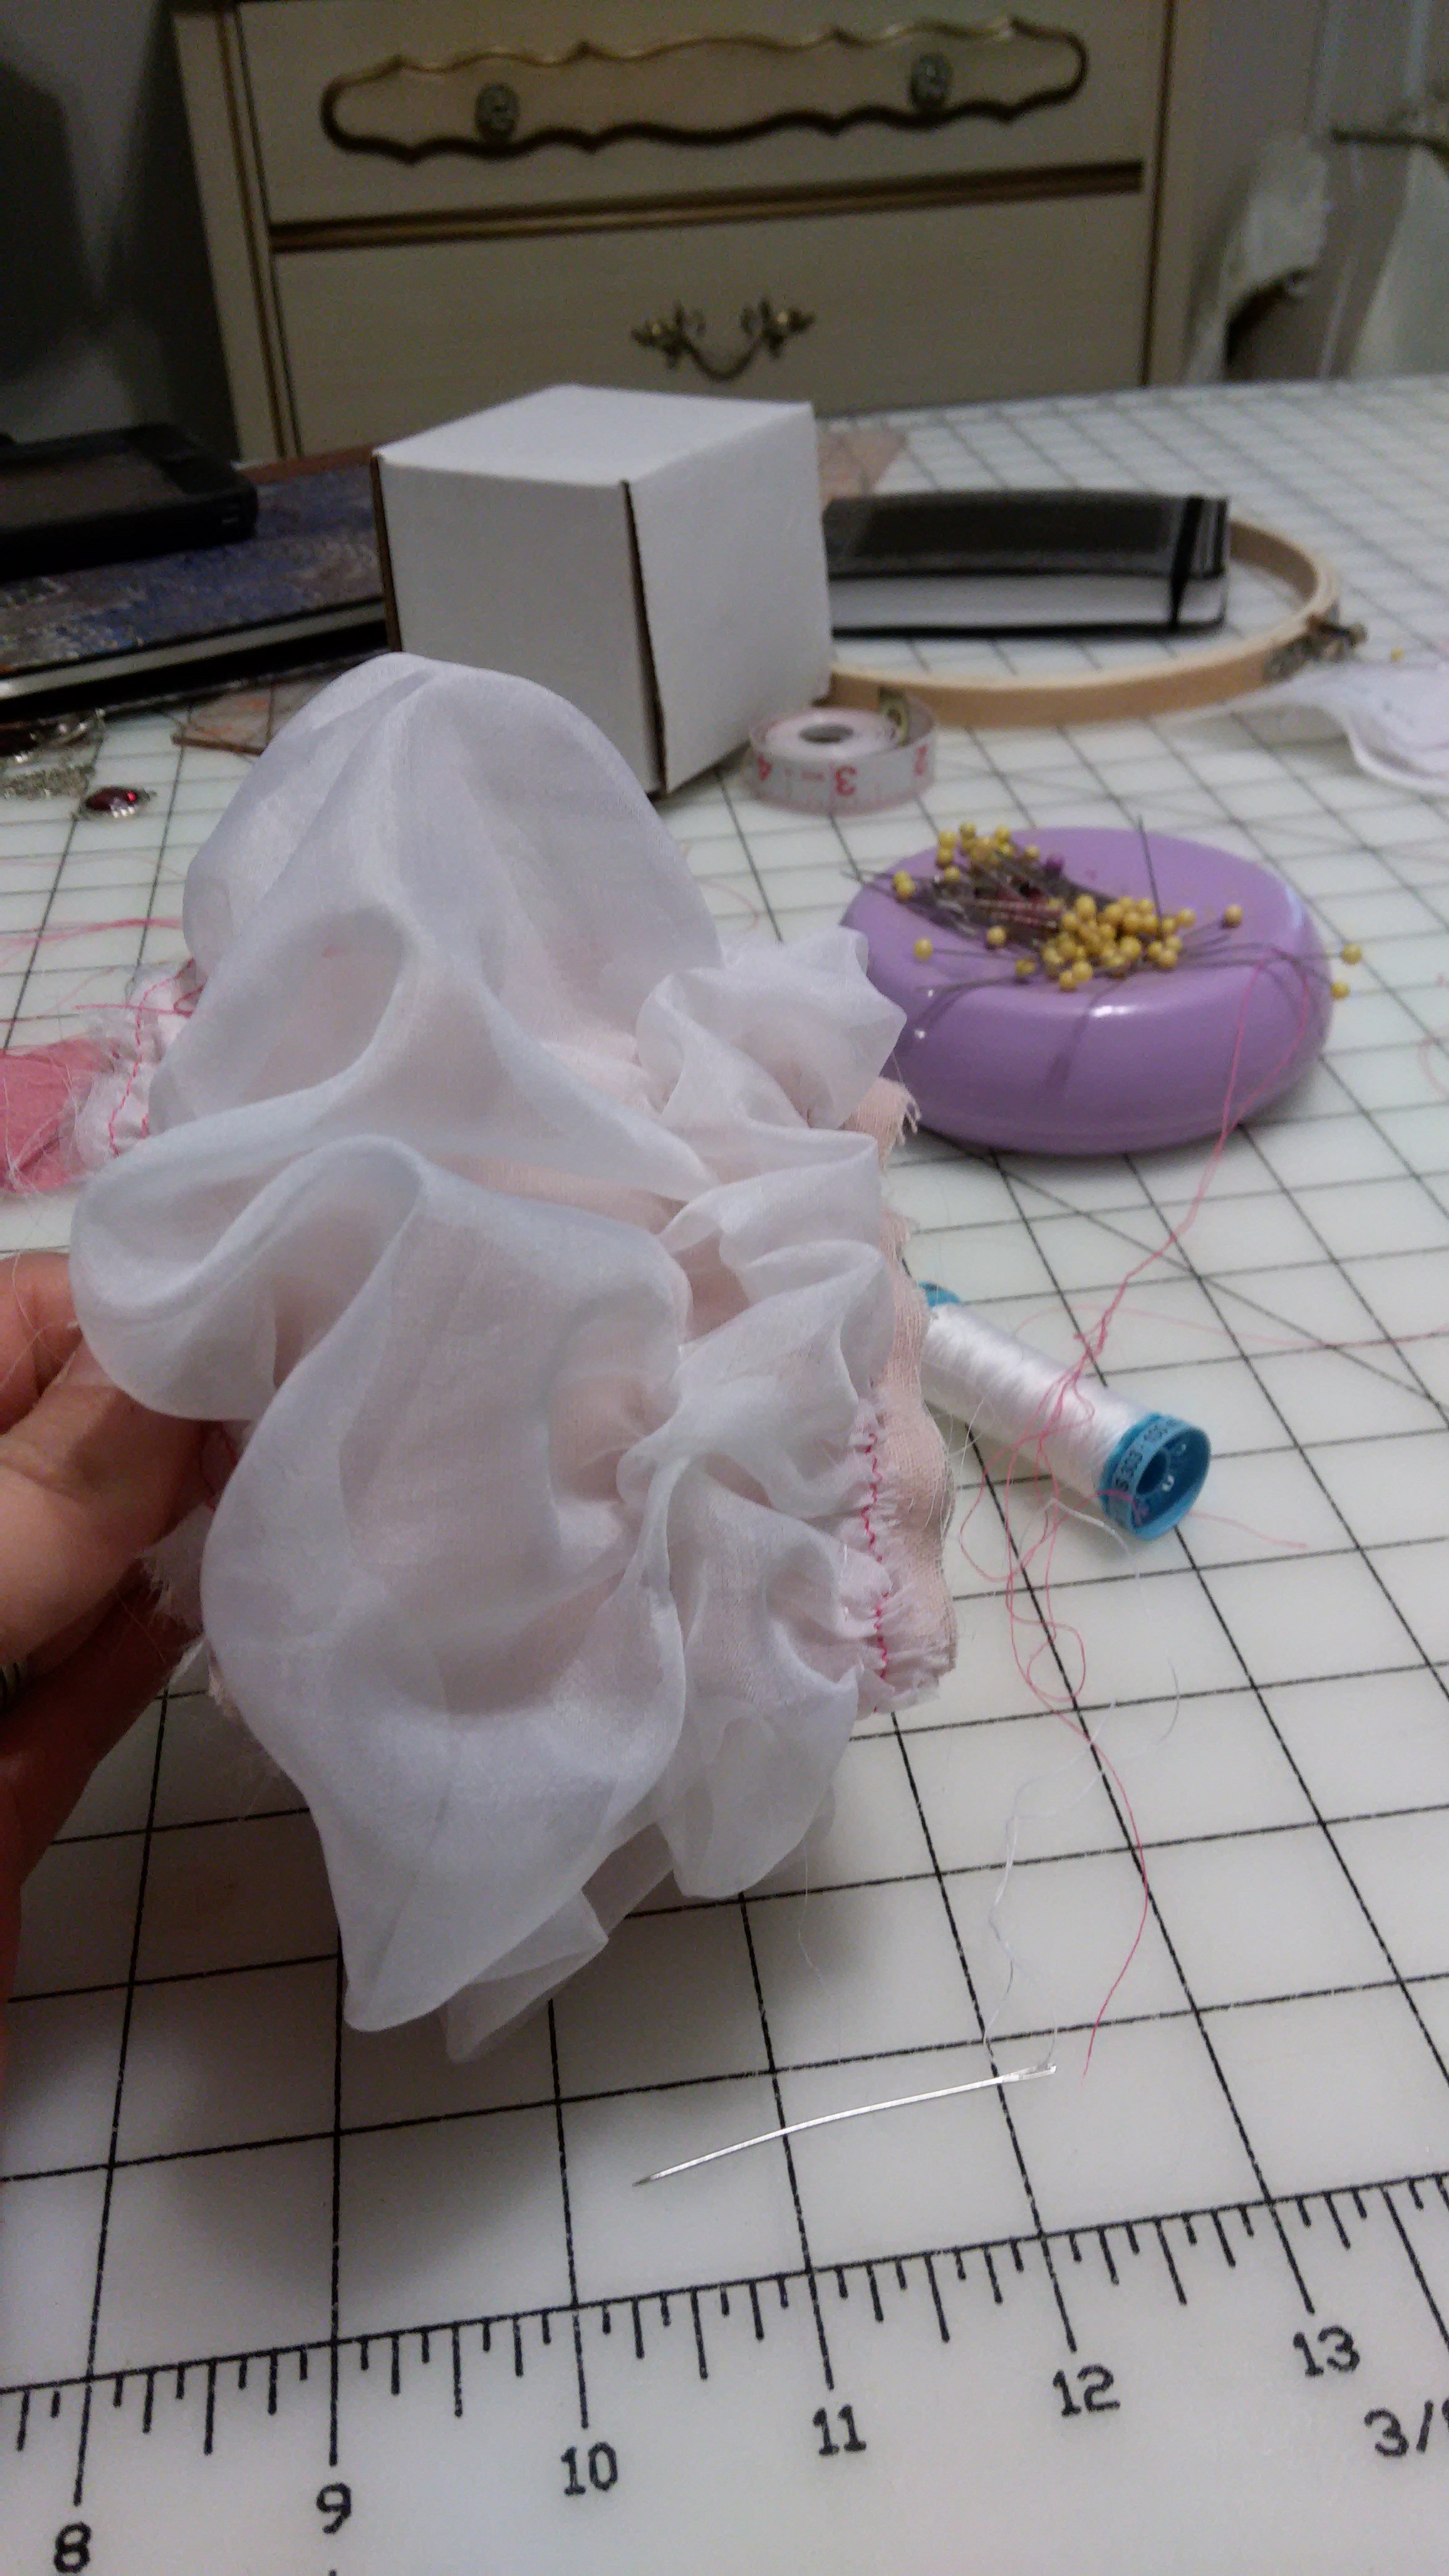
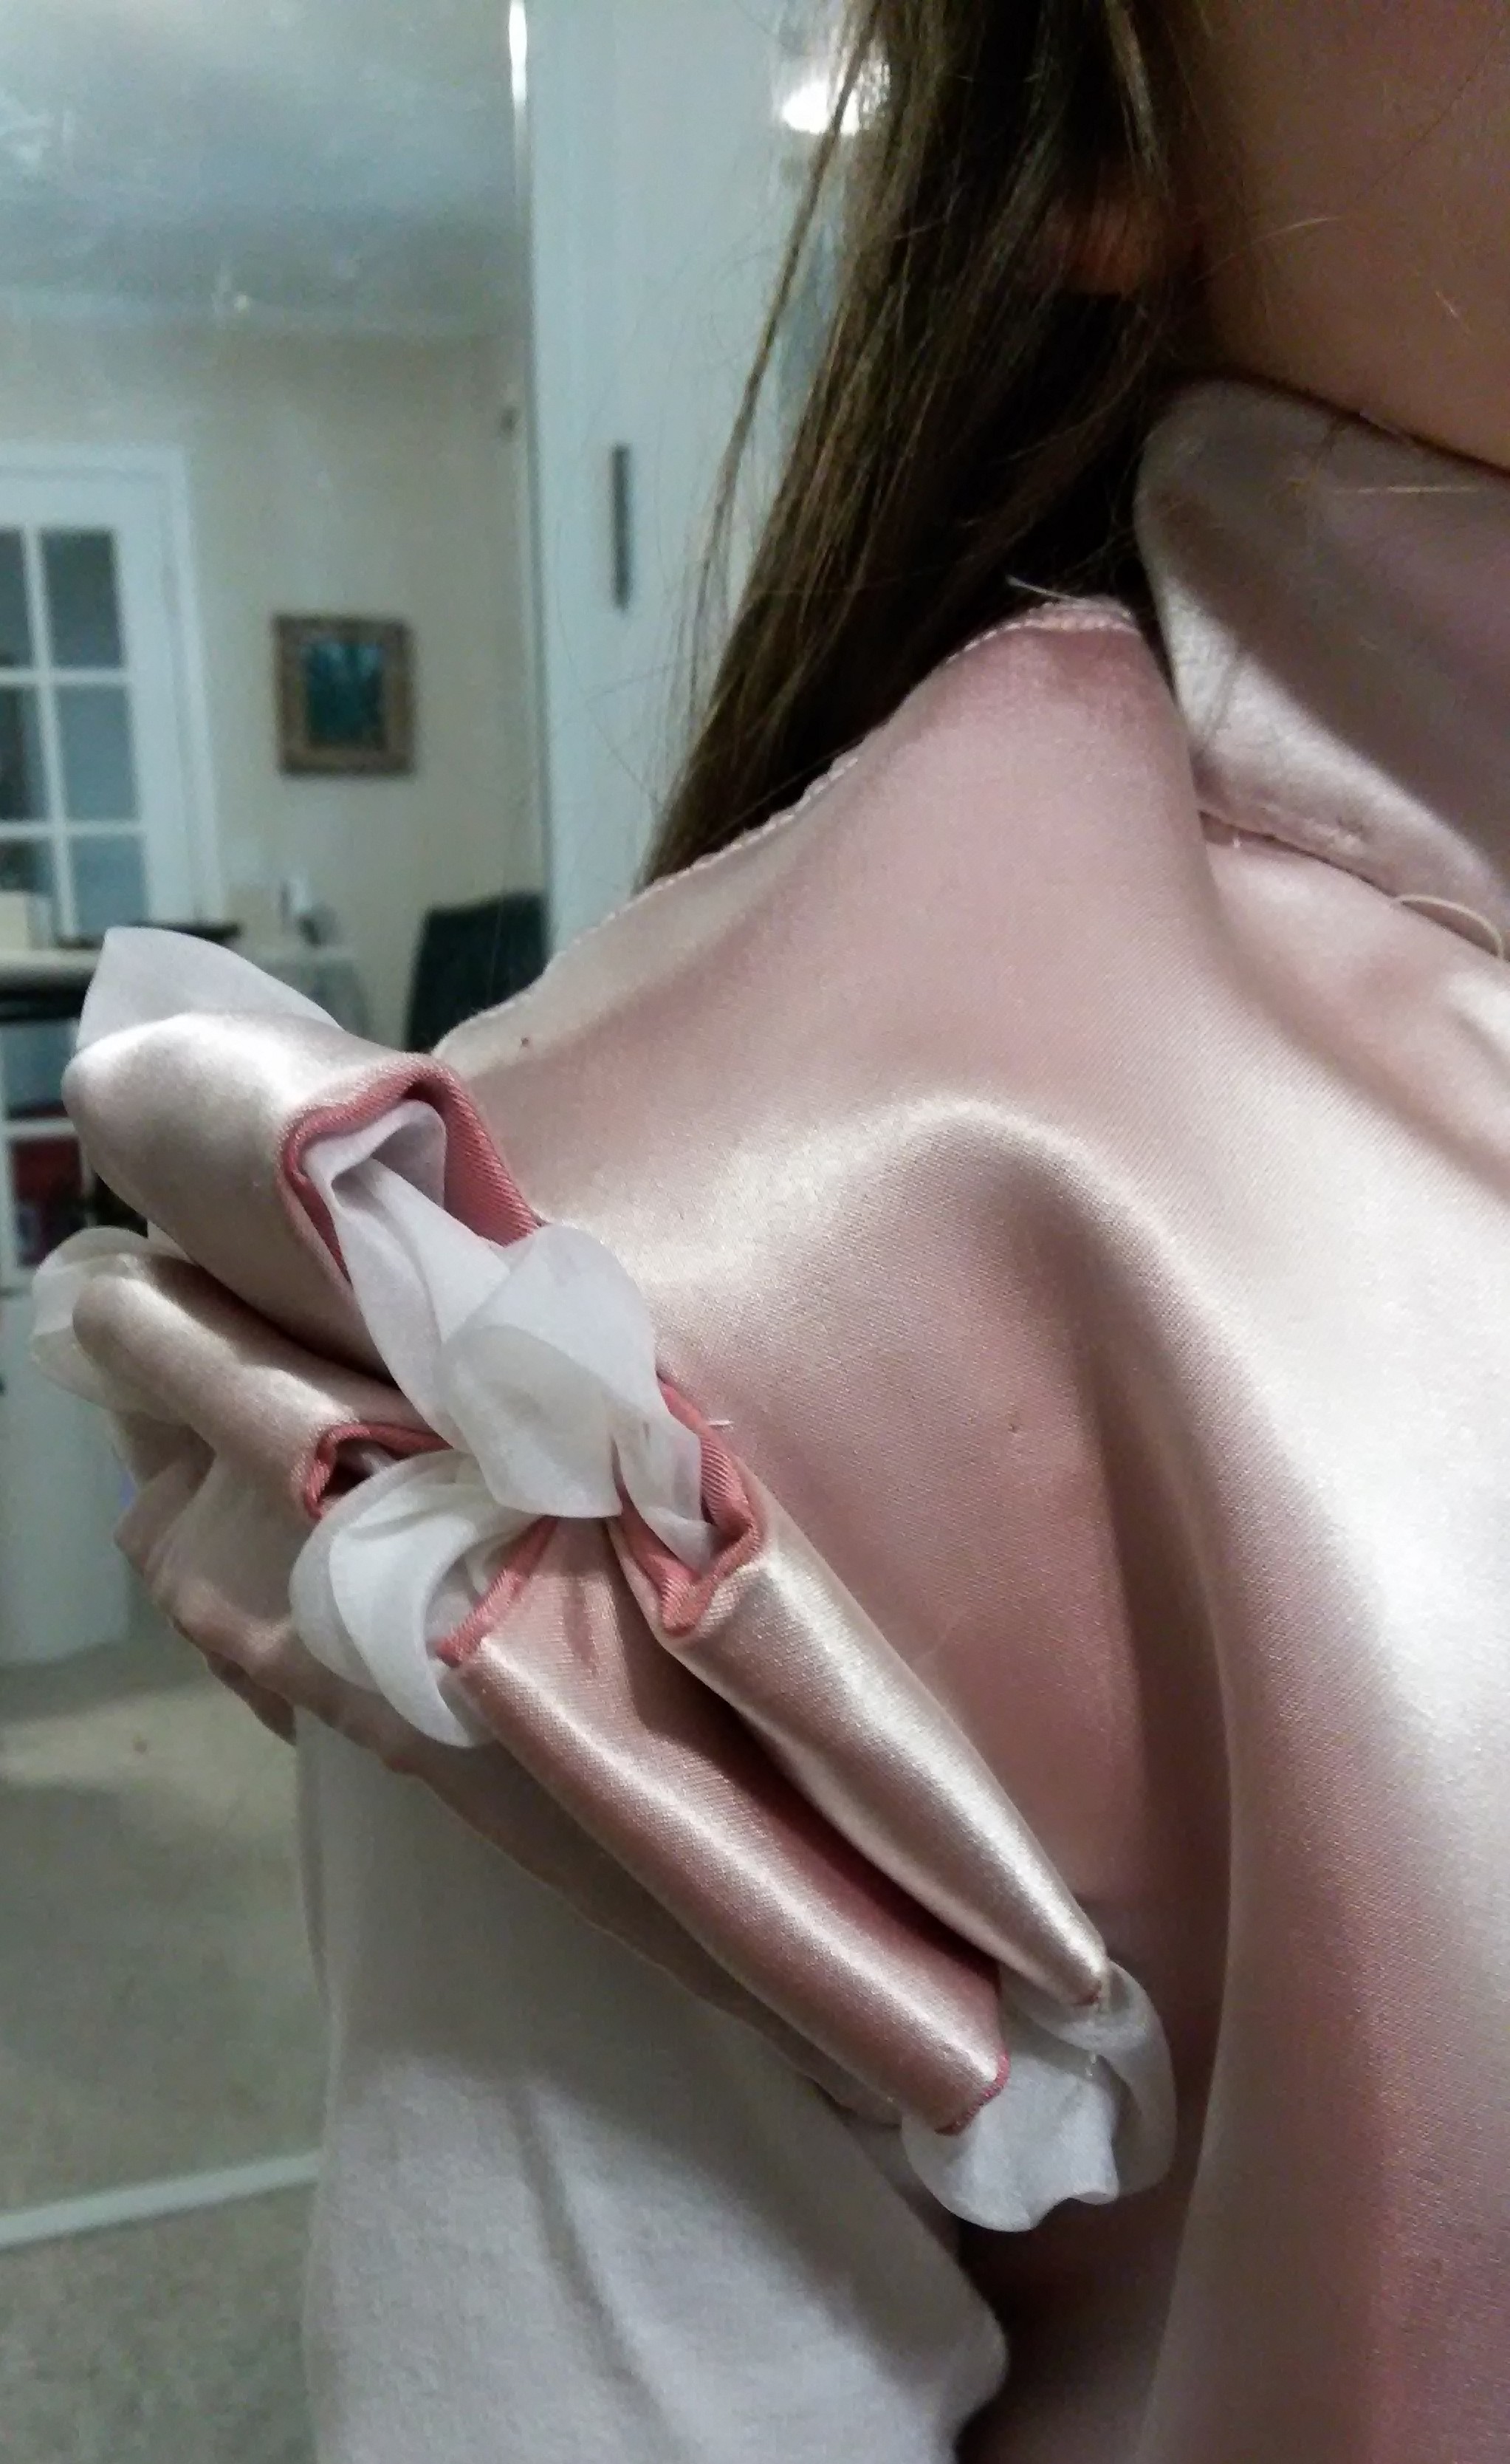
The silk puff was gathered at the top, bottom and a little down from the center, then sewn to the sleeve head.
The panes were cut from the light pink, linen blend and then the dark pink. The dark pink lining was cut slightly bigger so it would show at the edges.
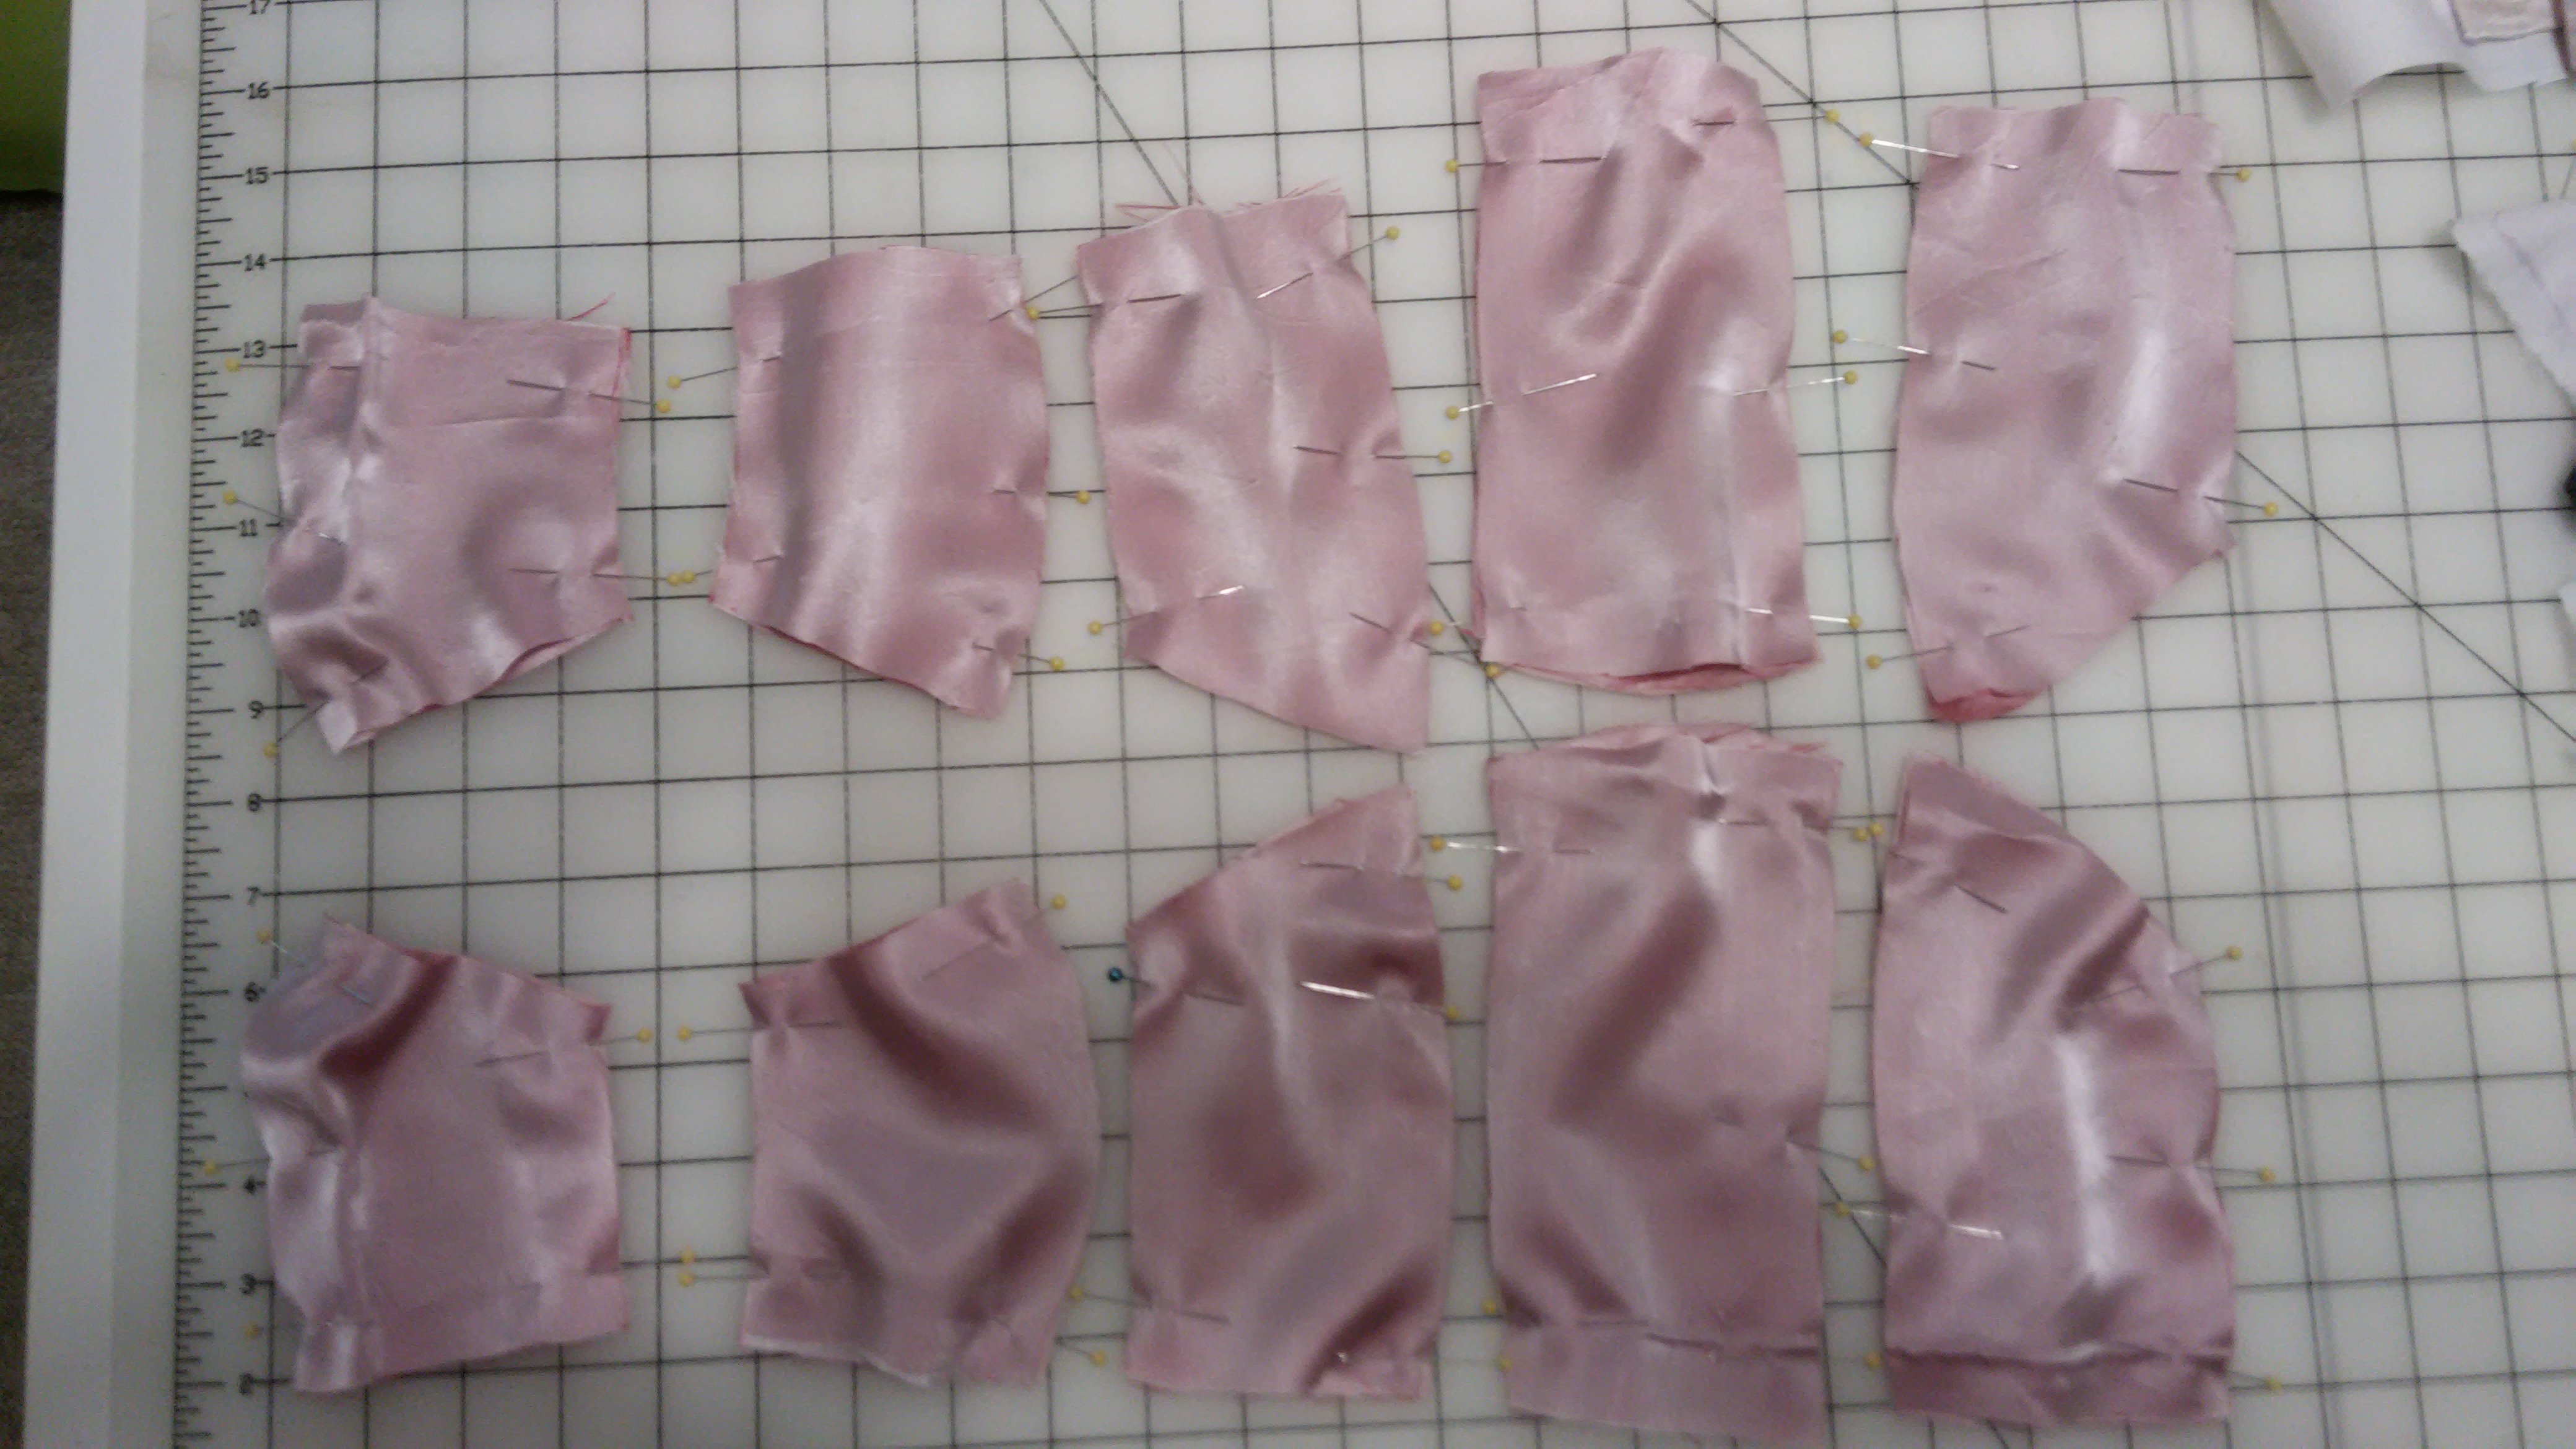
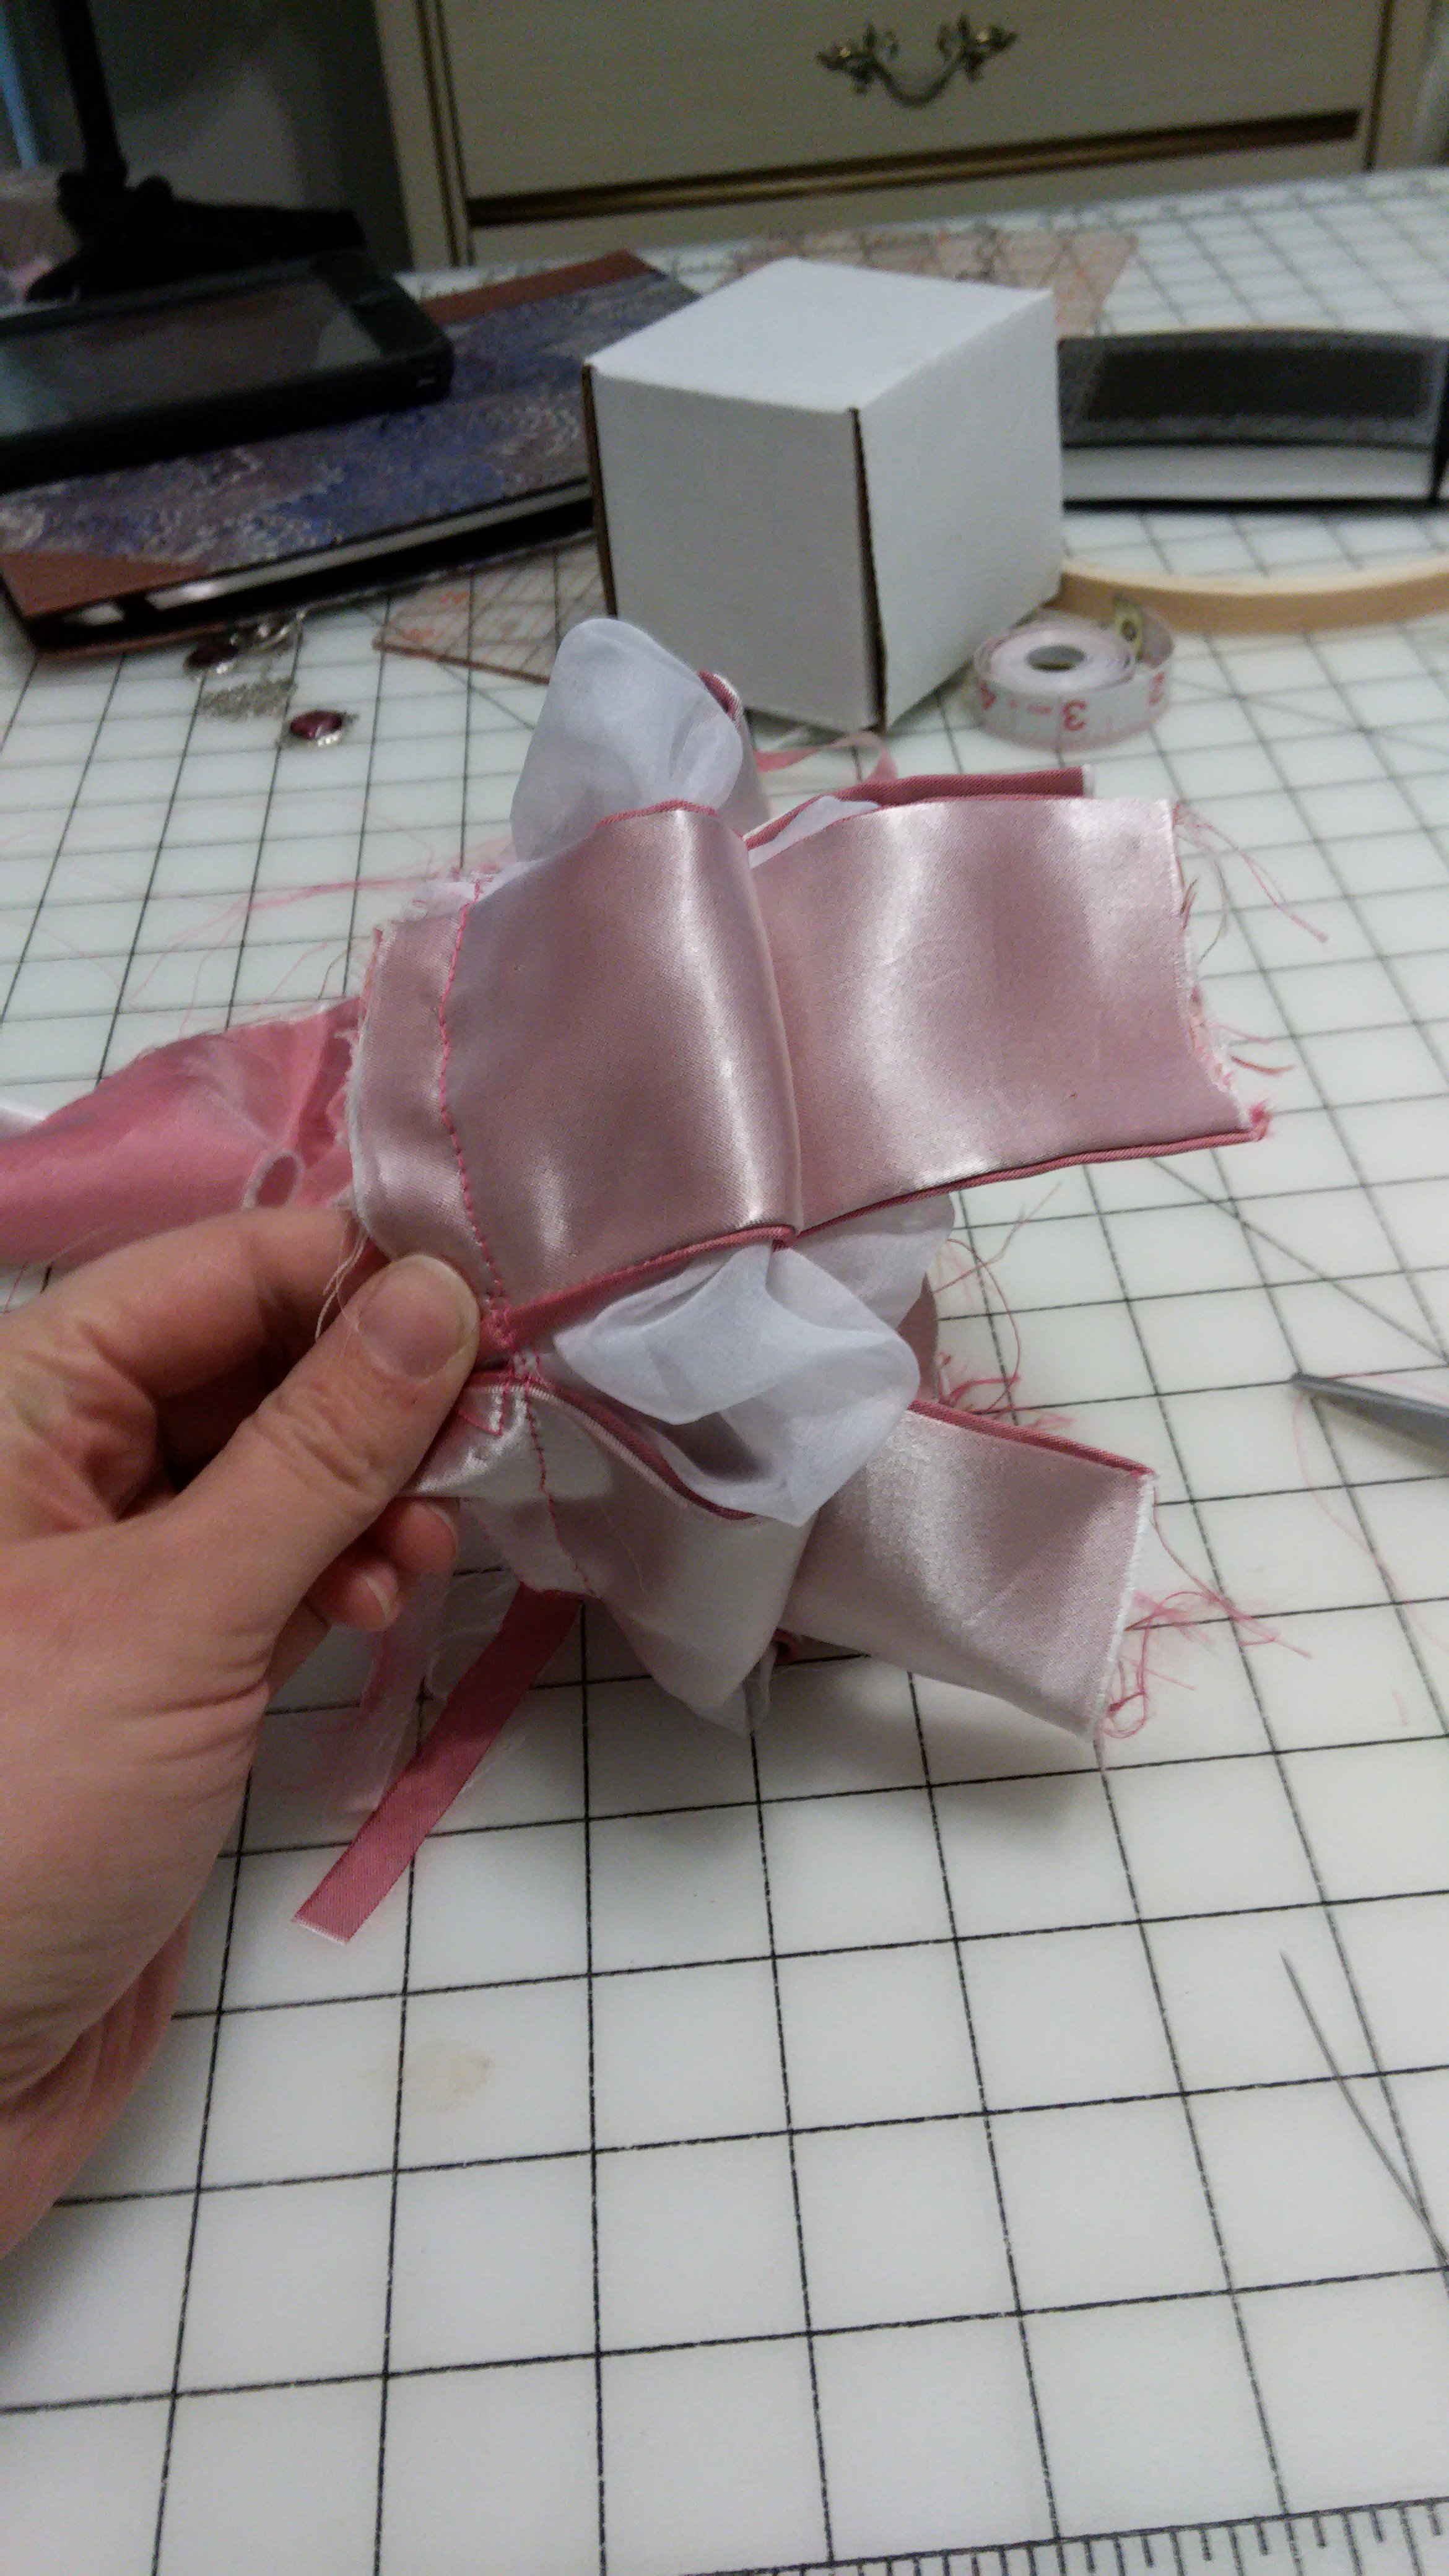
The panes were positioned over the sleeve and basted along the center. At this point I wasn’t sure if I was making a sleeve or a weird jelly fish! I folded it at the basting line and sewed a tuck through all the layers. Again with the hind sight, next time I would have just made 2 sleeve bases and made this a seam.
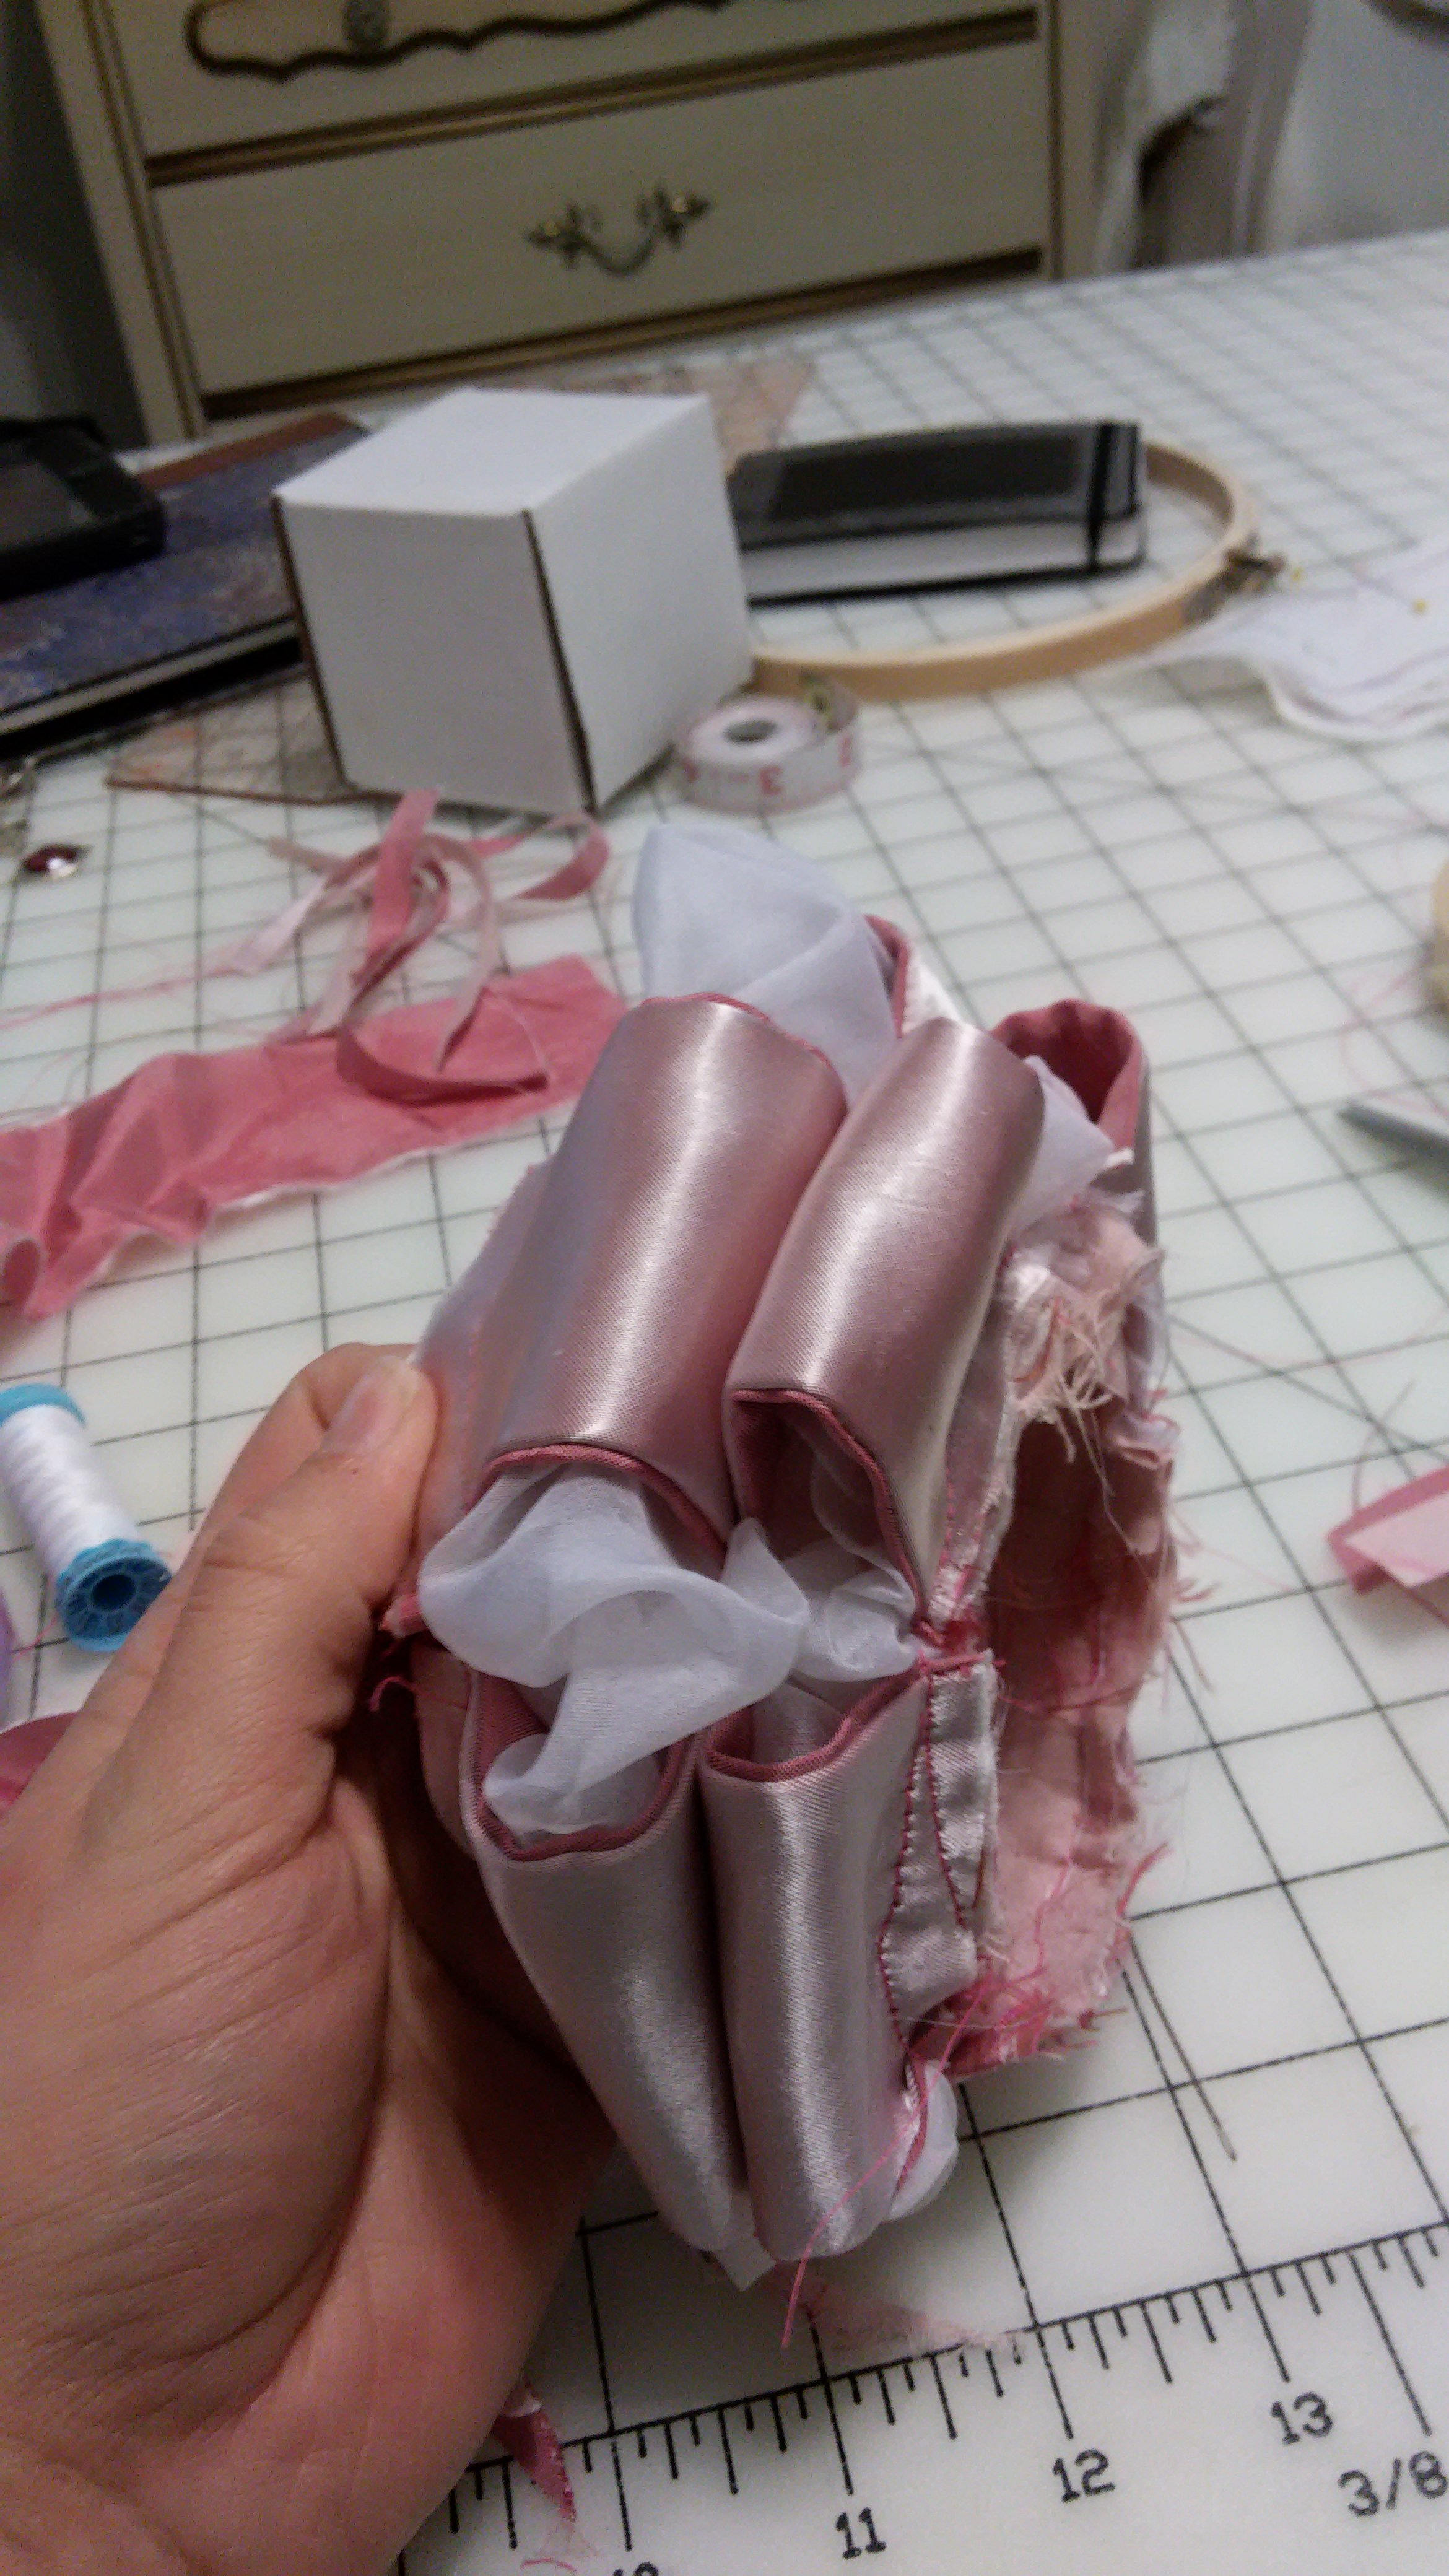
After turning it back right side out, the tops and bottoms of the panes were basted down. The lining was inserted and a quick binding was done for the bottom edge. The whole thing was then sewn to the main gown. On to the skirt!
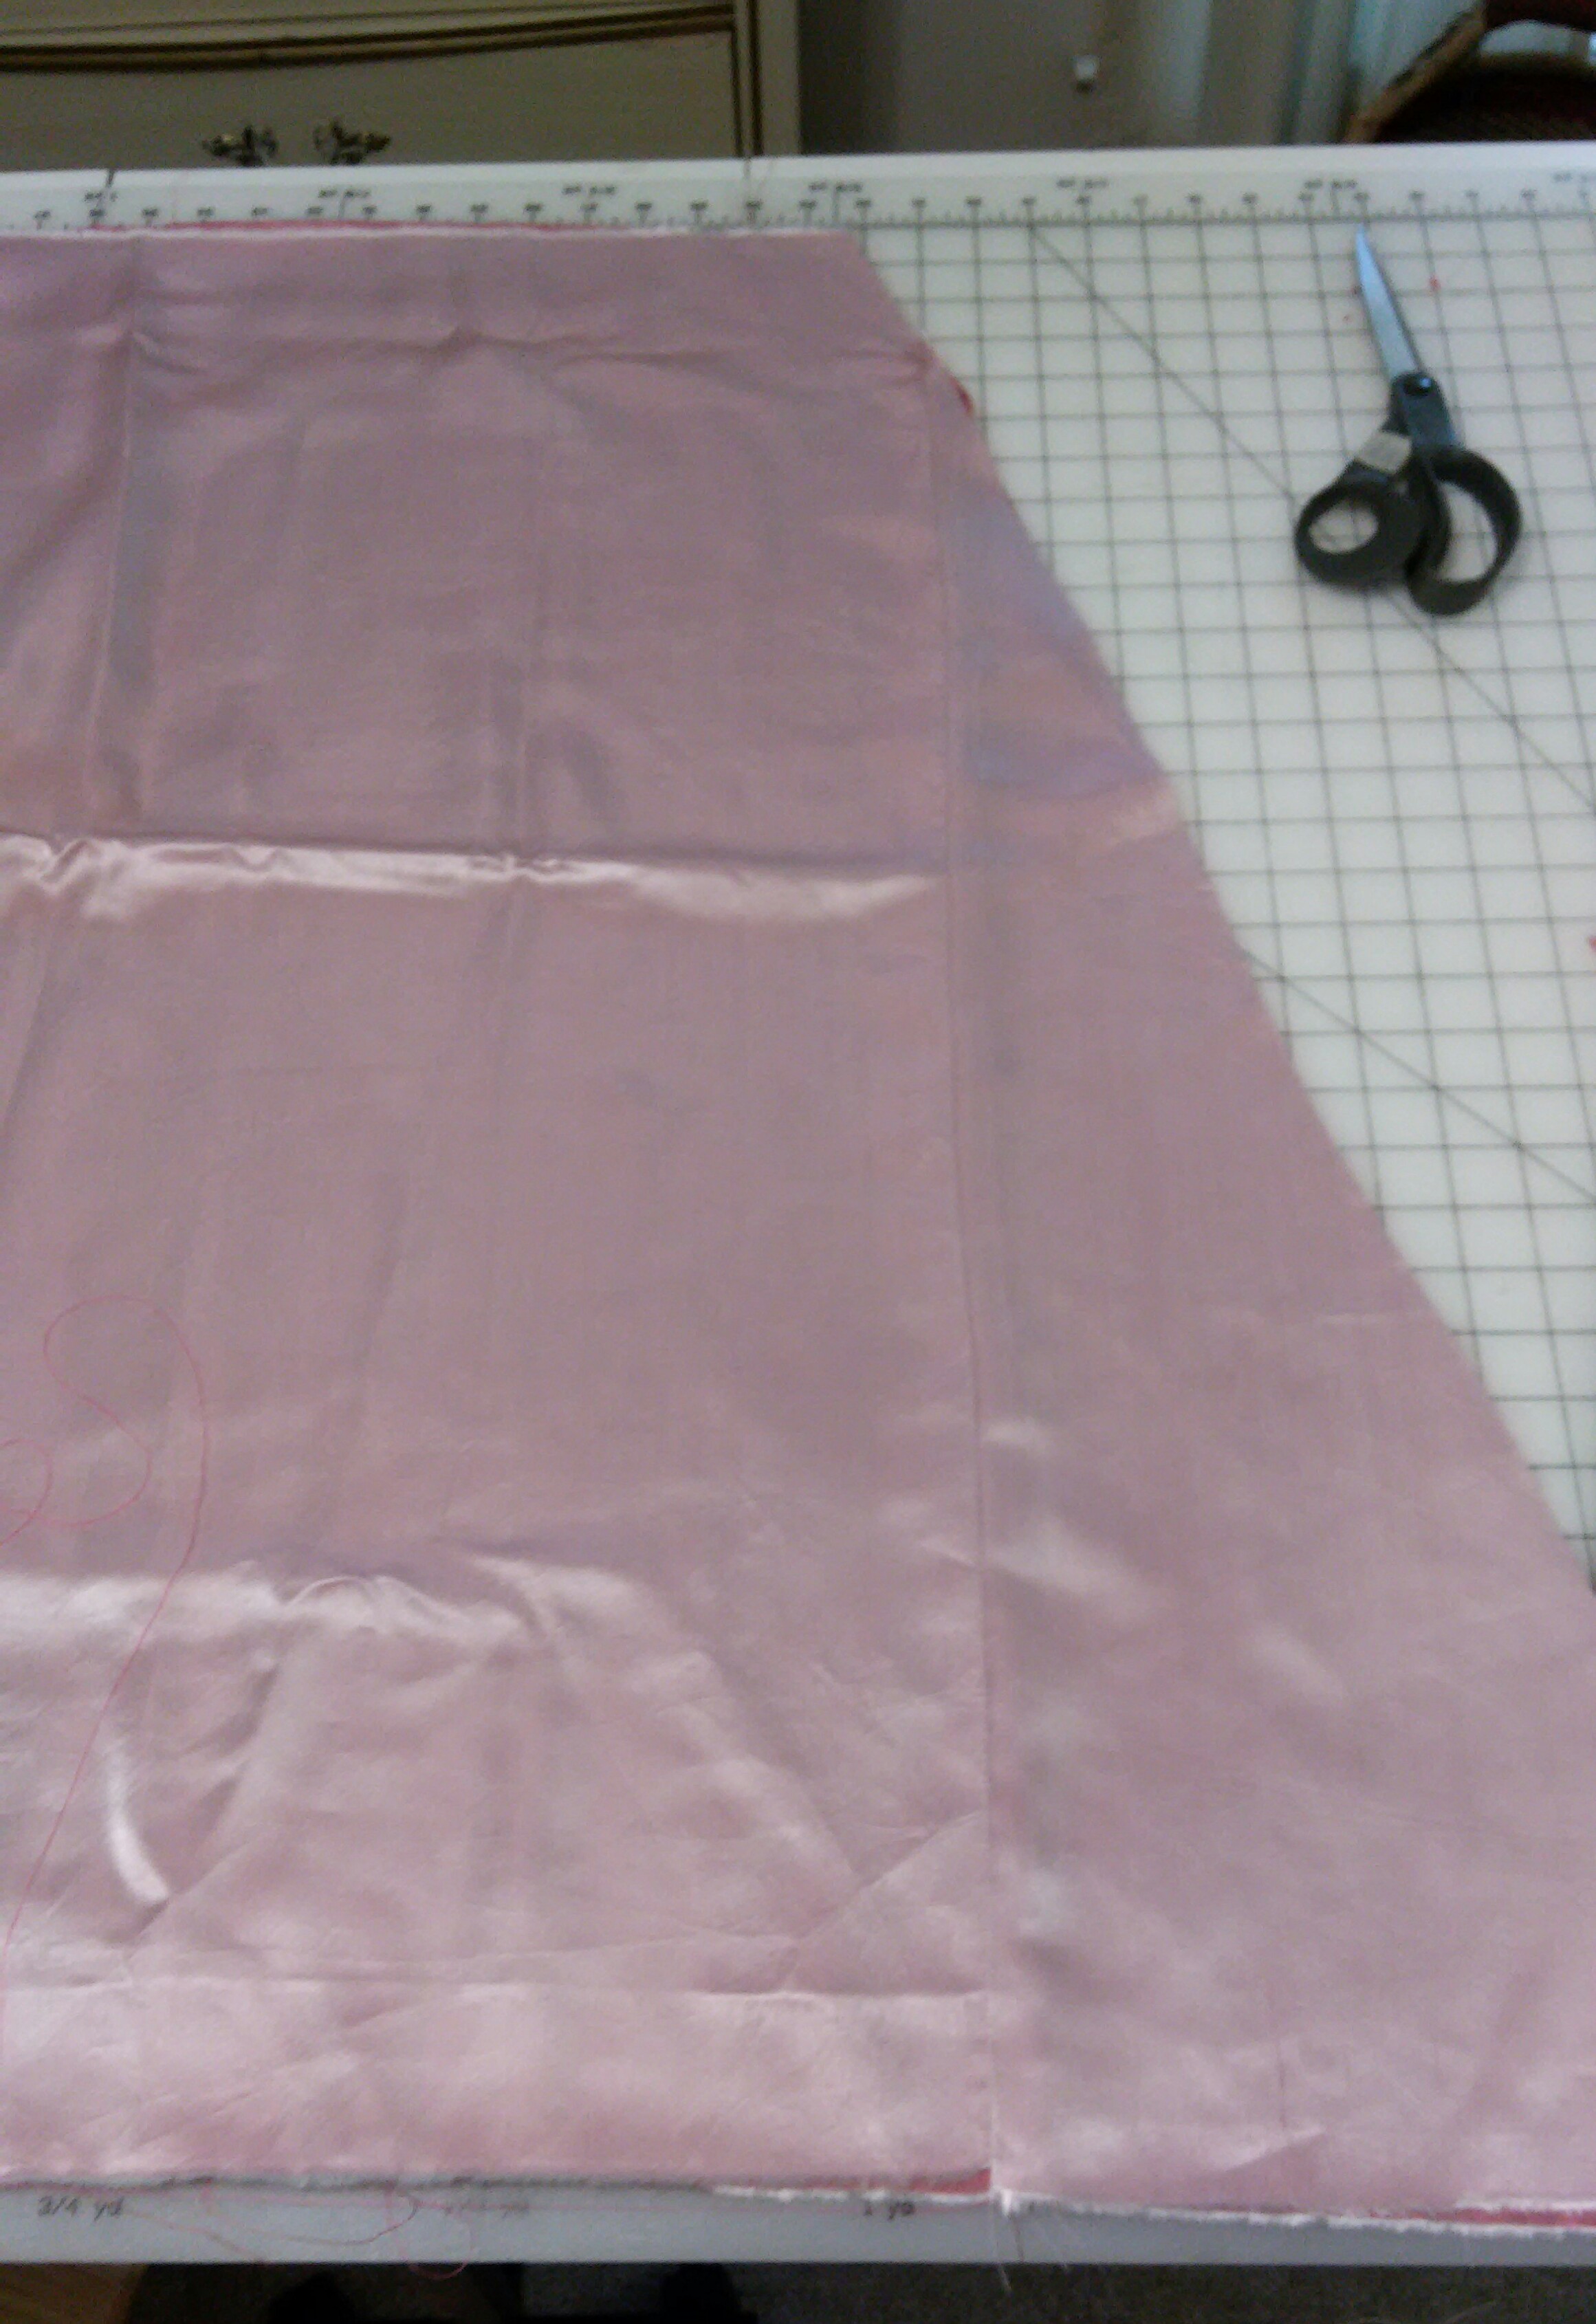
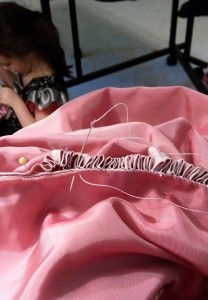
The top was shaped to fit the slight dip of the front of the bodice, then the edge turned over and pressed. I did a big running stitch ( as one would for cartridge pleats) to gather the top. The skirt was attached using a whip stitch on every pleat. It was hemmed and finally complete!
Little-Bug is doing her sewing too!