The first time I tried making one of these, I managed to make it both too wide for my face and too small for my hair.

This time, instead of using the “square with rounded corner” sort of pattern, I took some nice linen/cotton gauze I had left over from a t-tunic style underdress and used the section from under the arm for my cap. This meant I basically had two squares with a bulge on one side.
I hand-sewed everything on this cap, because I dislike the noise and fuss of sewing machines. After sewing the center seam (with a fairly large seam allowance) I eyeballed some pleats on the bottom edge to give it some poof. Since I had accidentally sewed the center seam together all the way down instead of leaving a space, I left a couple inches plain between the two sections of pleats.
Then I made some bias strips from more scraps of the same fabric, bound the bottom edge, and then made a very long strip to bind the front and continue into strings.
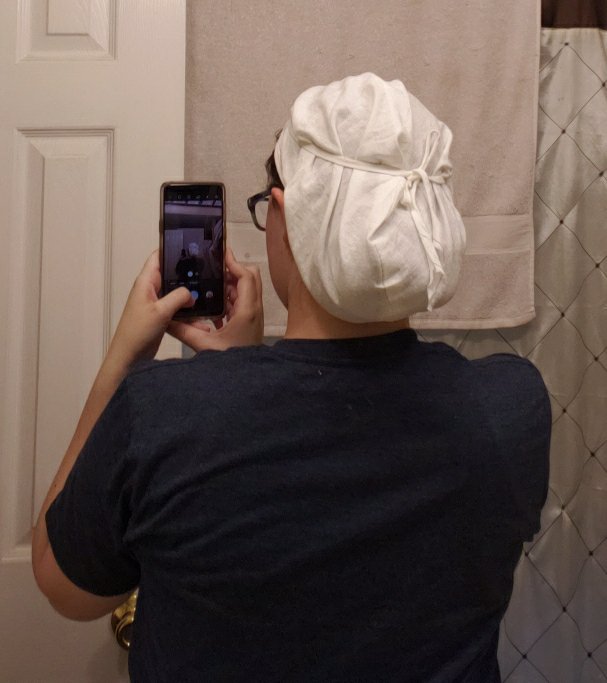
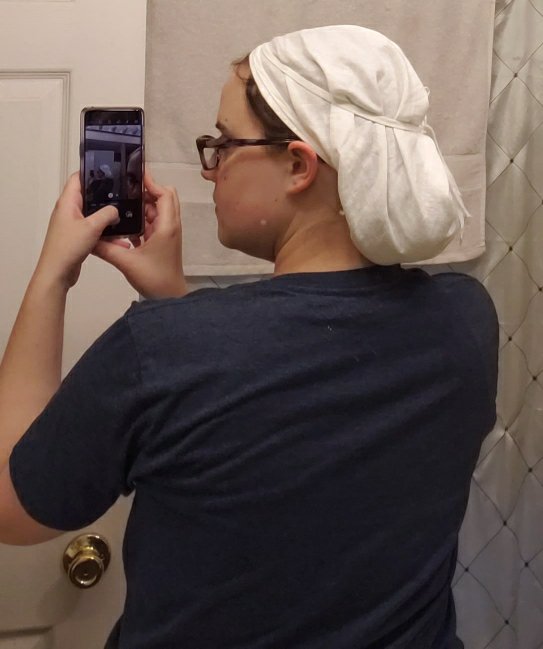
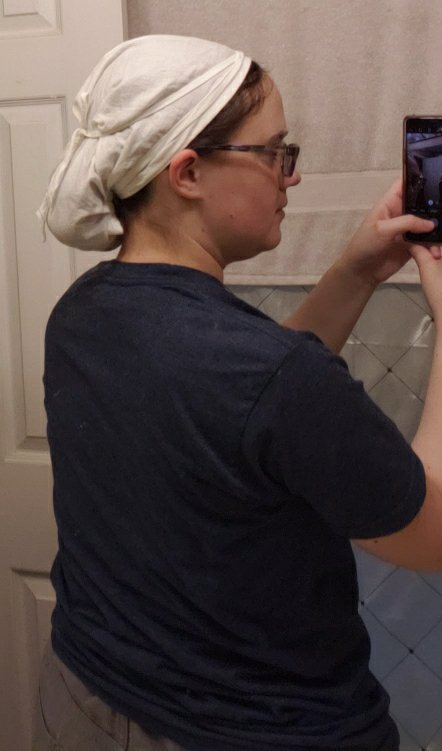
I chose not to sew the ends of my strings into a closed loop, since I want to be able to adjust how my hair sits inside the cap. For the pictures below, I ended up twisting my hair into a bun but just tucked the ends instead of fastening. This kept it together enough for me to put the cap on and then let it fall more loosely inside it, so I didn’t have an awkward hair projection.