I never expected my first heater shield to be my Forever Shield, so it’s no surprise that I’m making a new one. At the regional fighter practice, I was informed by a knight of great wisdom and experience that I was using the wrong shield for me. After borrowing his shield for a few fights, I was convinced that he was right and decided to take his advice.
The plan for the new shield is a 22″ x 32″ heater (vs ~24″ x 28″ for the old one) with a ~1/5″ curve. This website has some neat ideas that I plan to pilfer, and I found some nice instructions on rawhide edging here. The first step is to construct the body of the shield.

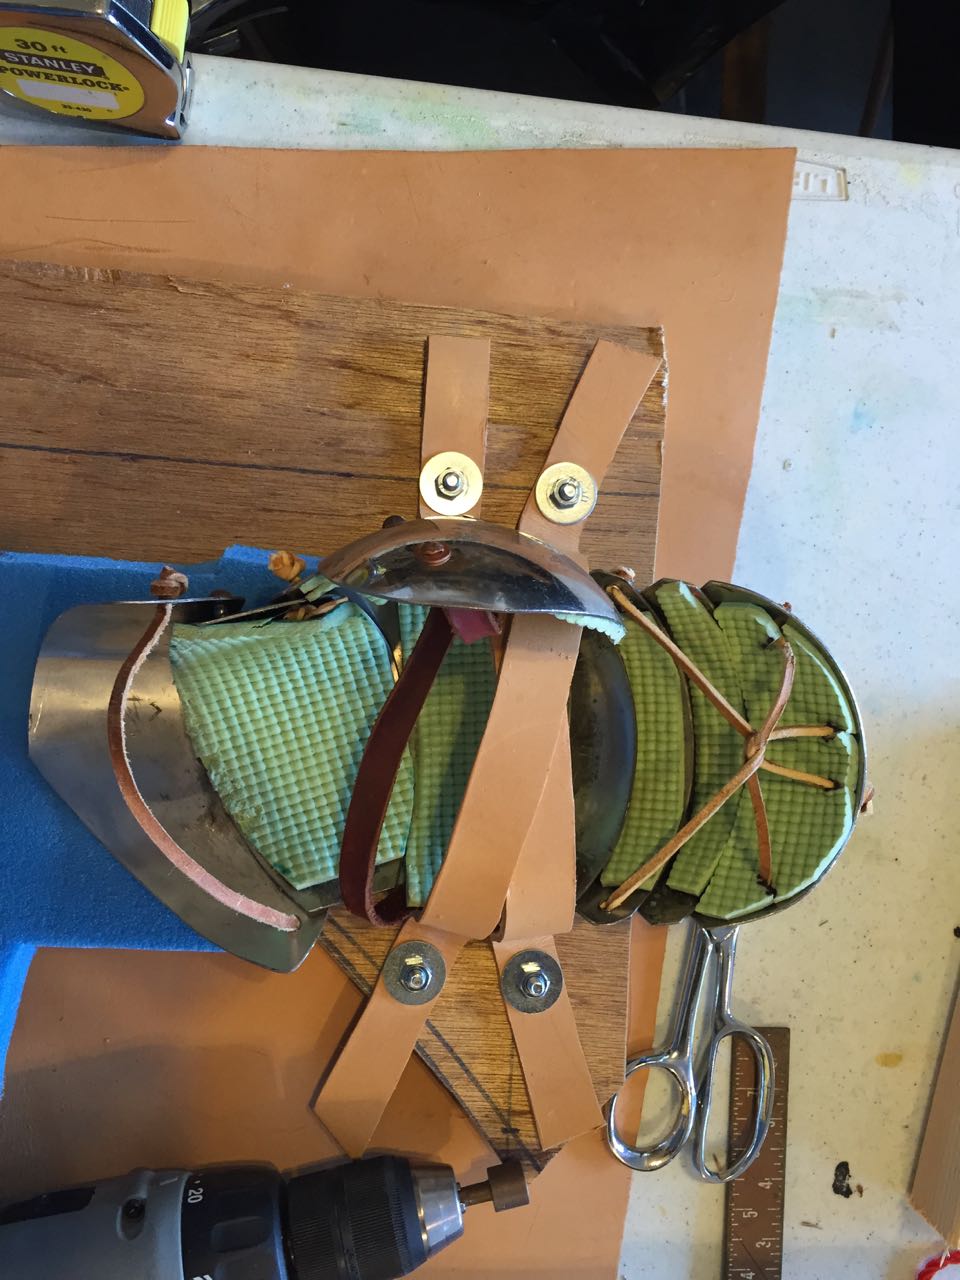
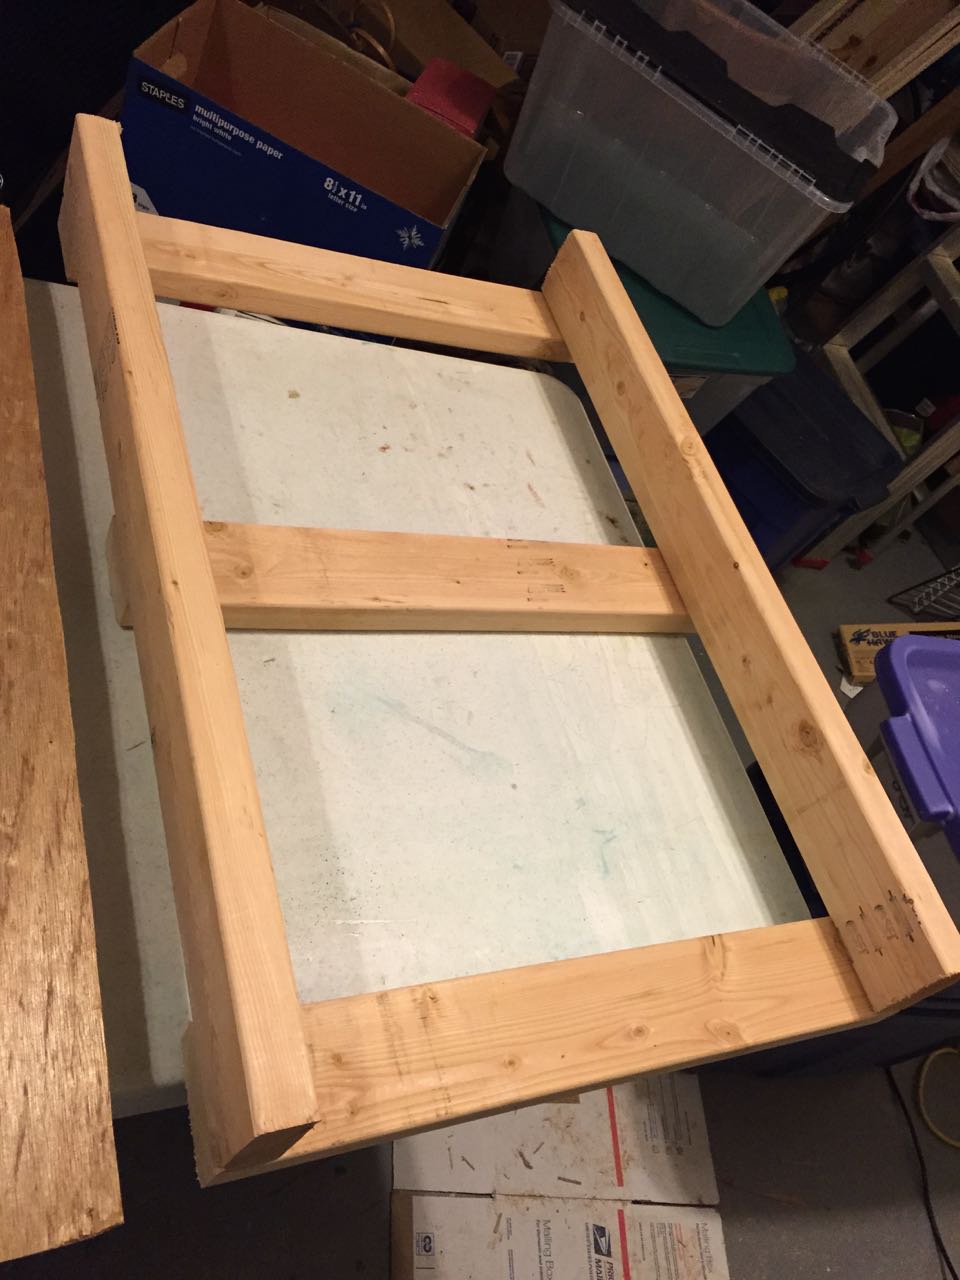
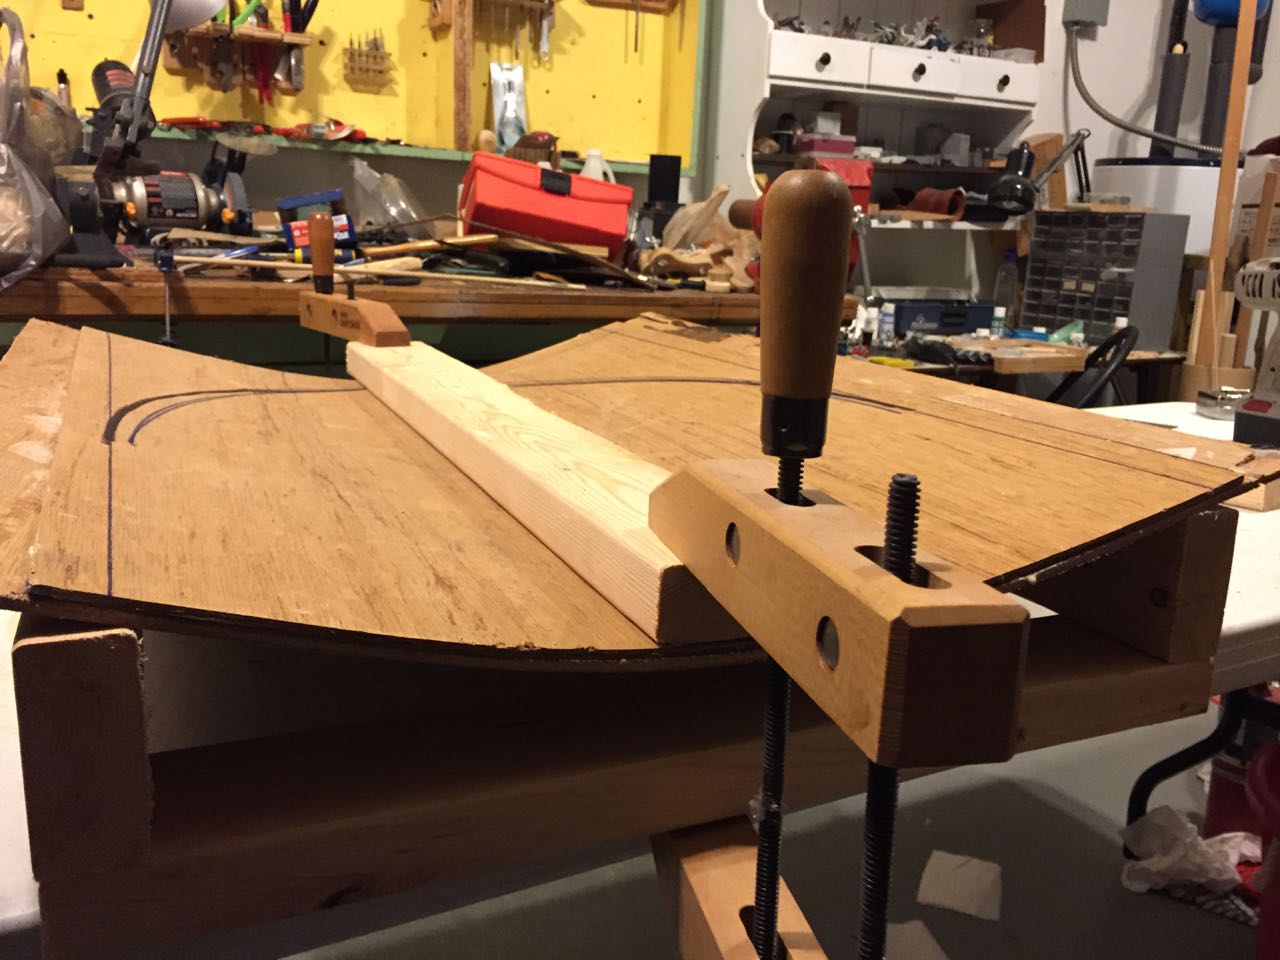
I didn’t want to spend too much money or effort on building the shield press, so I made this frame out of 2×4’s screwed together.
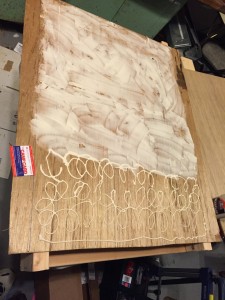
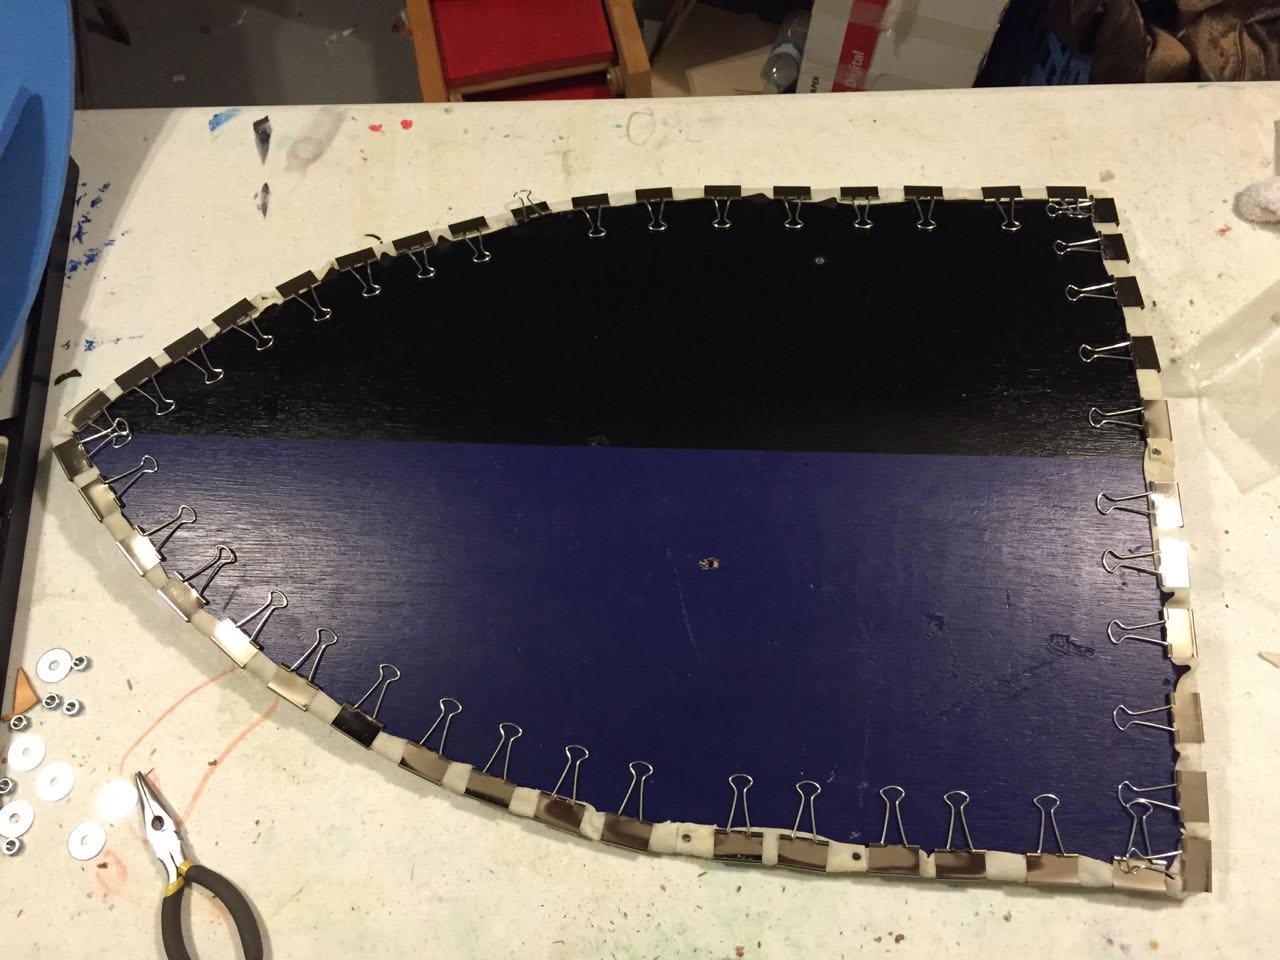
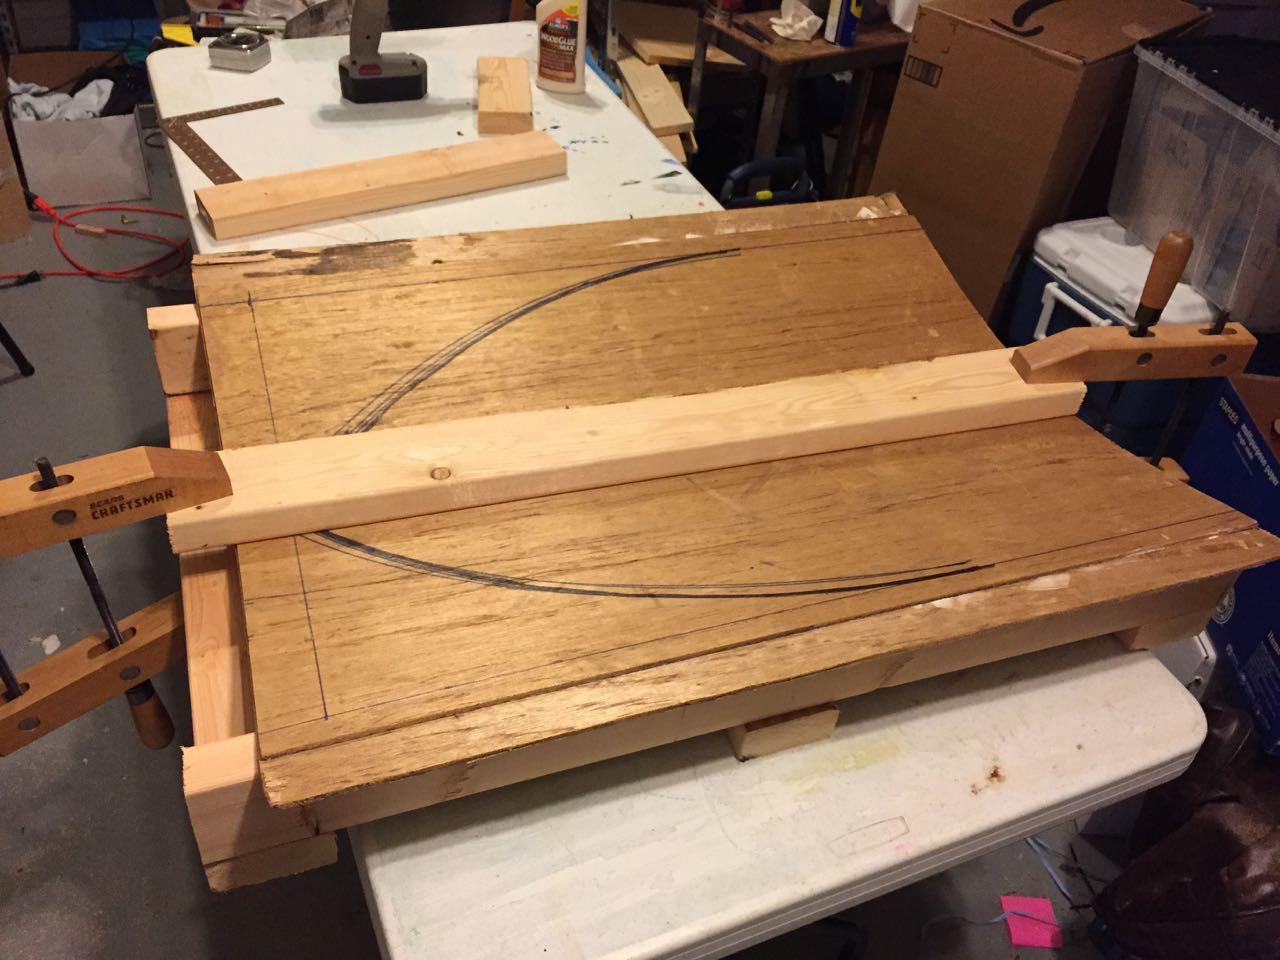
I cut two pieces of 1/4″ birch plywood roughly 24″ x 36″ so I had enough space to trim things up when I was done. Both pieces were liberally coated with wood glue.

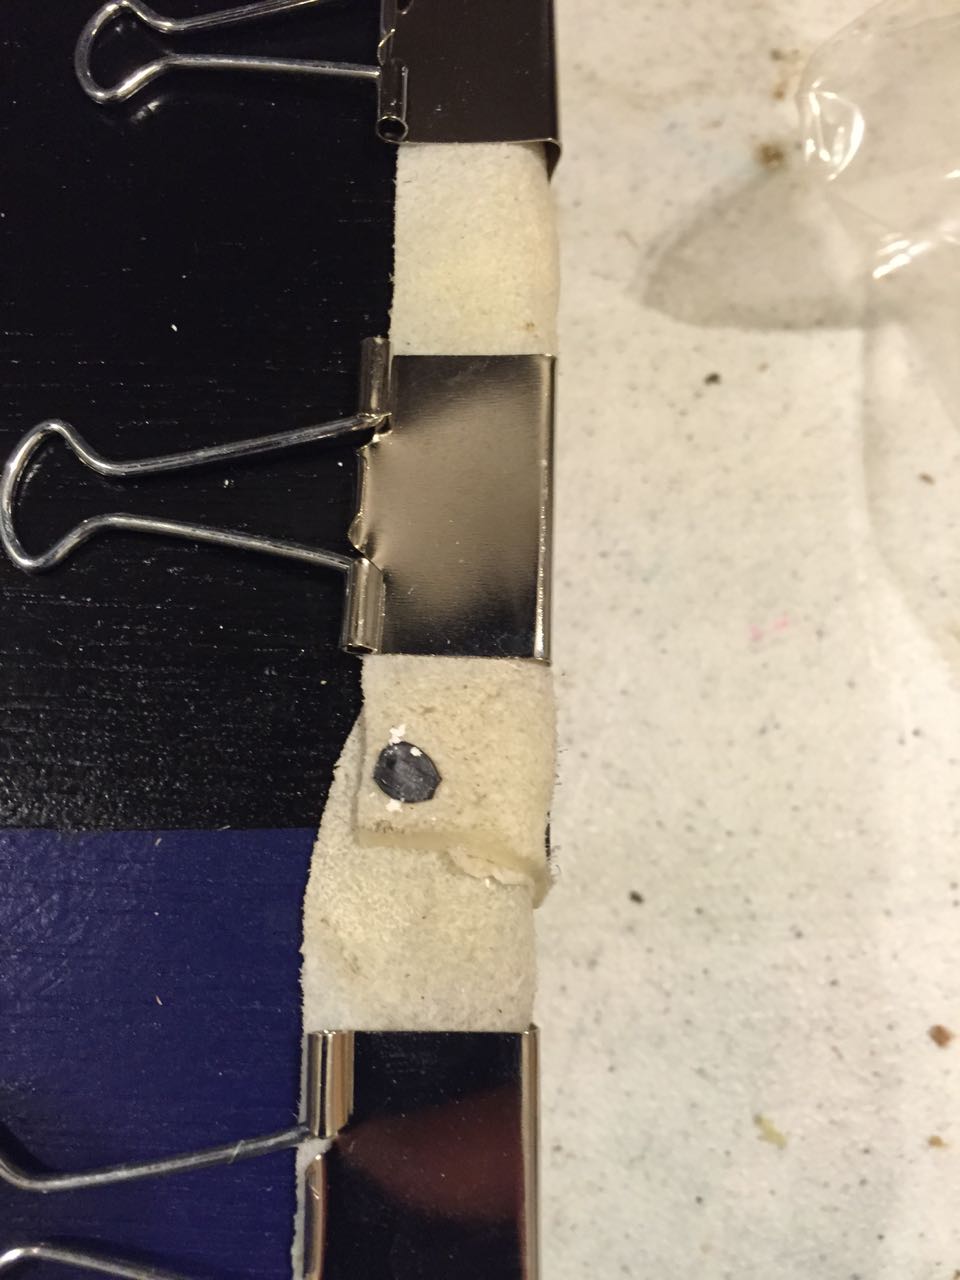
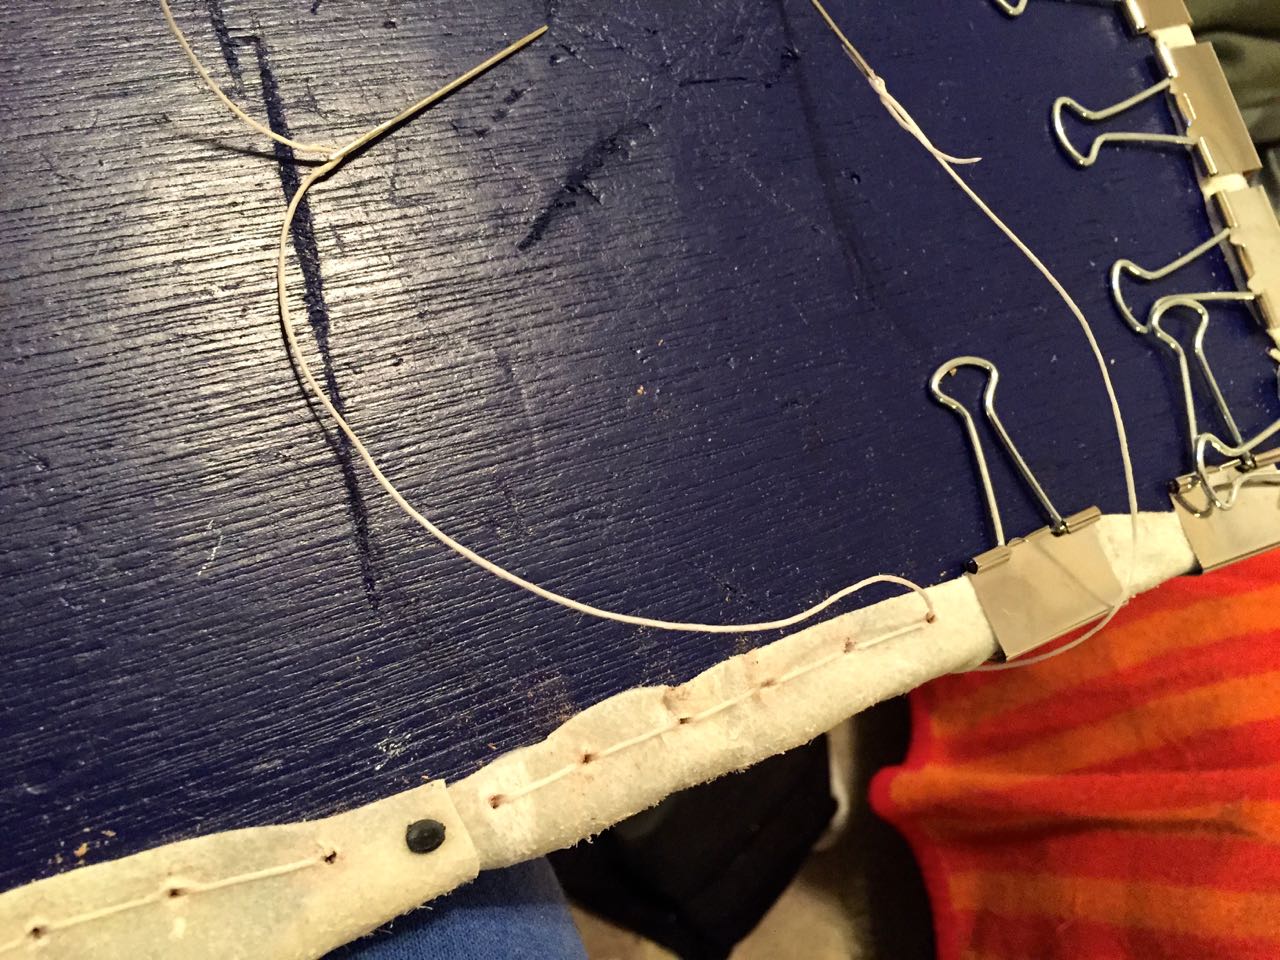
I drew the shape of the shield is drawn on the inside layer, then put the two together on the frame. Another 2×4 and a pair of wood clamps provided the pressure for the glue and the curvature.
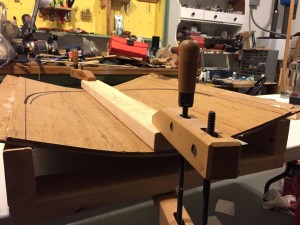
I cranked the clamps down on either end until I had about the curve I wanted. Now I’ll let it sit for a few days to dry and hope that it turns out.